Trending Tutorials for Figma: Neon and Space Gradients
2021 has shaken up the design world with the advent of the metaverse. So let’s find out what trends we will meet in the work of world designers this year. We are increasingly convinced that fashion is cyclical. Designers will be inspired not only by the 1990s but even the 1970s!
The main trends of this year include:
- neon and space gradients
- retro style 70s-90s
- holography
- graininess
- abstract and psychedelic
- 3D Claymorphism
- layered collages
- experimental typography
- brutalism
In this article, you will find tutorials on how to create space and neon gradients in Figma.
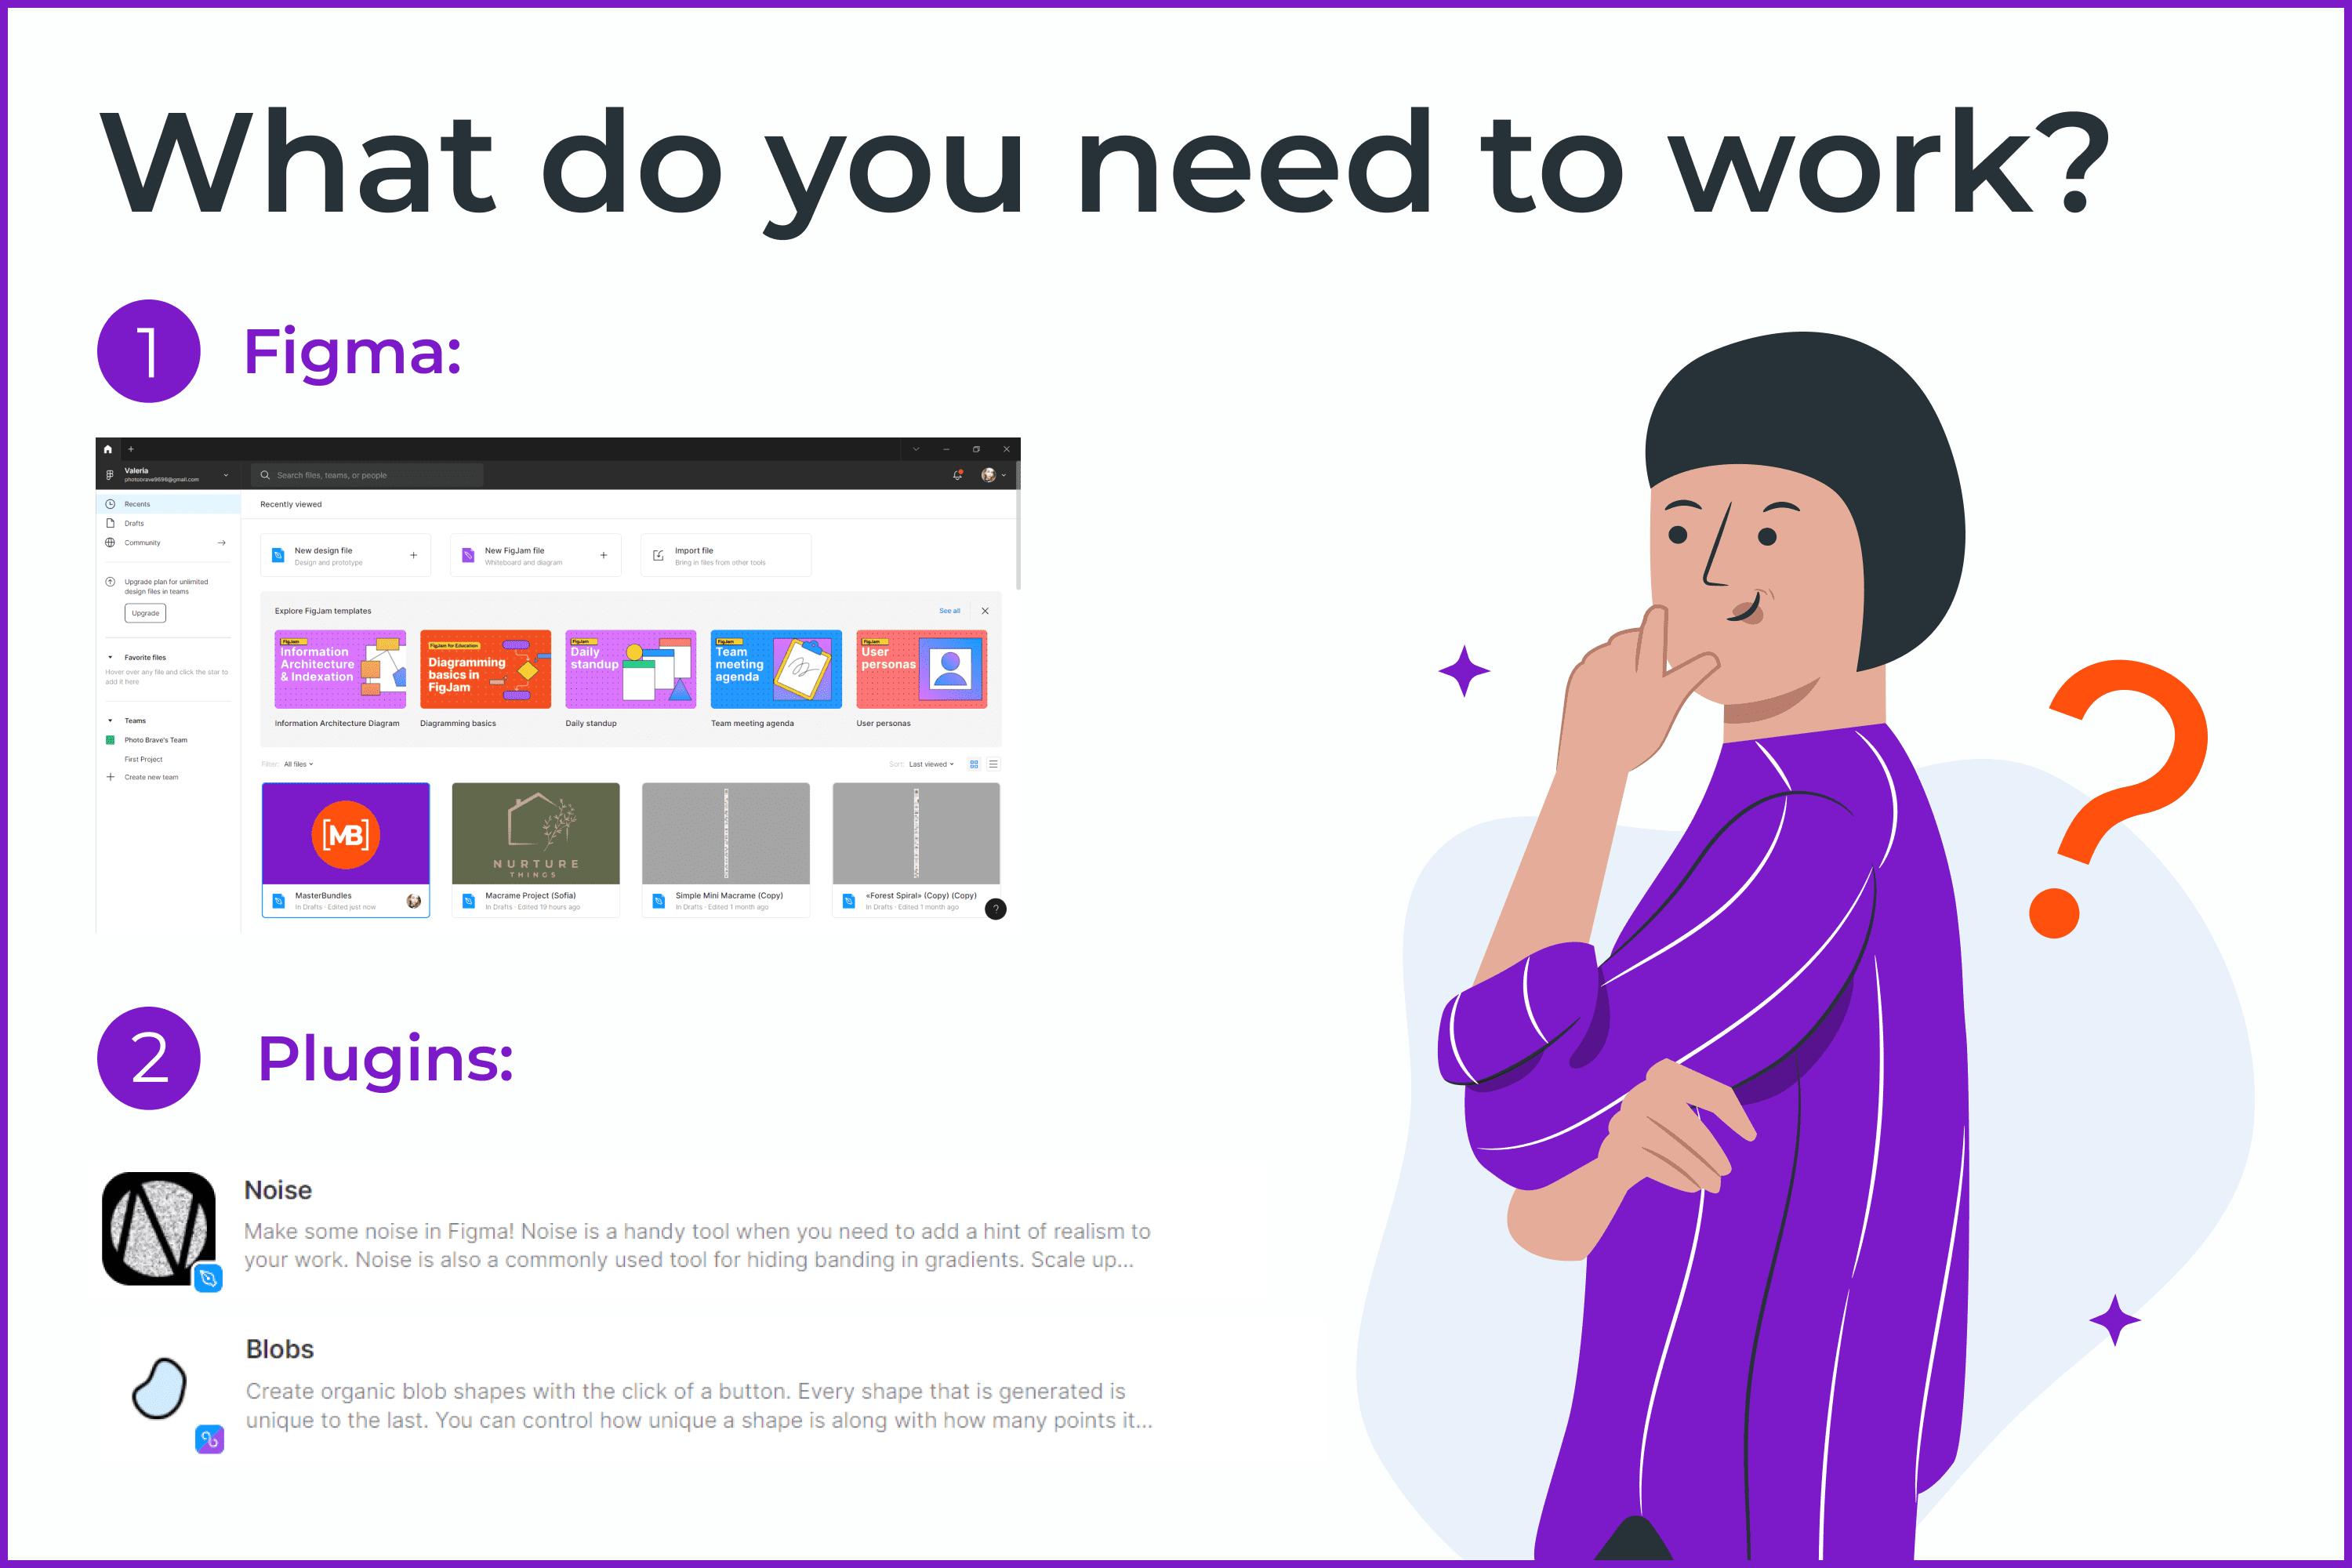
To get started, go to Figma and create an empty training project. In the community section, download the Noise and Blobs plugins, because you will need them later.
If you create something similar, then become our vendor and sell your work on our platform. MasterBundles is open to designers of all levels. Click here to upload the work with our convenient form. Everything is very simple and will take you just 5 minutes to complete. By the way, we help in the promotion of the coolest works so you don’t need to learn SEO.
Let’s start!
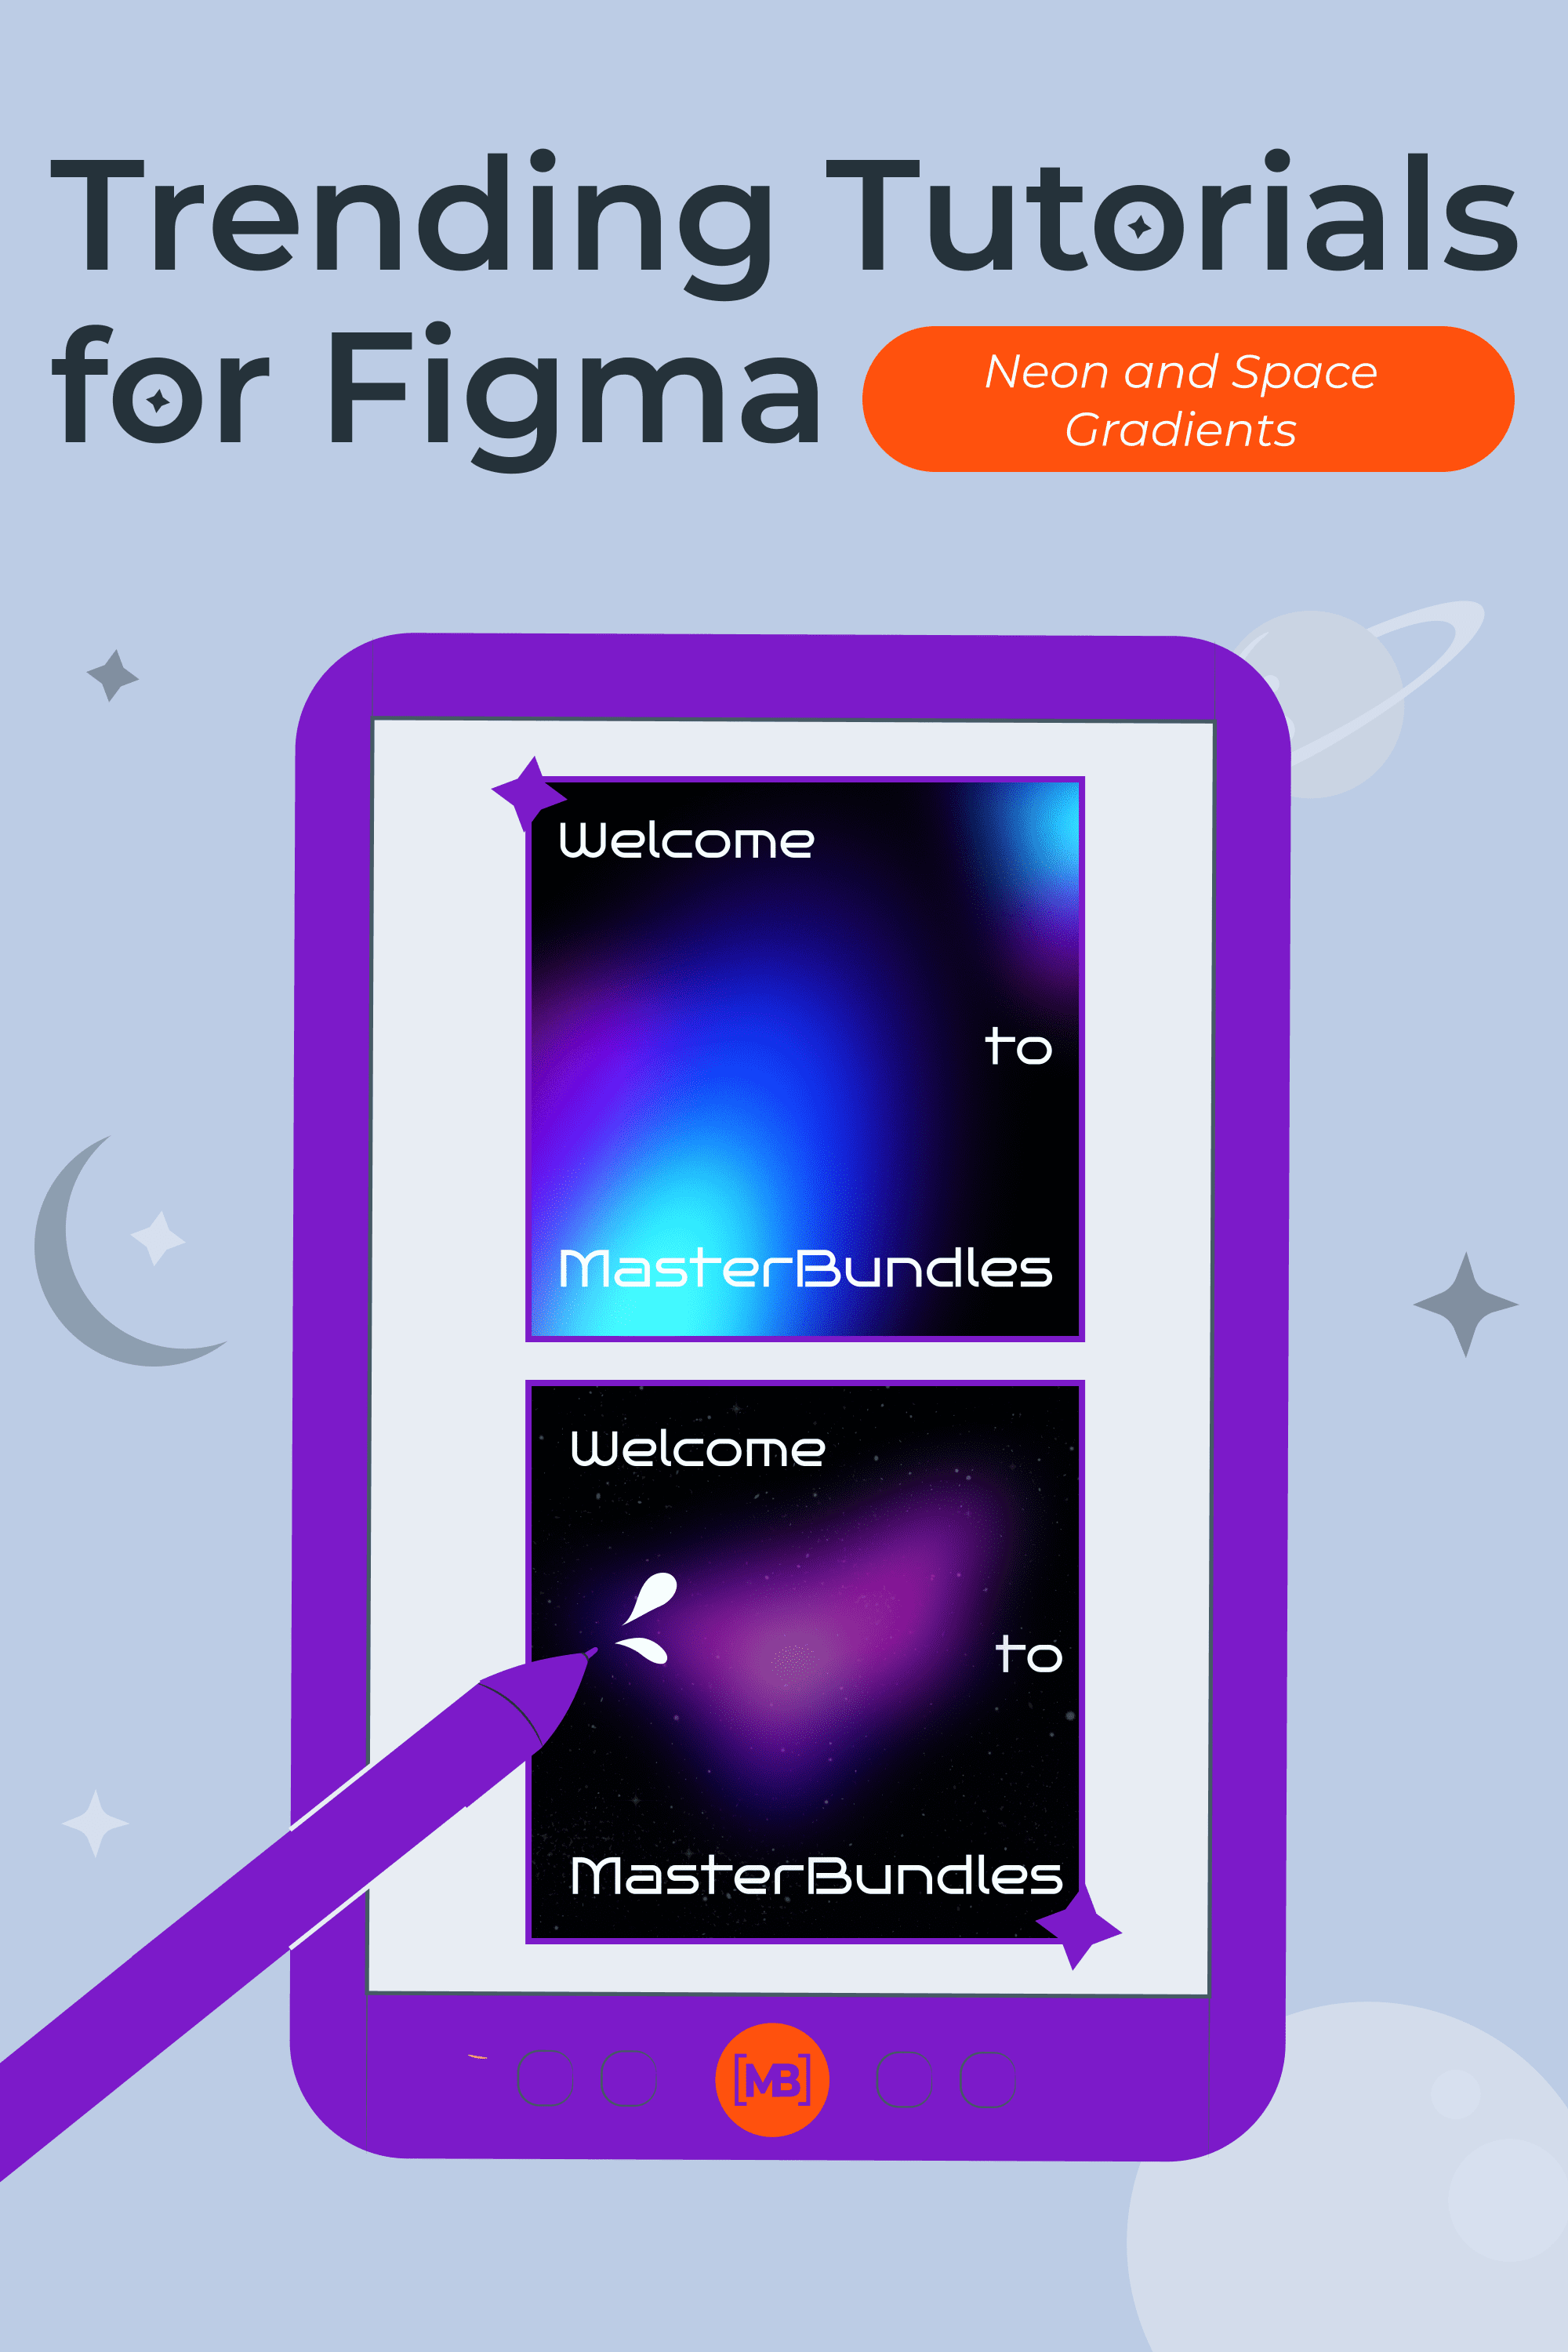
Creating with MasterBundles: Neon & Space Gradients in Figma
If you want your designs to be trendy, consider adding gradients. Neon and space gradients represent the retro trend that has been occupying creative minds for some time.
Creating these gradients in Figma is as easy as a breeze and our designer proved it. Check out this video tutorial to follow the process step by step and make your designs stand out!
How to Make Neon Effects in Figma
Why use Figma for these effects? It is an easy-to-use program: it works directly in the browser and has the plugins necessary for the designer to work. You can read about a lot of other advantages of using Figma here.
People mistakenly consider gradients to be outdated. Designers are conquering the market with juicy neon gradients. You can see neon effects in both graphic design and web design.
You can combine neon with textures, illustrations, photographs, use it as background, or use it as a blend mode to the background. Add grain to the gradient to make the work even more interesting. Okay, let’s go to the tutorial!
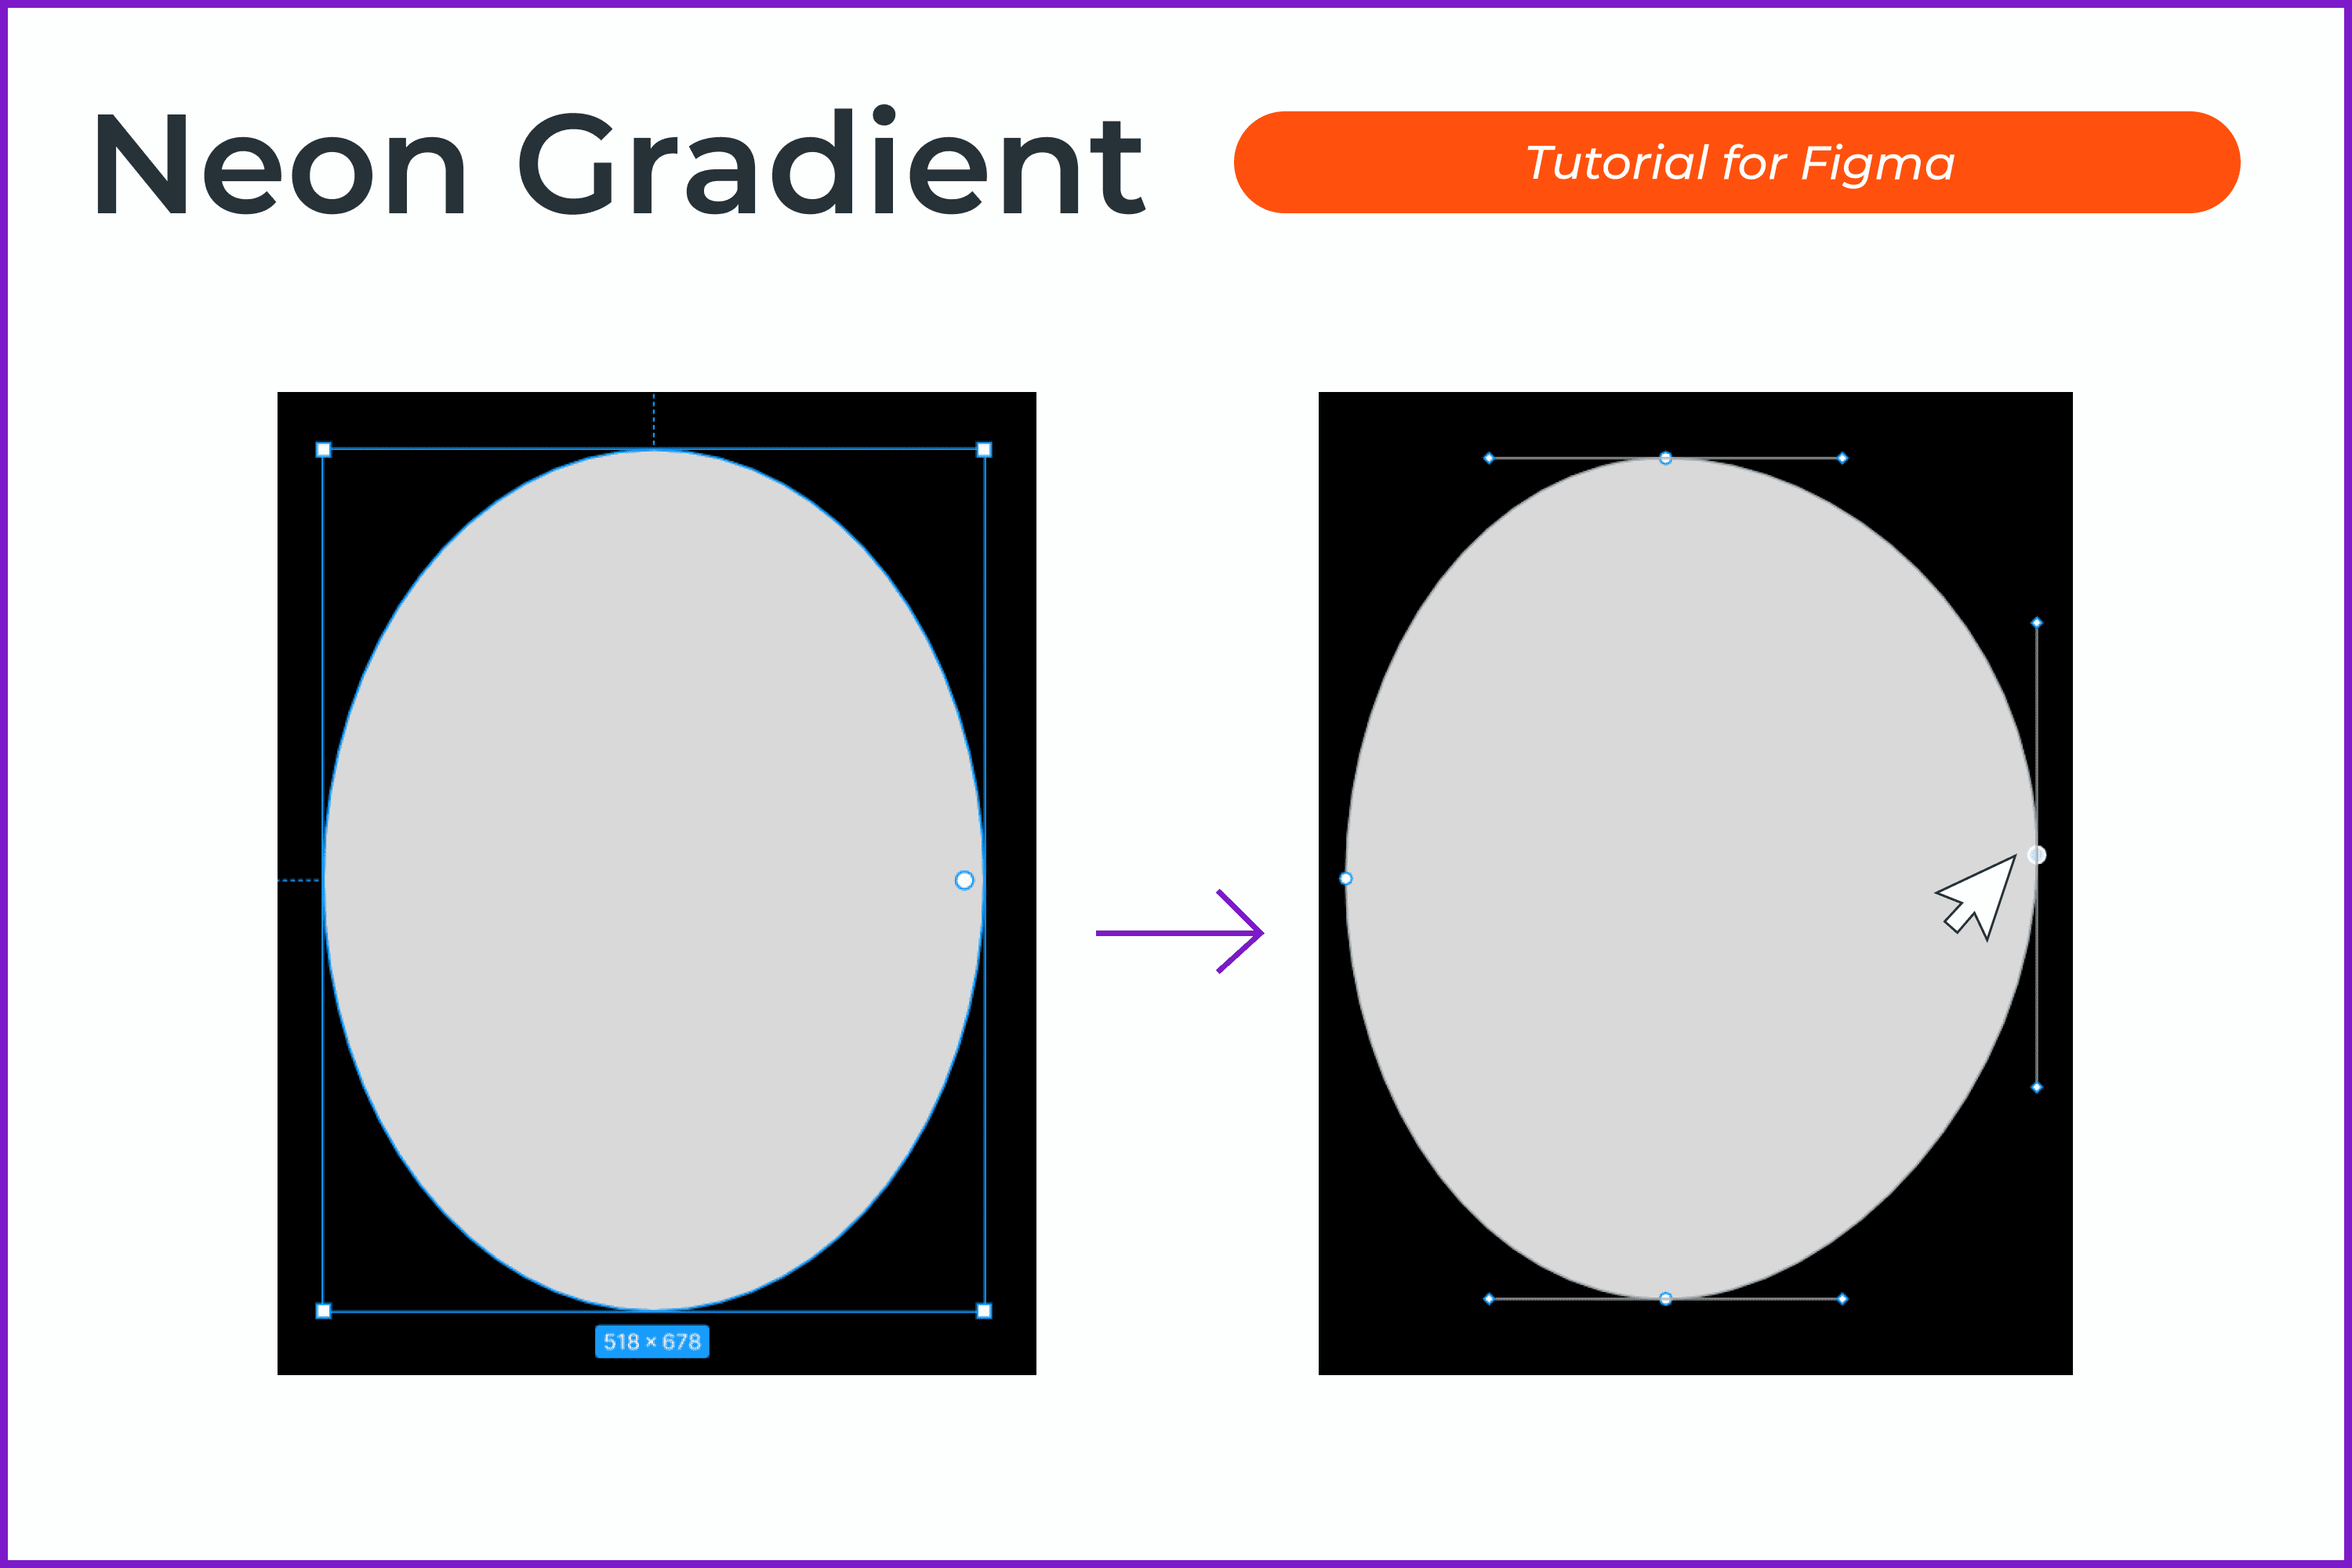
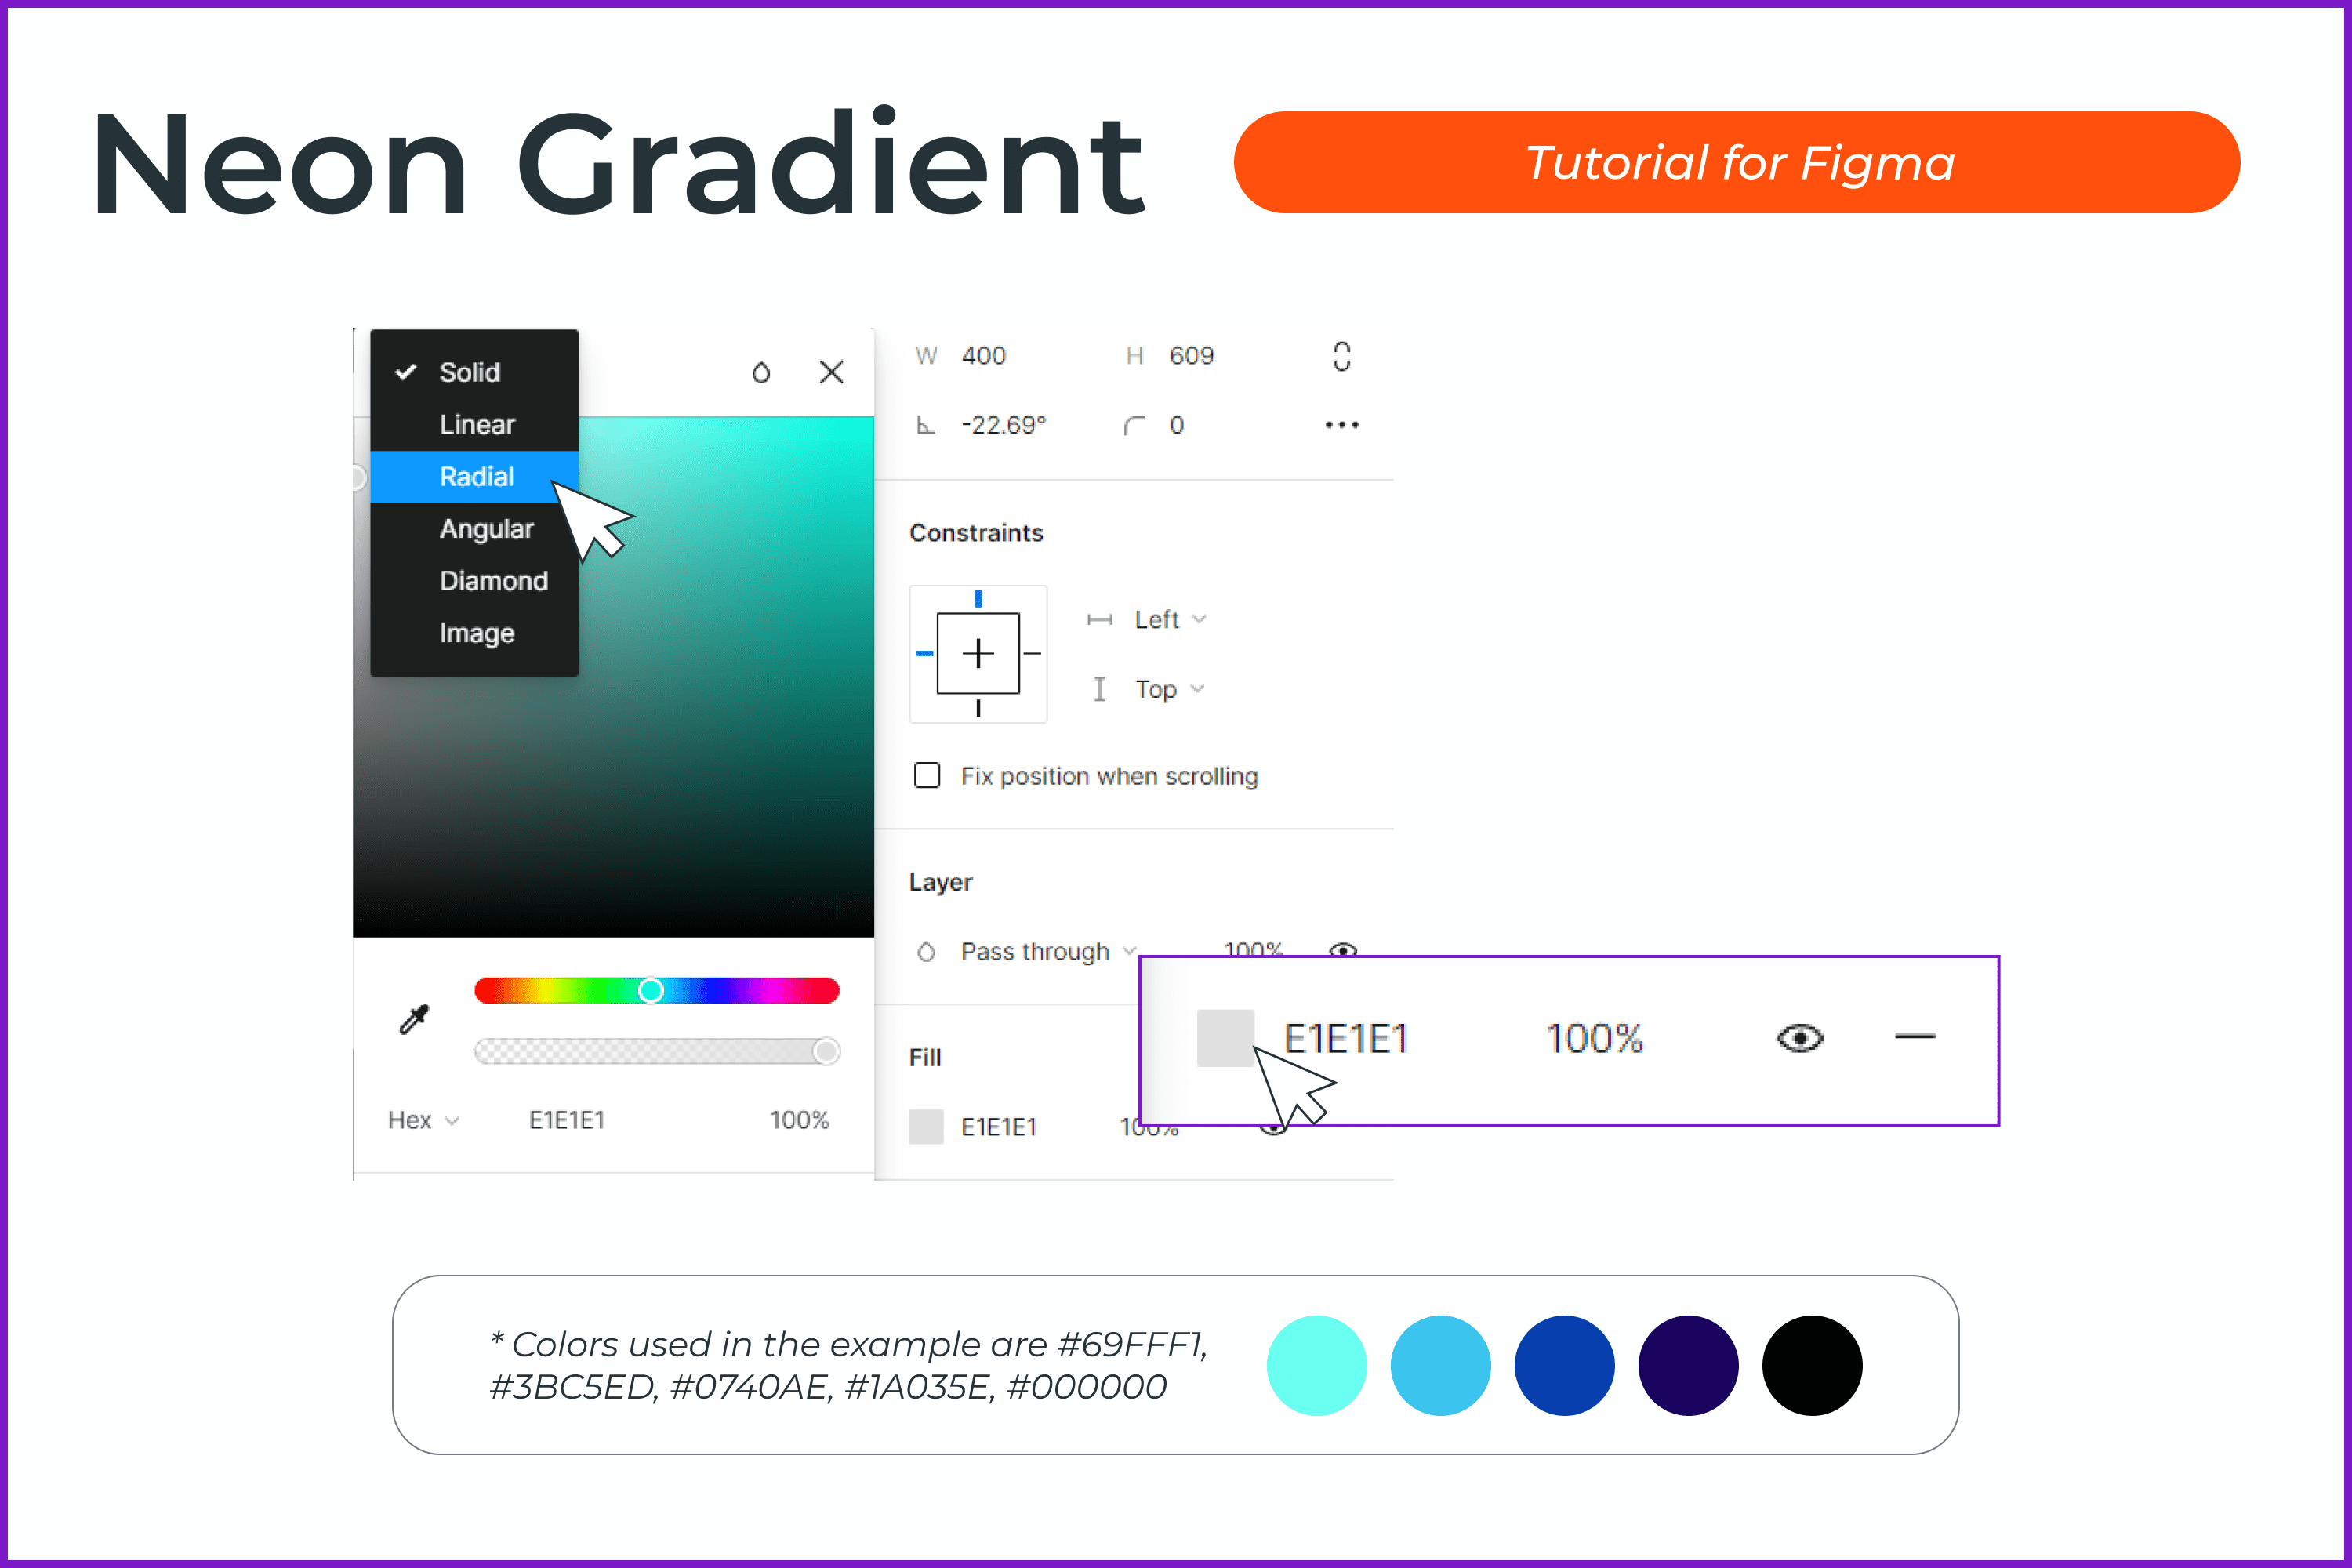
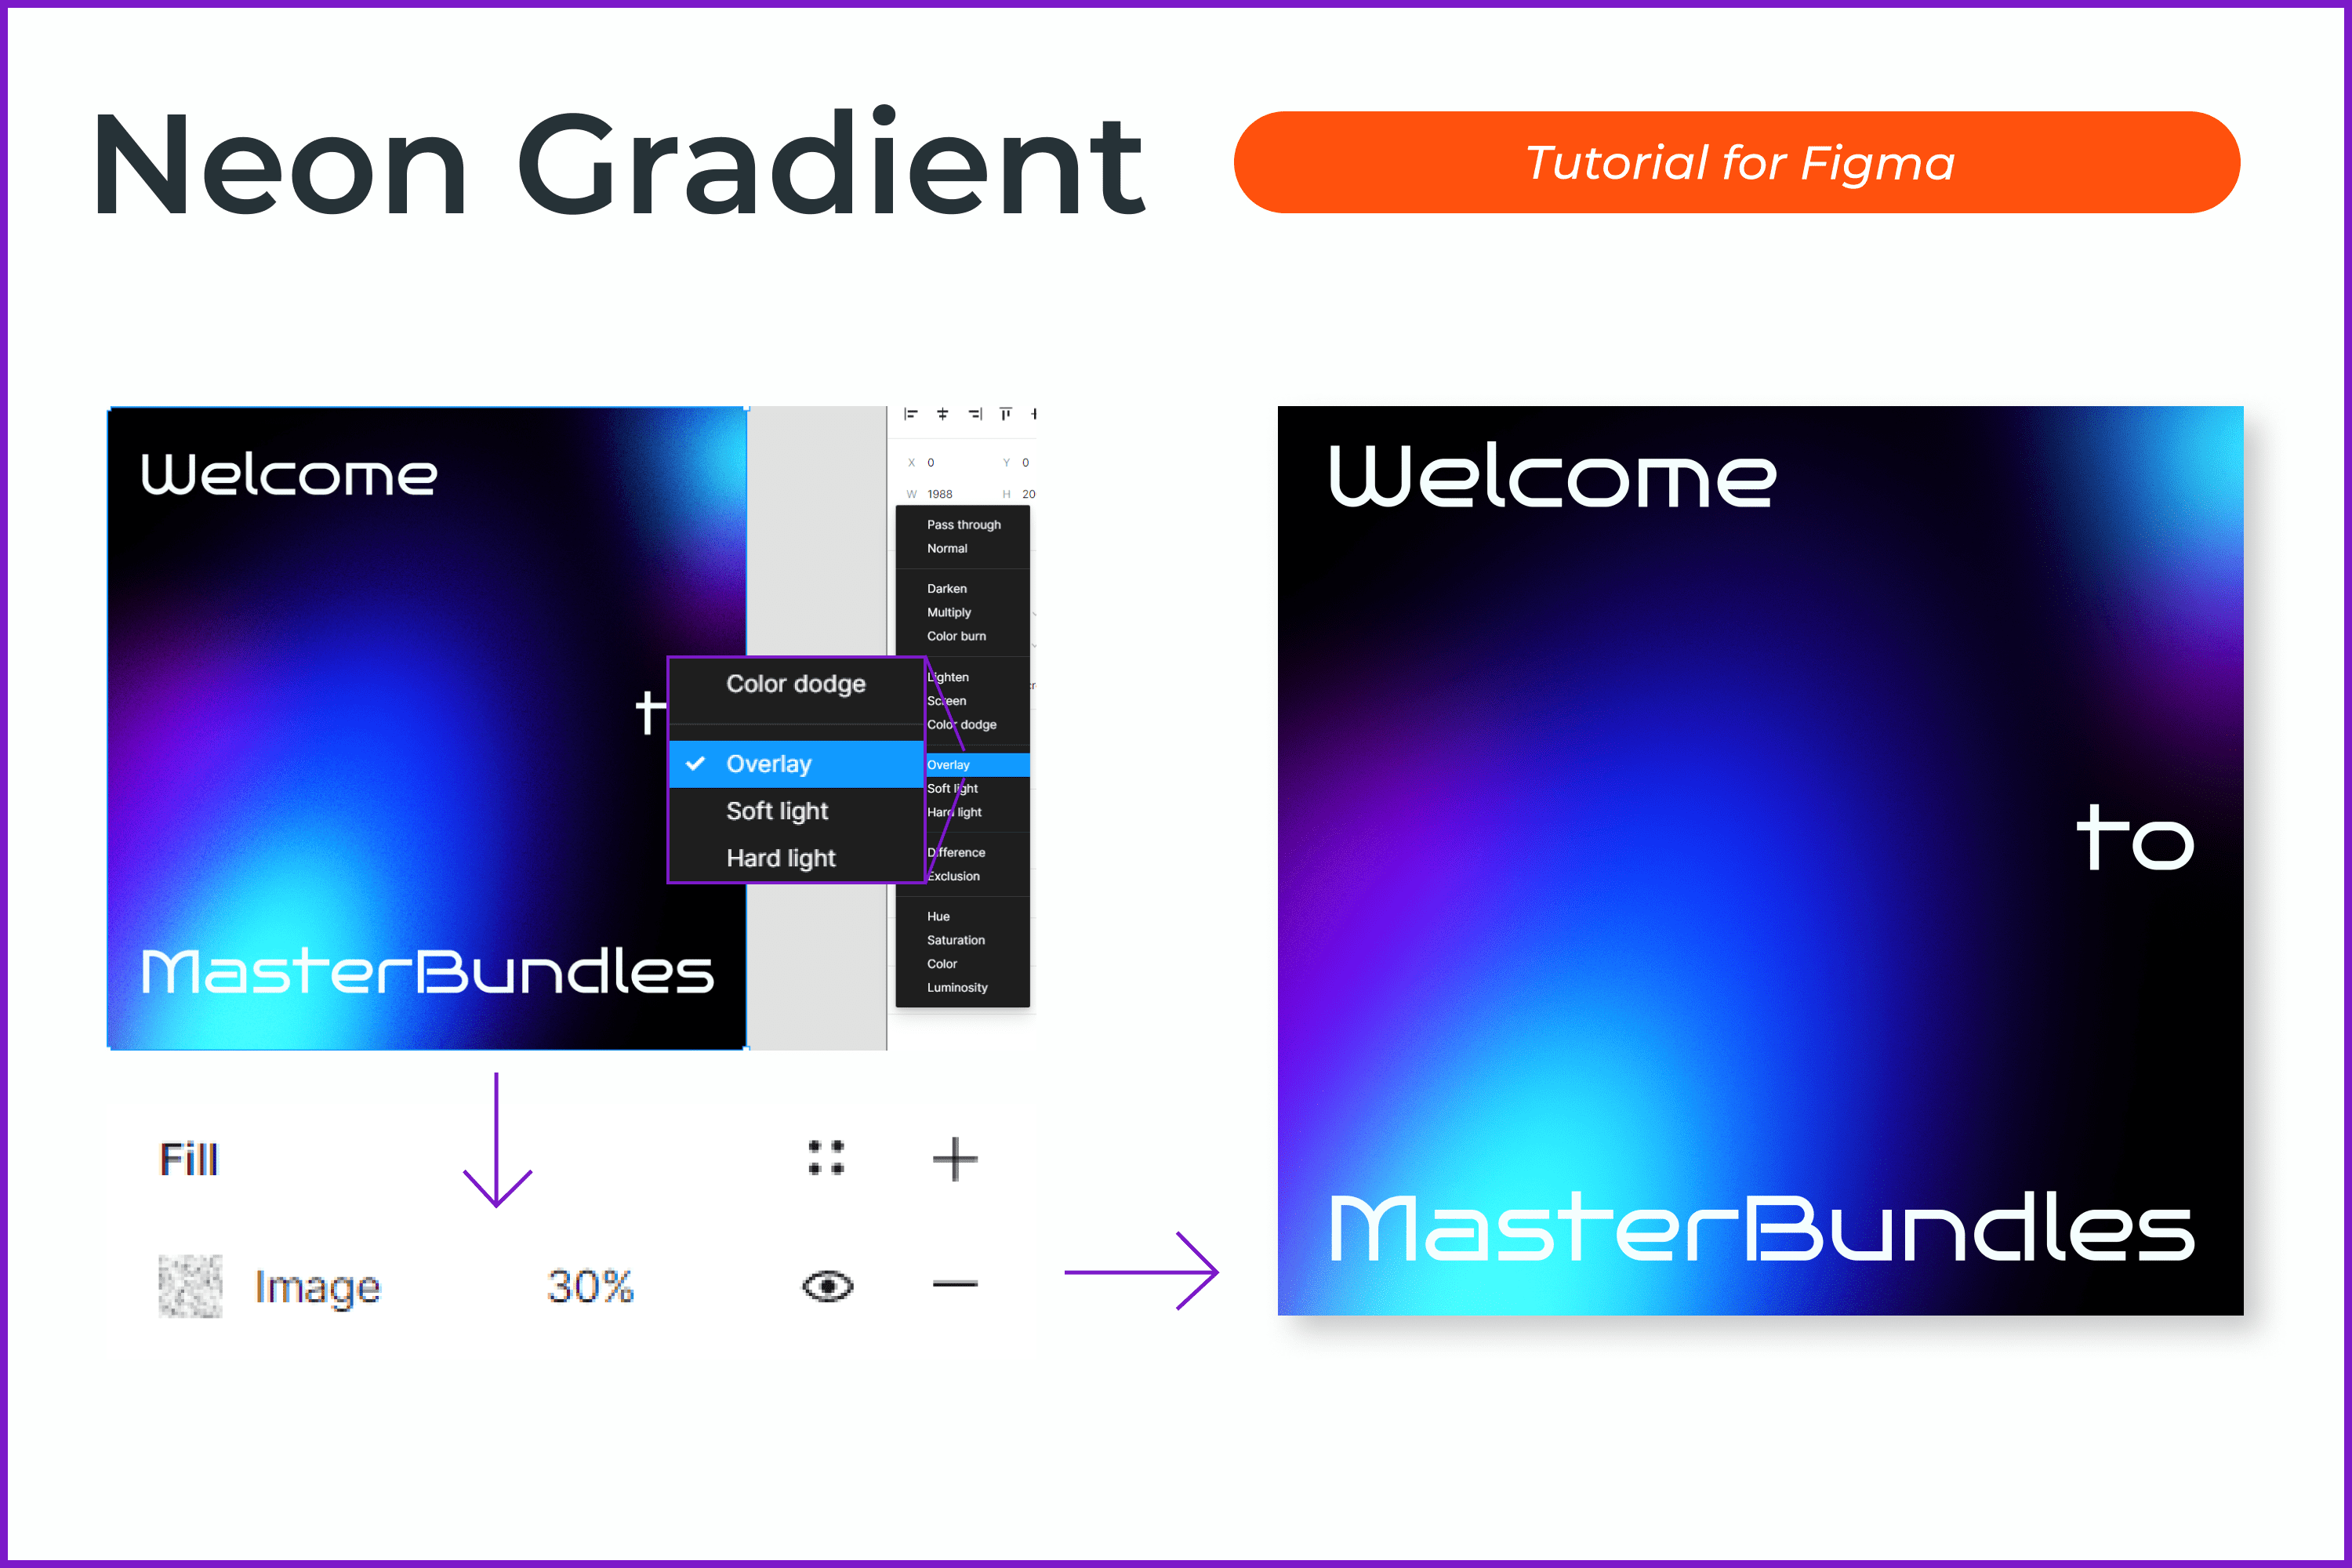
- Create an ellipse (O key).
- Press Enter to make an arbitrary shape yourself.
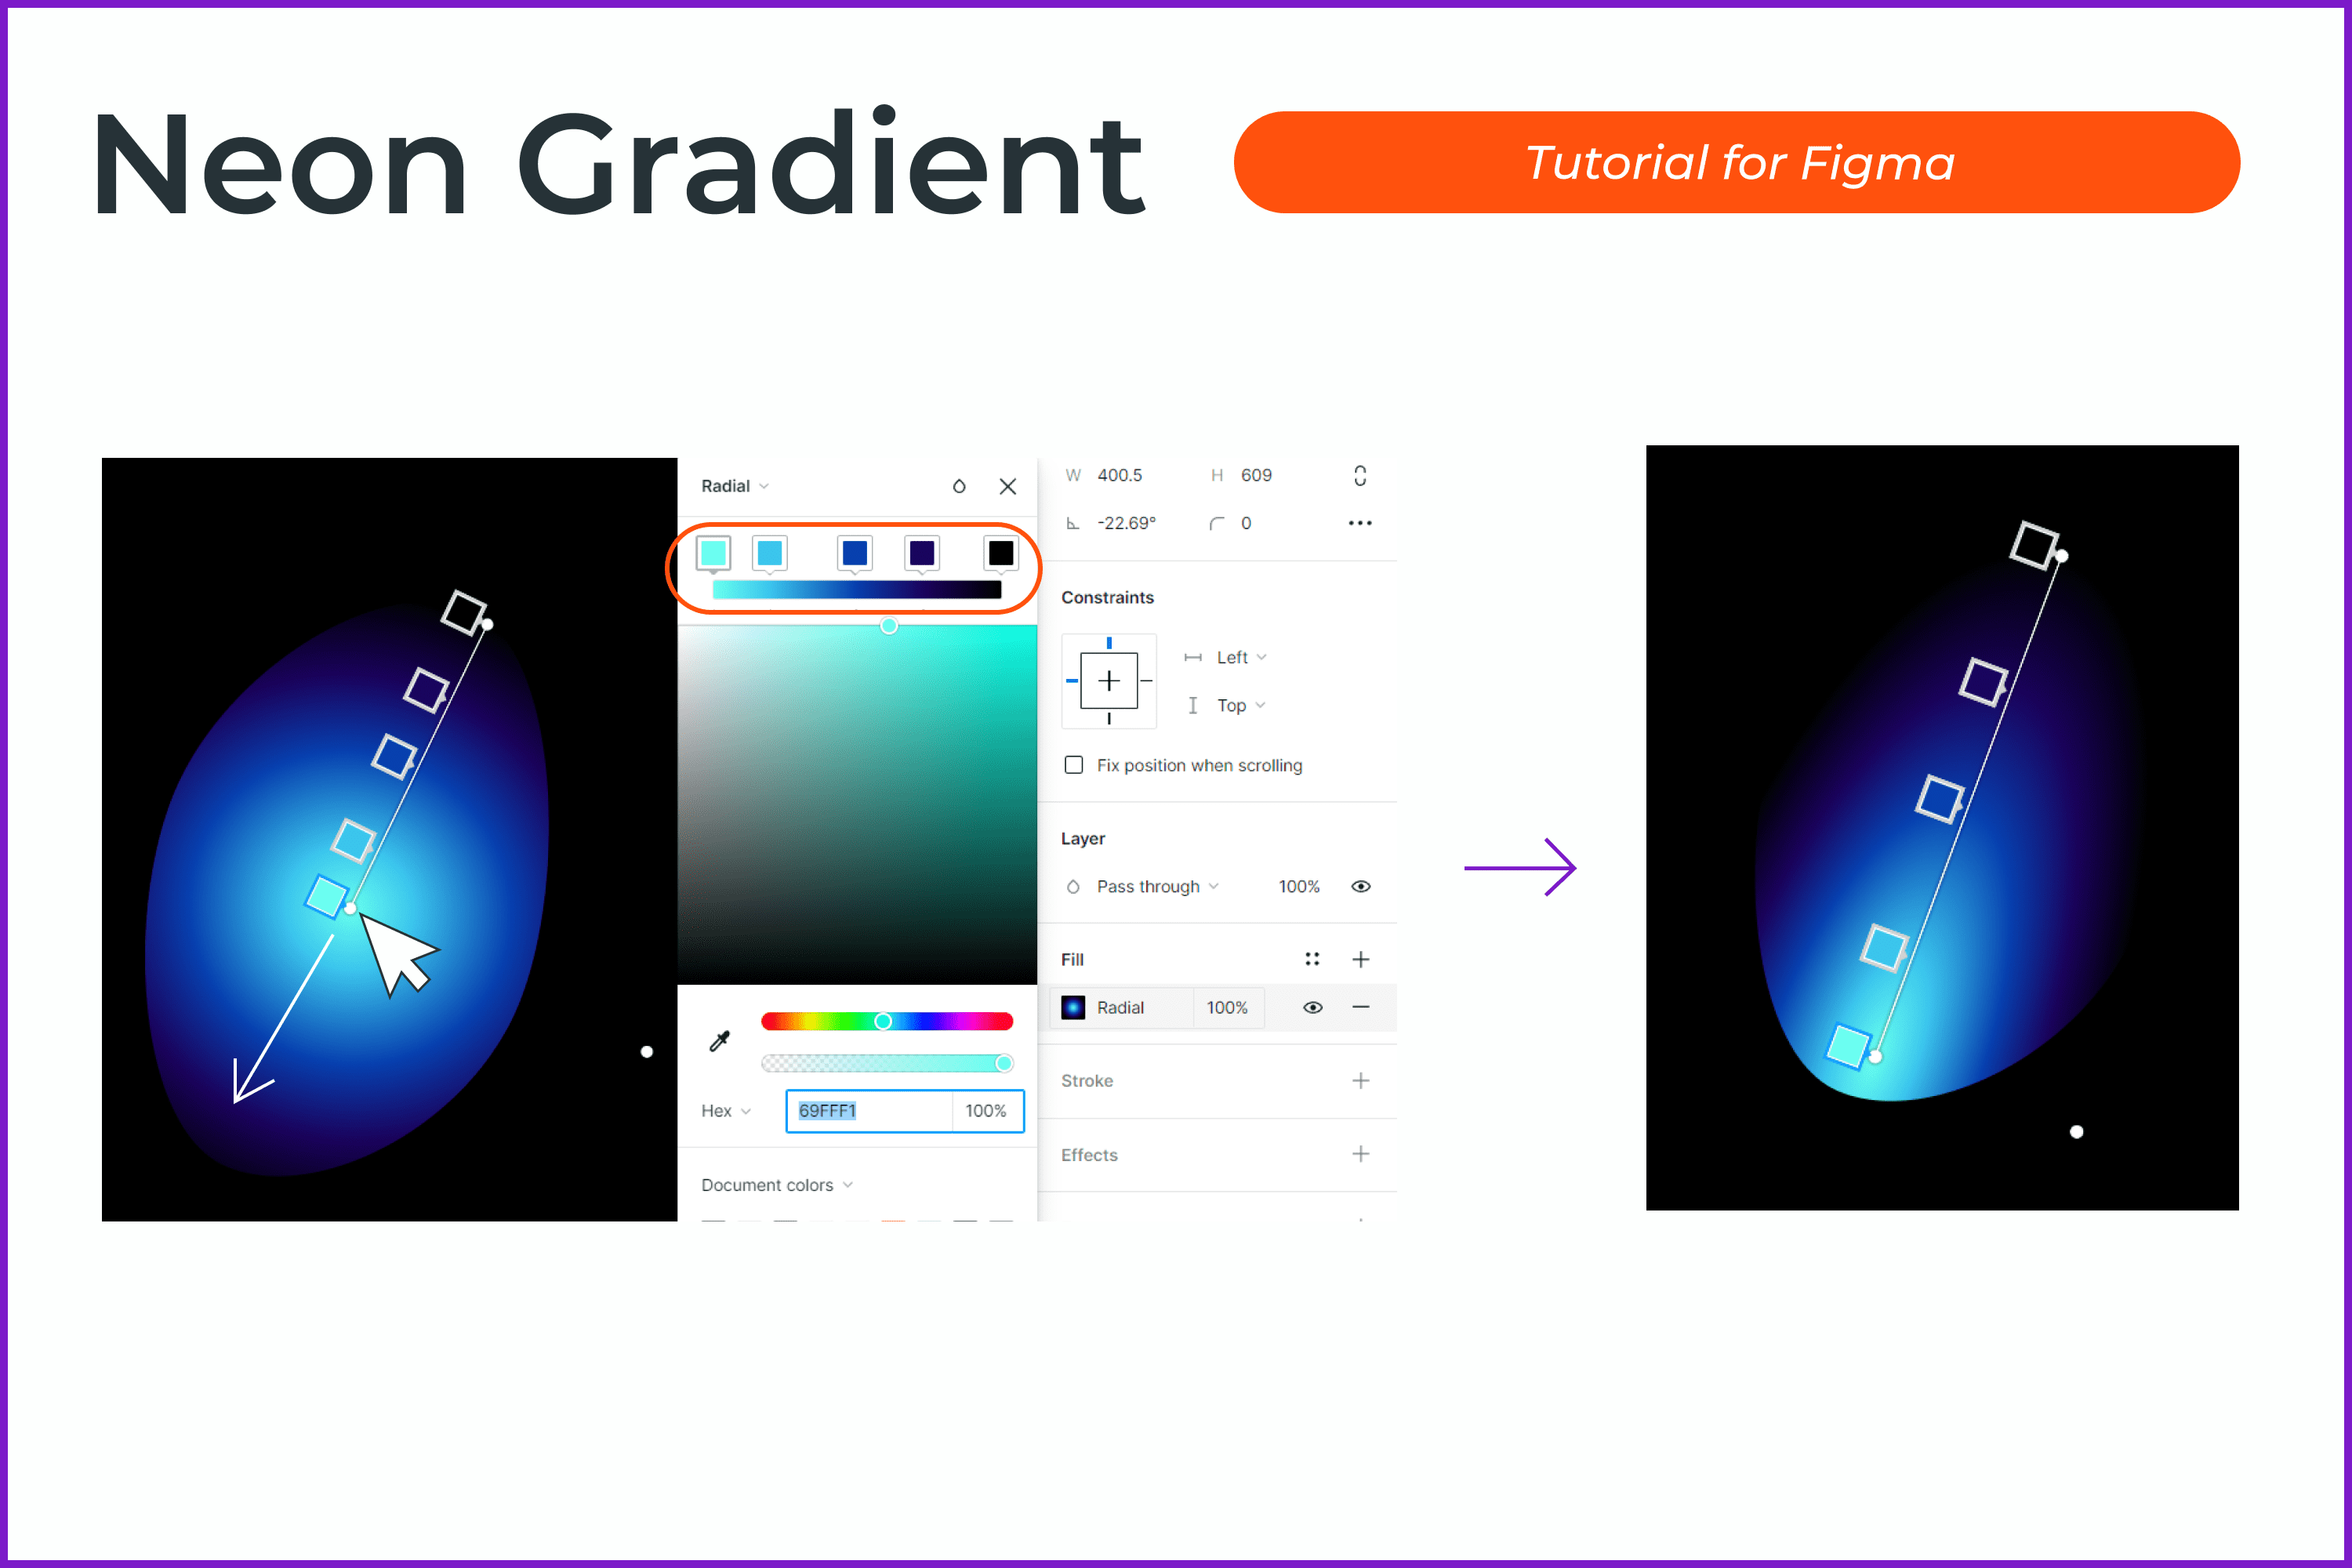
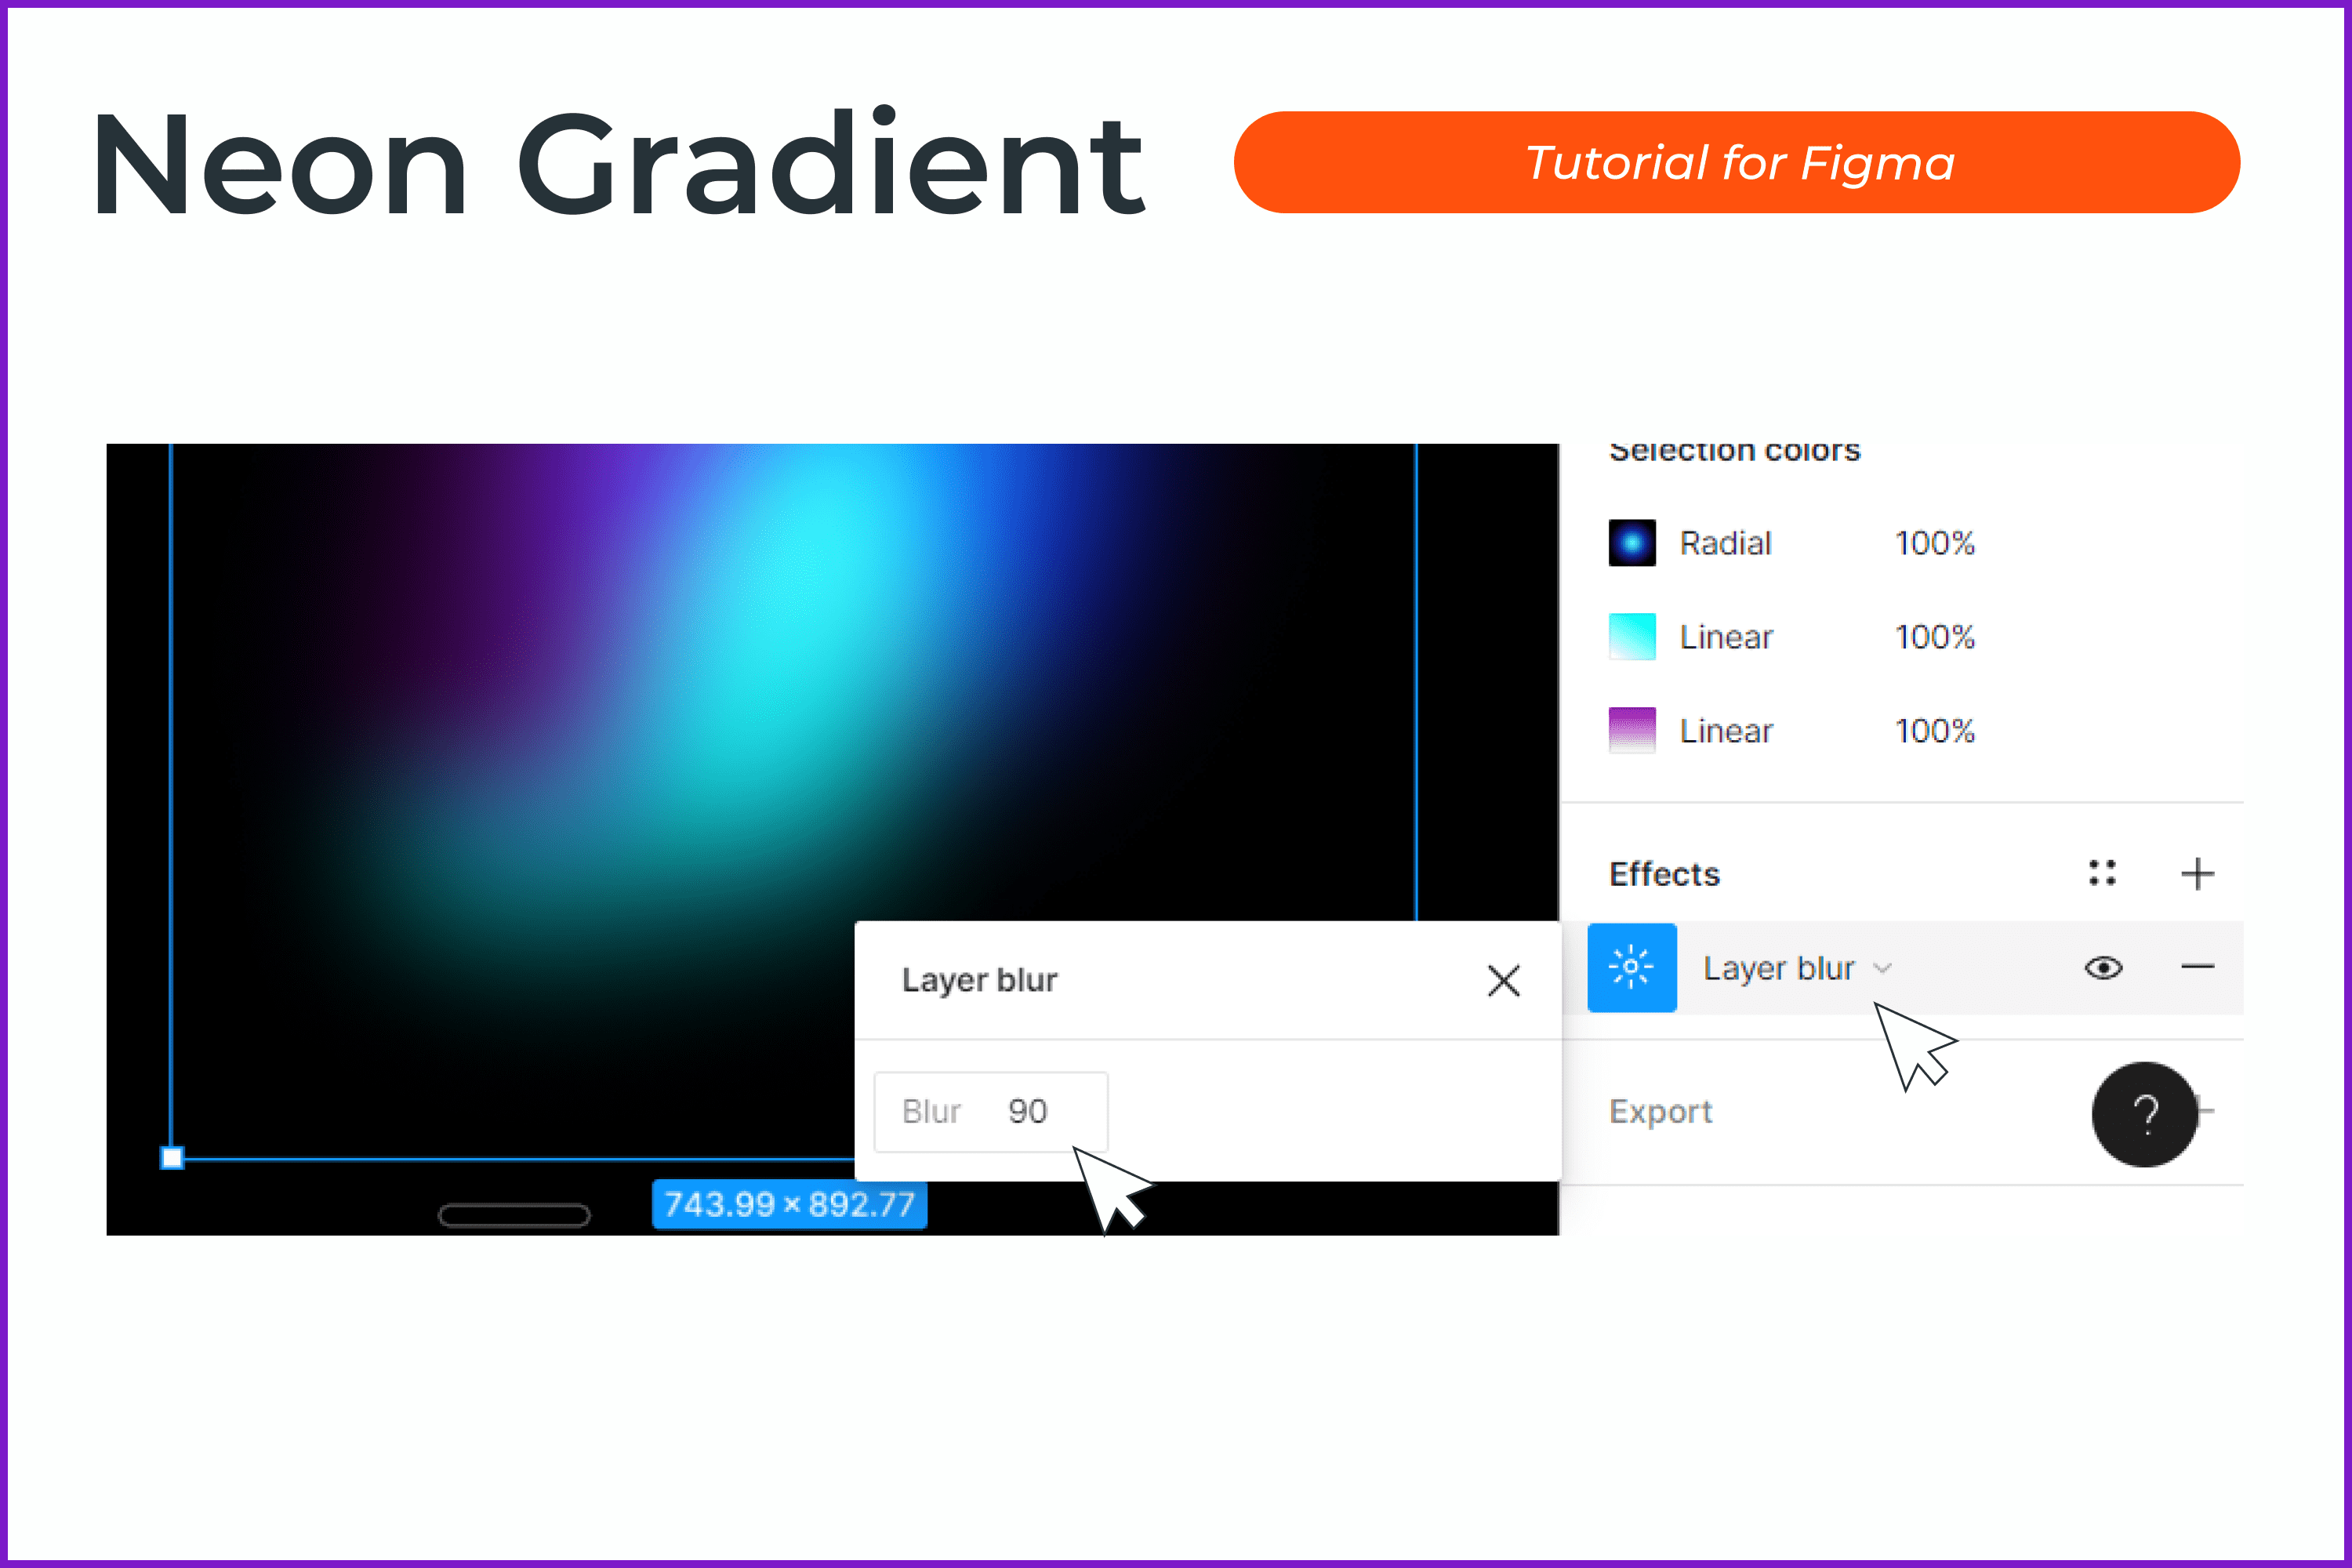
- Click on the + in the Fill section and choose a radial gradient. Colors used in the example are #69FFF1, #3BC5ED, #0740AE, #1A035E, and #000000.
- Add dots evenly on the color line. Choose colors that do not create grayish shades when transitioning.
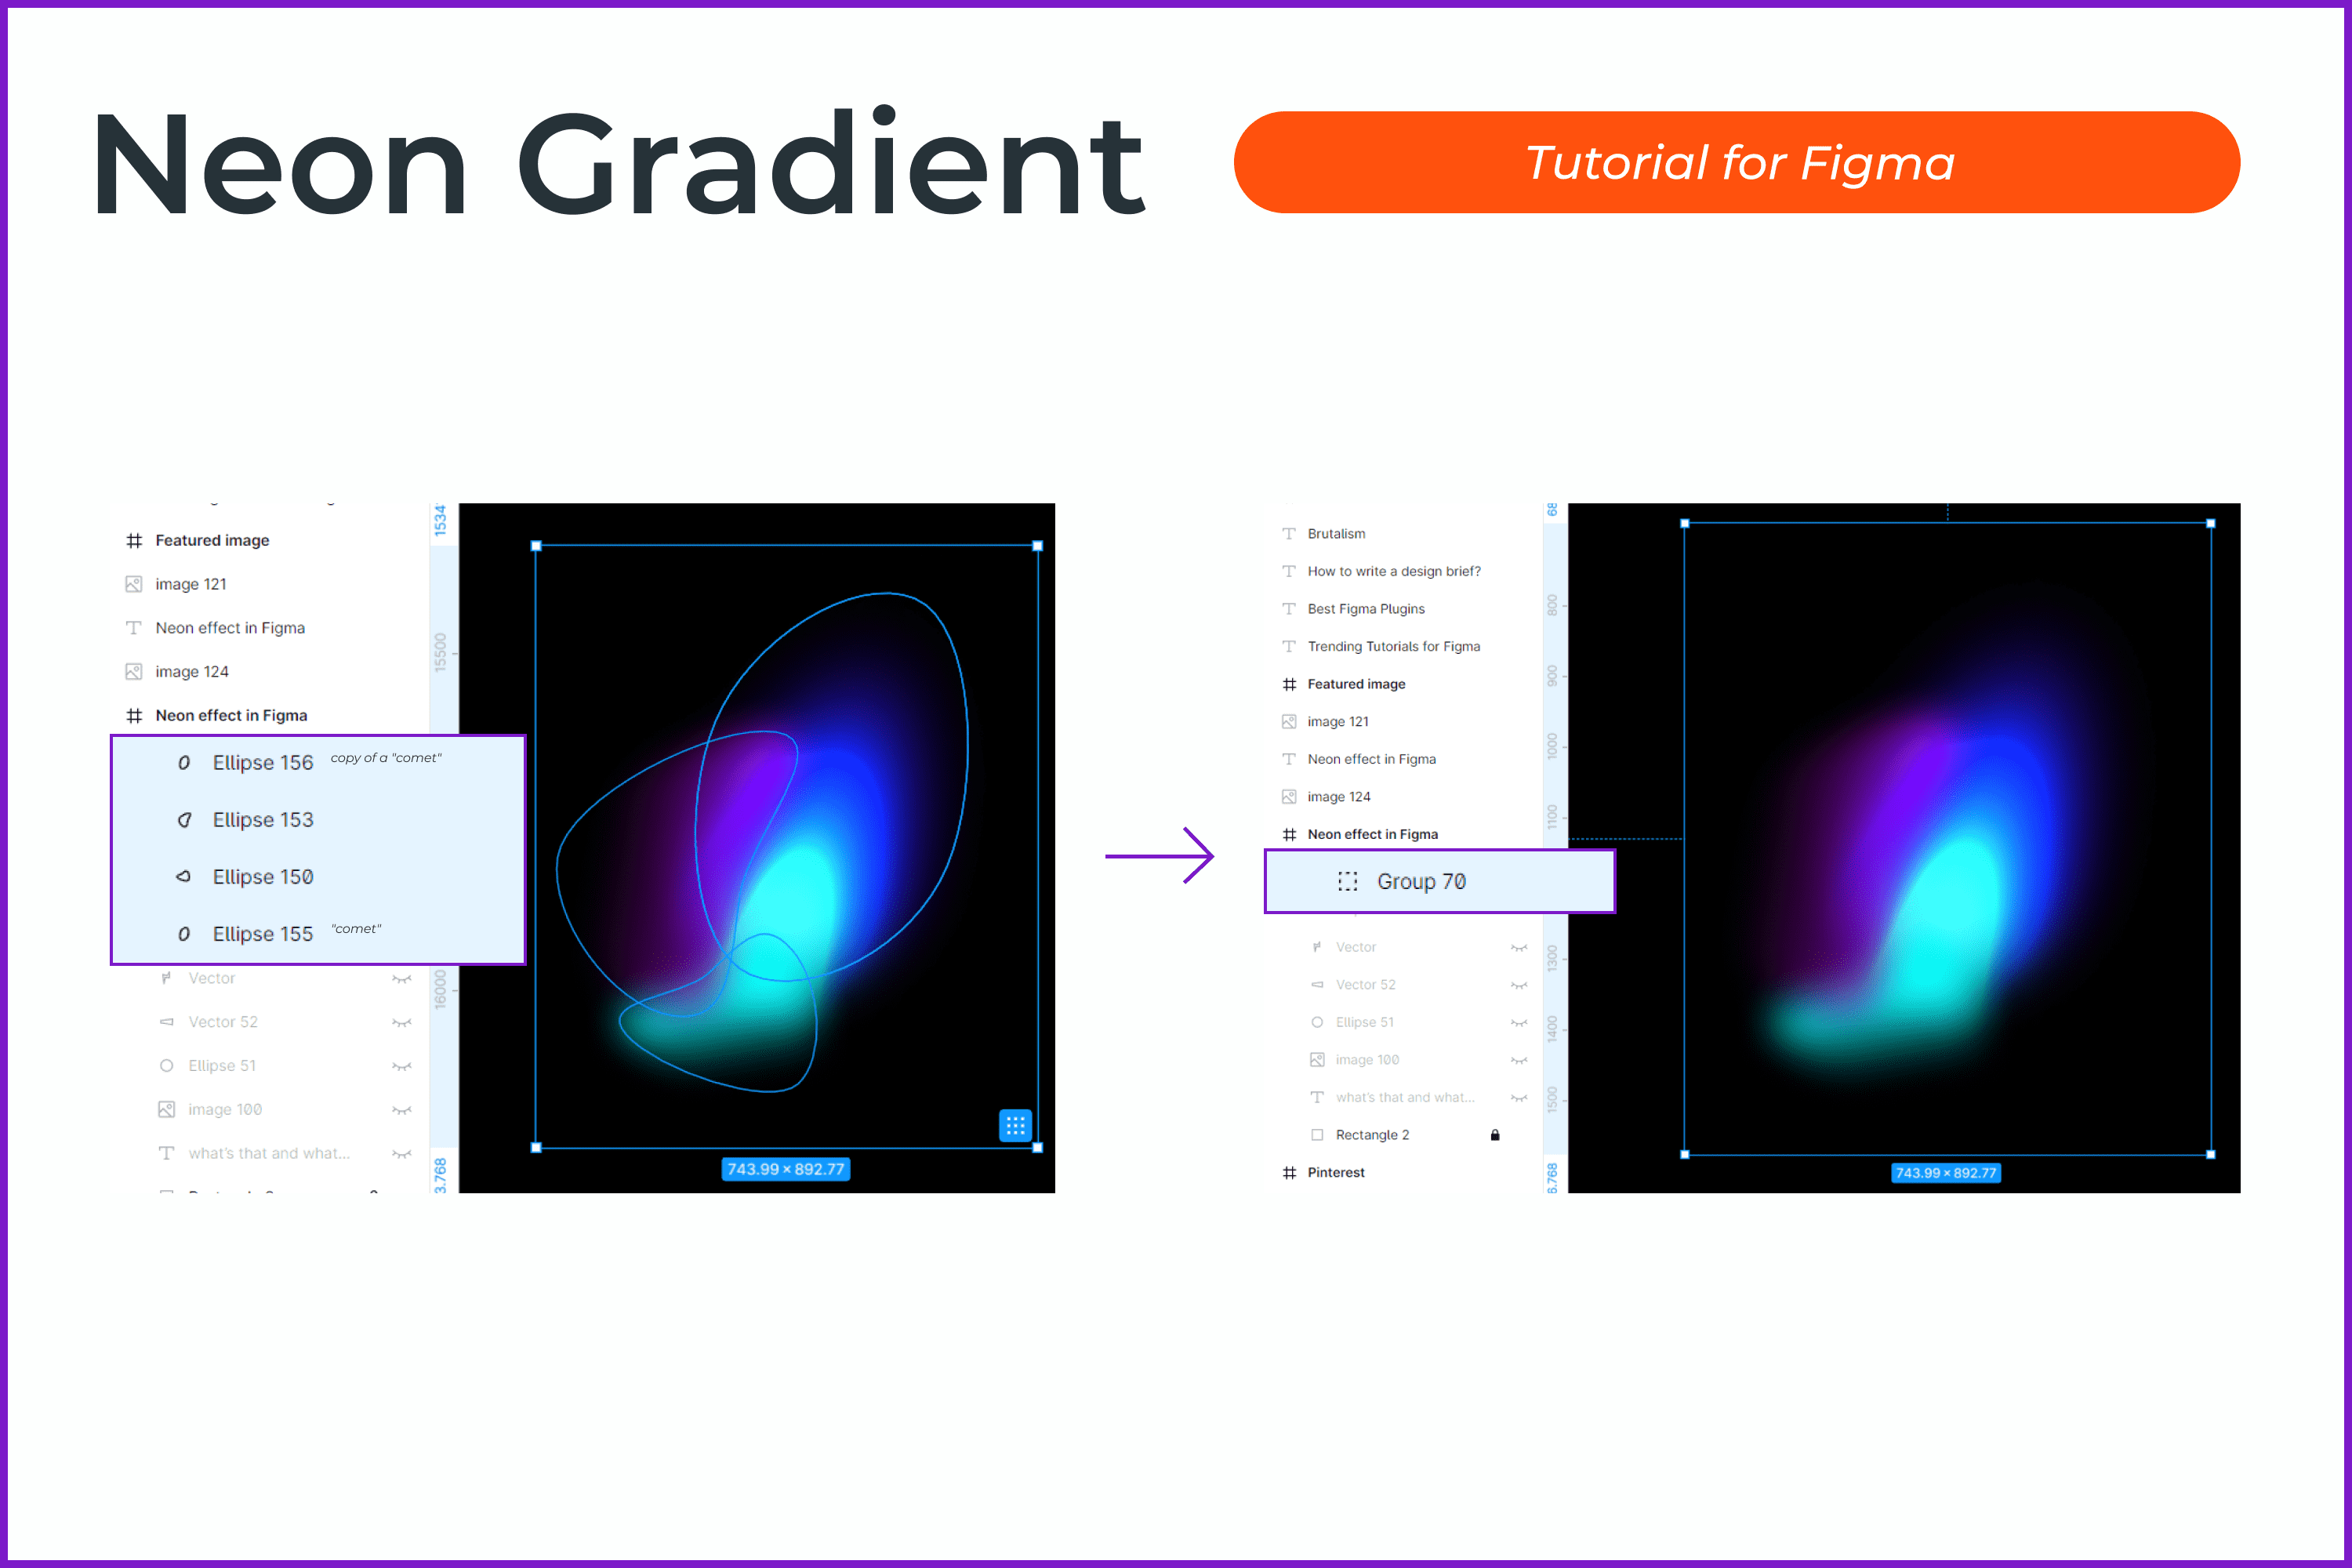
- Use the manipulator to change the direction of the gradient. The result is like a flying comet.
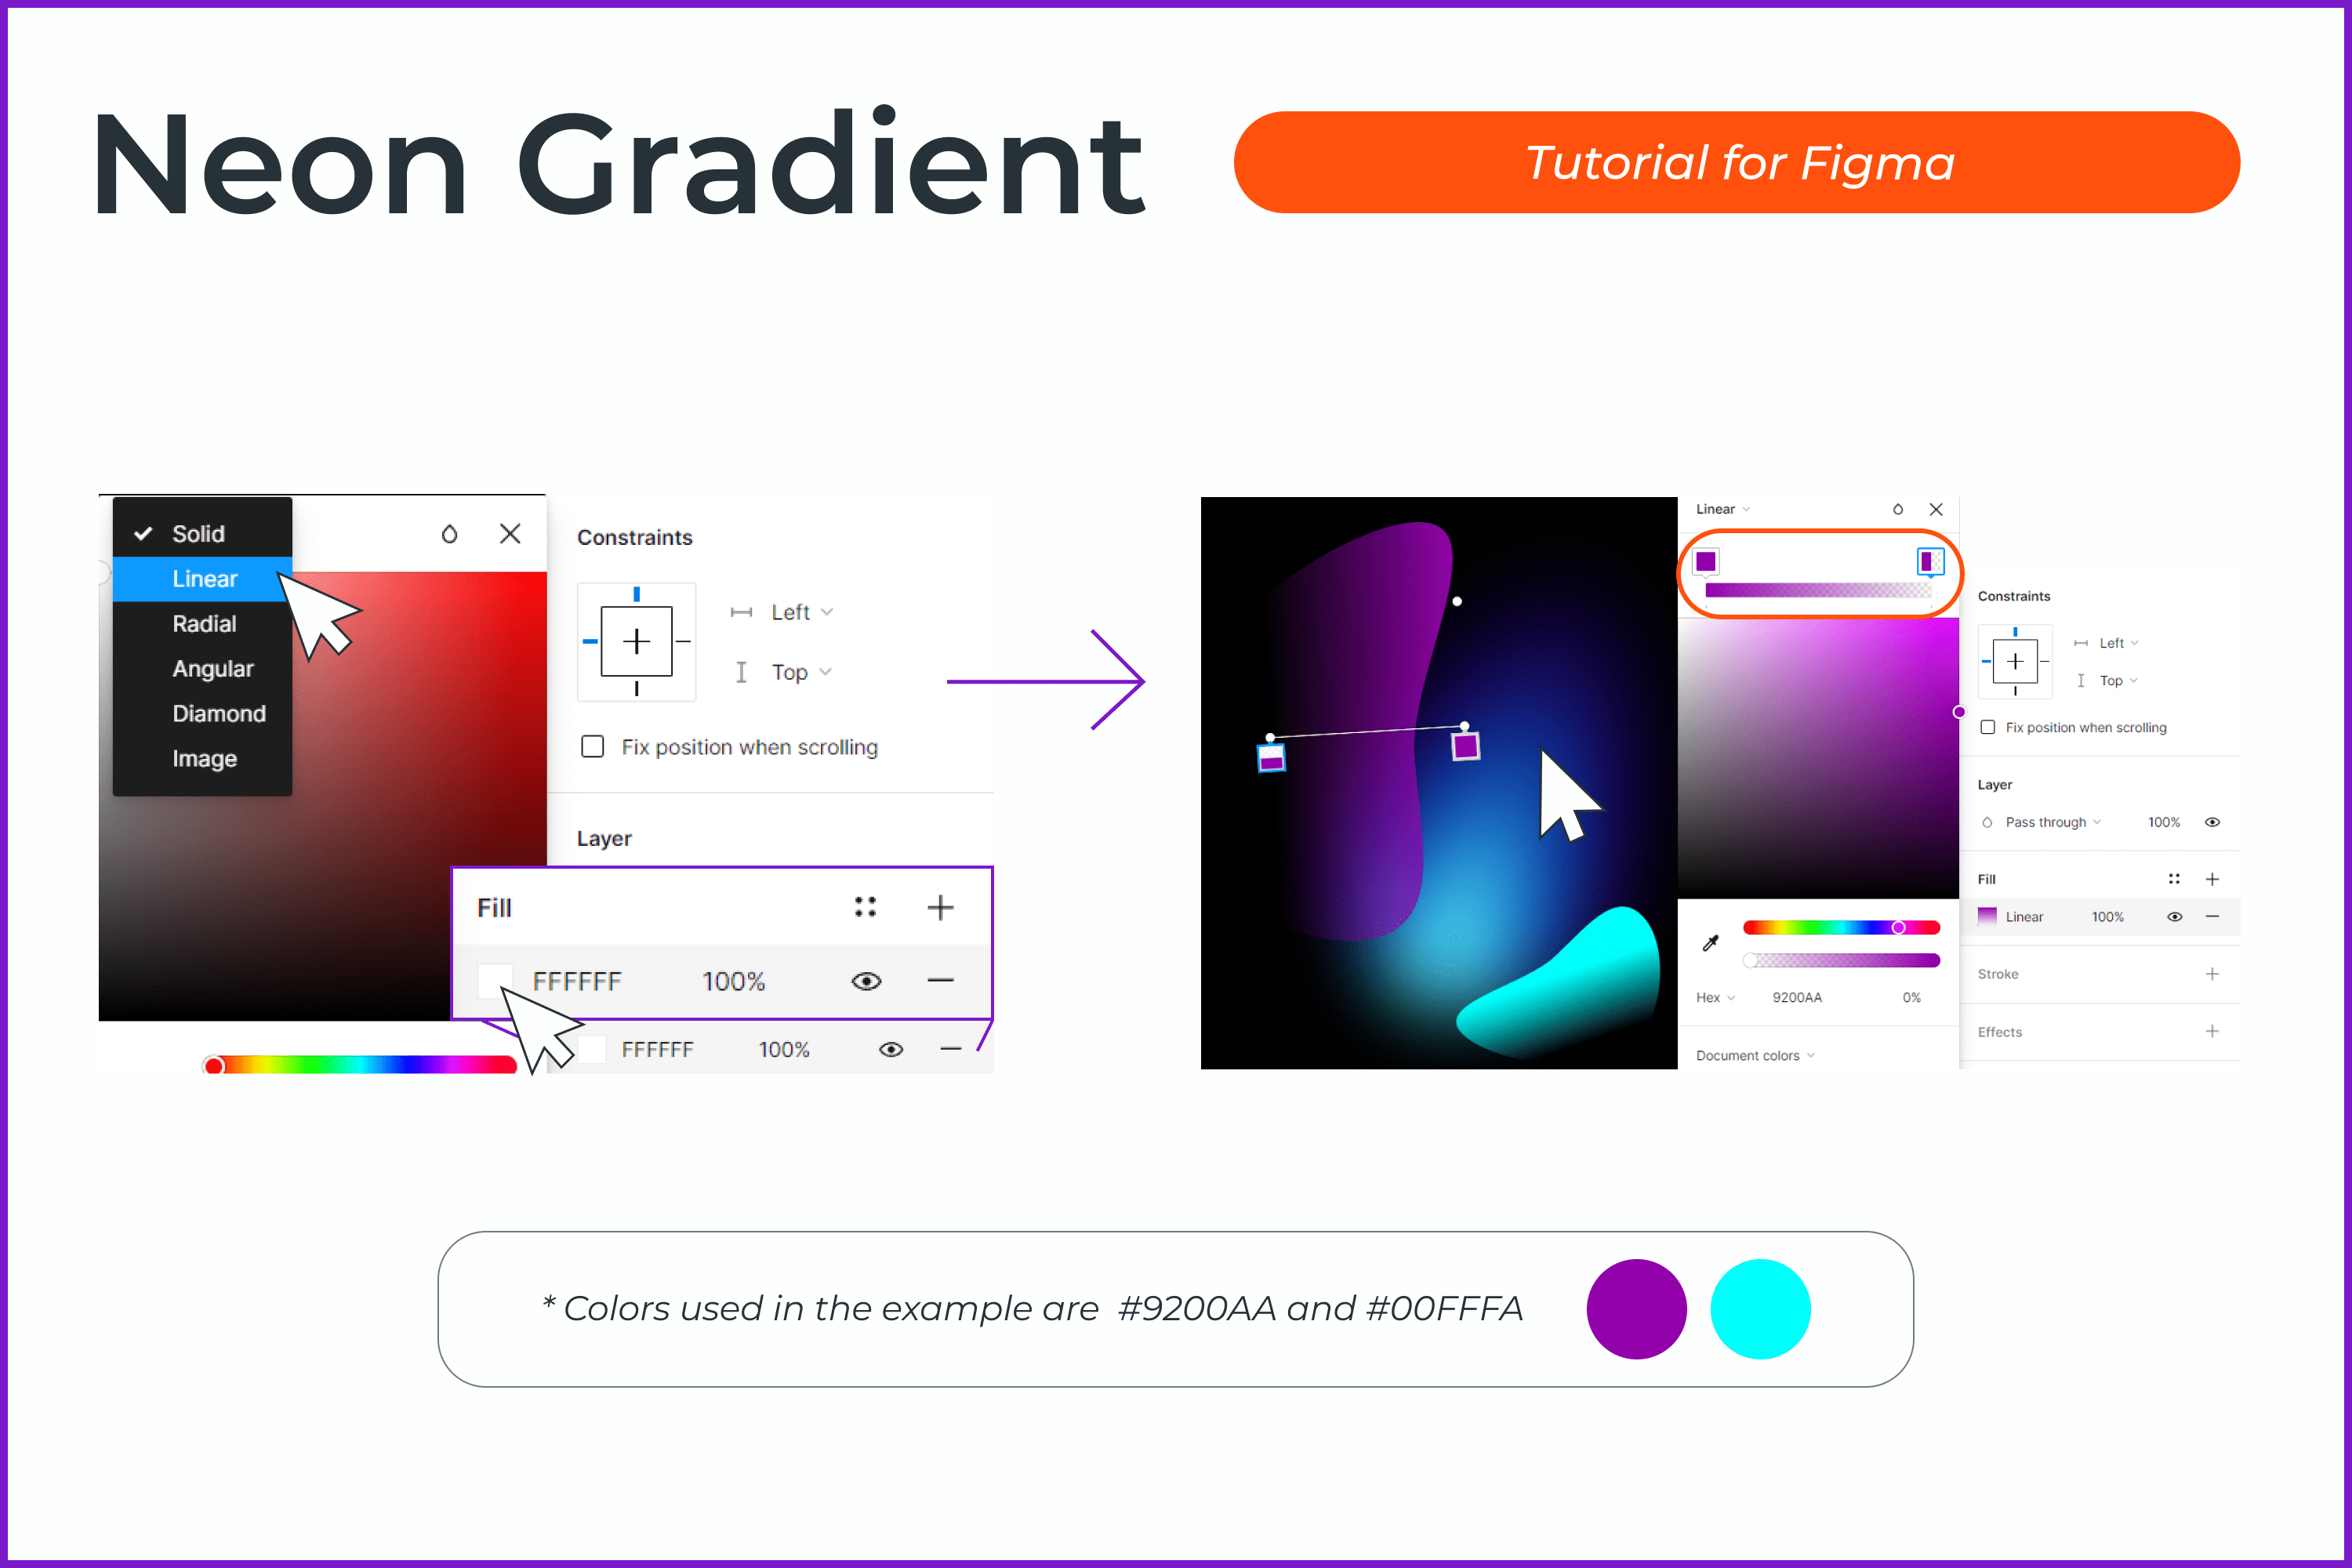
- Create two more ellipses and make arbitrary shapes out of them.
- In the Fill section, select a linear gradient. Choose bright colors. In the example, they are #9200AA and #00FFFA.
- Use the manipulator to move the gradient as shown in the example.
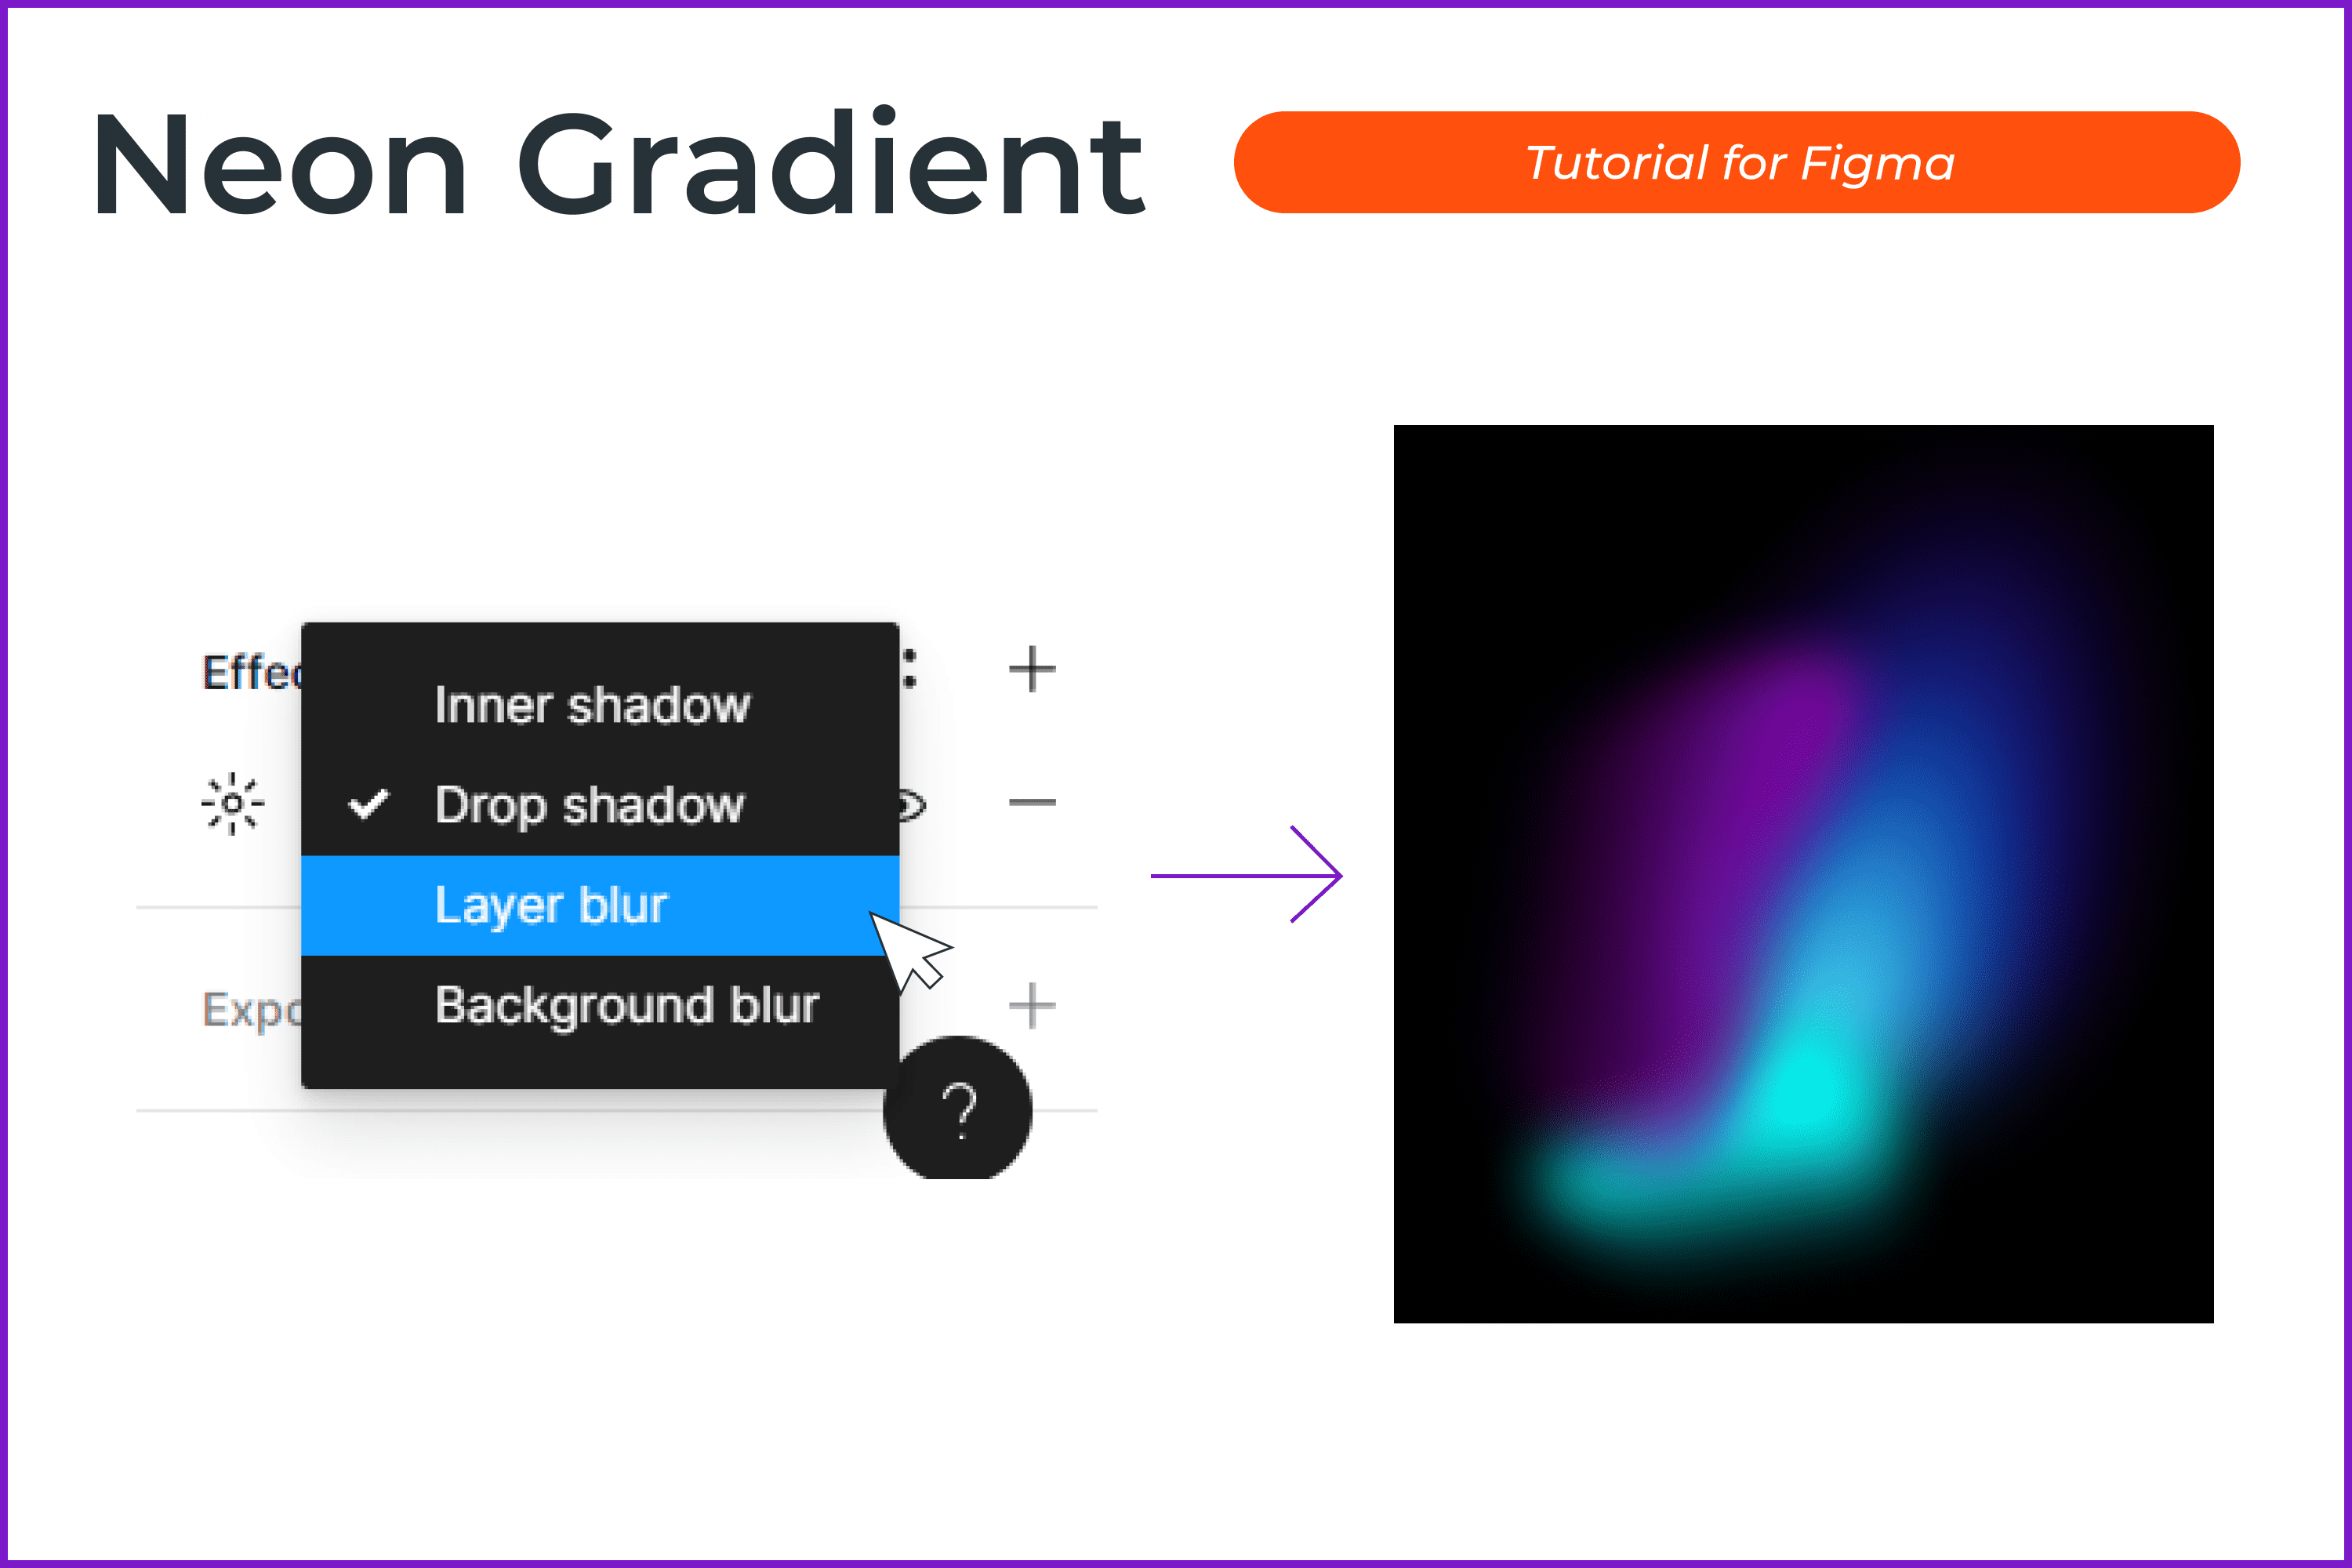
- Click on + in the Effects section and select Layer Blur. The value depends on the size of the object. The larger the shape, the more we make the blur.
- Distribute these elements closer to the bottom of the “comet.”
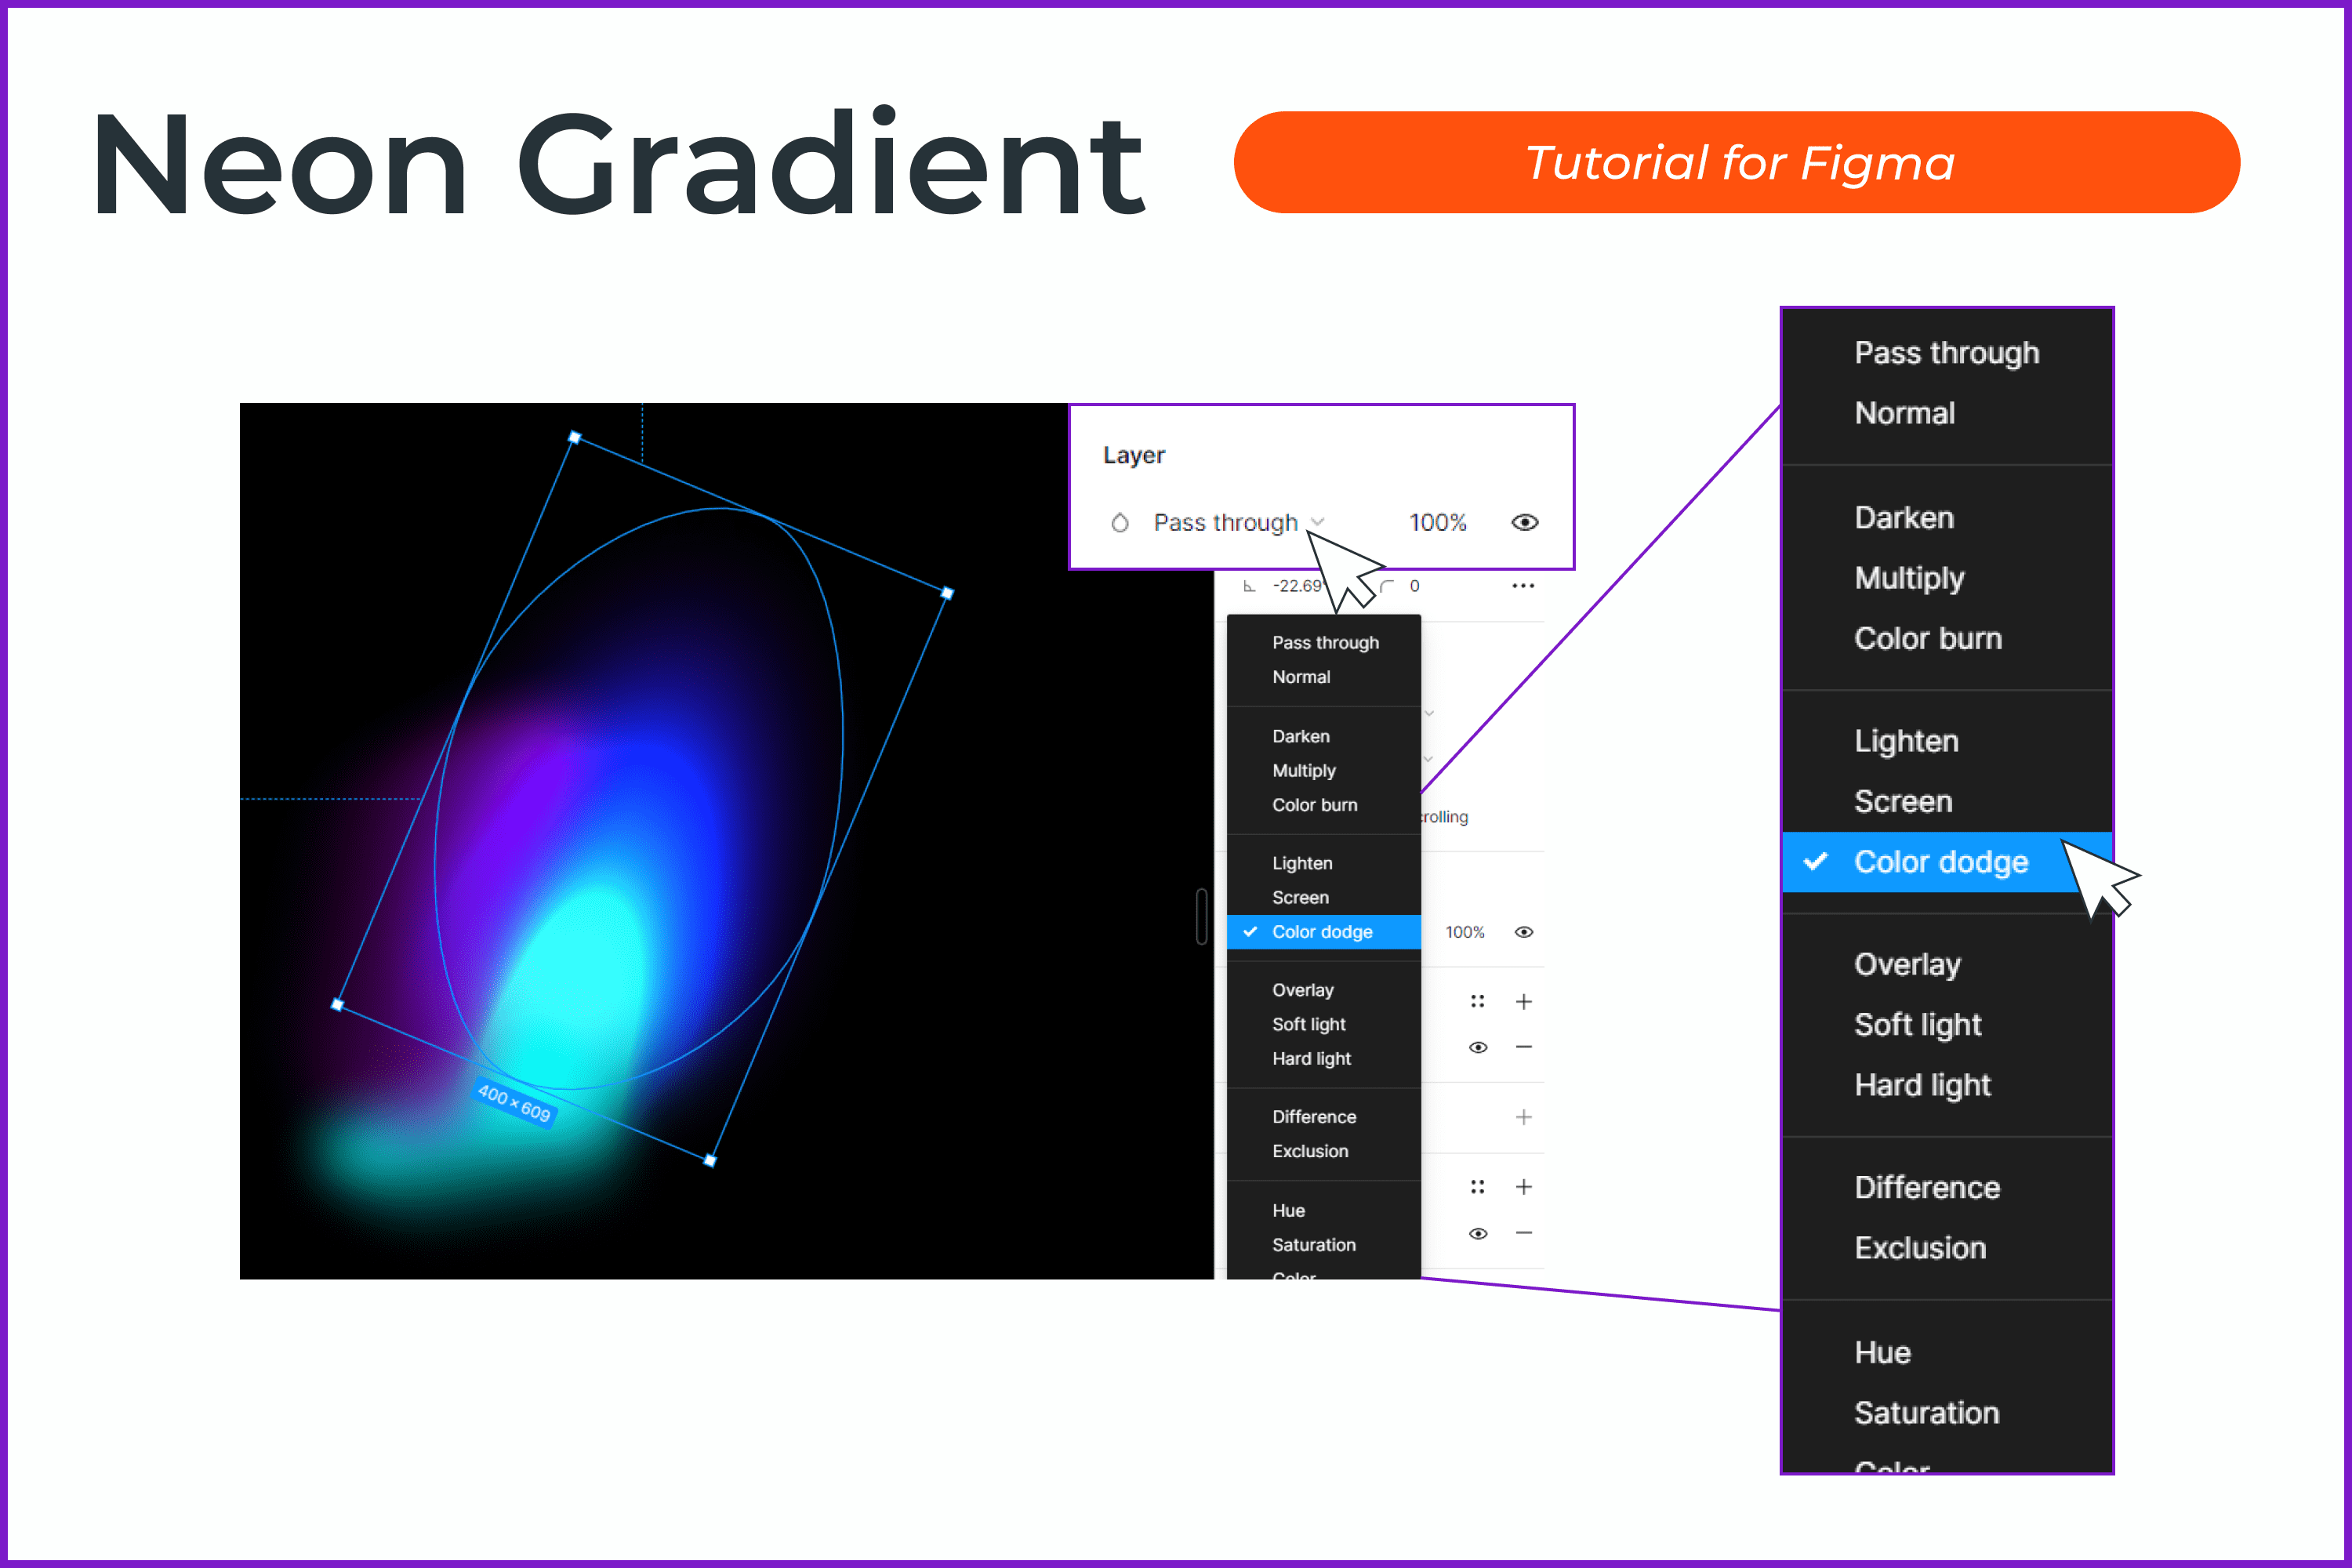
- Make a copy of the “comet” and place it on the top layer.
- In the Layer section, change the blending mode to Color Dodge. The blending mode must be changed only on the layer with a copy of the “comet.”
- Move the elements as you see fit.
- Group all the elements (Ctrl + G) and blur this group through the Layer Blur.
- The gradient is ready! Now use this gradient for your design. Let’s add grain.
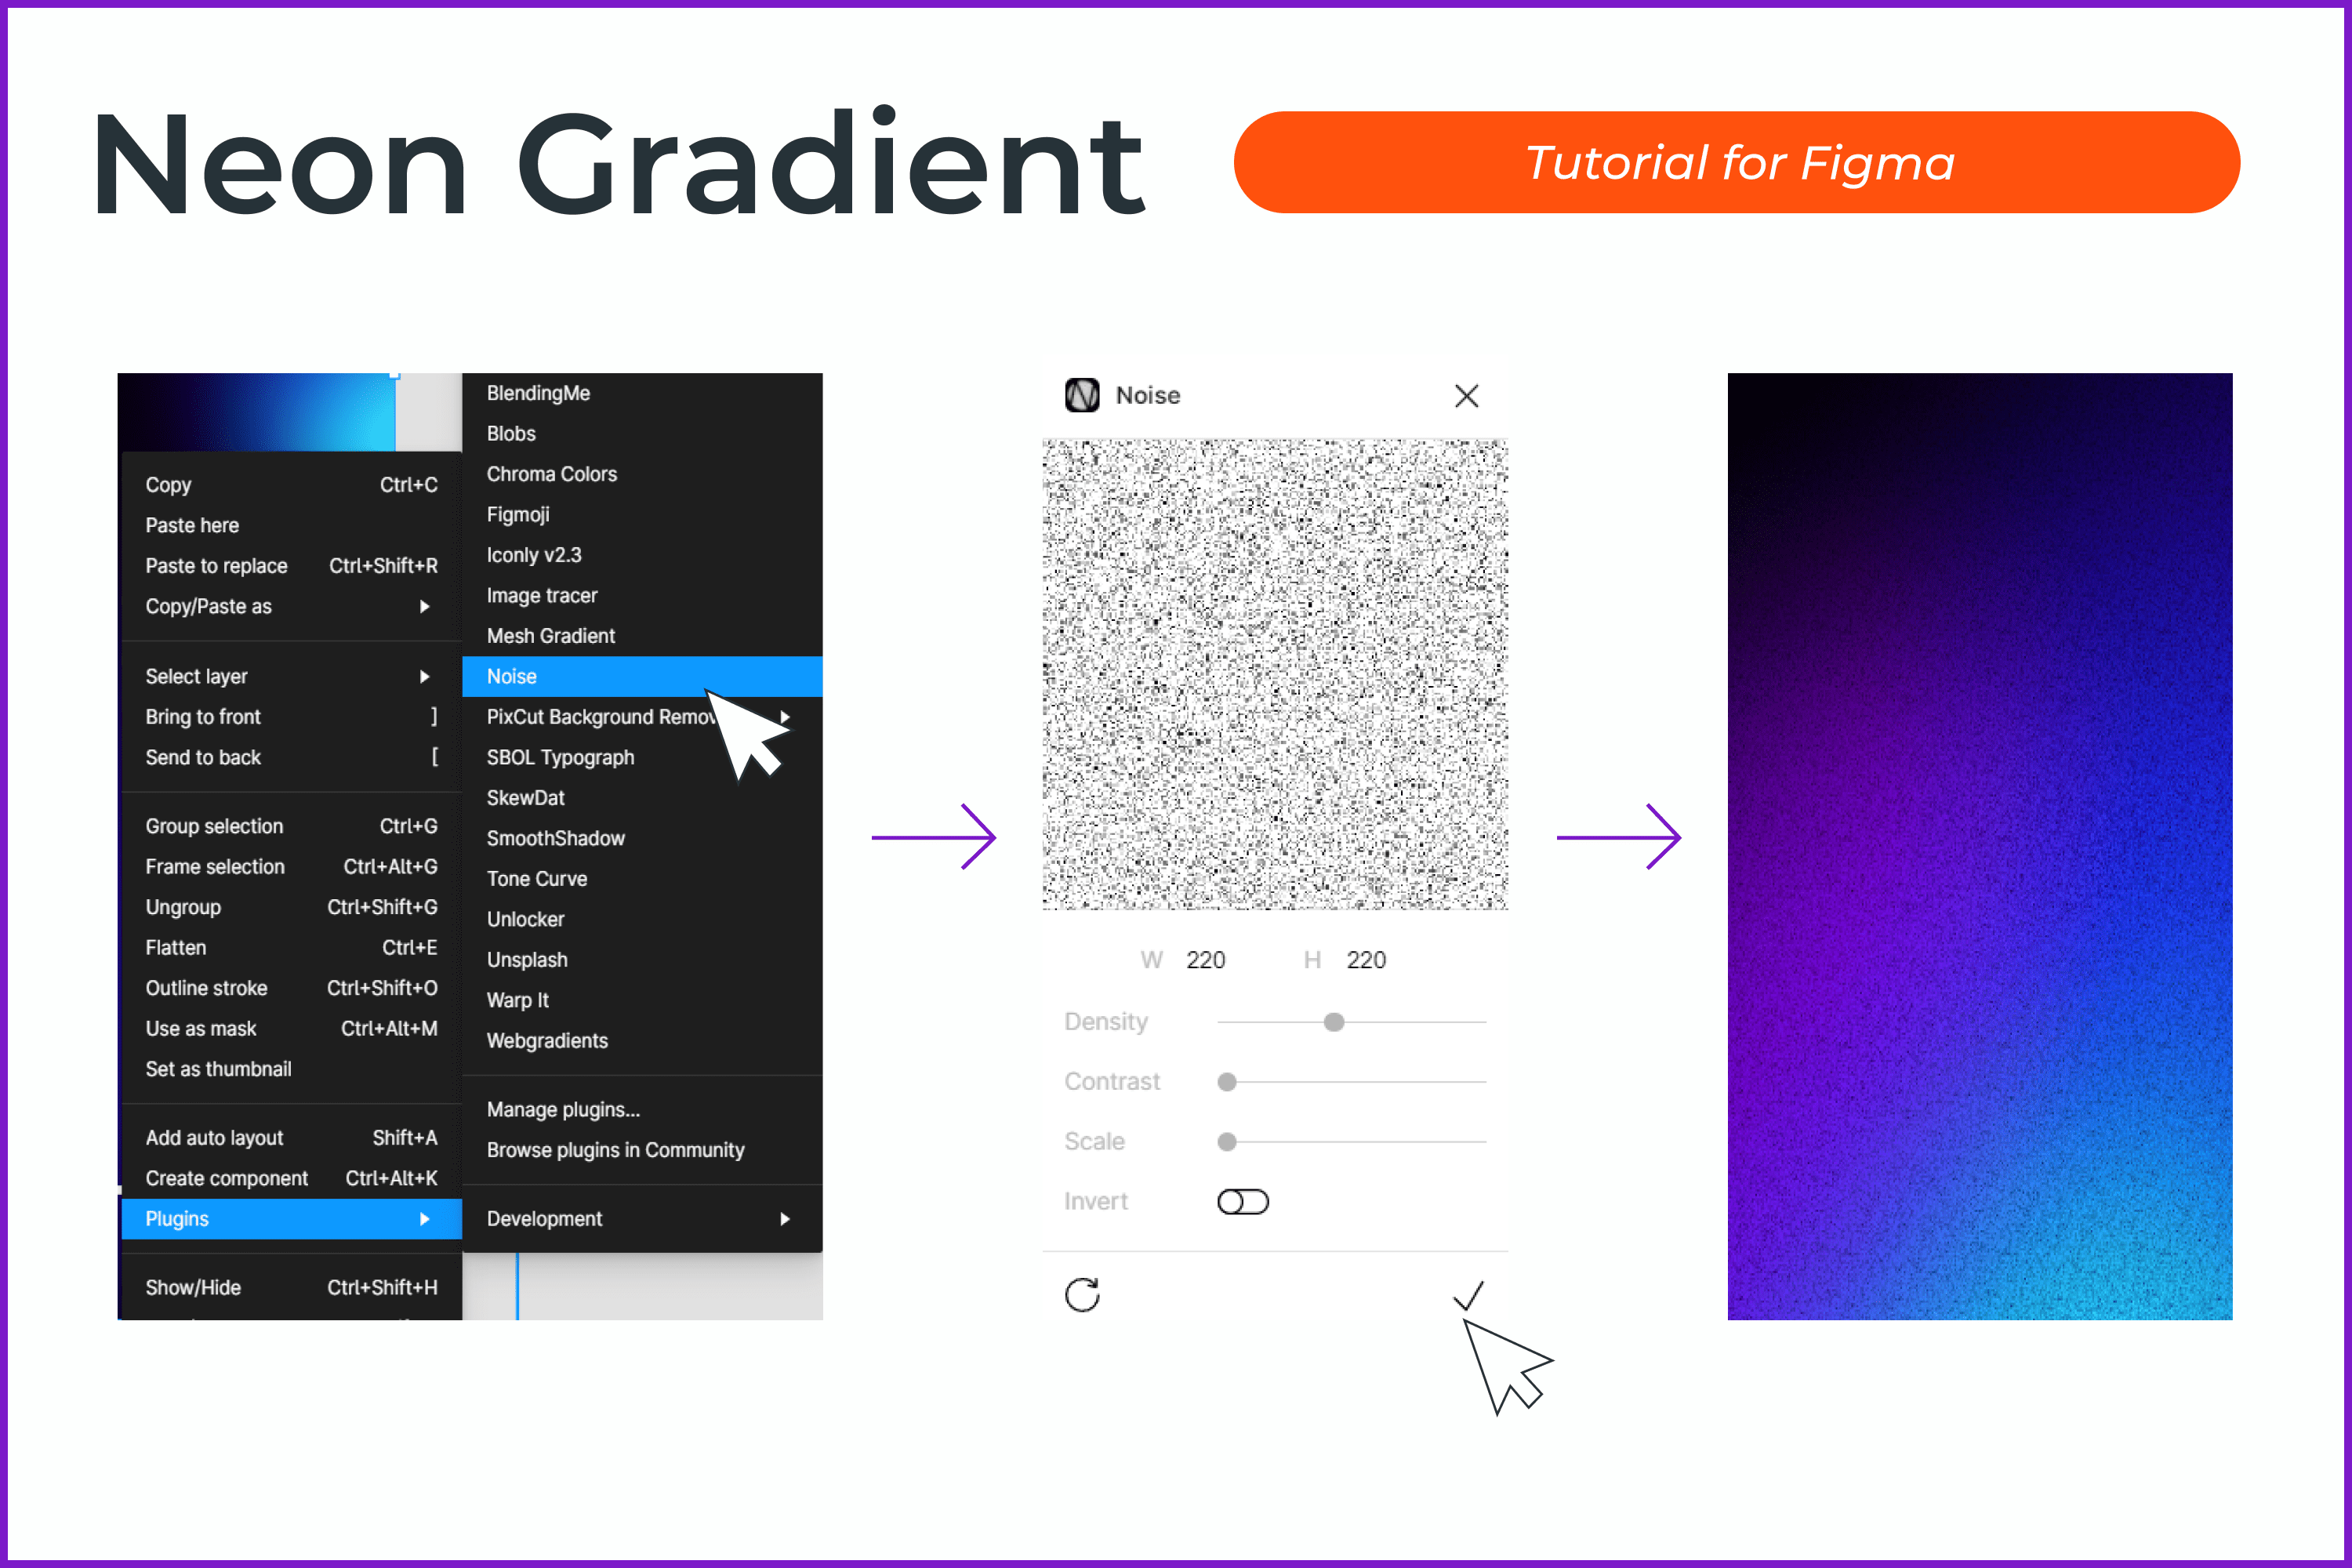
- Use the Noise plugin for your design. Place the finished grain texture on the top layer.
- Change the blend mode to Overlay and lower the opacity.

Products that Can Come in Handy
Here we have collected cool neon products that will make your work easier. With these products, you can make a mega neon design.
Realistic Neon AI Style

Here you will get a file for Illustrator with neon style. You can use it for any of your graphic elements. You won’t have to spend time learning how to do it yourself.
Neon Blue Text Unturned Layer Styles
There is a font here that is very similar to the font from real neon signs. There is also a set of styles in different bright colors to make a neon glow and a set of dark backgrounds for design. Compatible with Illustrator.
Neon Social Media Kit + Bonus – only $19
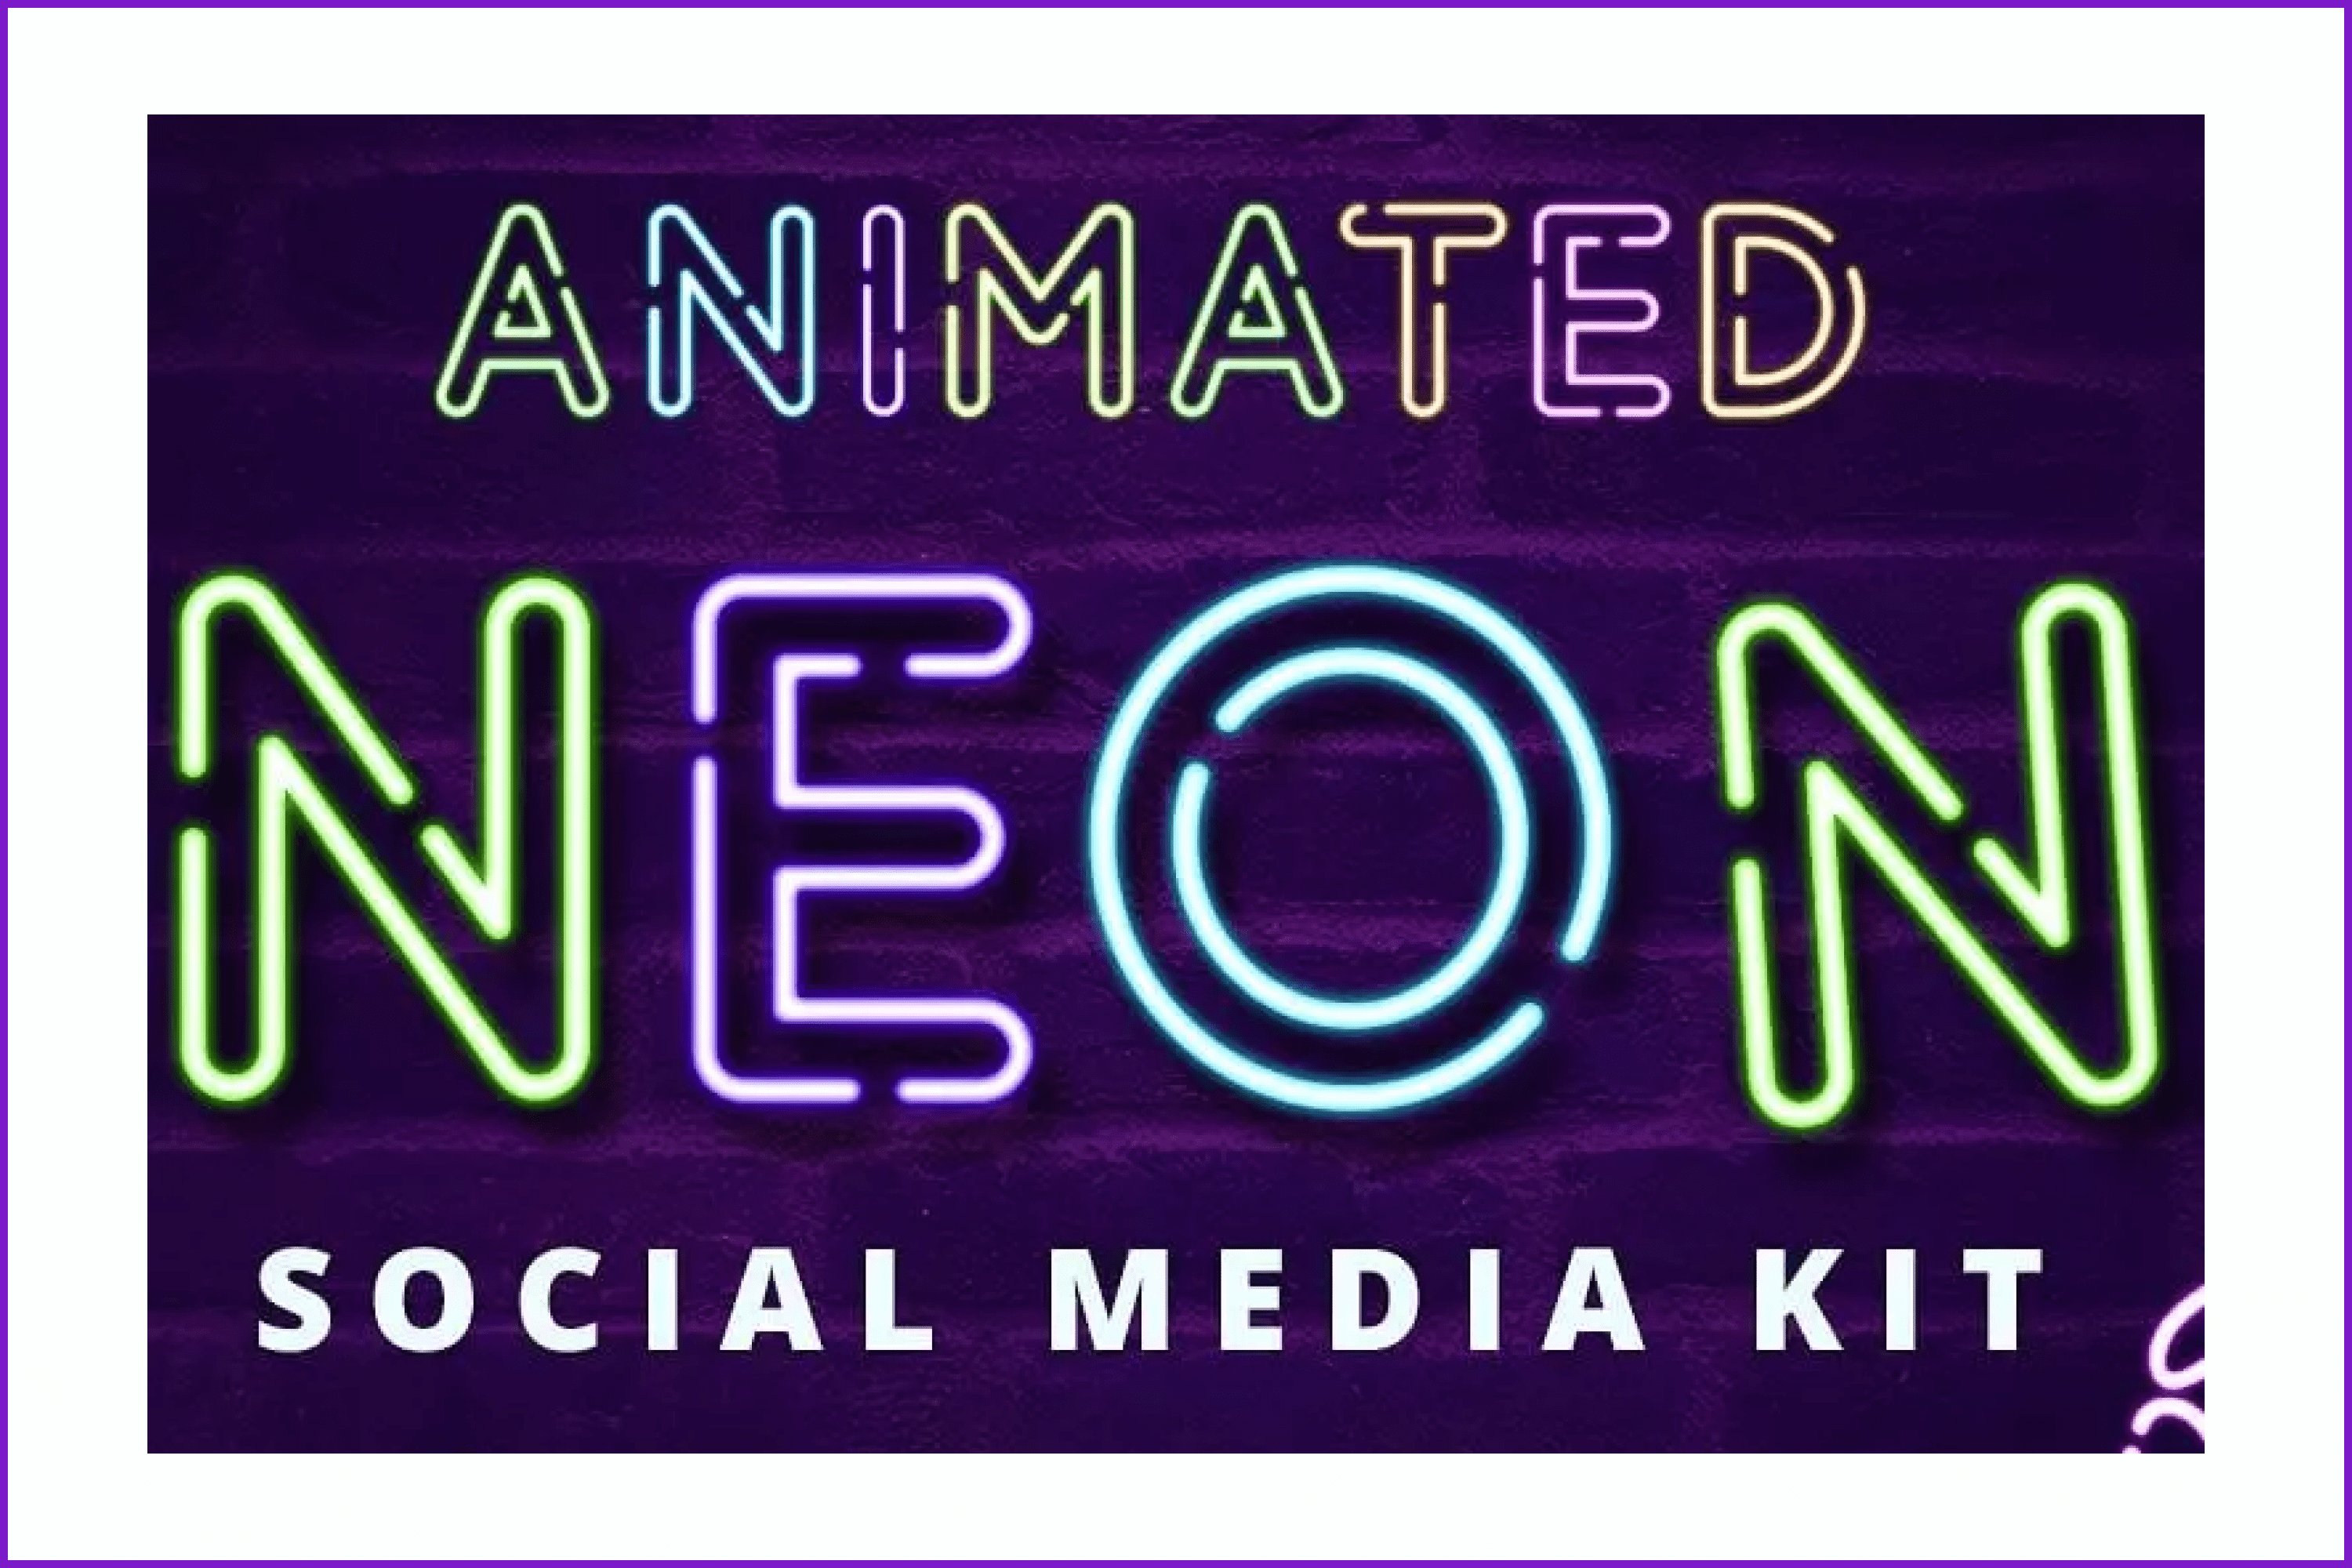
You can use this pack to add neon to animations, videos, or static designs. It includes icons, fonts, social media templates, tutorials, and photo links.
Neon Fire Backgrounds & Overlays

Add neon lights to your designs! It looks bright. It is great for poster design and social networks.
Lights Procreate Brushes
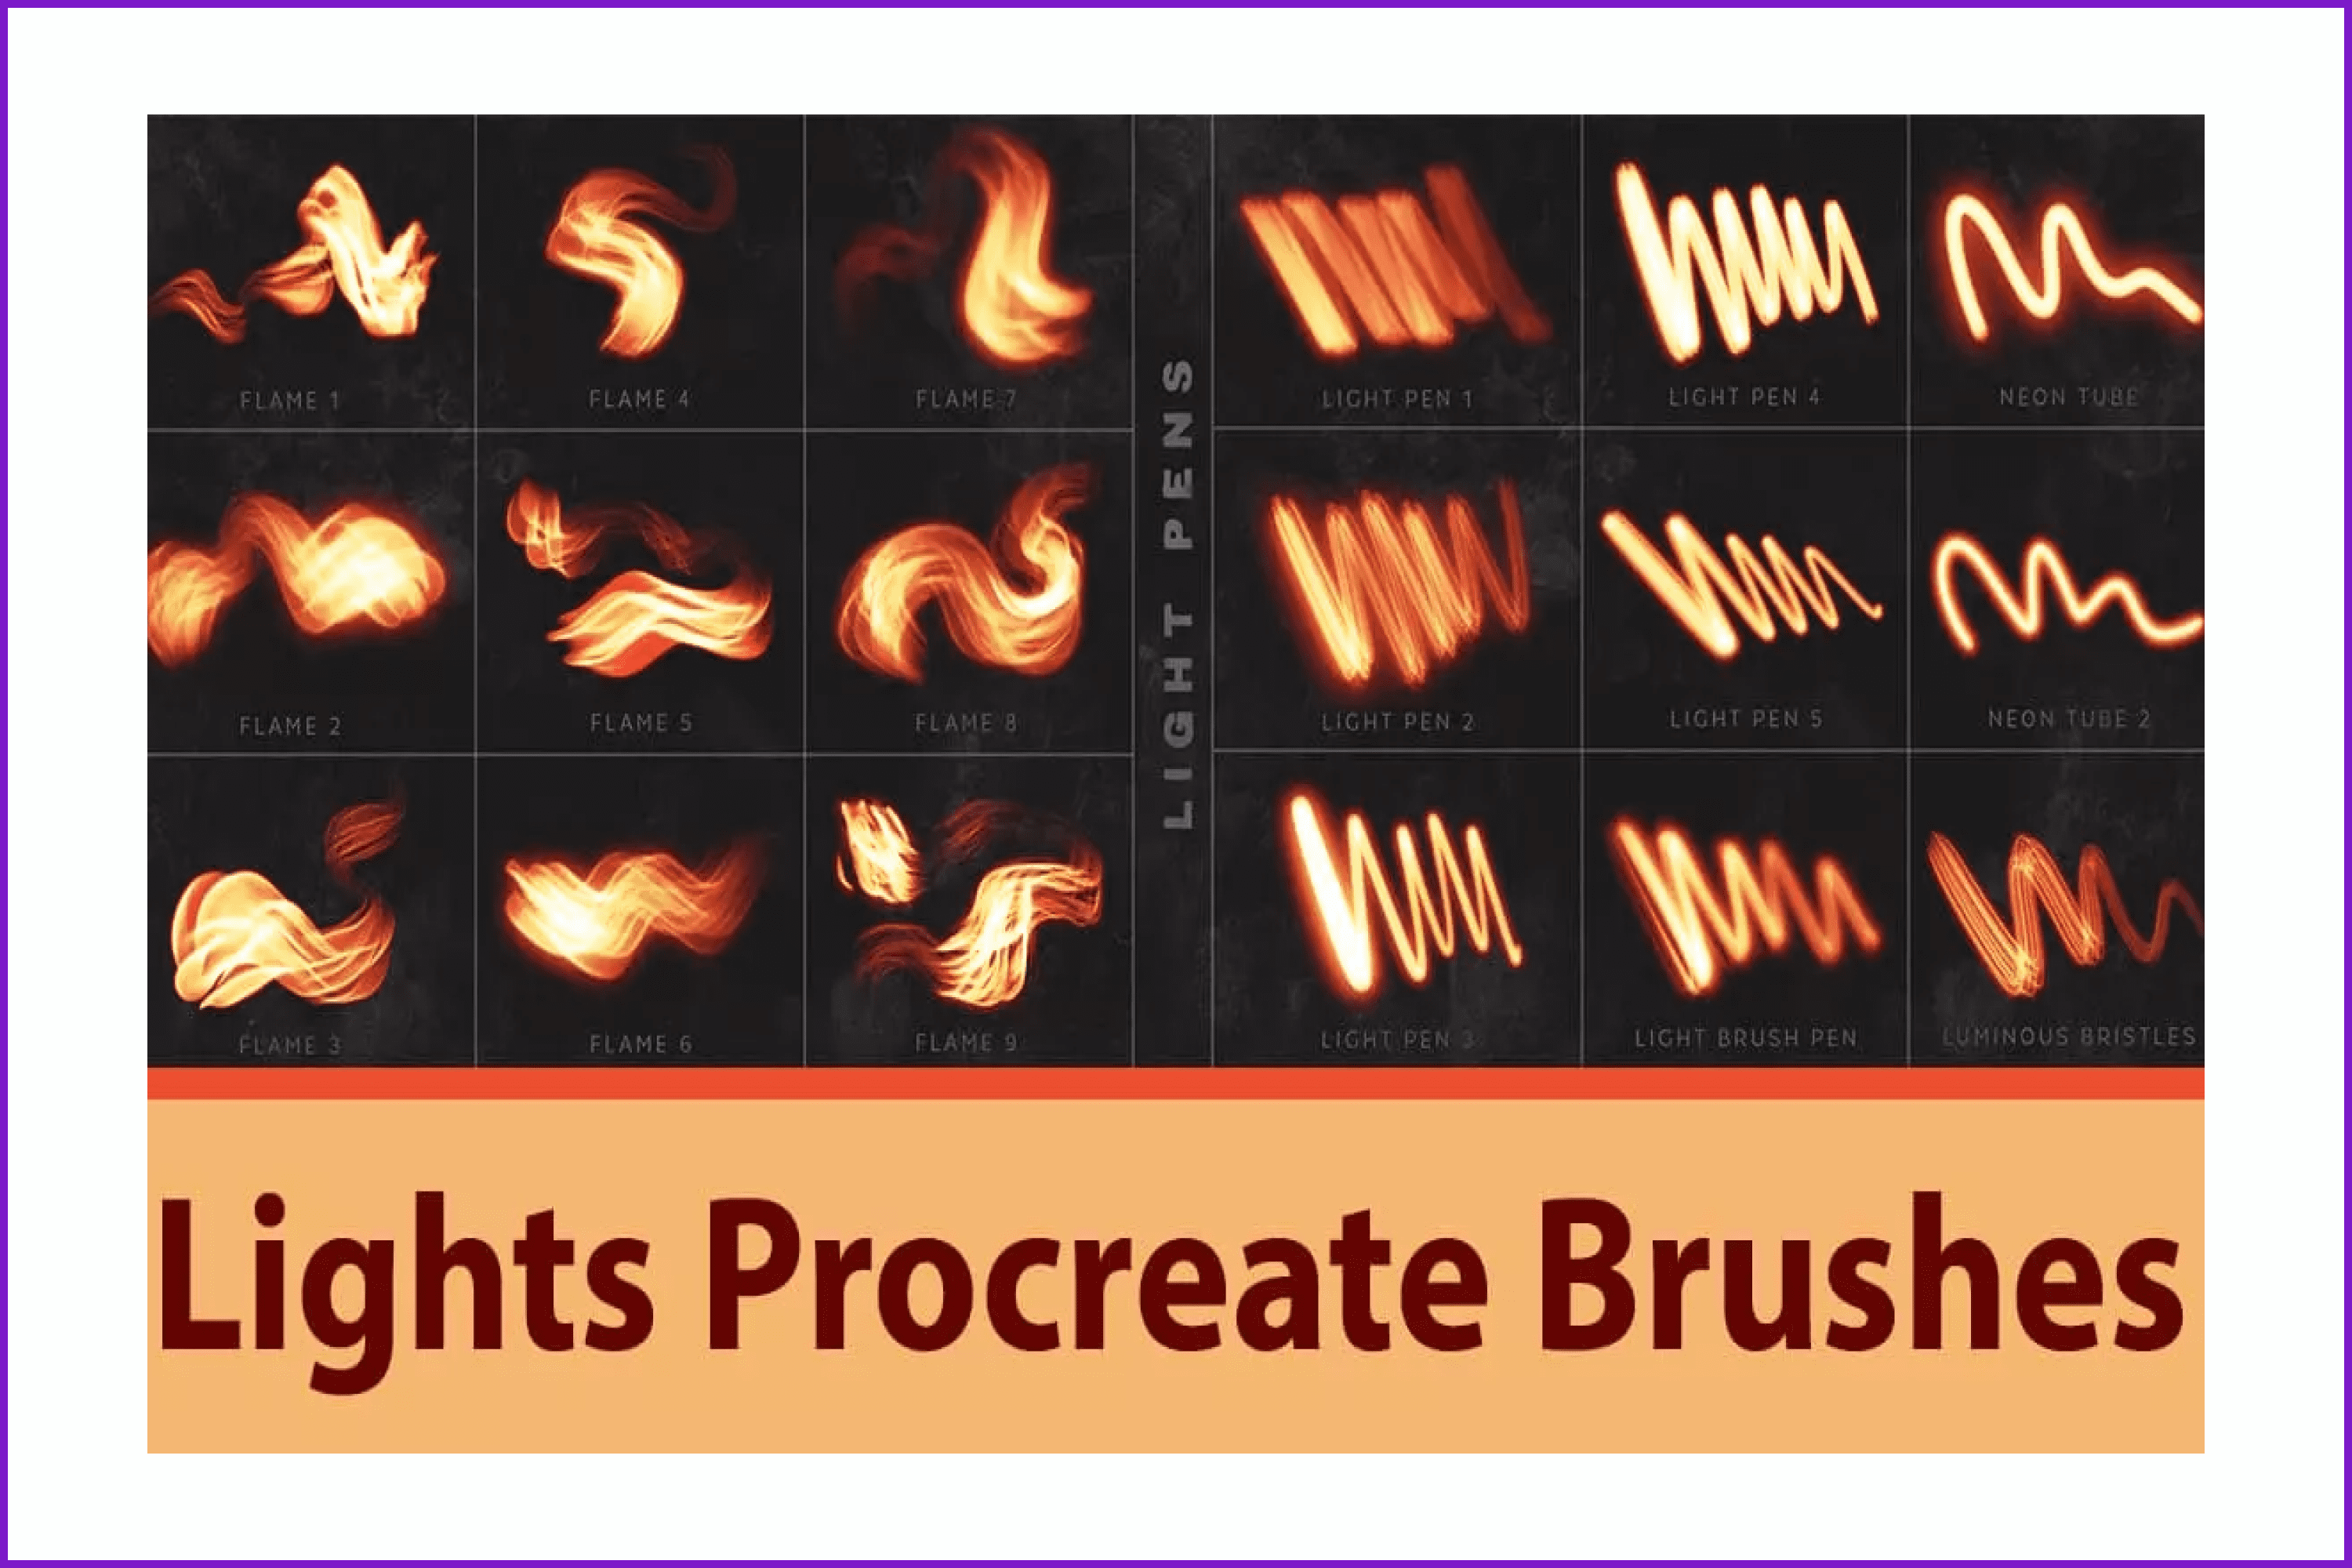
Do you draw in Procreate? Then don’t waste time creating brushes to make cool neon glows and strokes. Ready-made brushes are already in this pack.

How to Create Cosmic/Galaxy Gradient
This gradient will simply win the hearts of your customers. Let’s start!
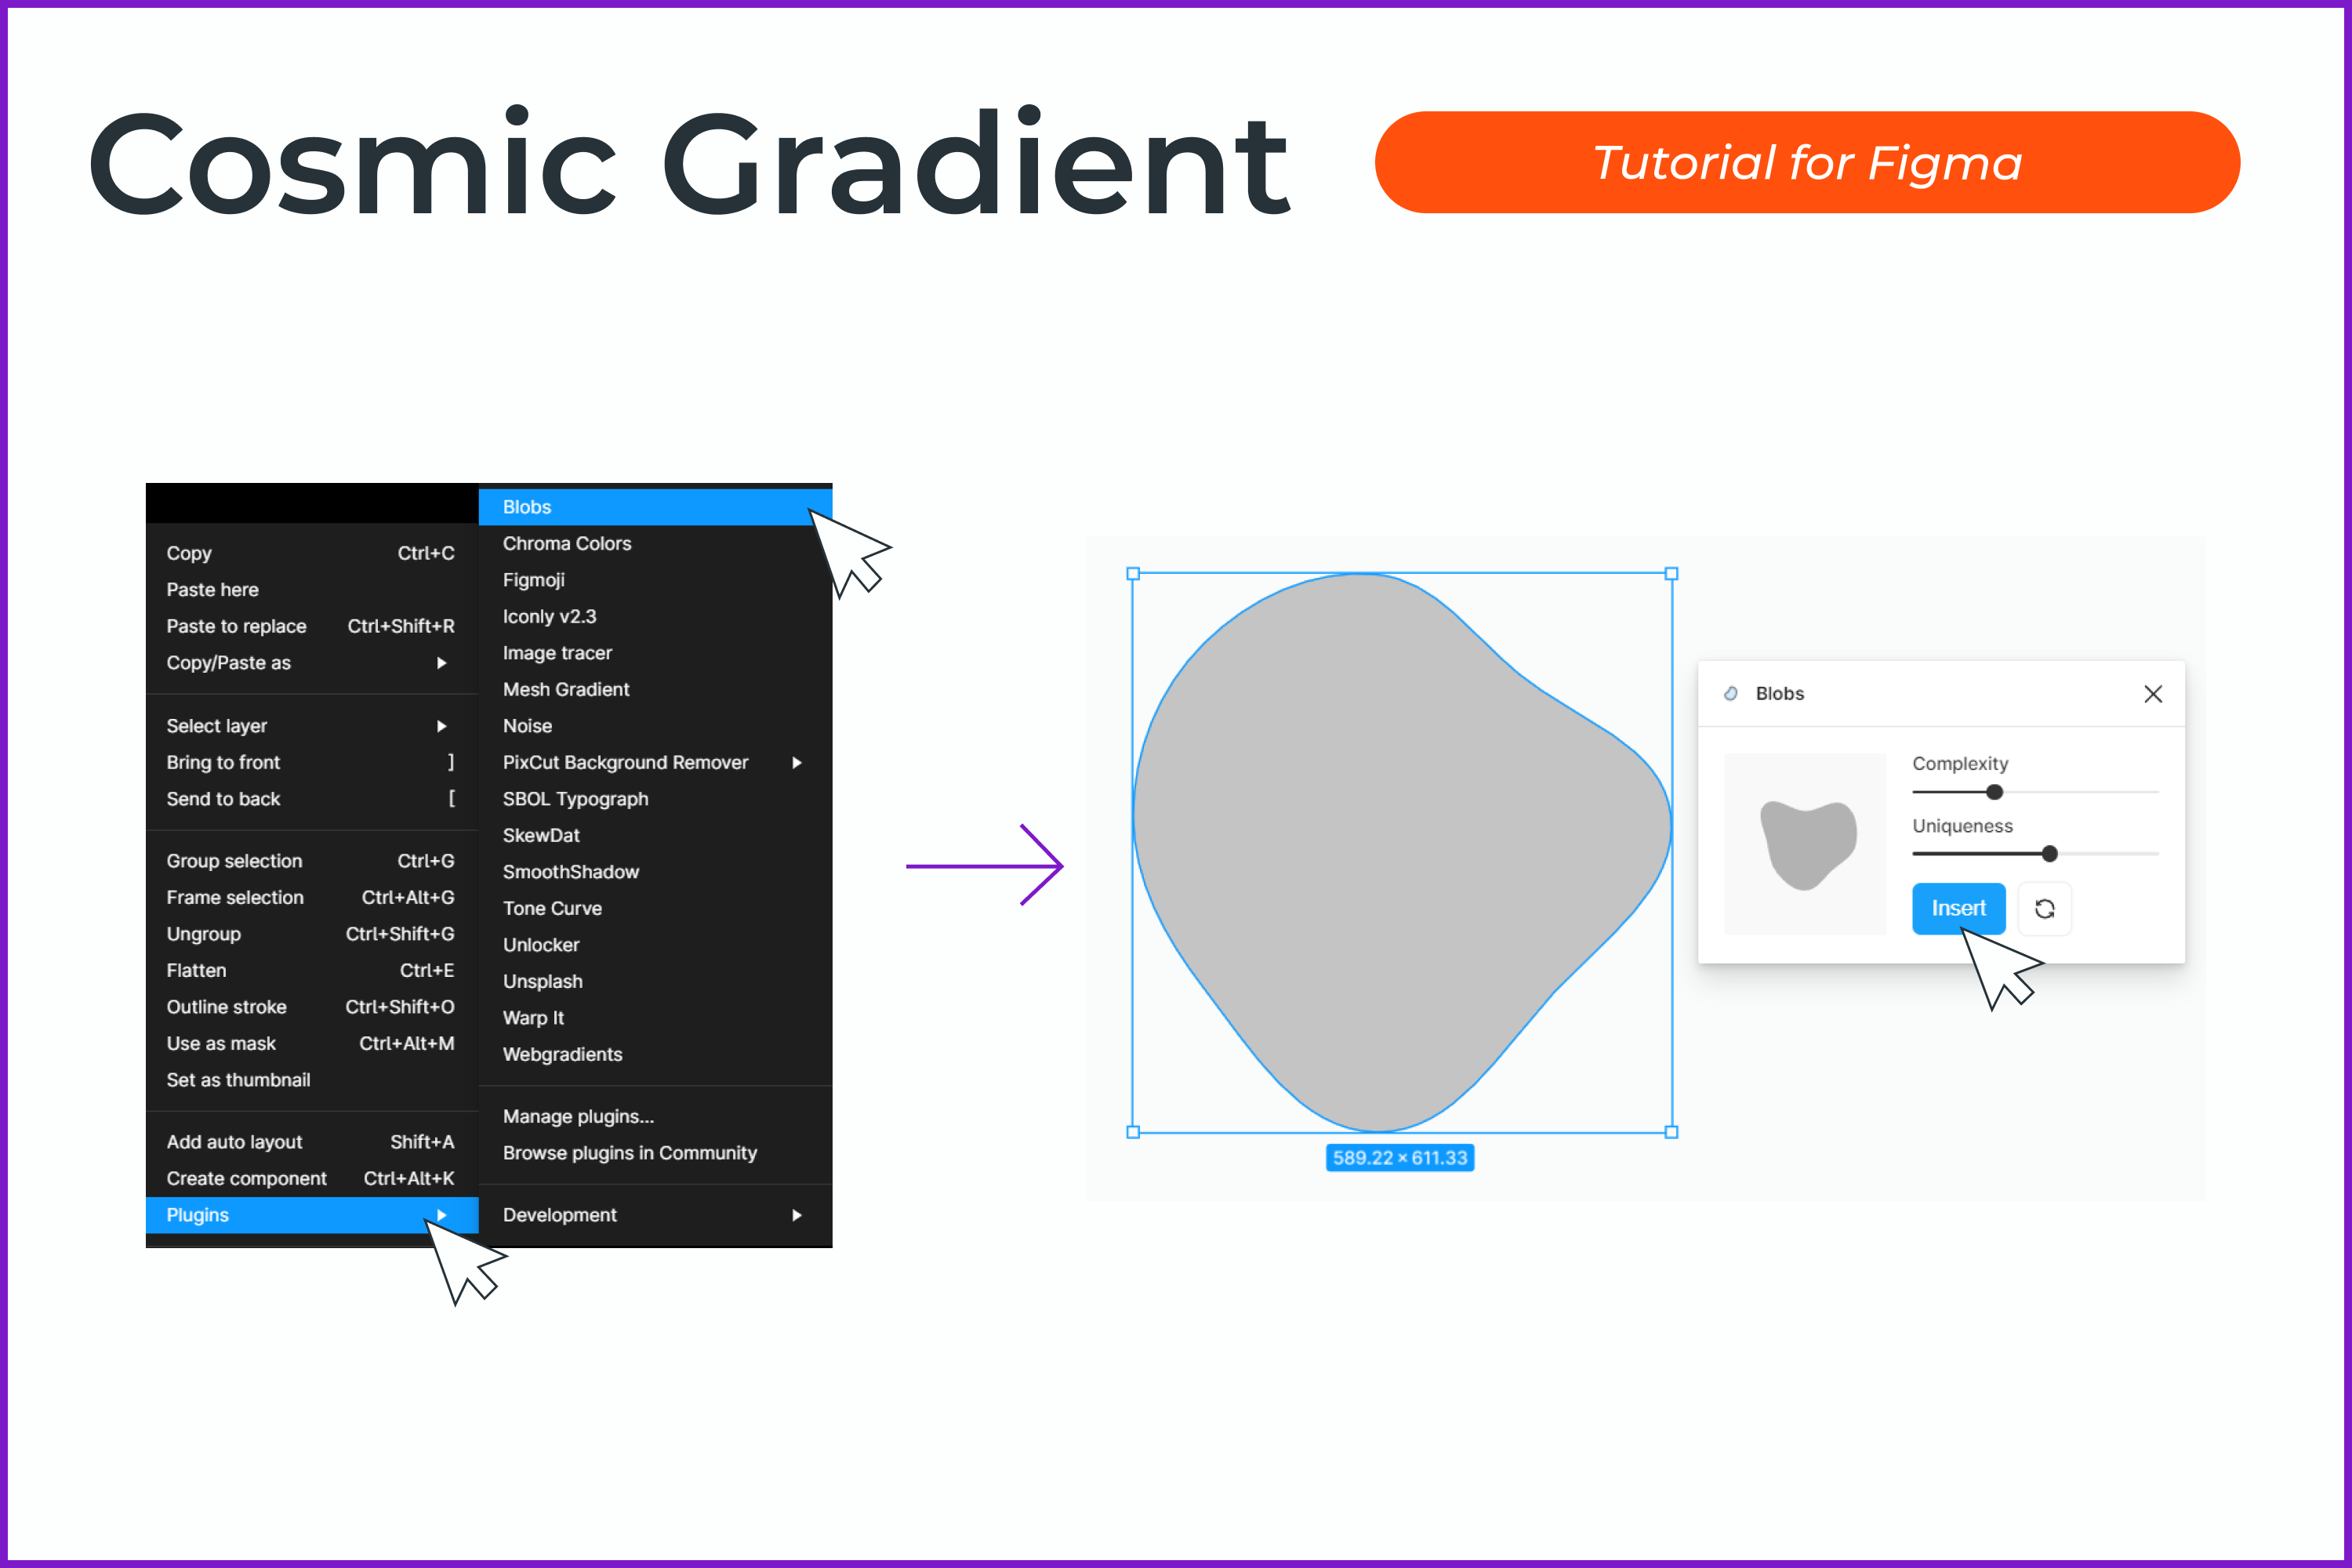
- Create four vector shapes of different sizes. It can take on all sorts of forms. You can use the Blobs plugin to quickly create shapes.
- Arrange them so that the largest shape is at the bottom, and the smallest is at the top and centered on the bottom.
- Choose any bright colors that are associated with space. In the example, we have chosen #1D00D0, #B821FF, #FAF2FF, and #FF17FD.
- Group these shapes (Ctrl + G).
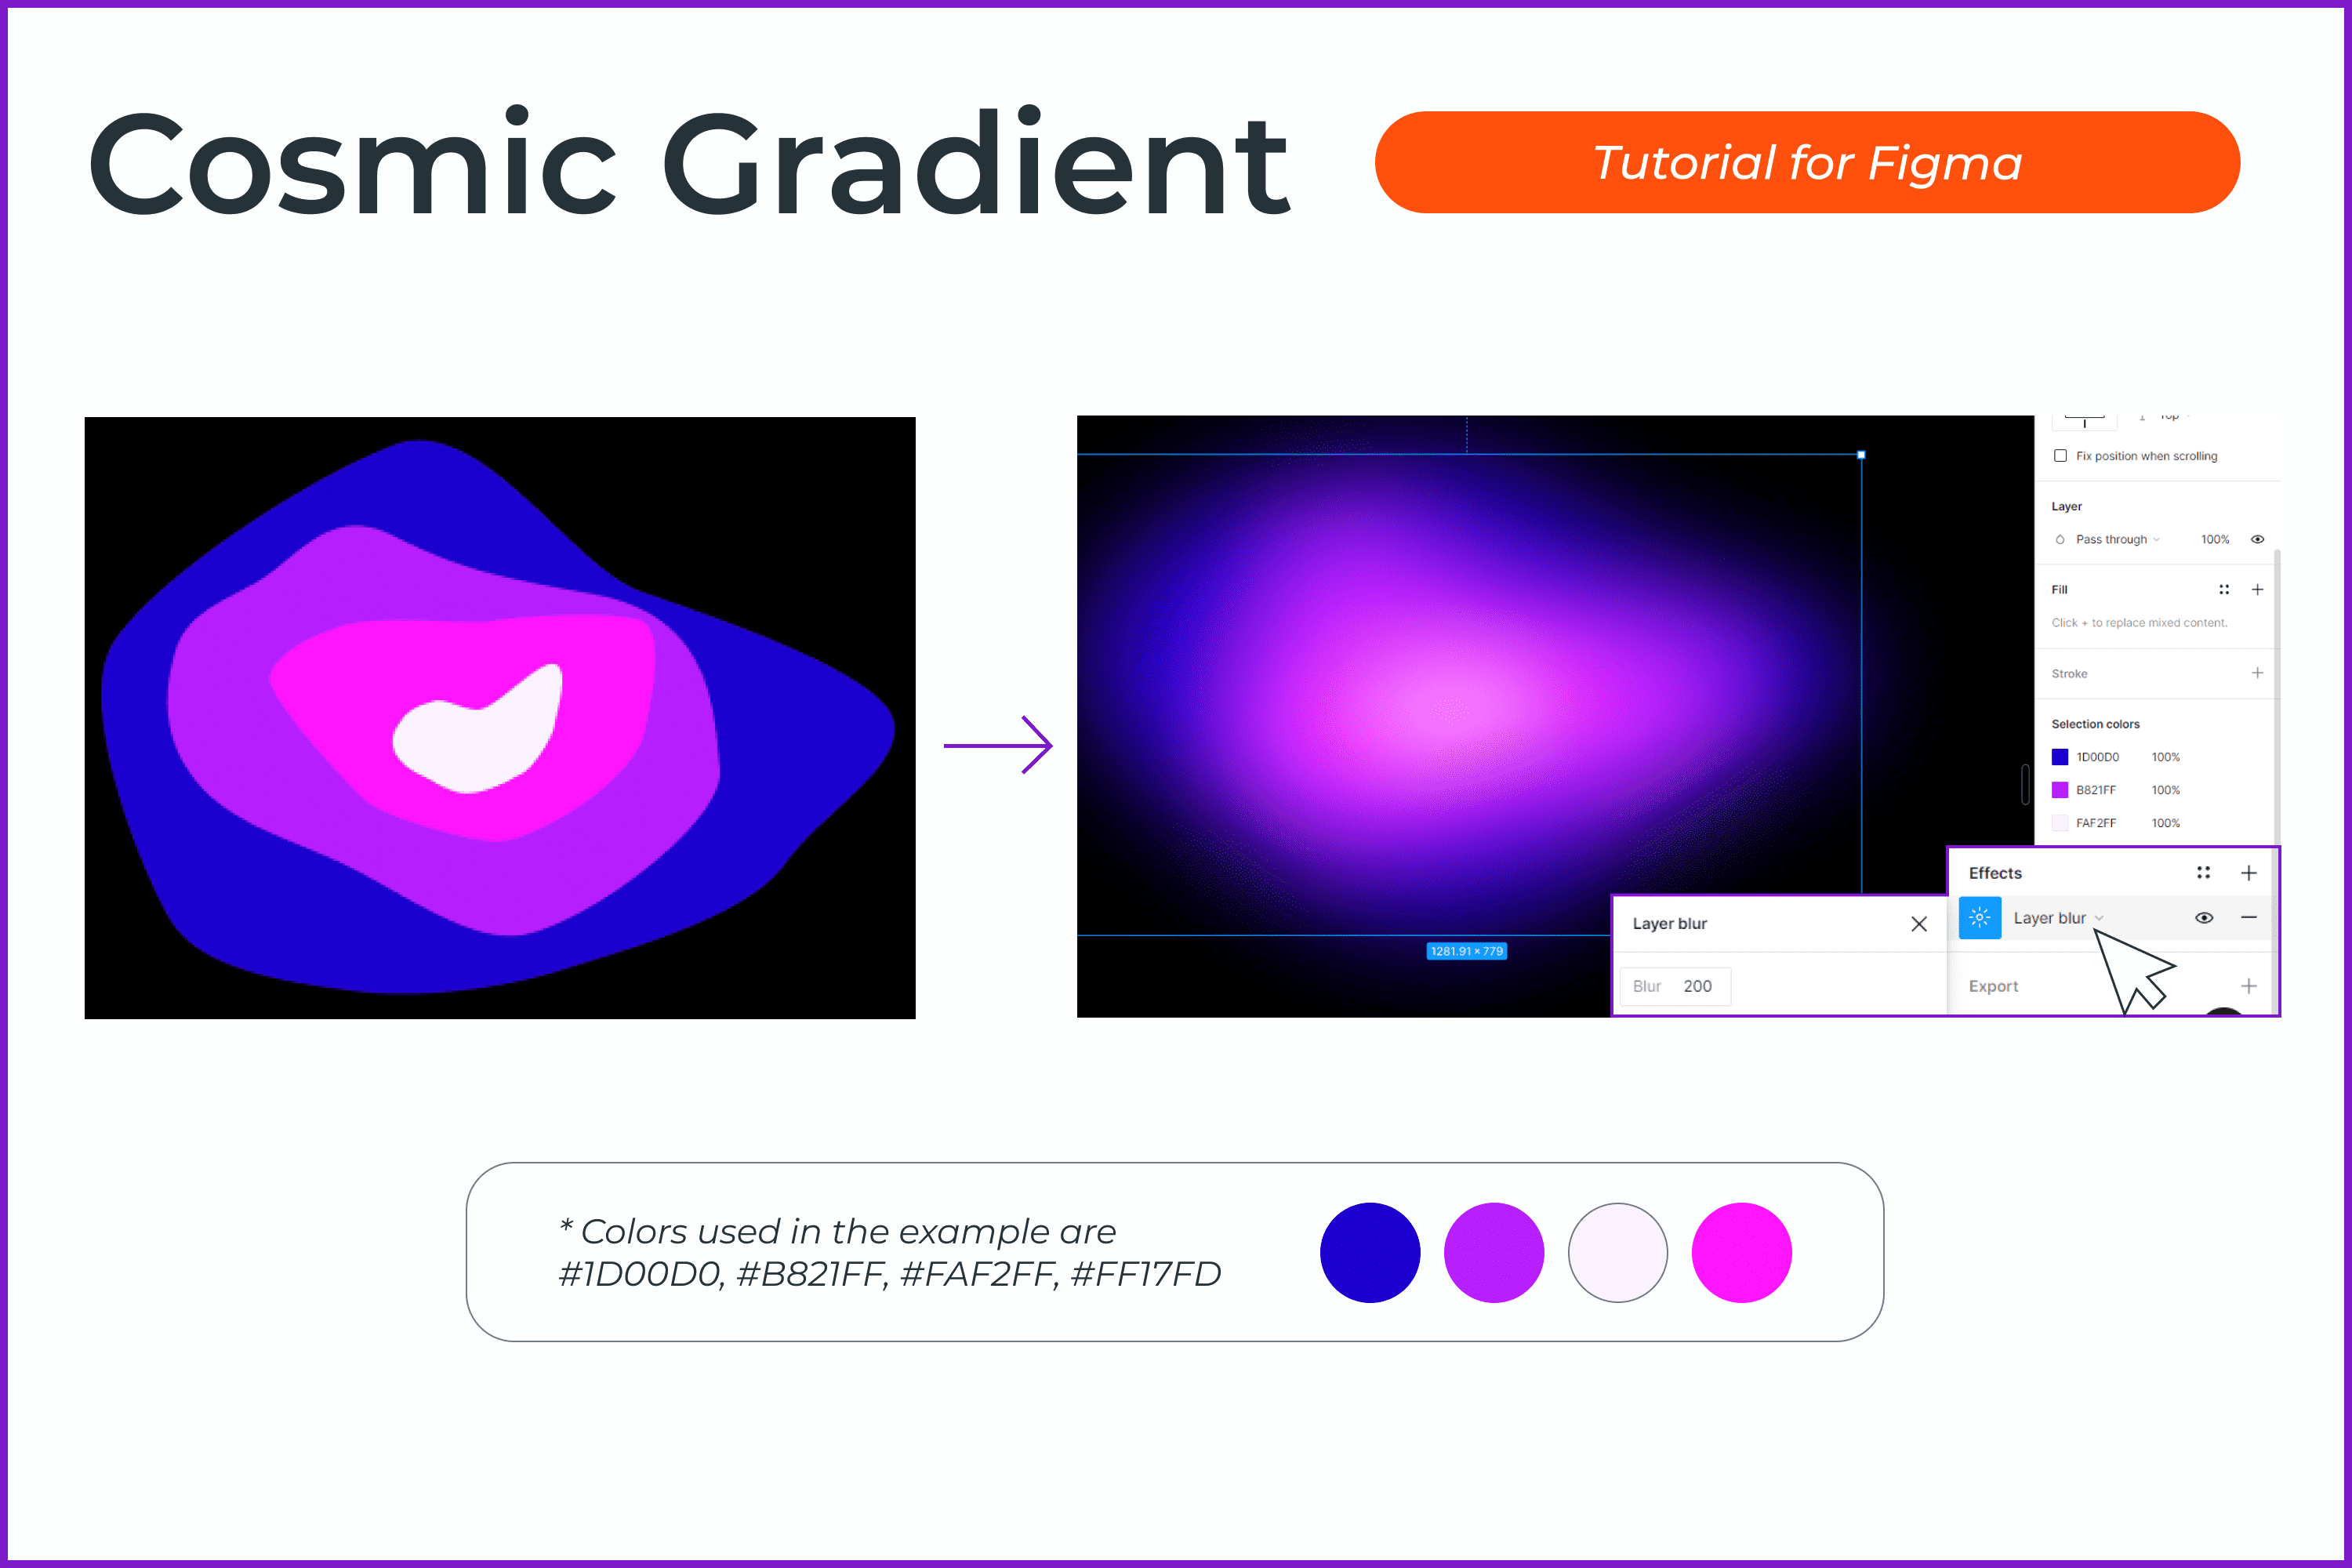
- In the Effects section, click on + and add a Blur layer to the group. The larger the shape size, the larger the blur value.
- Choose a value so that the middle is contrasting.
- Change the shapes in this group so that you like the result.
- You are amazing! Now let’s implement this gradient into the design.
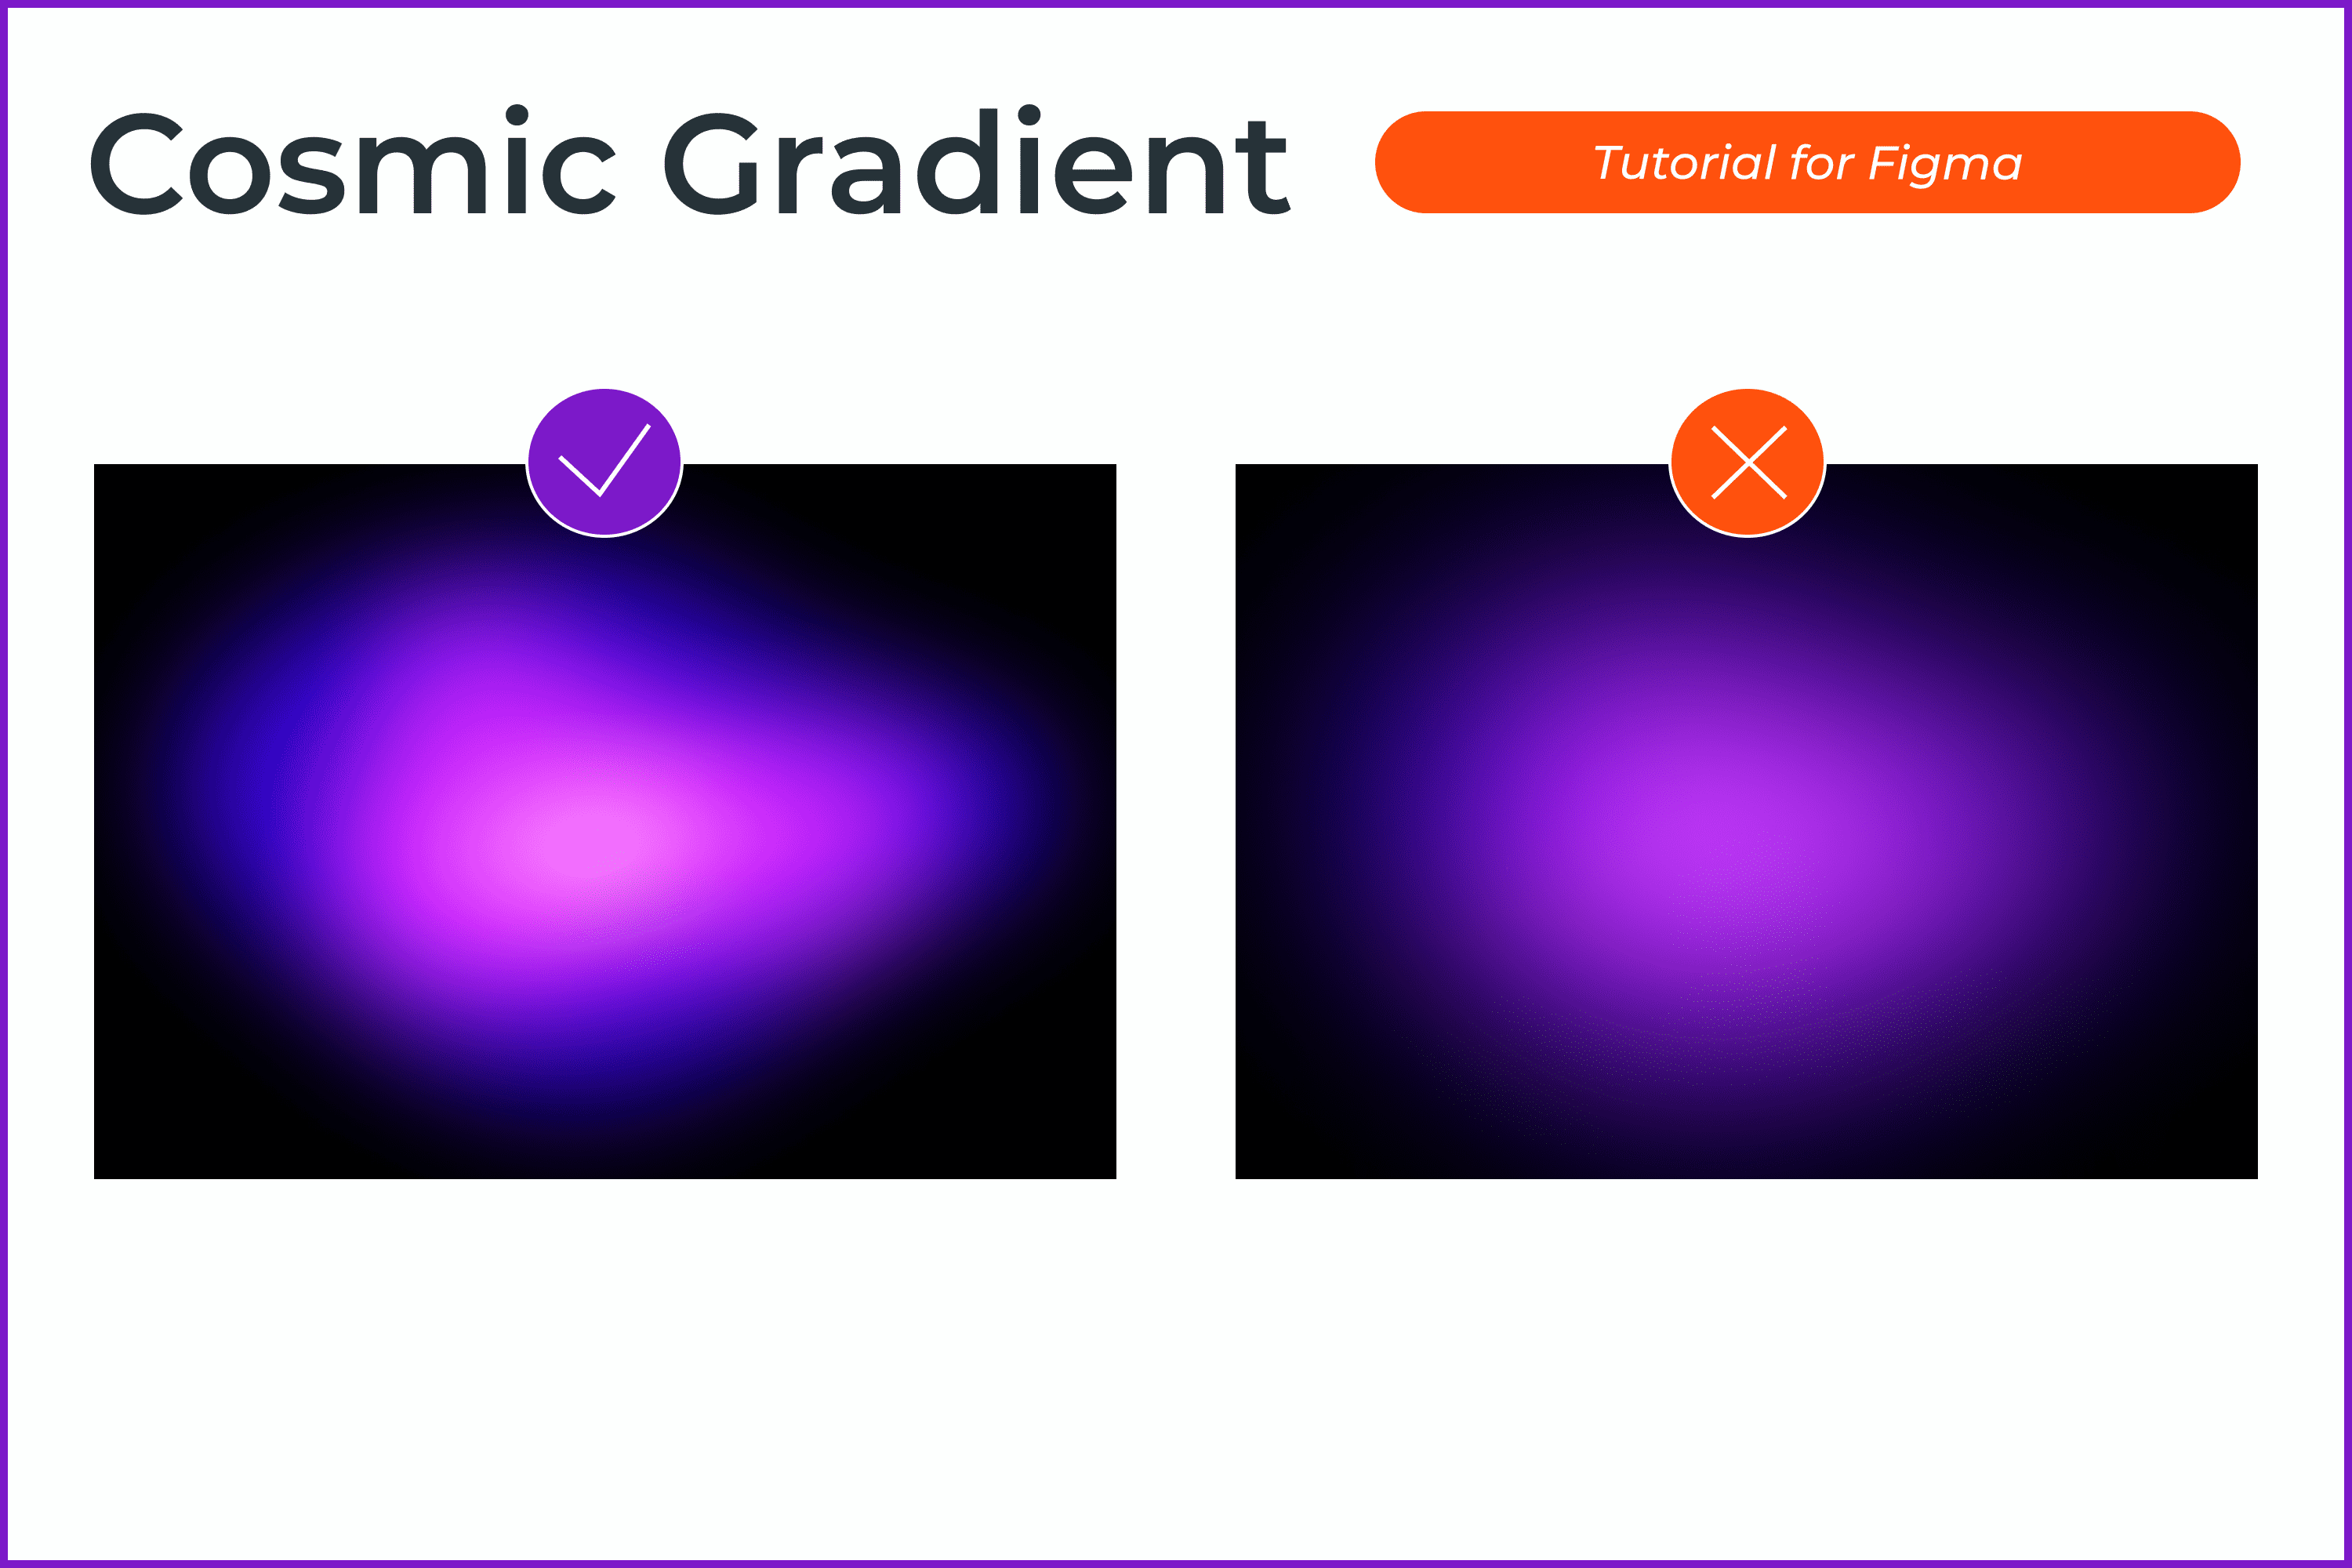
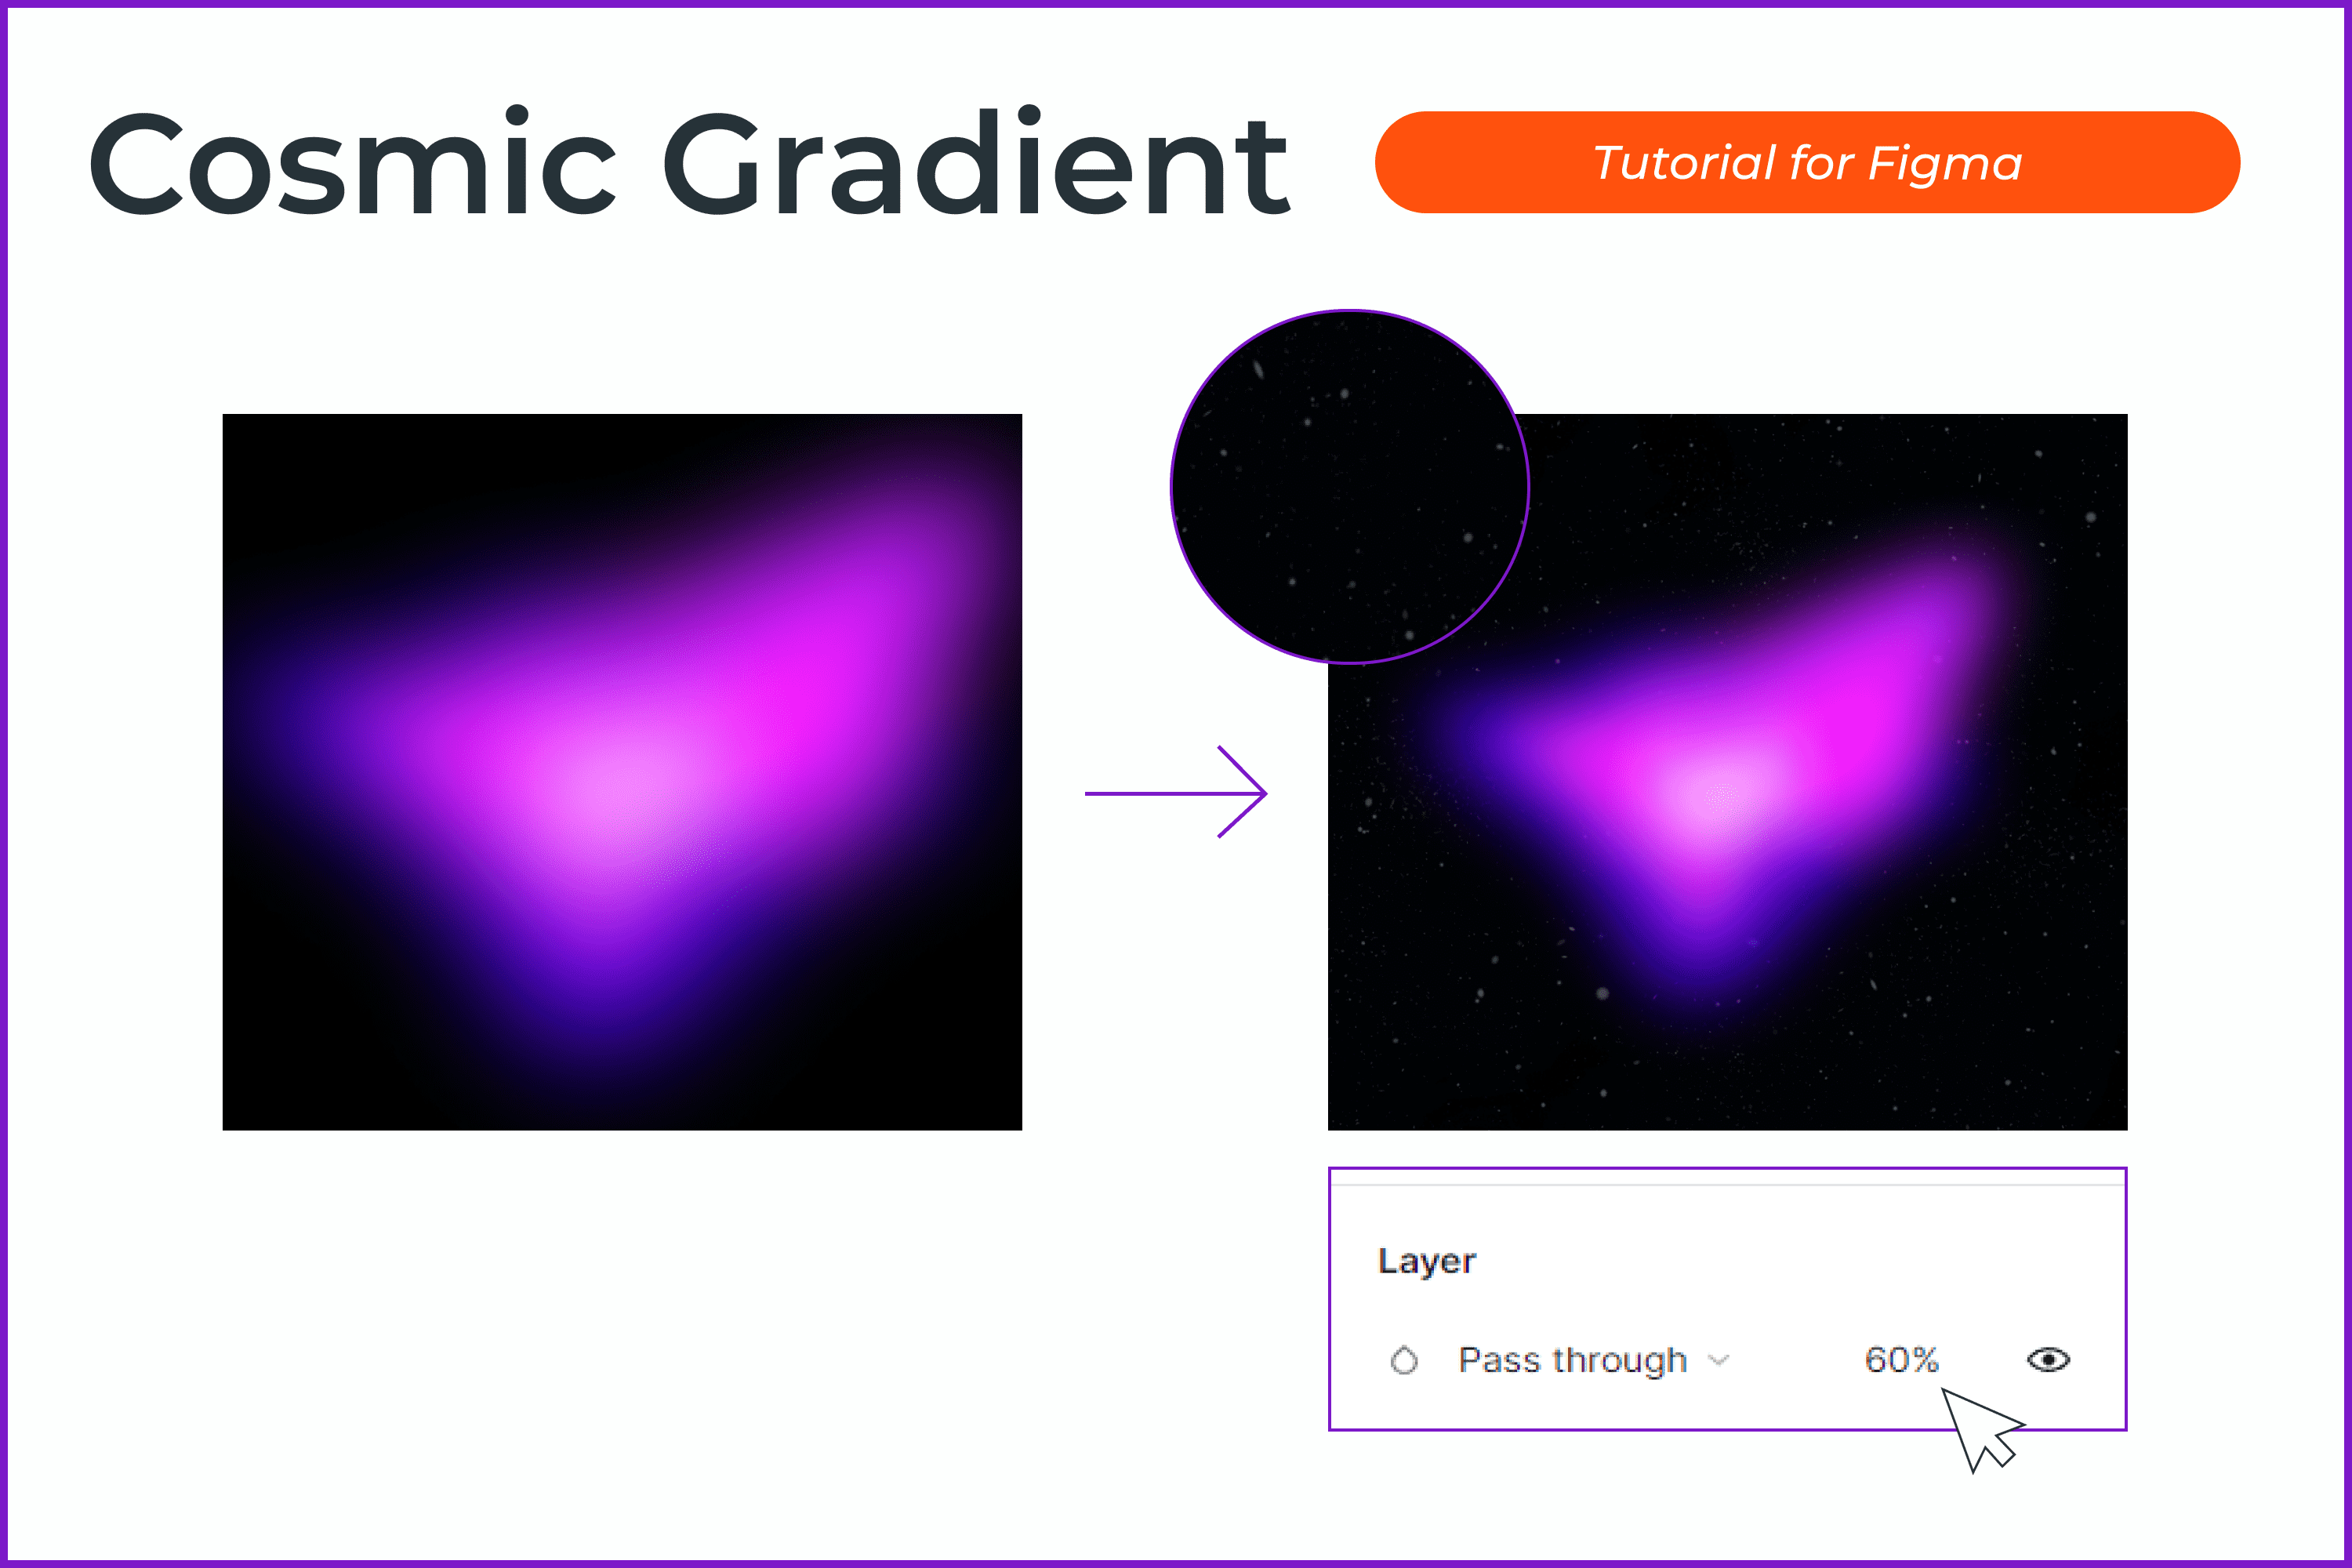
- Add the texture of the starry sky to the dark background and in the Fill section reduces the transparency of the texture. You should see the stars, but not very brightly.
- Select the group with the gradient and reduce its opacity so that it looks more natural.
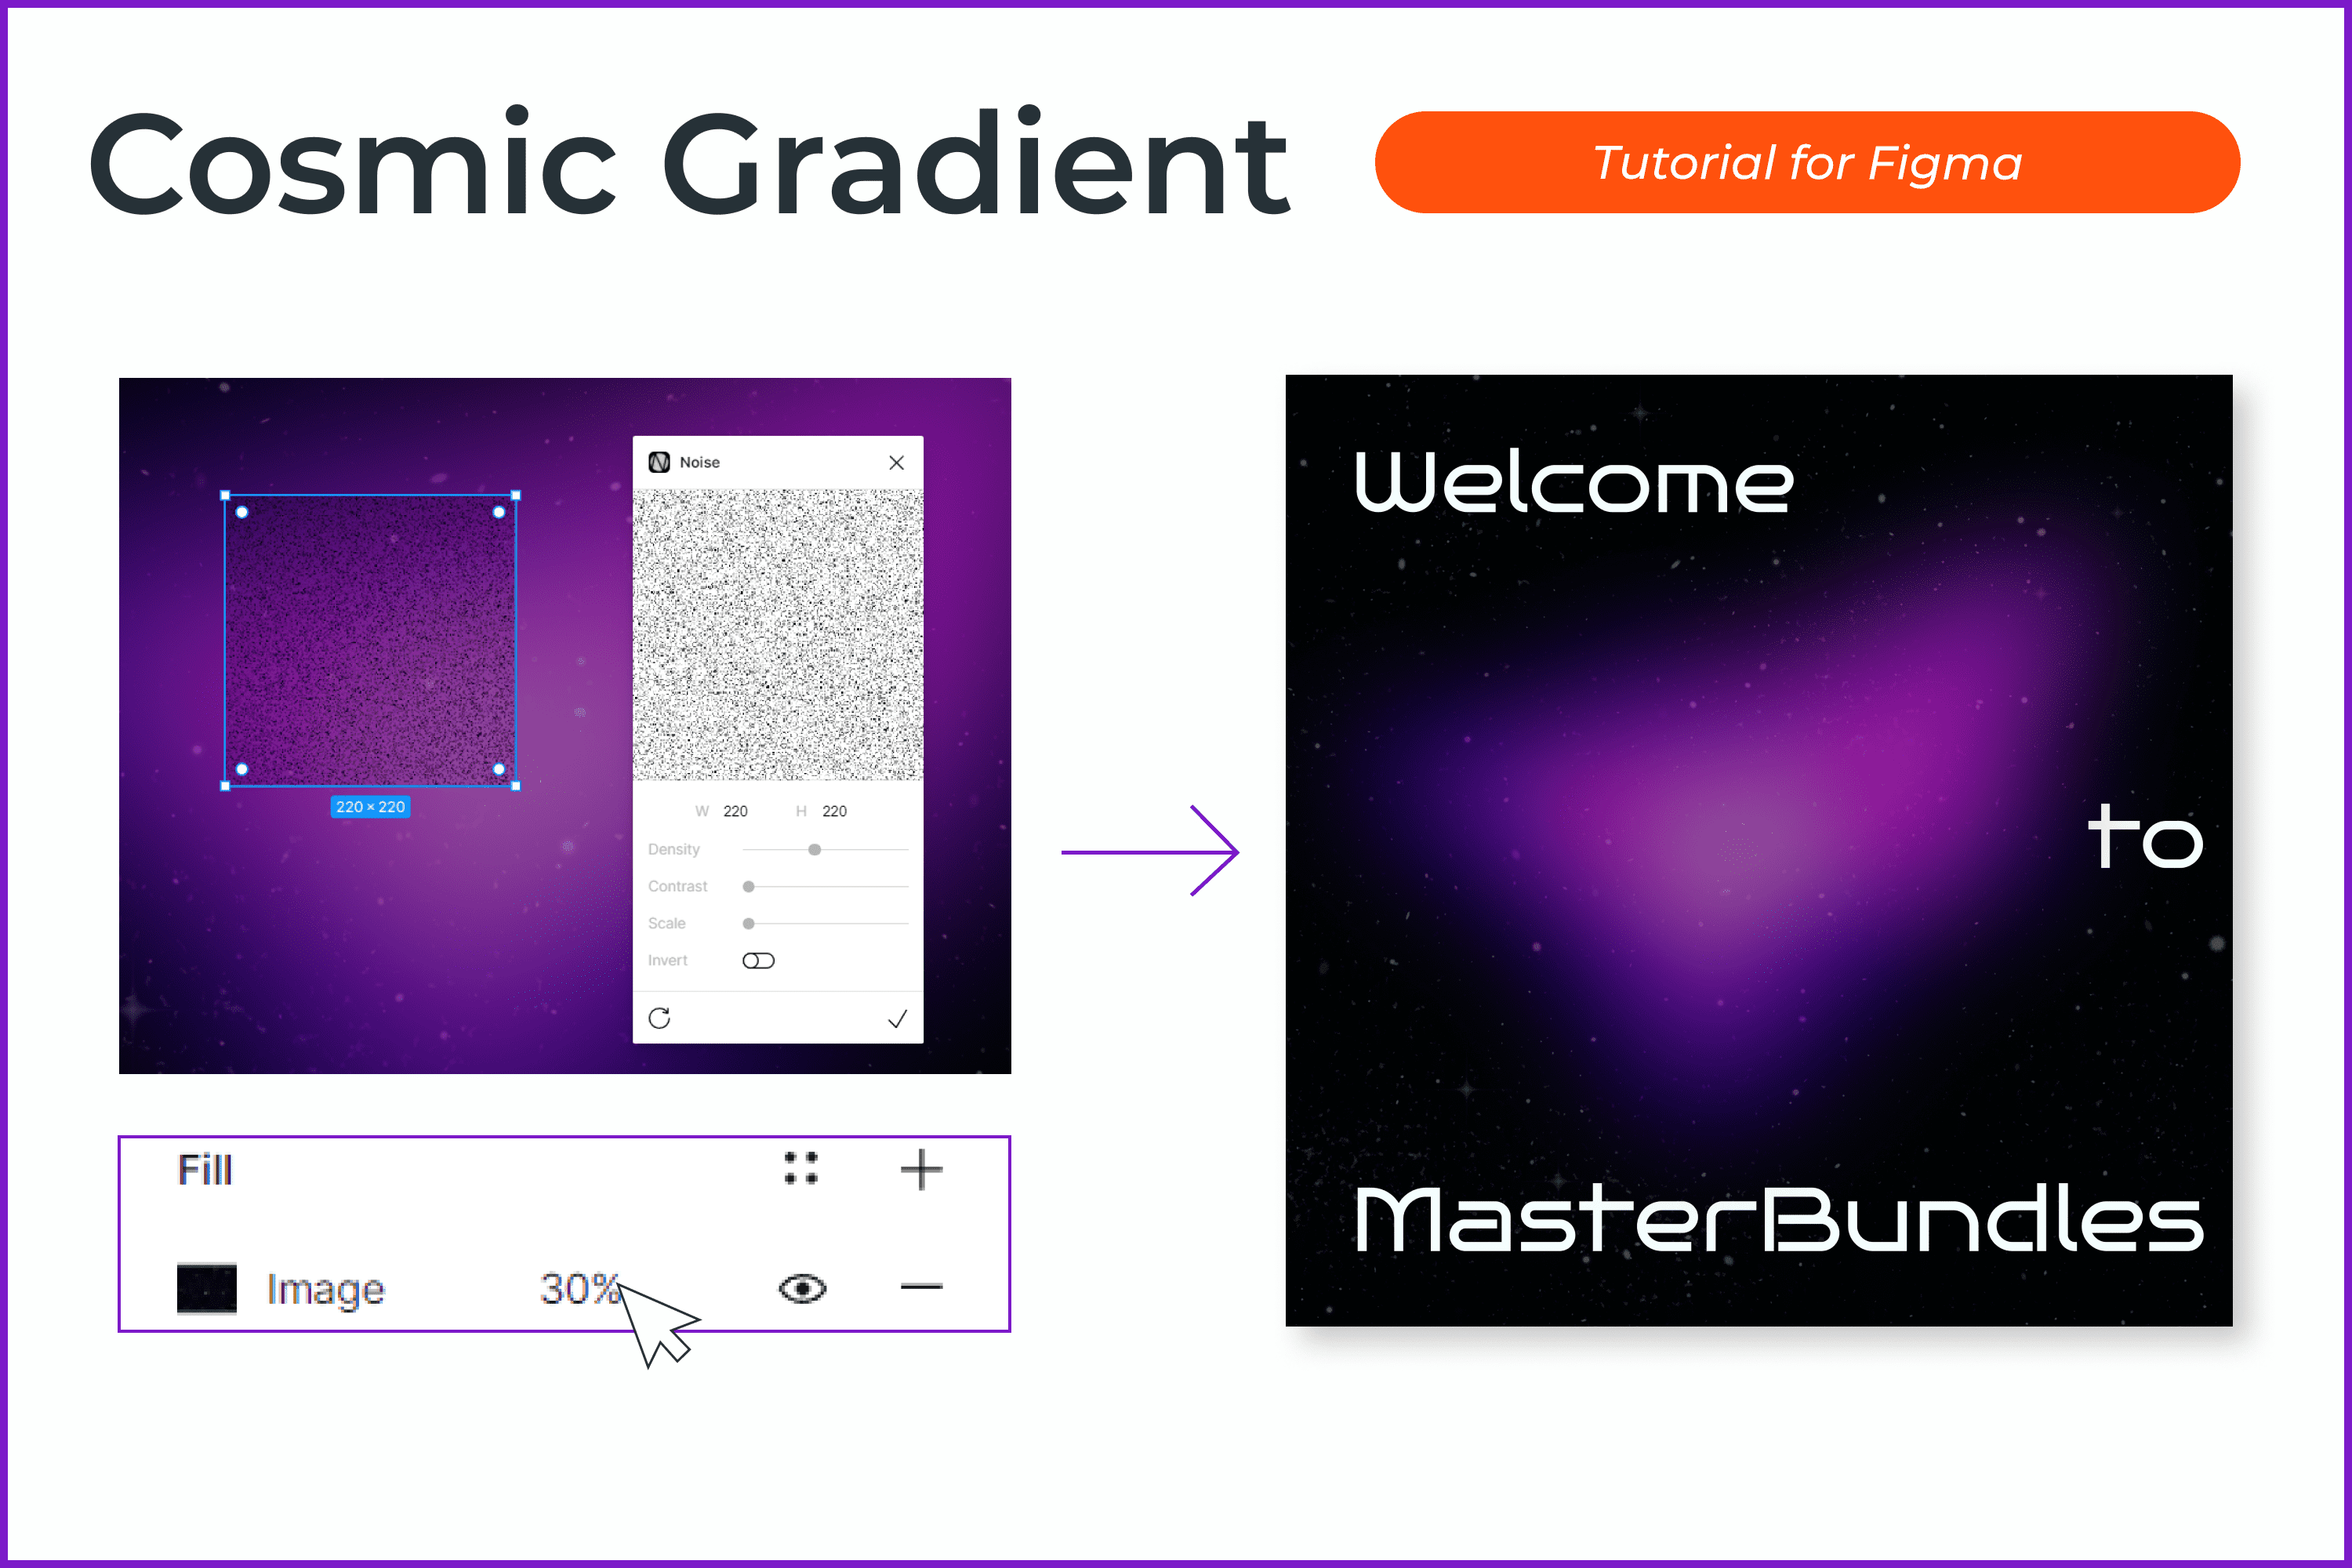
- Through the Noise plugin, we add a grainy texture to the entire design. Change the blending mode of this texture to Soft Light and reduce the opacity of this texture to 25–40%.
- Now we can add text. Ready to go!
Products that Can Come in Handy
Here we have collected some cool high-resolution cosmic backgrounds, brushes, and gradients. These packs will help you convey the atmosphere of space in your design.
Cosmic Graphics Bundle with Extended License
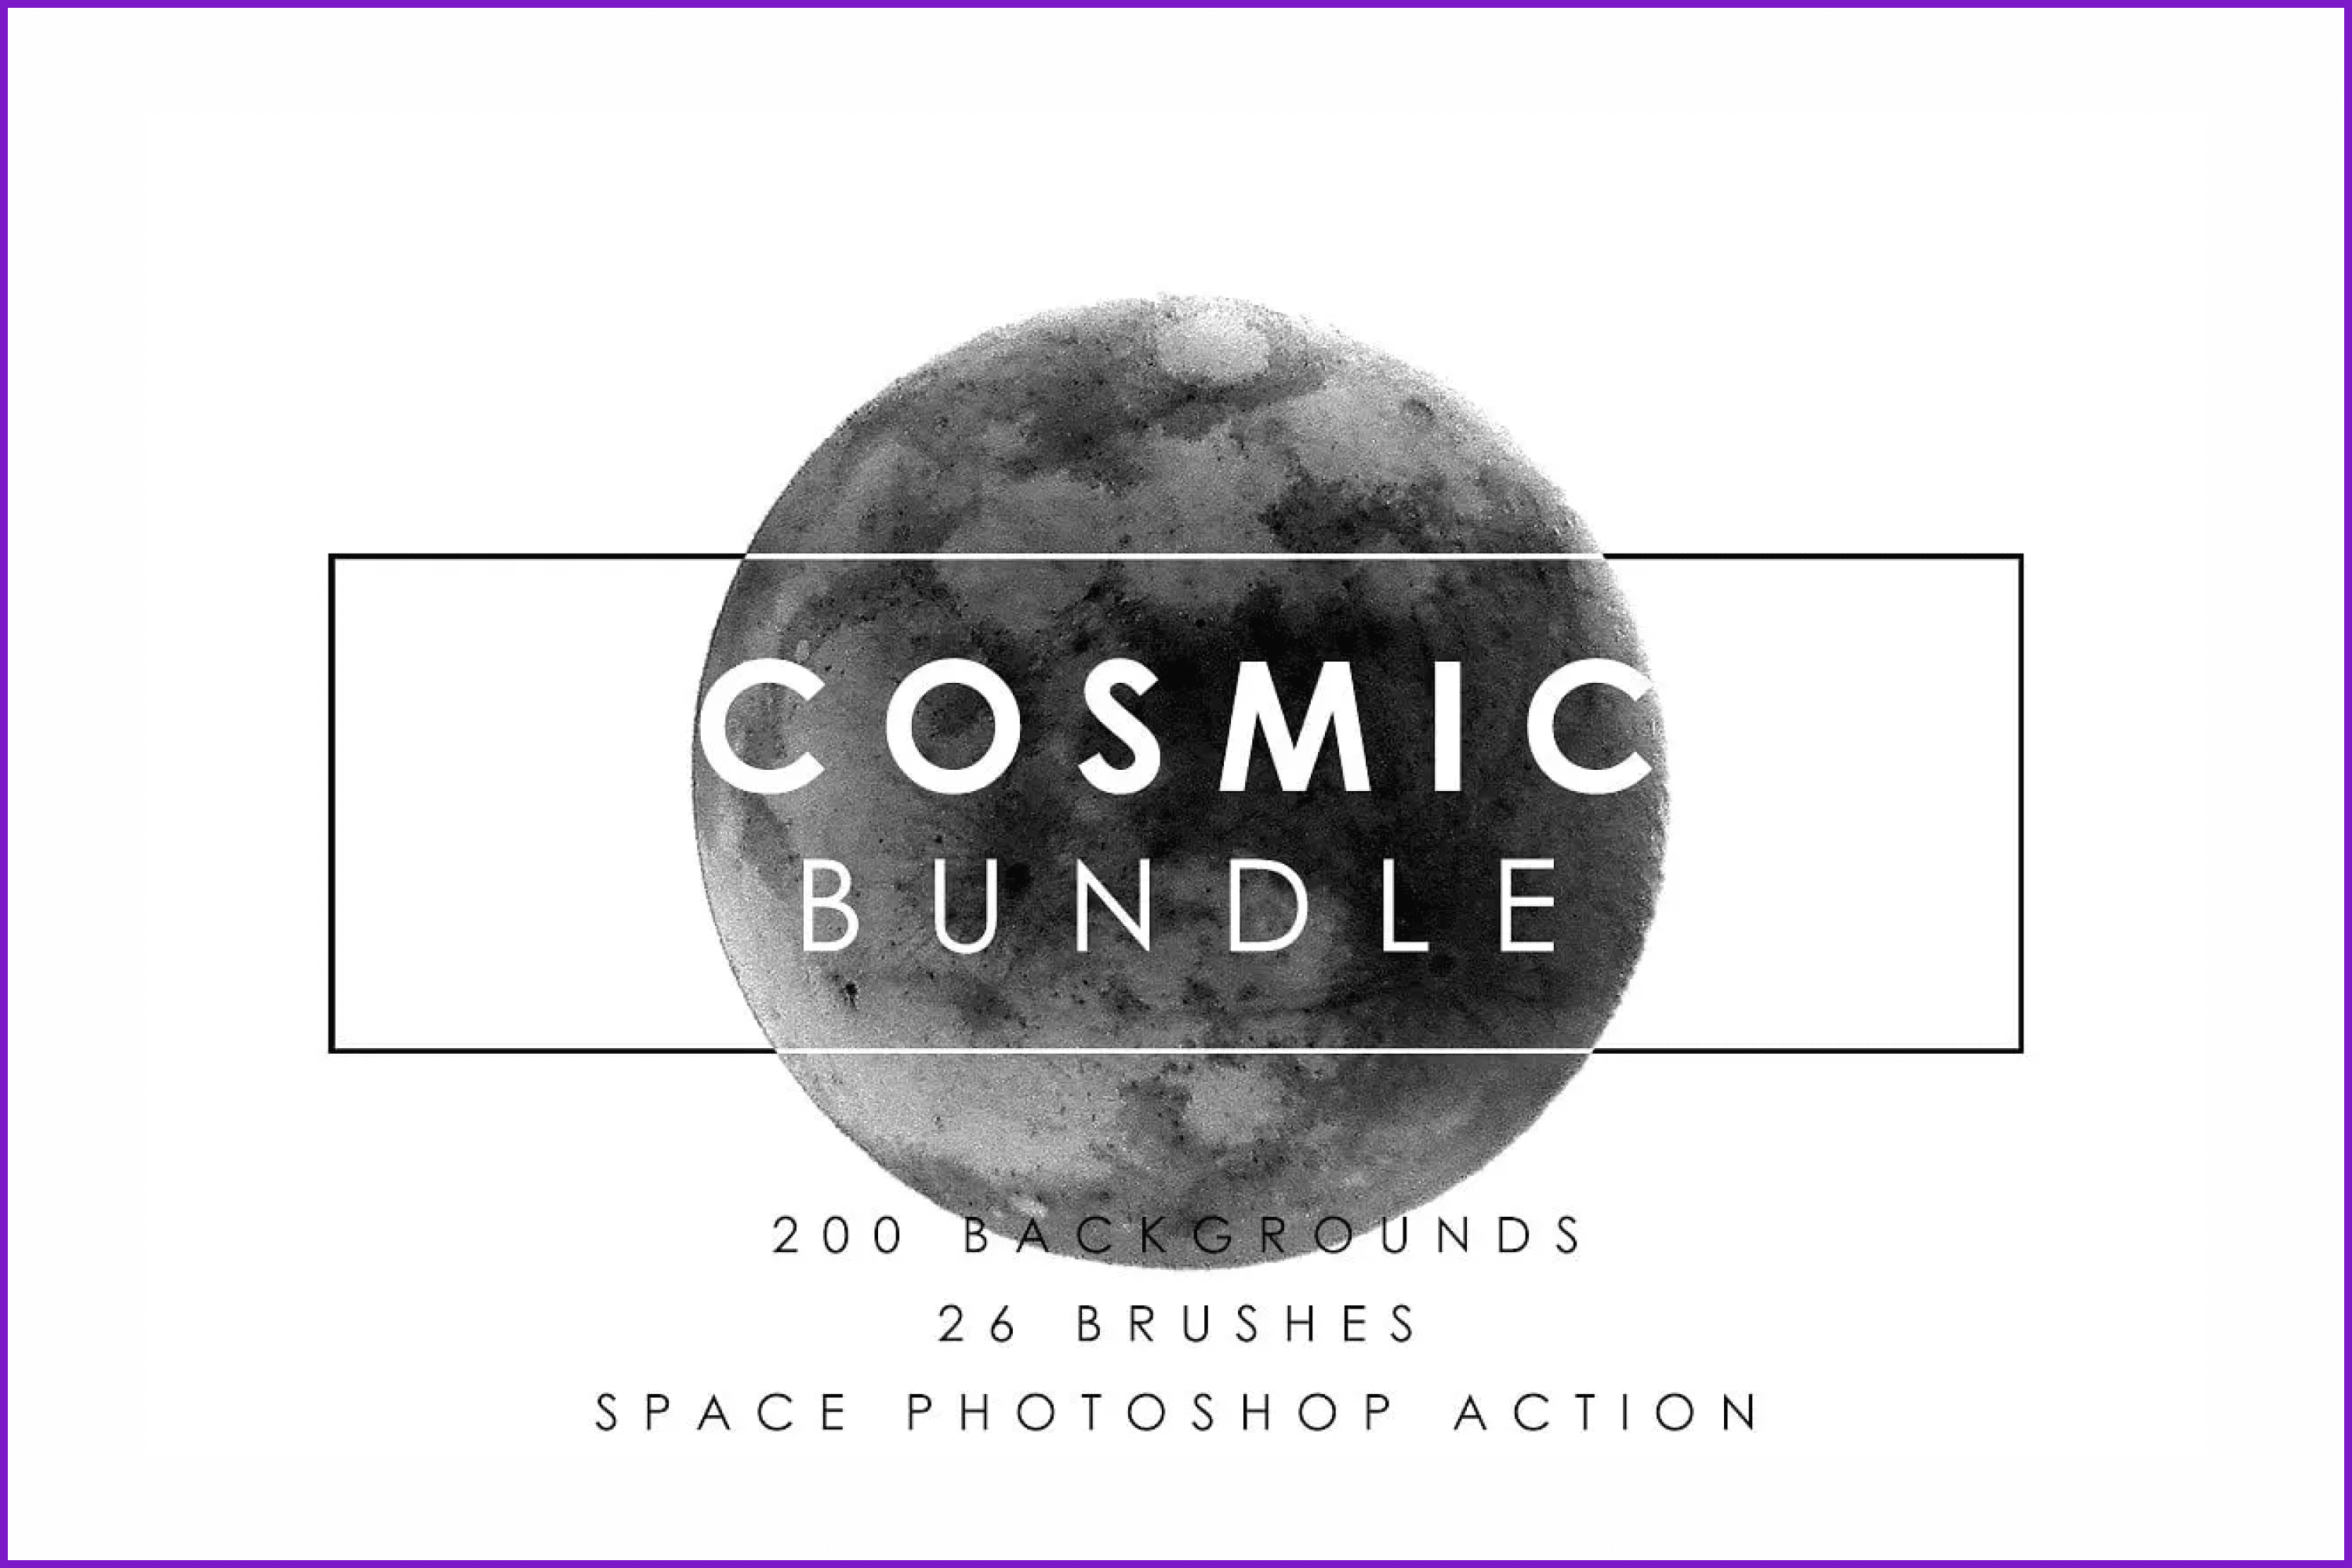
This bundle contains 200 high-quality space backgrounds, 26 space brushes, and a space Photoshop action.
10 Optical Lens Flares Pack
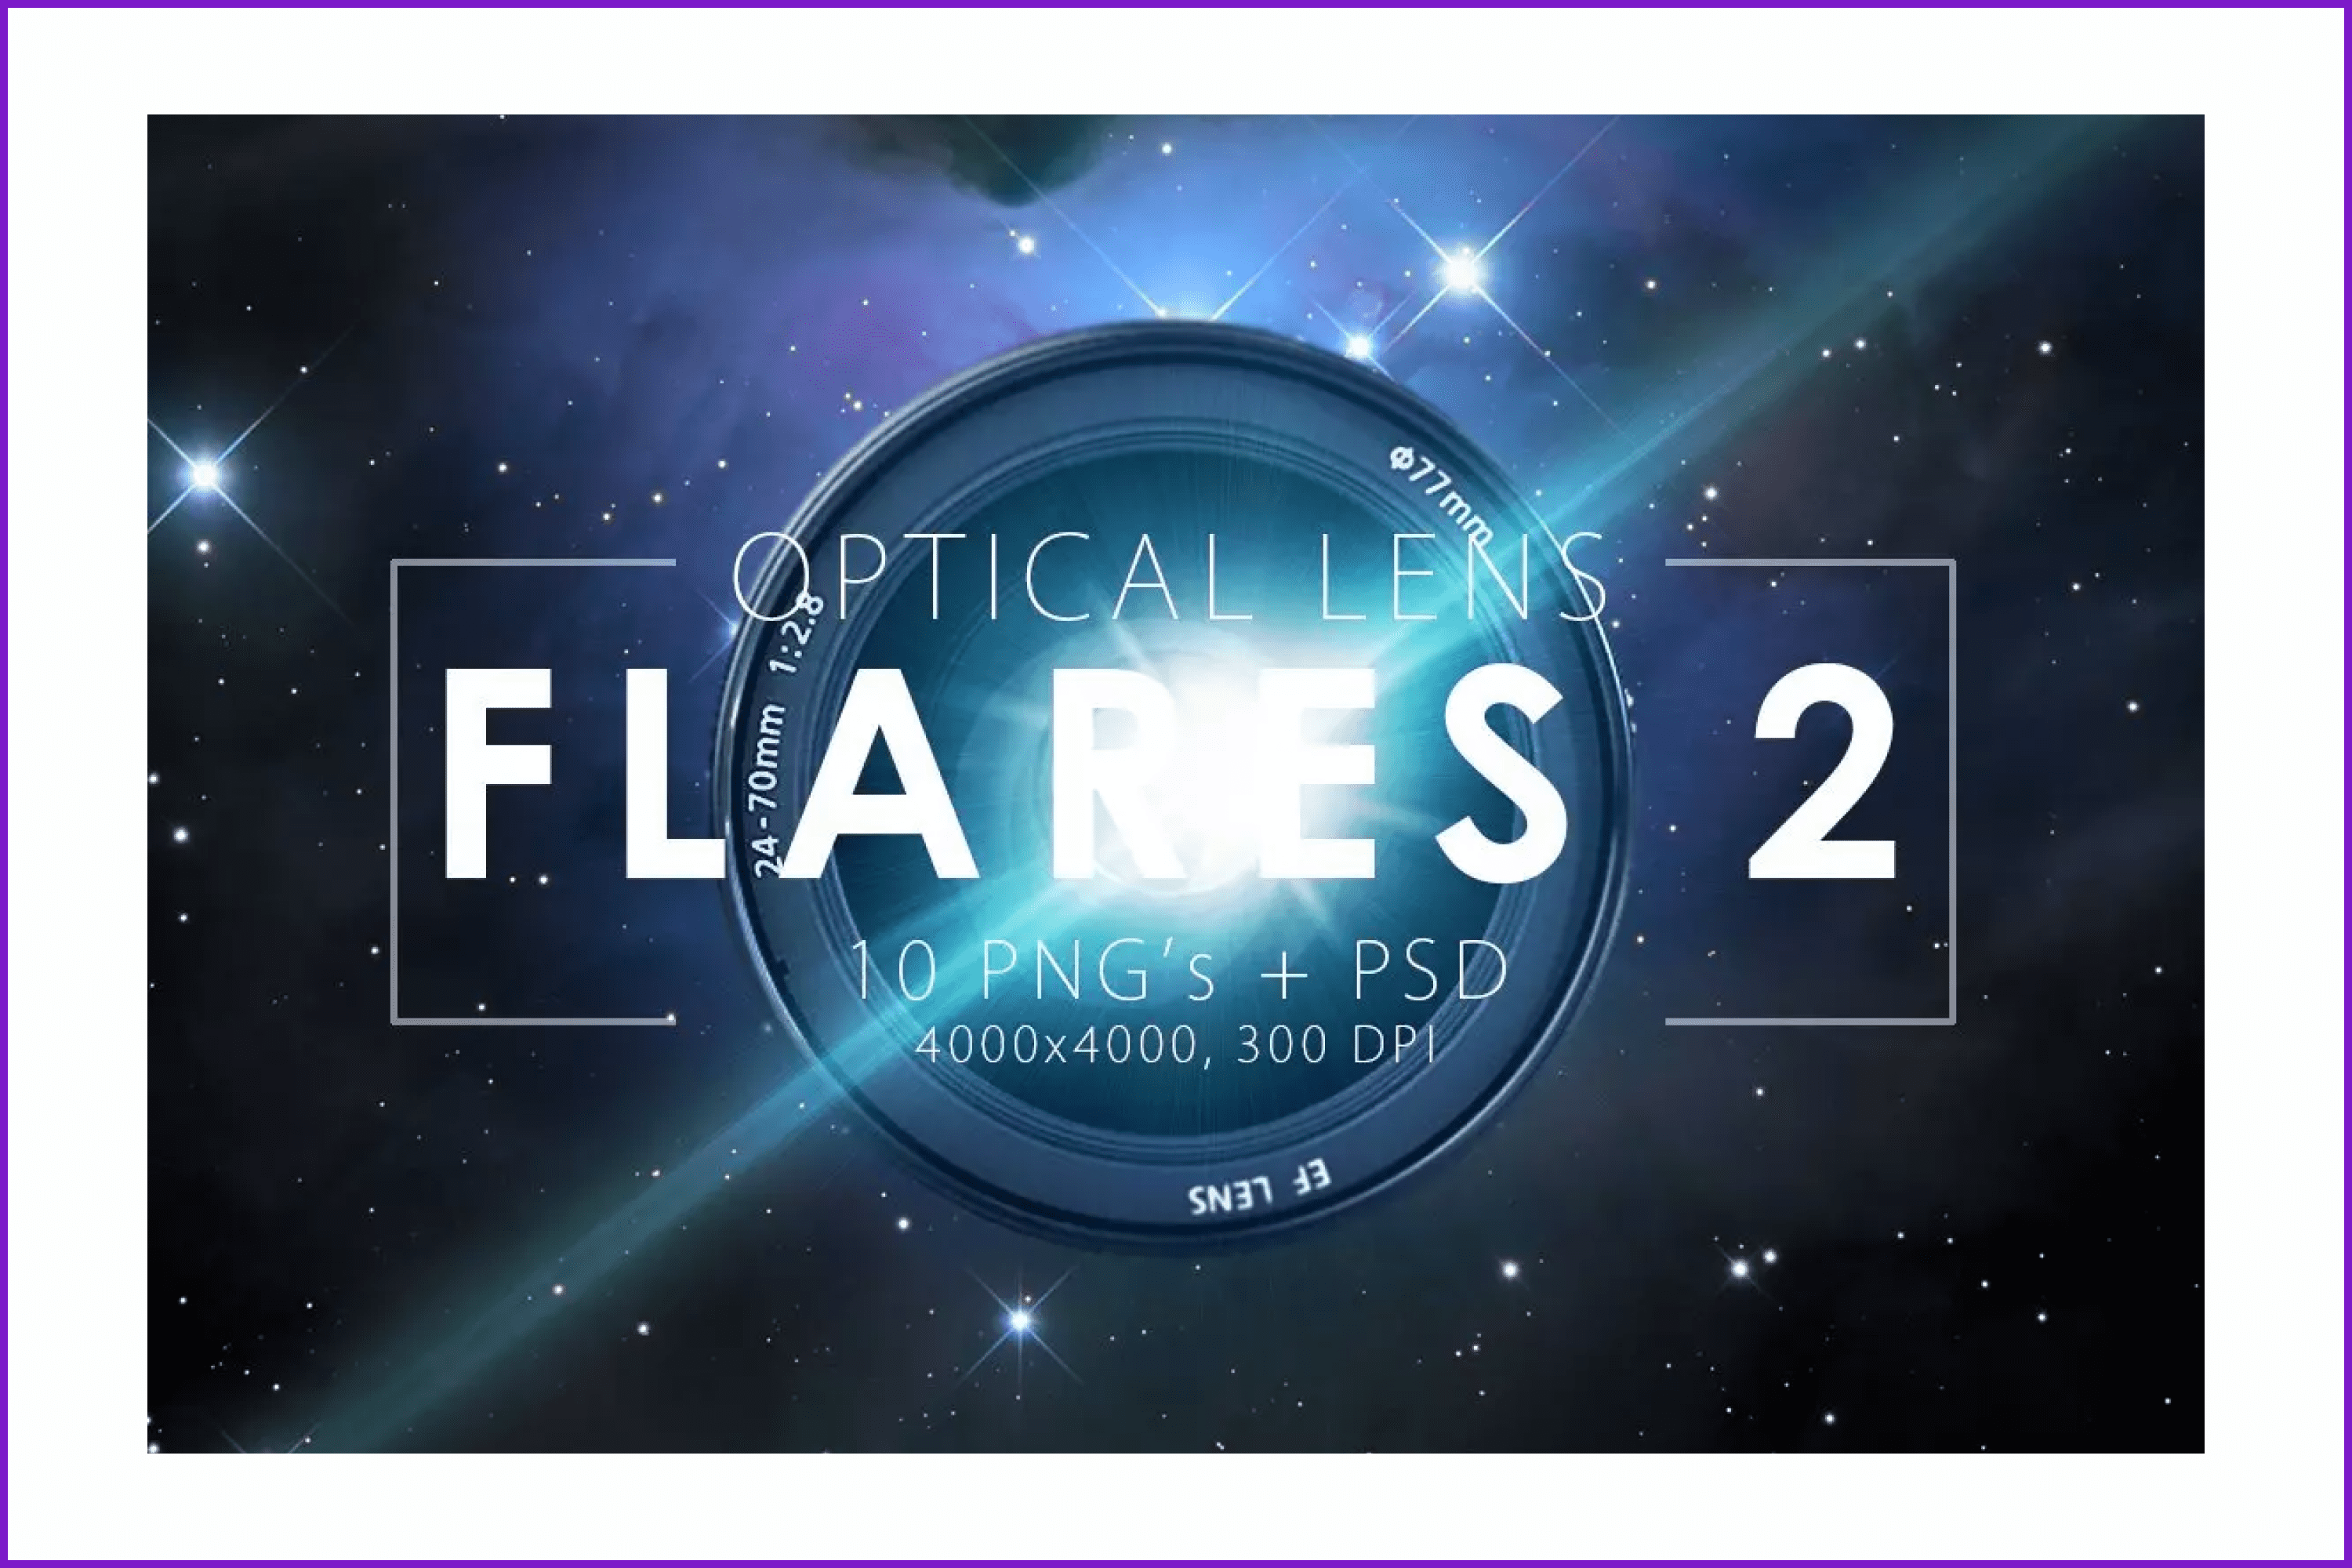
Pack 2 contains 10 high-quality lens optical flares, in easy to change colors, and customizable layers. Just drop flare from the PSD file to your project or drop the PNG file in, and set the layer mode to “Screen.”
Space Procreate Brushes V 2.0
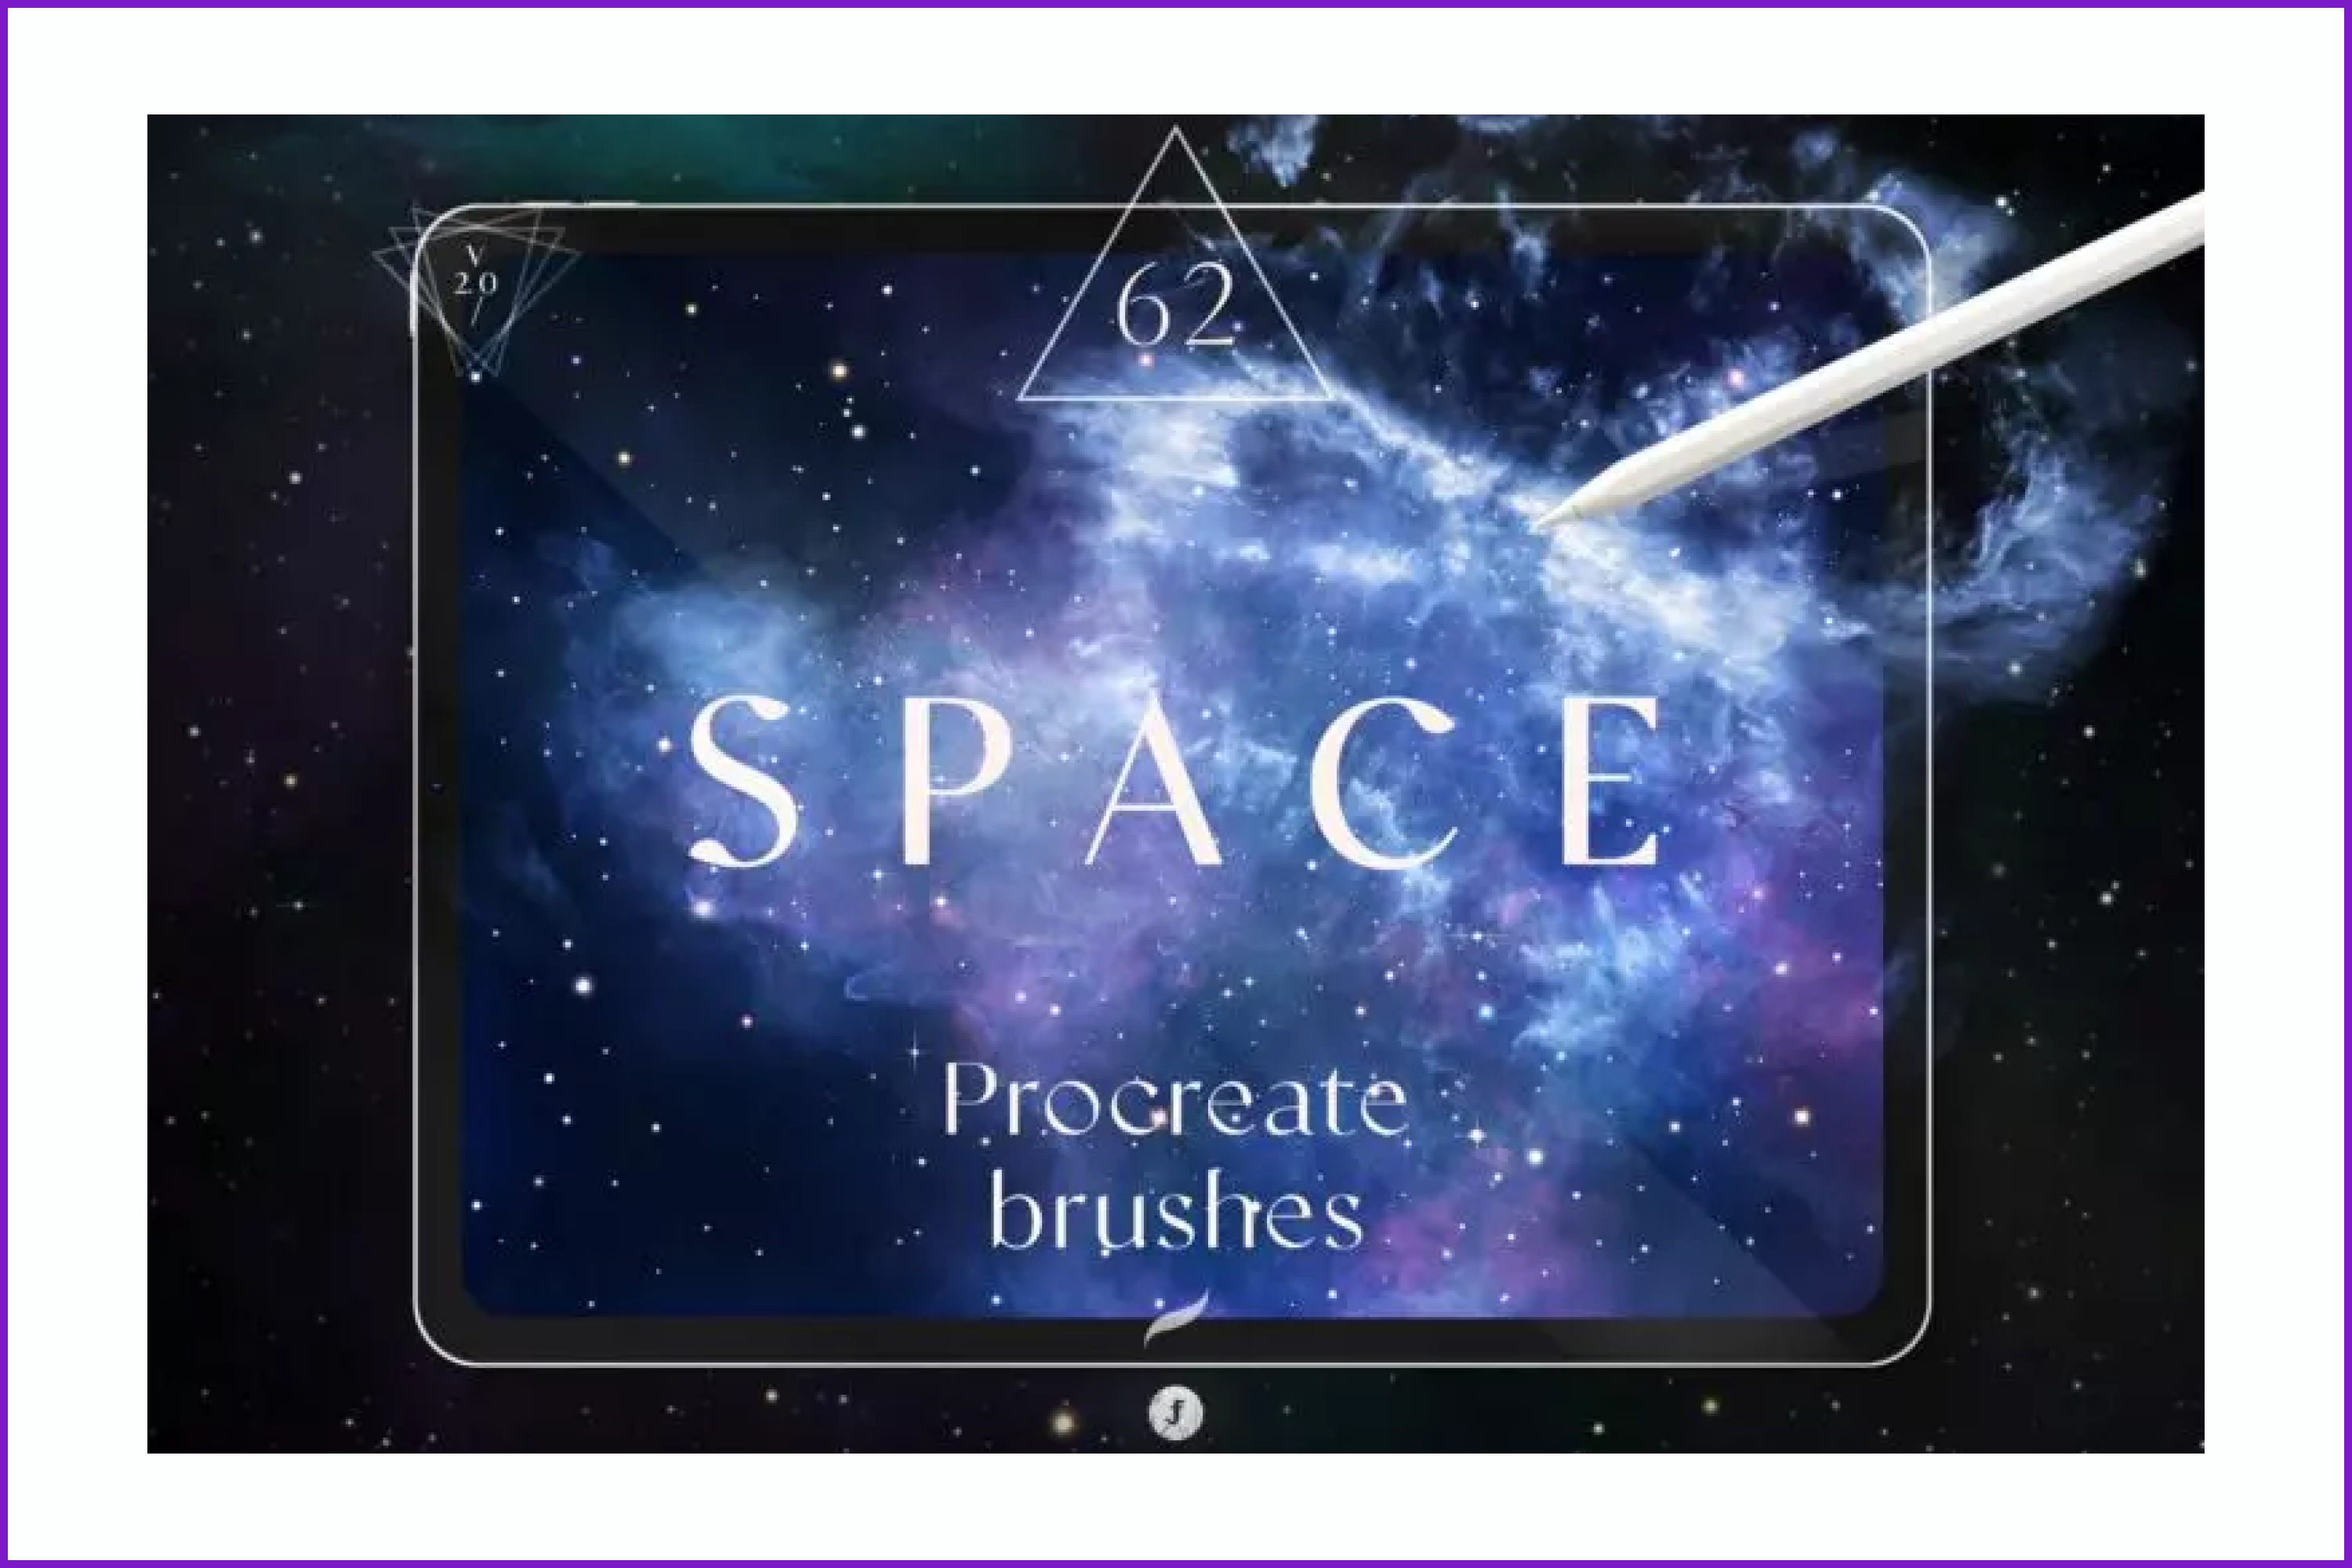
Here’s a nice set of 62 unique nebula and space brushes for creating unique designs and illustrations. The set of brushes is suitable for artists of any level. This kit makes creating natural nebulae, galaxies, and starscapes a breeze.
Unbound – Nebula Backgrounds
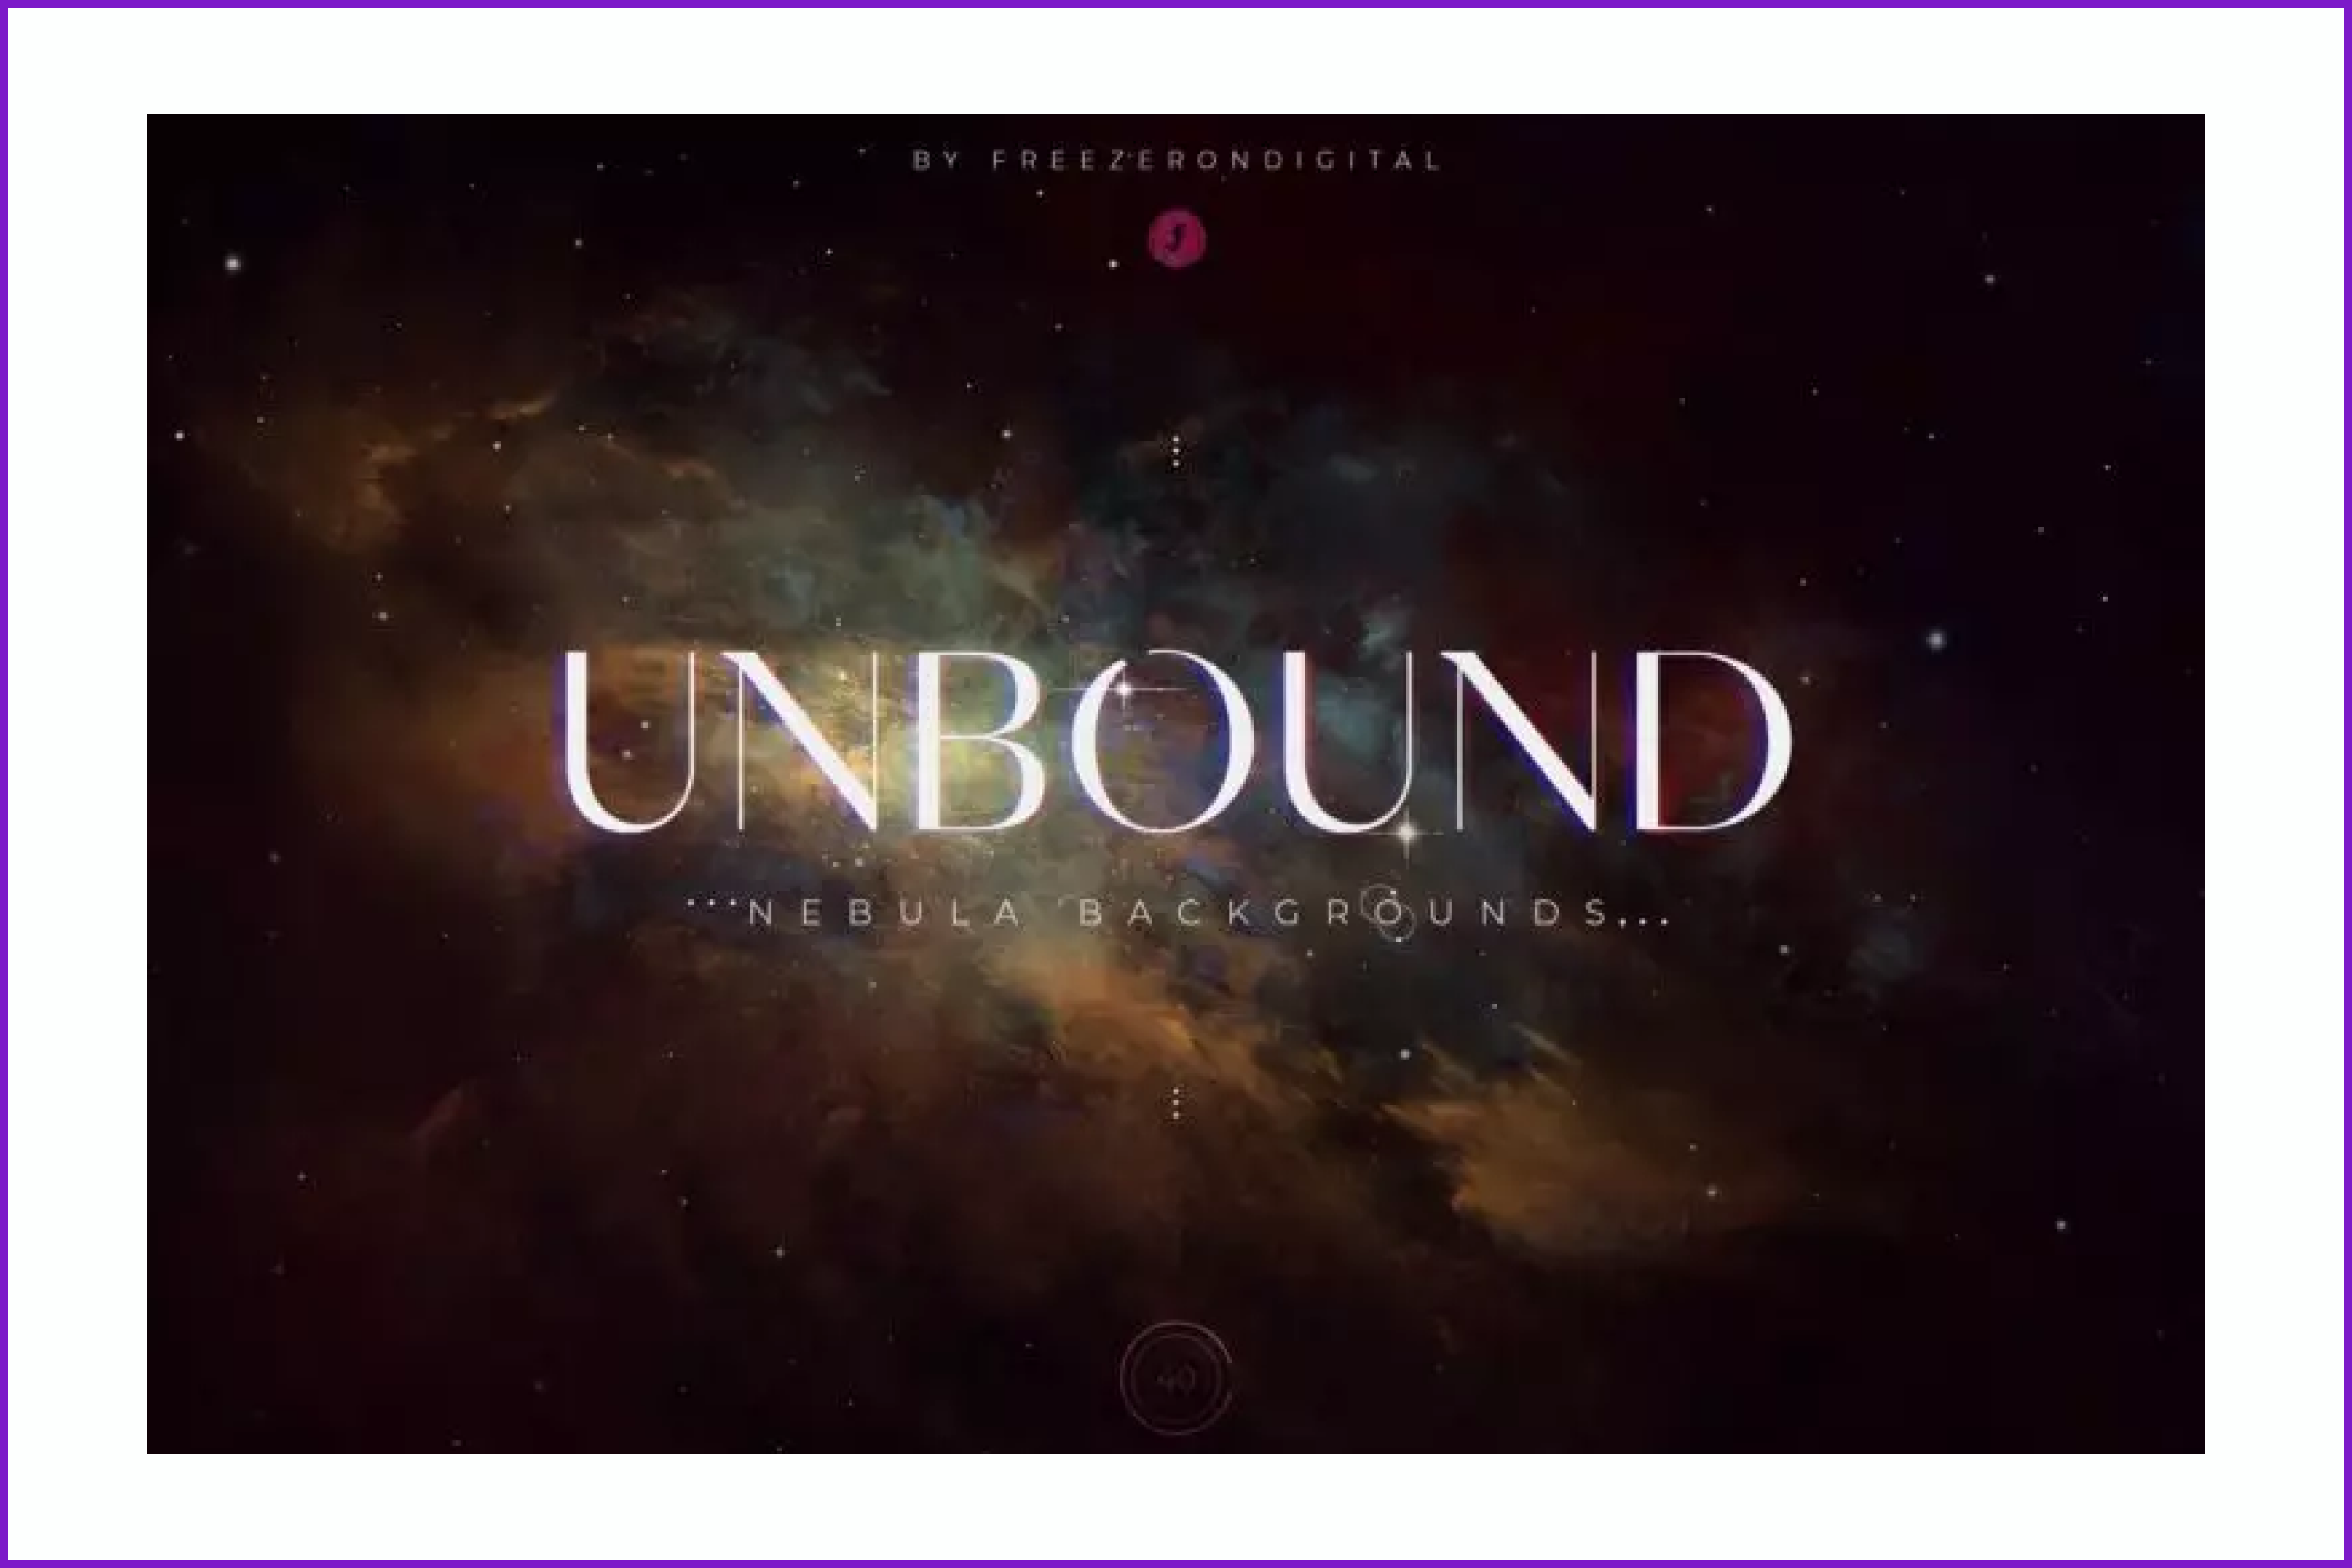
This is a pack of 40 detailed and natural space backgrounds. All of them are unique hand-drawn digital illustrations. Looks awesome!
100 Space Backgrounds
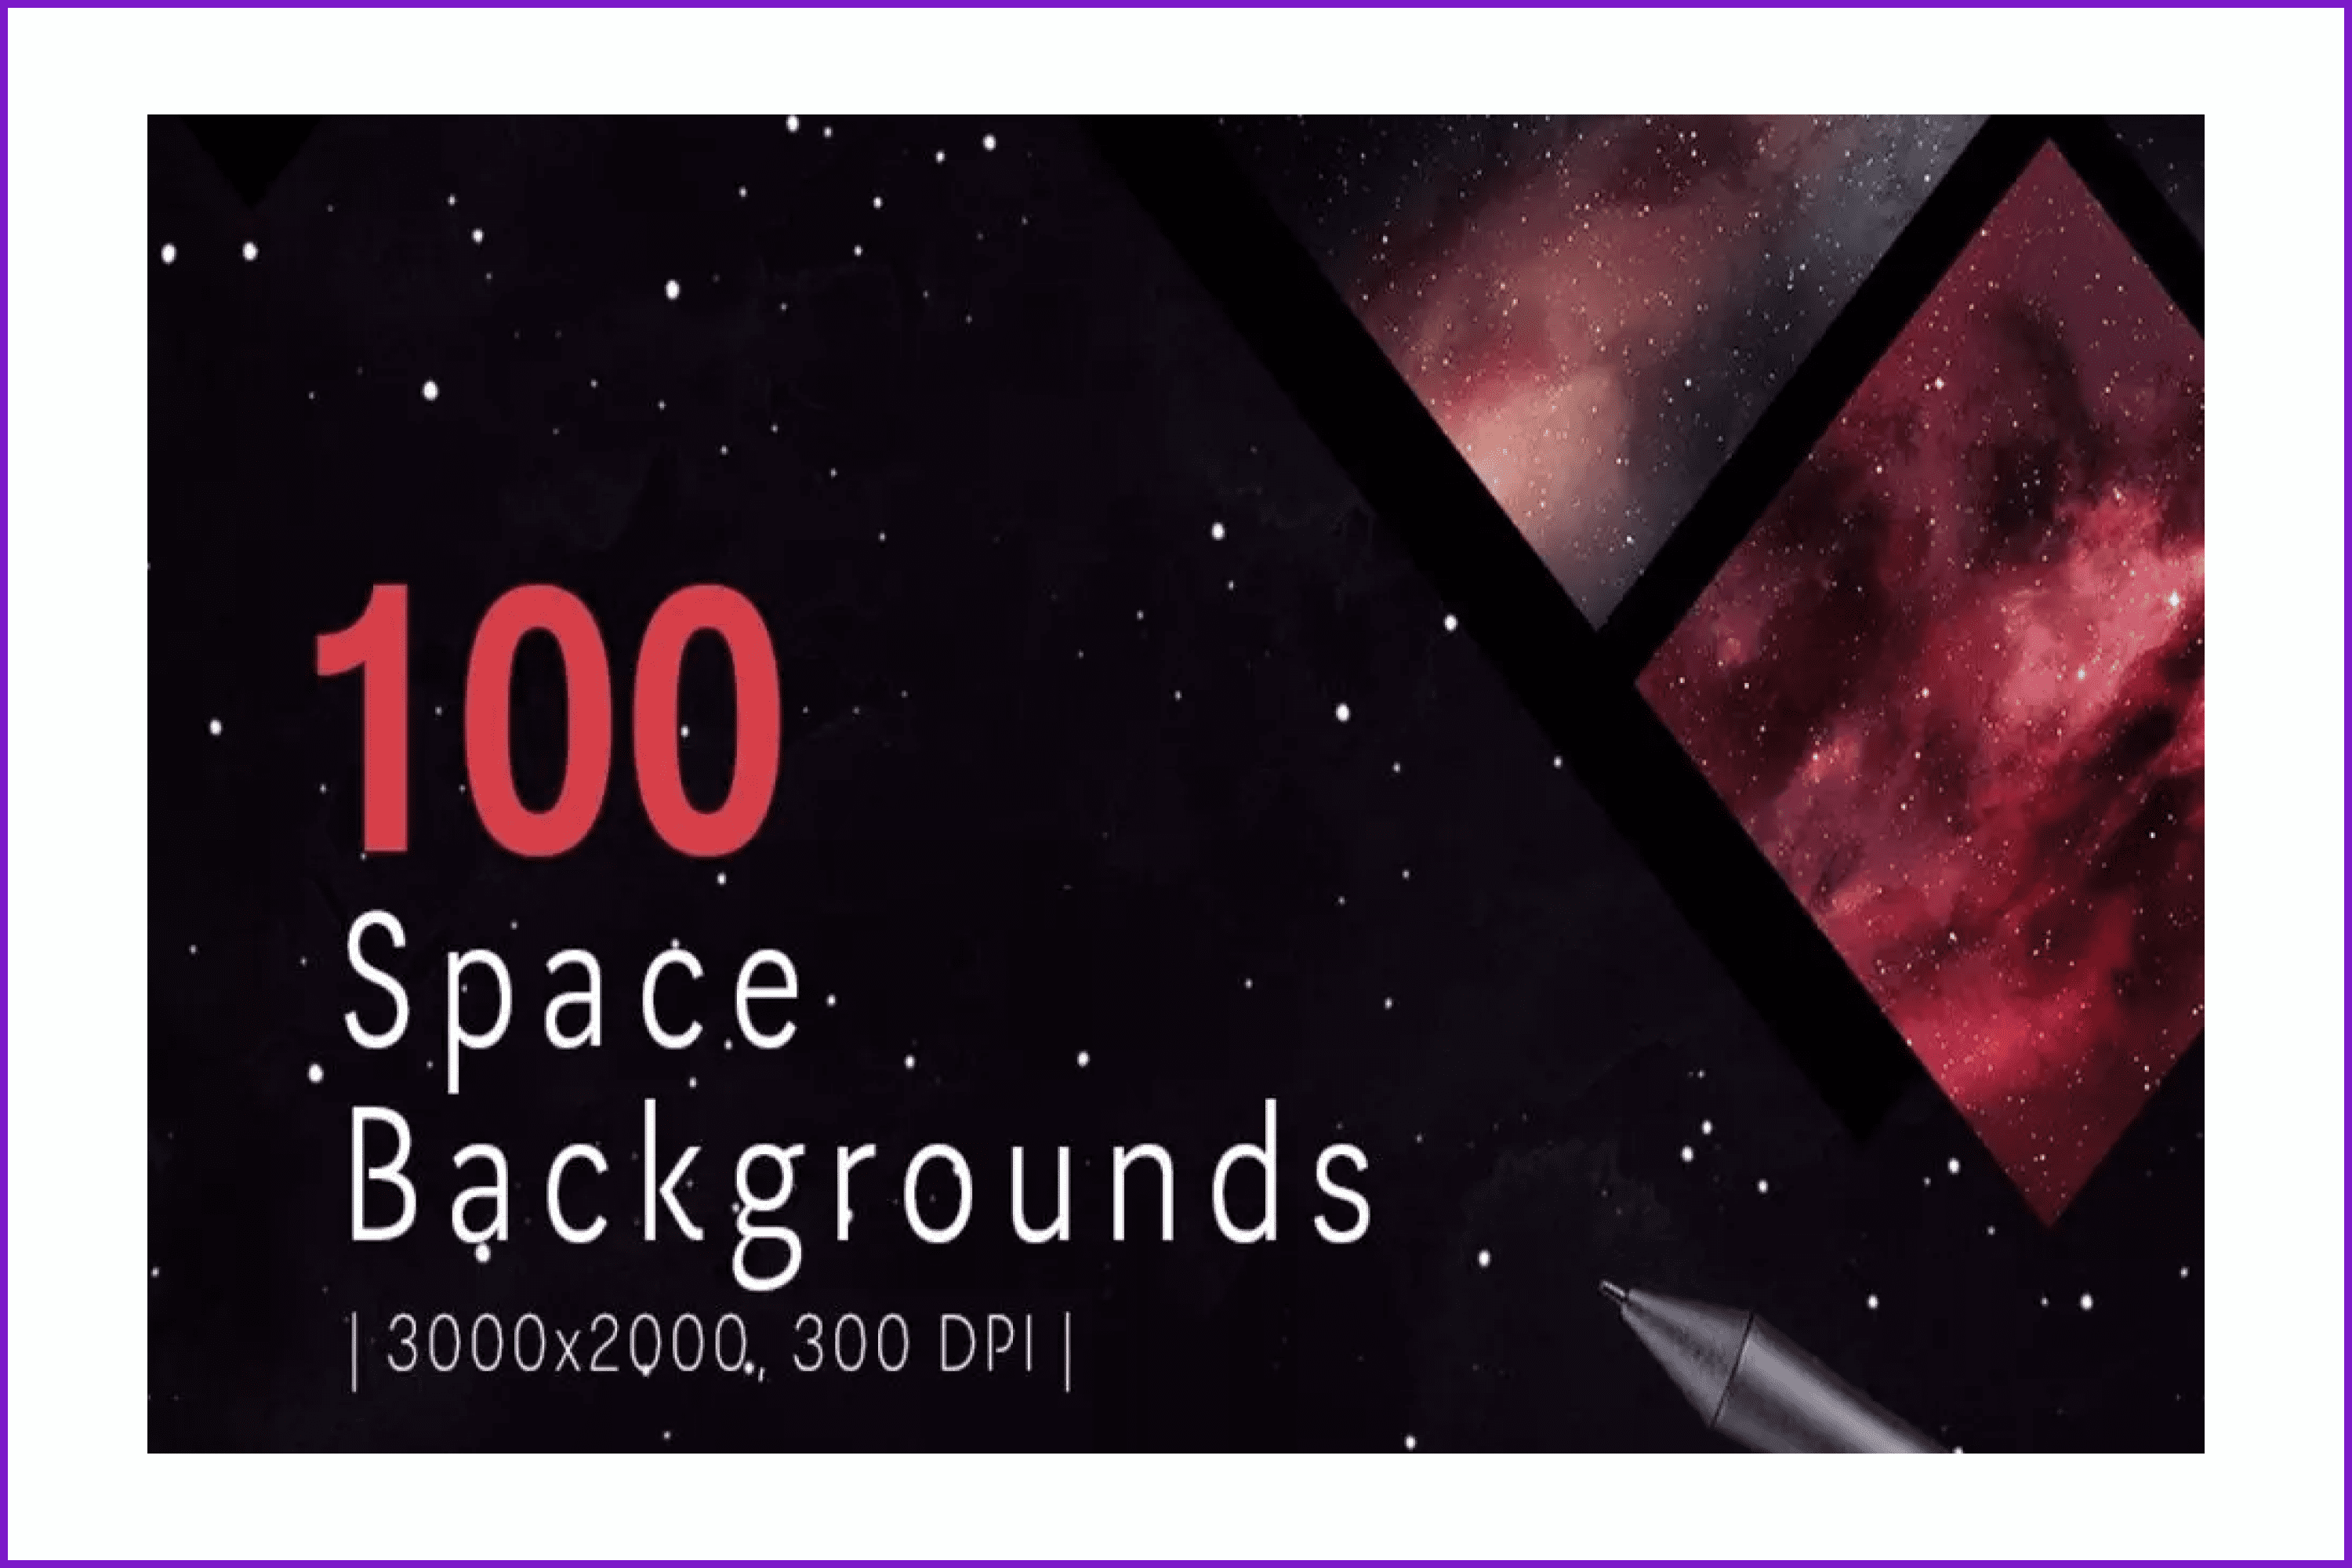
Pack of 100 beautiful polar backgrounds. Suitable for creating collages, websites, presentations, etc.
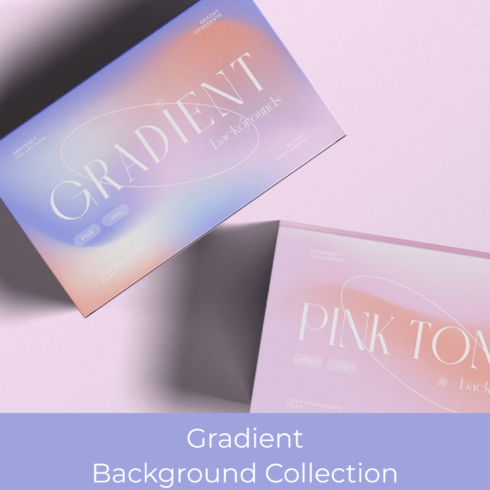
Magma Retro Gradient Textures
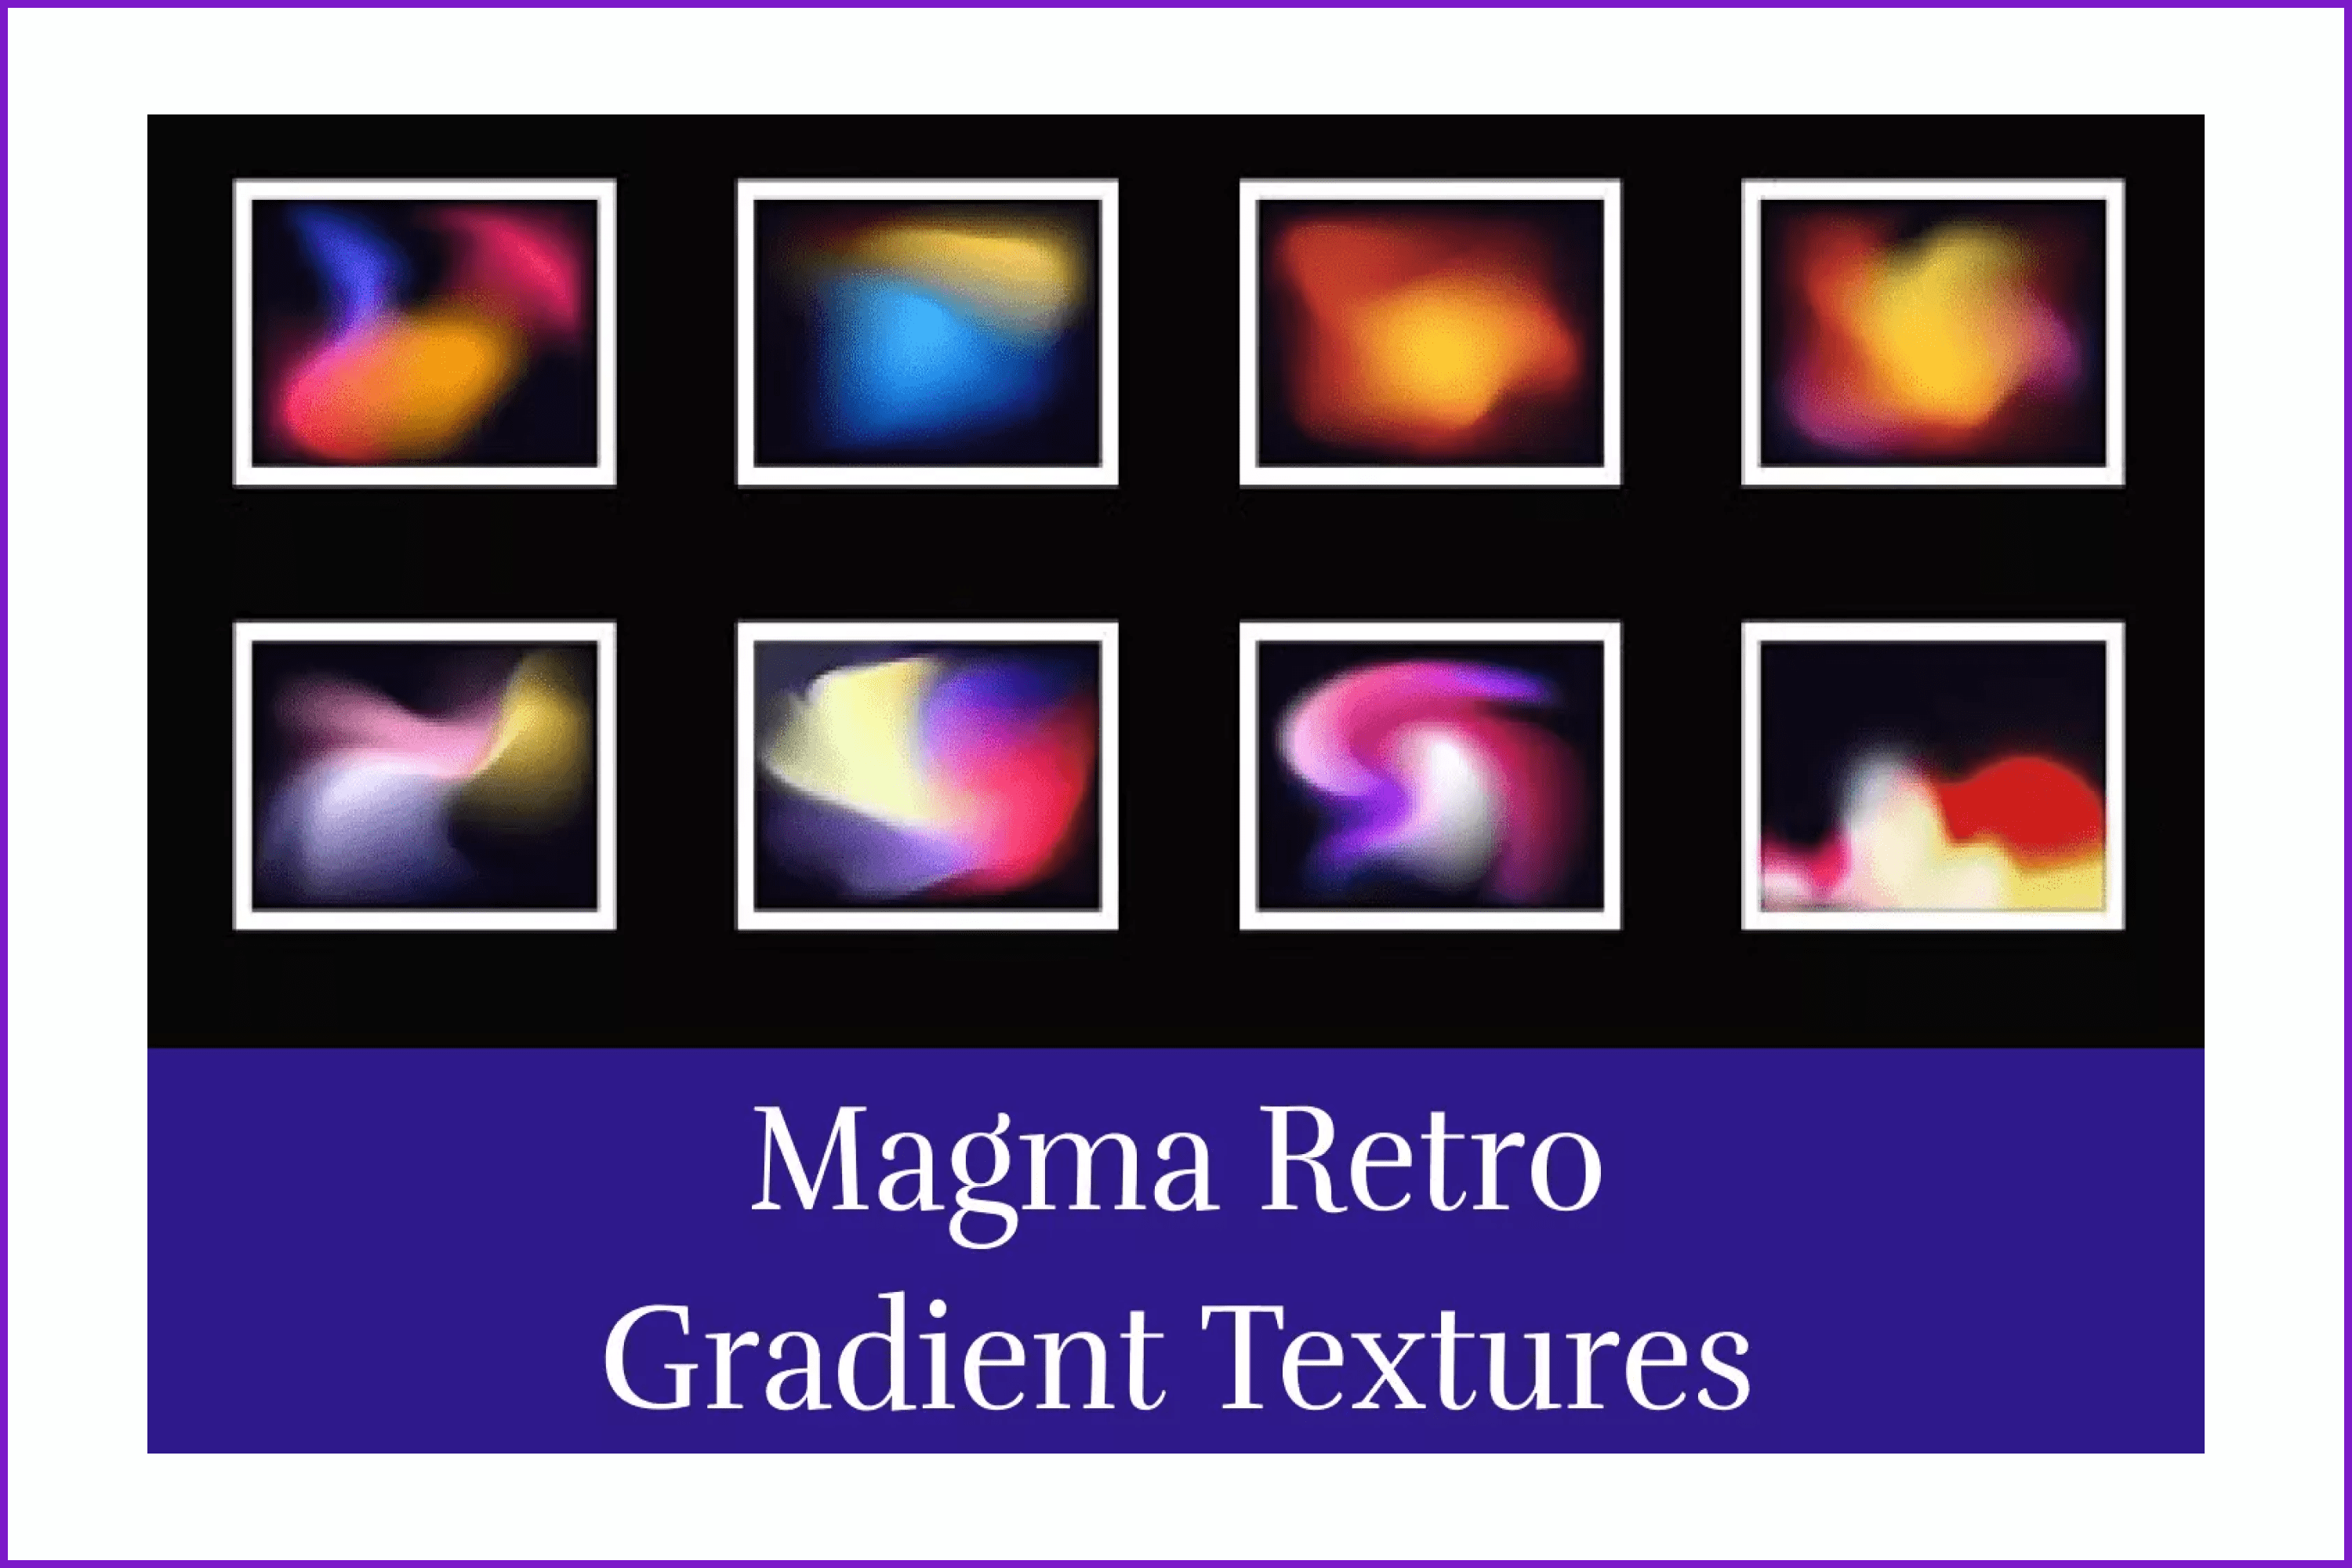
Incredible high-quality trendy gradient. The pack contains 32 colors and 12 black and white gradients with the addition of grain. They will make your design more interesting!
Conclusion
Now you have a step-by-step guide to creating trendy effects in Figma. Don’t delay the practice and start working on creating gradients right now. This will help you create more interesting solutions for your design. Don’t be greedy and share this link with your designer friends, they will also be interested in learning how to make the same effects.
Good luck designer!
Best Related Articles


- best Figma plugins
- Figma vs Sketch
- best Figma fonts
What are your concerns?
Thanks for your response!
Disclosure: MasterBundles website page may contain advertising materials that may lead to us receiving a commission fee if you purchase a product. However, this does not affect our opinion of the product in any way and we do not receive any bonuses for positive or negative ratings.