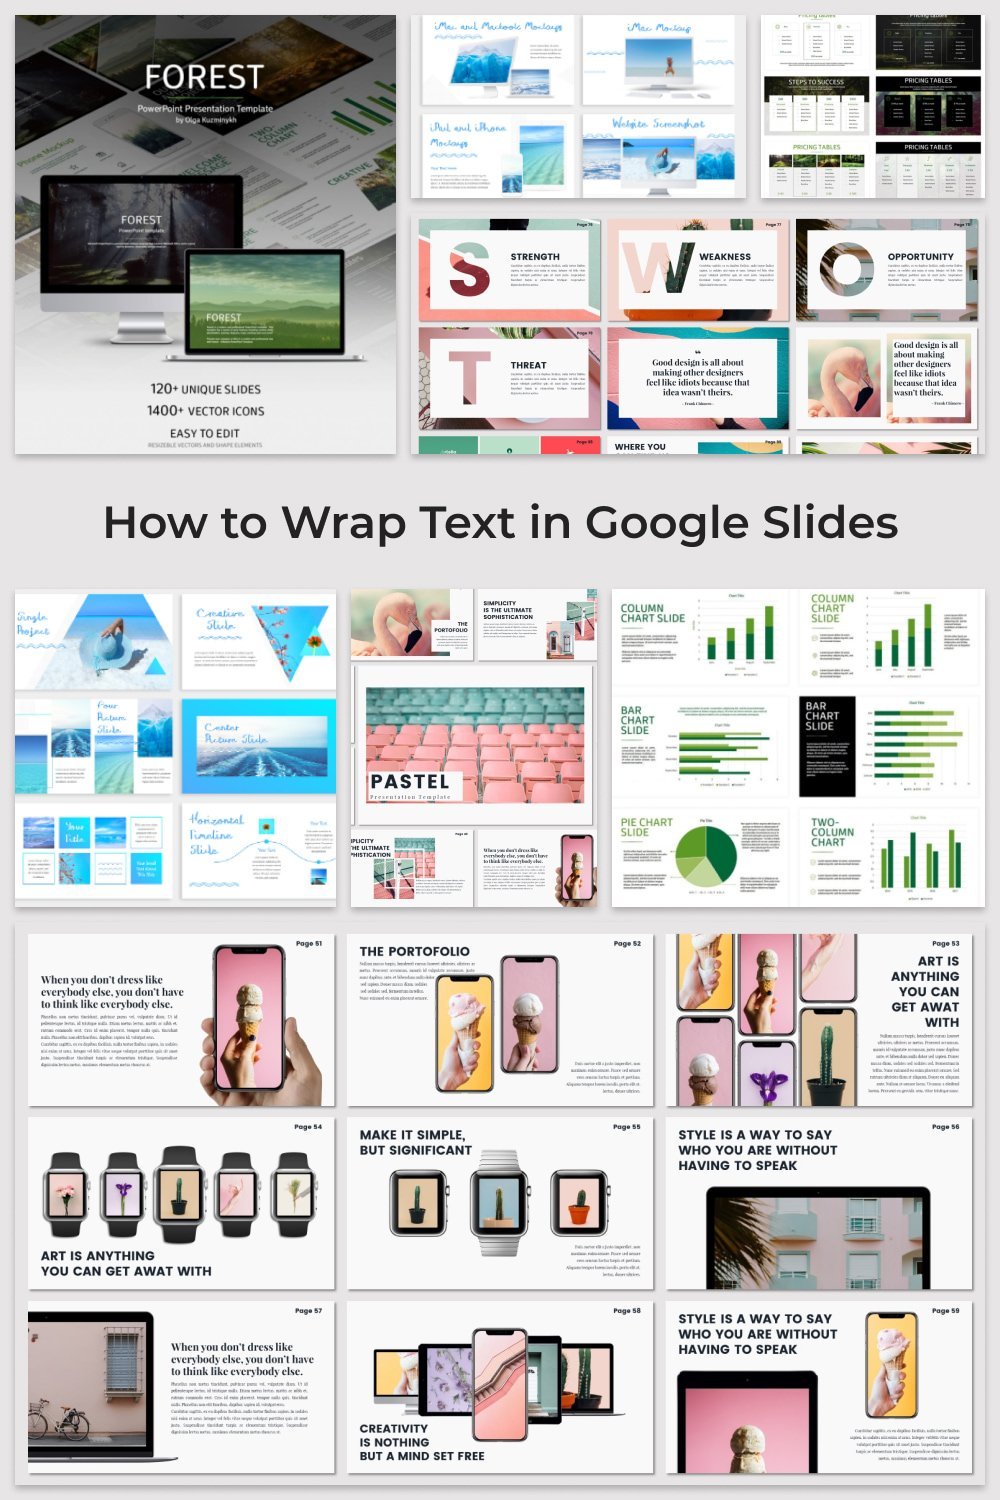
How to Wrap Text in Google Slides
How to Wrap Text in Google Slides. If you want to qualitatively, and the main thing is to make presentations quickly, then it is definitely Google presentations. This wonderful program is created exactly for this purpose.
No less interesting is to work in Google document. This saves you time, allows you to work online, and stores everything in the cloud. In Google documents, you can work with images by selecting different effects and positions on pages. It also allows you to work with texts by setting different styles, fonts, sizes, colors, directions, creating formulas and symbols.
Google docs and Google Slides are quite powerful systems that work wherever you can connect to the Internet. The big advantage is that they are free and have many features.
But before the start, you need to learn and understand what features Google presentation and Google document provides, what are the subtleties and how to work with this program.
So, first, we suggest you figure out how to work with texts in Google Slides. Because often there are questions of how to make the right font, rotate the text, edit it, do with a slope. We hope that the following information will help you understand and use Google presentations.
Top 5 Best Presentation Bundles
| Product Image & Rating (Out Of 10) | Product Name | Price |
|---|---|---|
 9.9
|
Google Slides Templates for Teachers in 2020
|
|
 8.9
|
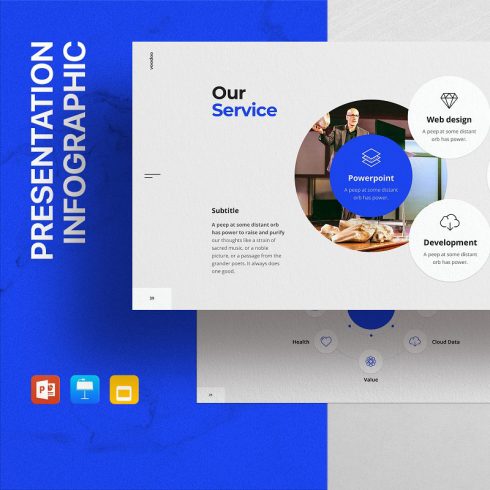
Voodoo Presentation v2.5 – Templates
|
|
 8.6
|
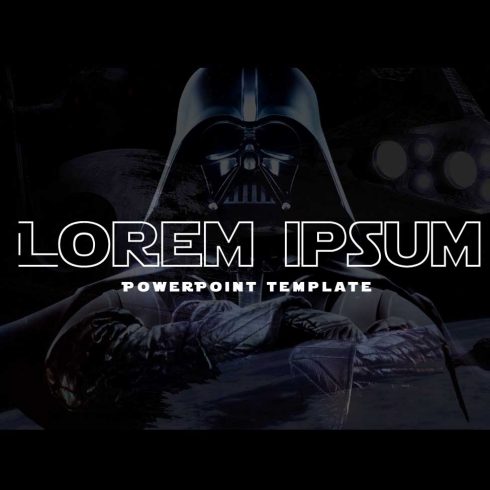
Star Wars Powerpoint Templates
|
|
 9.9
|
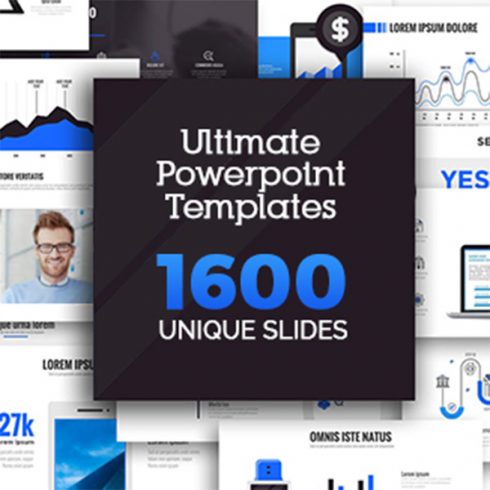
Technology Powerpoint Templates in 2020
|
|
 9.9
|
Modern PowerPoint Templates in 2020
|
How to wrap text in Google Slides
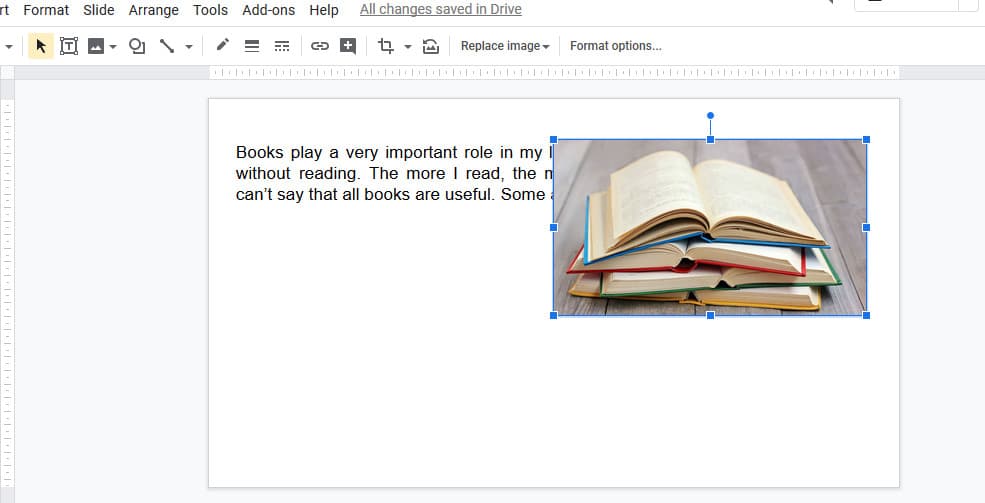
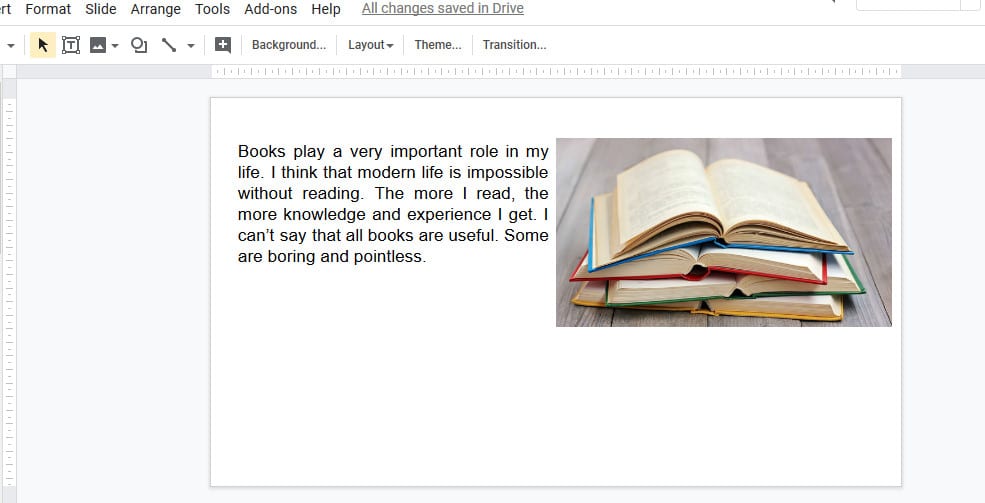
Wrapping text in Google Slides is easy enough, but sometimes because of the seldom use of the program, or in the first stages of building a presentation, there may be problems that we can help you solve. We guarantee that you can do it in a few minutes. So, if you don’t know how to make text wrap around an image in Google Slides, do the following steps:
- Upload images to the slide from your computer by clicking Insert, selecting the Image option. In the drop down, you have ways to load an image (upload from computer, search the web, upload from google drive, from photos, by URL, and by camera). You choose the one you like. The object will be added over the existing text on the slide.
- Reposition the image and resize it. Repeat the same steps with the text.
An example of how to text wrap in Google Slides can be seen on the following screenshots:

How to outline text in Google Slides
The outline text in Google Slides that will be different colors from the filling of the text itself helps to make some dramatic looking text. The Word art function may be the best option for this task. To make a text path, you need to use Word Art, because this is where the text is not limited to font size and color. The same function is available in PowerPoint presentations. We suggest you compare the functions and features of the two programs.
| Google presentation | Microsoft Power Point |
To create a text outline in Google Slides, you need to do the following:
|
To create a text outline in Power Point, you need to do the following:
|
In Power Point there are more types of text that you can use to make your presentation better. But don’t forget that the availability of features depends on the software update and the version you use. So keep in mind that in Google Slides you can apply the Word Art option regardless of the version, and so on.
Here is a short gif showing the process of how to outline words in Google Slides:
How to make text boxes in Google Docs
Creating text boxes in Google docs is a great way to highlight information (quotes, formulas, captions) and easily move it. You can add border to text box Google Slides in a few minutes by doing this:
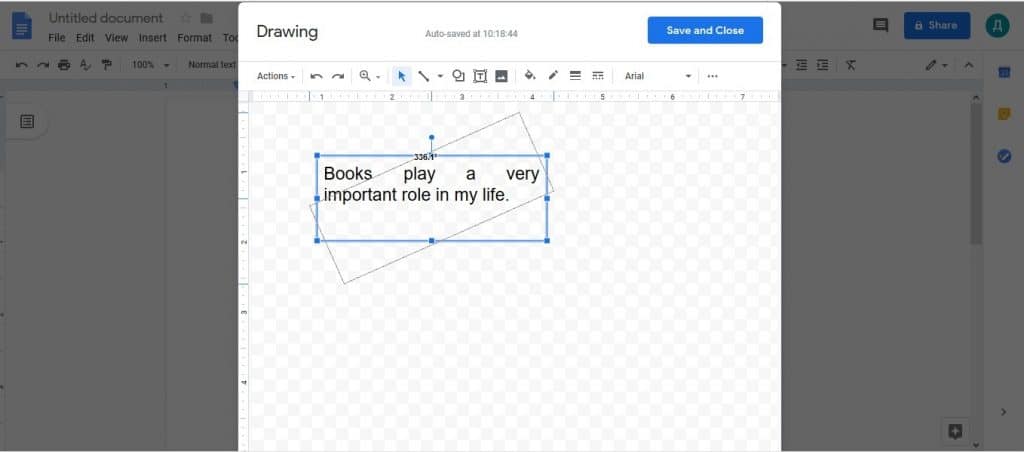
- Click the Insert option on the control panel
- Select the Drawing section, and then New here
- Click on the Text box icon to create it
- Create a text box by dragging the mouse
- Enter or paste the text
- Set the font, text size and color as needed
- Click Save and close
- Place the text box on any part of the document
You may see an example on the following short gif:
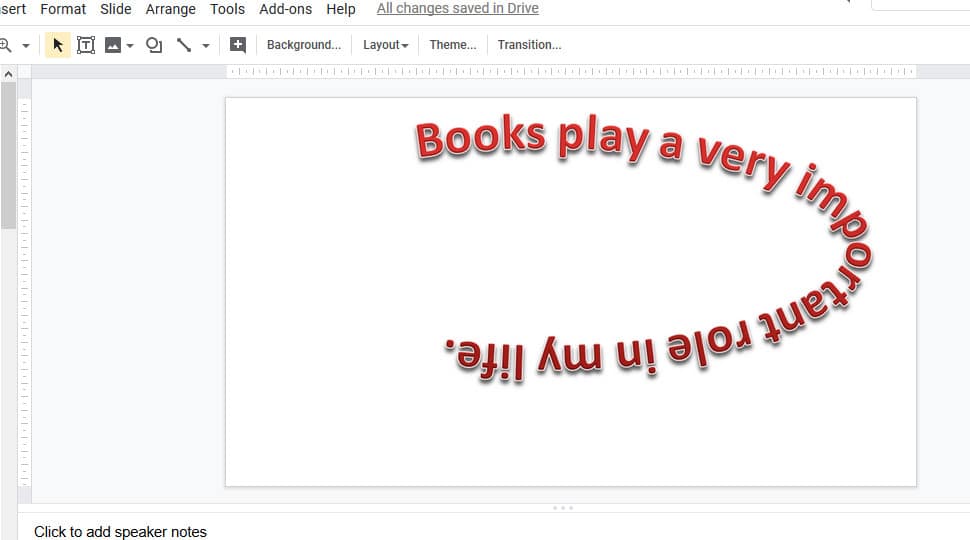
How to curve text in Google Slides
Curving the text means to make it unusual and original. Unfortunately, Google Slides doesn’t have the advanced features of Word art. But as a way out of this situation, you can create curved text in Microsoft Office Word and copy it to your Google presentation. This will take some time. The main thing is the presence of Microsoft Office Word and advanced features of Word art.
If that is the way you like, you should do it this way:
- Copy the desired text and paste it into Microsoft Office Word
- Highlight the text by clicking Insert and select WordArt among the listed options
- Press the WordArt icon and then select the desired text effect (with/without shadow, round, framed, blurred, etc.)
- After that you must select this and apply it to the text
- Then the Format window will appear and you need to click Text effects
- Here you select Transform and click on the transformation you want
- After doing this, copy the curved text and paste it into Google Slides (will be inserted as image)
- Change the size or position of the text if it is necessary
The result of making curve text in Google Slides could be this:
How to add a hanging indent in Google Slides and Google Docs
Hanging indent is a formatting option that will automatically add a left indent to the paragraph, leaving the first line in its original position.
Follow these easy steps to create a hanging indent:
- Open a document in Google Docs and click on the line in the document you want to indent (you can click anywhere in the paragraph to be indented).
- Select the Format tab at the top of the window.
- Next, click the Align and Indent option.
- Click the Indentation Options and choose the Special Indentation drop-down menu.
- Click on Hanging, then choose the indent size and at the end, choose the apply button. That’s it!
How to add bullet points to Google Slides?
A bulleted list helps you highlight important information and summarize it. To add bullet points in Google Slides, follow these steps:
- Open your Google Slide presentation and click in the text area where you want to place your bullet point list.
- Click the More button on the toolbar and select Bulleted Lists there.
- If you’re looking for an even easier way, you may use the keyboard shortcut Ctrl + Shift + 8 to launch the bullet list in Google Slide.
- After the first bullet point appears, type any word or phrase and press Enter to create the second item in the list.
Google Docs Rotate Text
Placing text in Google documents is common. You can adjust the font, color, position, but the rotation text will have a greater effect in any direction. But you won’t find the button that does it.
Pay attention to the following steps that will help you rotate text in Google Slides as you want:
- Find the text you want to rotate, and copy it
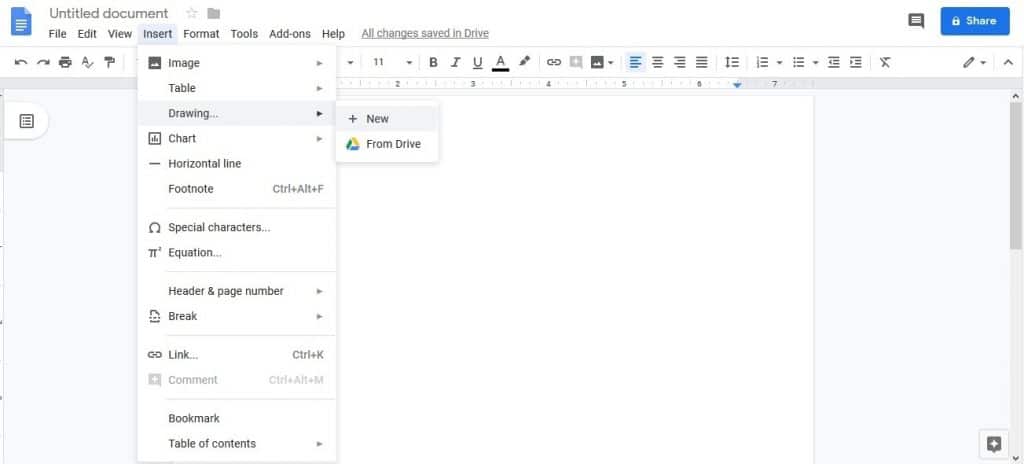
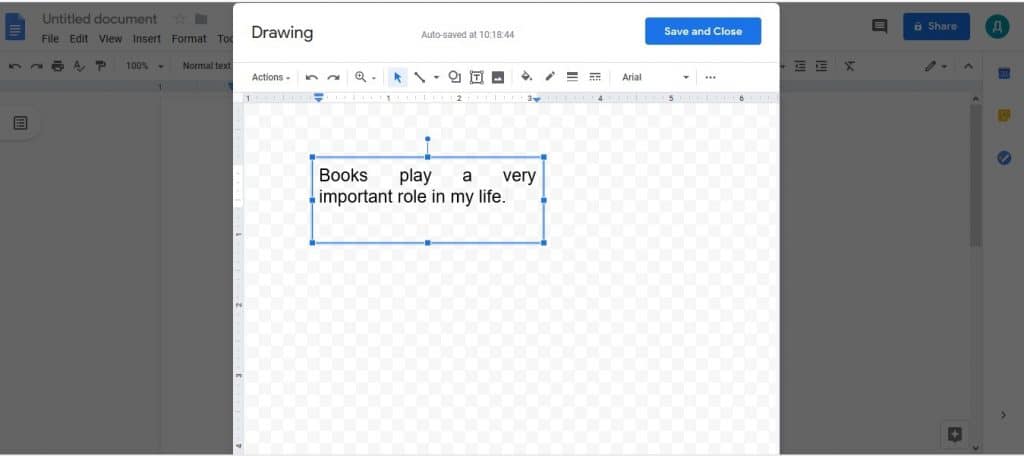
- On the control panel, click Insert
- Select the option Drawing, then click New. The Drawing window will appear and it means that you may create a text box
- Click the Text box icon
- Create a text box of the desired size
- Paste text, point the mouse cursor at the top of the text box to display a sign “+”. This means that the text box can be rotated
- Click Save and close
- The text box will appear in your document and you can move it to any space.
It is an example of how to rotate text in Google Slides:

Images are an integral part of every presentation. It would seem to be easy to download and insert a picture. But in Google presentation and Google document there are many features, techniques, and ways to manage the images that will help you achieve the desired result. With the help of Google, you can make an inscription on the image, caption it, make the image background, rotate the image on Google Docs and so on.
We suggest you learn more about how to work with images in Google documents. In the following instructions, you will find the most popular ways of working with images in Google presentation and Google document.
How to put text over a picture in Google Docs
You may use different programs, editors, and effects to get text over an image in Google Slides. But again, this will be done easily in Google documents. This will not take long. Follow these steps to put words over an image in Google Slides:
- Open the document and click Insert
- Select the Drawing option, then click New
- In the Drawing window upload/add an image
- Stretch or shrink it to make the size you want
- Select the Text box in the main menu bar
- Click and drag the mouse to create a text box on the image
- Reposition the text box to any space on the image
- Paste text into the text box
- Change the size of the text in this box, font, color and so on, as needed
- Click Save and close
Here is a short gif showing the process of putting text over a picture:
How to add a caption to a photo in Google Docs
The image with the caption is very informative and gives a clear idea of what the image is/where it comes from/ what it means. This can be done in both Google docs and Google Slides. We suggest you to pay attention to two variants. And you will be able to choose which one will be easier for you.
| Google document | Google presentation |
To add a caption in Google docs, you need to do the following:
As you can see, the image and text are one picture. |
The second way is to create an image with a separate caption. You can do this in a few steps:
|
Both ways of putting words over an image in Google Slides are convenient, which one to choose depends on your preference and on what kind of caption you need.
In the next short Gif you can see how easy is to add a caption to the image in Google docs:
How to flip image in Google Docs
This is a frequently asked question, but the solution is very simple. If you want to flip image in Google Docs in a couple of minutes use the following instructions:
- Сlick File on the control panel in Google document
- Select New, and then Drawing in the drop-down, which help create a Drawing box
- Upload or paste the image in one of the provided ways
- Select Arrange or Action (depends on your version of Google document) on the control panel
- Click Rotate option there
- Choose Flip horizontally or Flip vertically to rotate the image as desired
- After that click File, then Download as JPEG image (.jpg)
- Go to Google docs and click Insert
- Upload the finished image in any way
Here you can see a short gif to understand how to flip the image, and use this feature in your documents and presentations:

How to make an image a background in Google Docs
You can make the image background in a few simple steps, because it is not a difficult task in Google presentations. But we suggest you compare how you can make the image background in Google document and in Google presentation. You may choose a way that will seem easier and more convenient to you. This process takes about a couple of minutes.
So, pay your attention to the following:
| Google document | Google presentation |
|
|
Google Slides Transparent Background
Google Slides transparent background provides great visual interest to the audience. It does not distract attention and promotes effective information remembering.
Follow these steps to make a transparent background:
- Click Insert, then Image and upload an image that will be your background
- Resize the image so that it fills the entire slide
- Next, click Format Options
- In this section, select the Adjustment option
- Find the slider Transparency and slide it to find the appropriate level of transparency.
- Finally, a slide with a transparent background effect is ready!
Here is a short gif showing the process:

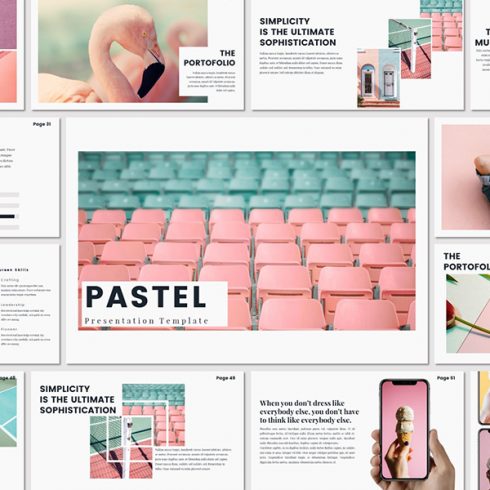
Top Google Slides Templates
Google Slides Template Pastel


Features
- 100+ Lookbook, Creative, Minimalist Slide.
- Full HD Screen Ration (16:9).
- 6 Color Scheme.
- 2 Background ( Dark & Light).
- Modern, Stylish Portofolio Style.
- Latest Mockup Device.
- World Map.
- Country Map.
- Picture Placeholder.
- Easy Customise.
- Vector Based.
- Fully Editable.
- Used Free Font.
- 600+ Vector Icons.
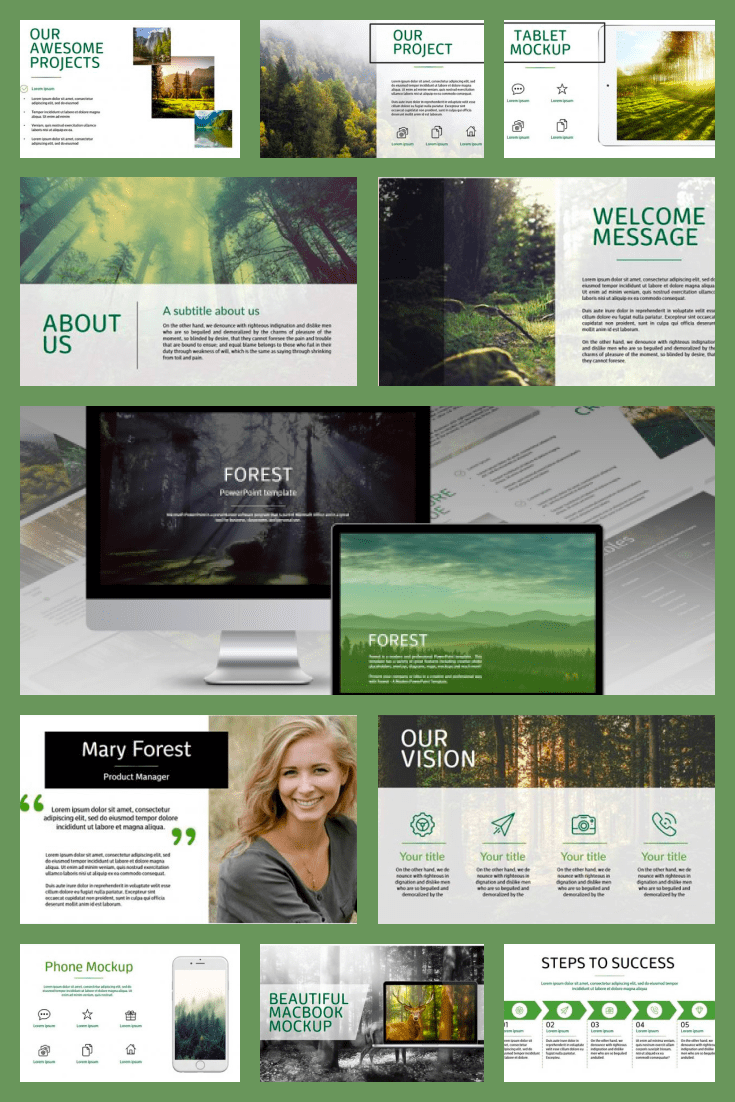
130+ Unique Forest Slides – PowerPoint Template + BONUS
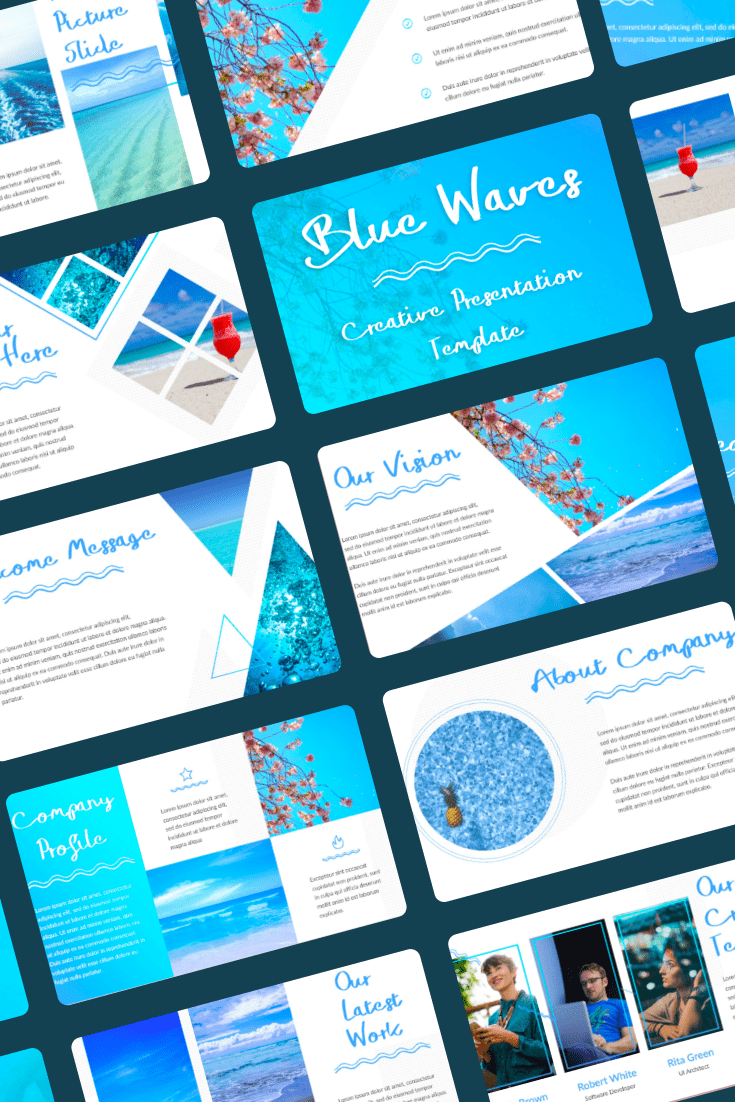
Blue Waves – PowerPoint Template

Wrap Text in Google Slides FAQ
👨💻 How to wrap text In Google Slides?
The text wrapping feature helps to avoid the problem when an image stays on top of the text, so you can’t read it. To wrap text in Google Slides, you need to add an image and resize to match your needs. Then you need to select the text and resize to avoid making it go under the image.
👨💻 How to outline text in Google Slides?
Text outlining helps to make people pay attention to a certain part of your text – you can change the text color. When you add some text, you need to find two icons on the top bar – the paint can and a pencil. The paint can is the background color and the pencil icon is the outline color. The outline can be considered as the edge of letters, while background may be considered as the space located within the outlines of the letters.
👨💻 How to flip an image in Google Docs?
To flip an image, you need to do three simple steps:
- Add an image (you can upload it or just drag and drop).
- Select the image (it will be outlined with the blue color).
- Click “Arrange” (the top bar), then click “Rotate” and you will have several options. You can rotate clock or counter-clockwise, flip it vertically or horizontally. Select the option you need. That’s it.
👨💻 How to create a transparent background for Google Slides?
If you want to create a nice transparent background, you need to do the following:
- Add the image you want to use as a background – you can use the insert option or just drag and drop it.
- Resize the added image so it covers the whole slide.
- Click “Format Options” (it’s under the top tab).
- Select “Adjustment”.
- A tab “Format options” will appear on the right side – find the tab “Transparency” and click it.
- Use the slider to adjust image transparency.
Please take a moment to pin this post to Pinterest.
What are your concerns?
Thanks for your response!
Disclosure: MasterBundles website page may contain advertising materials that may lead to us receiving a commission fee if you purchase a product. However, this does not affect our opinion of the product in any way and we do not receive any bonuses for positive or negative ratings.