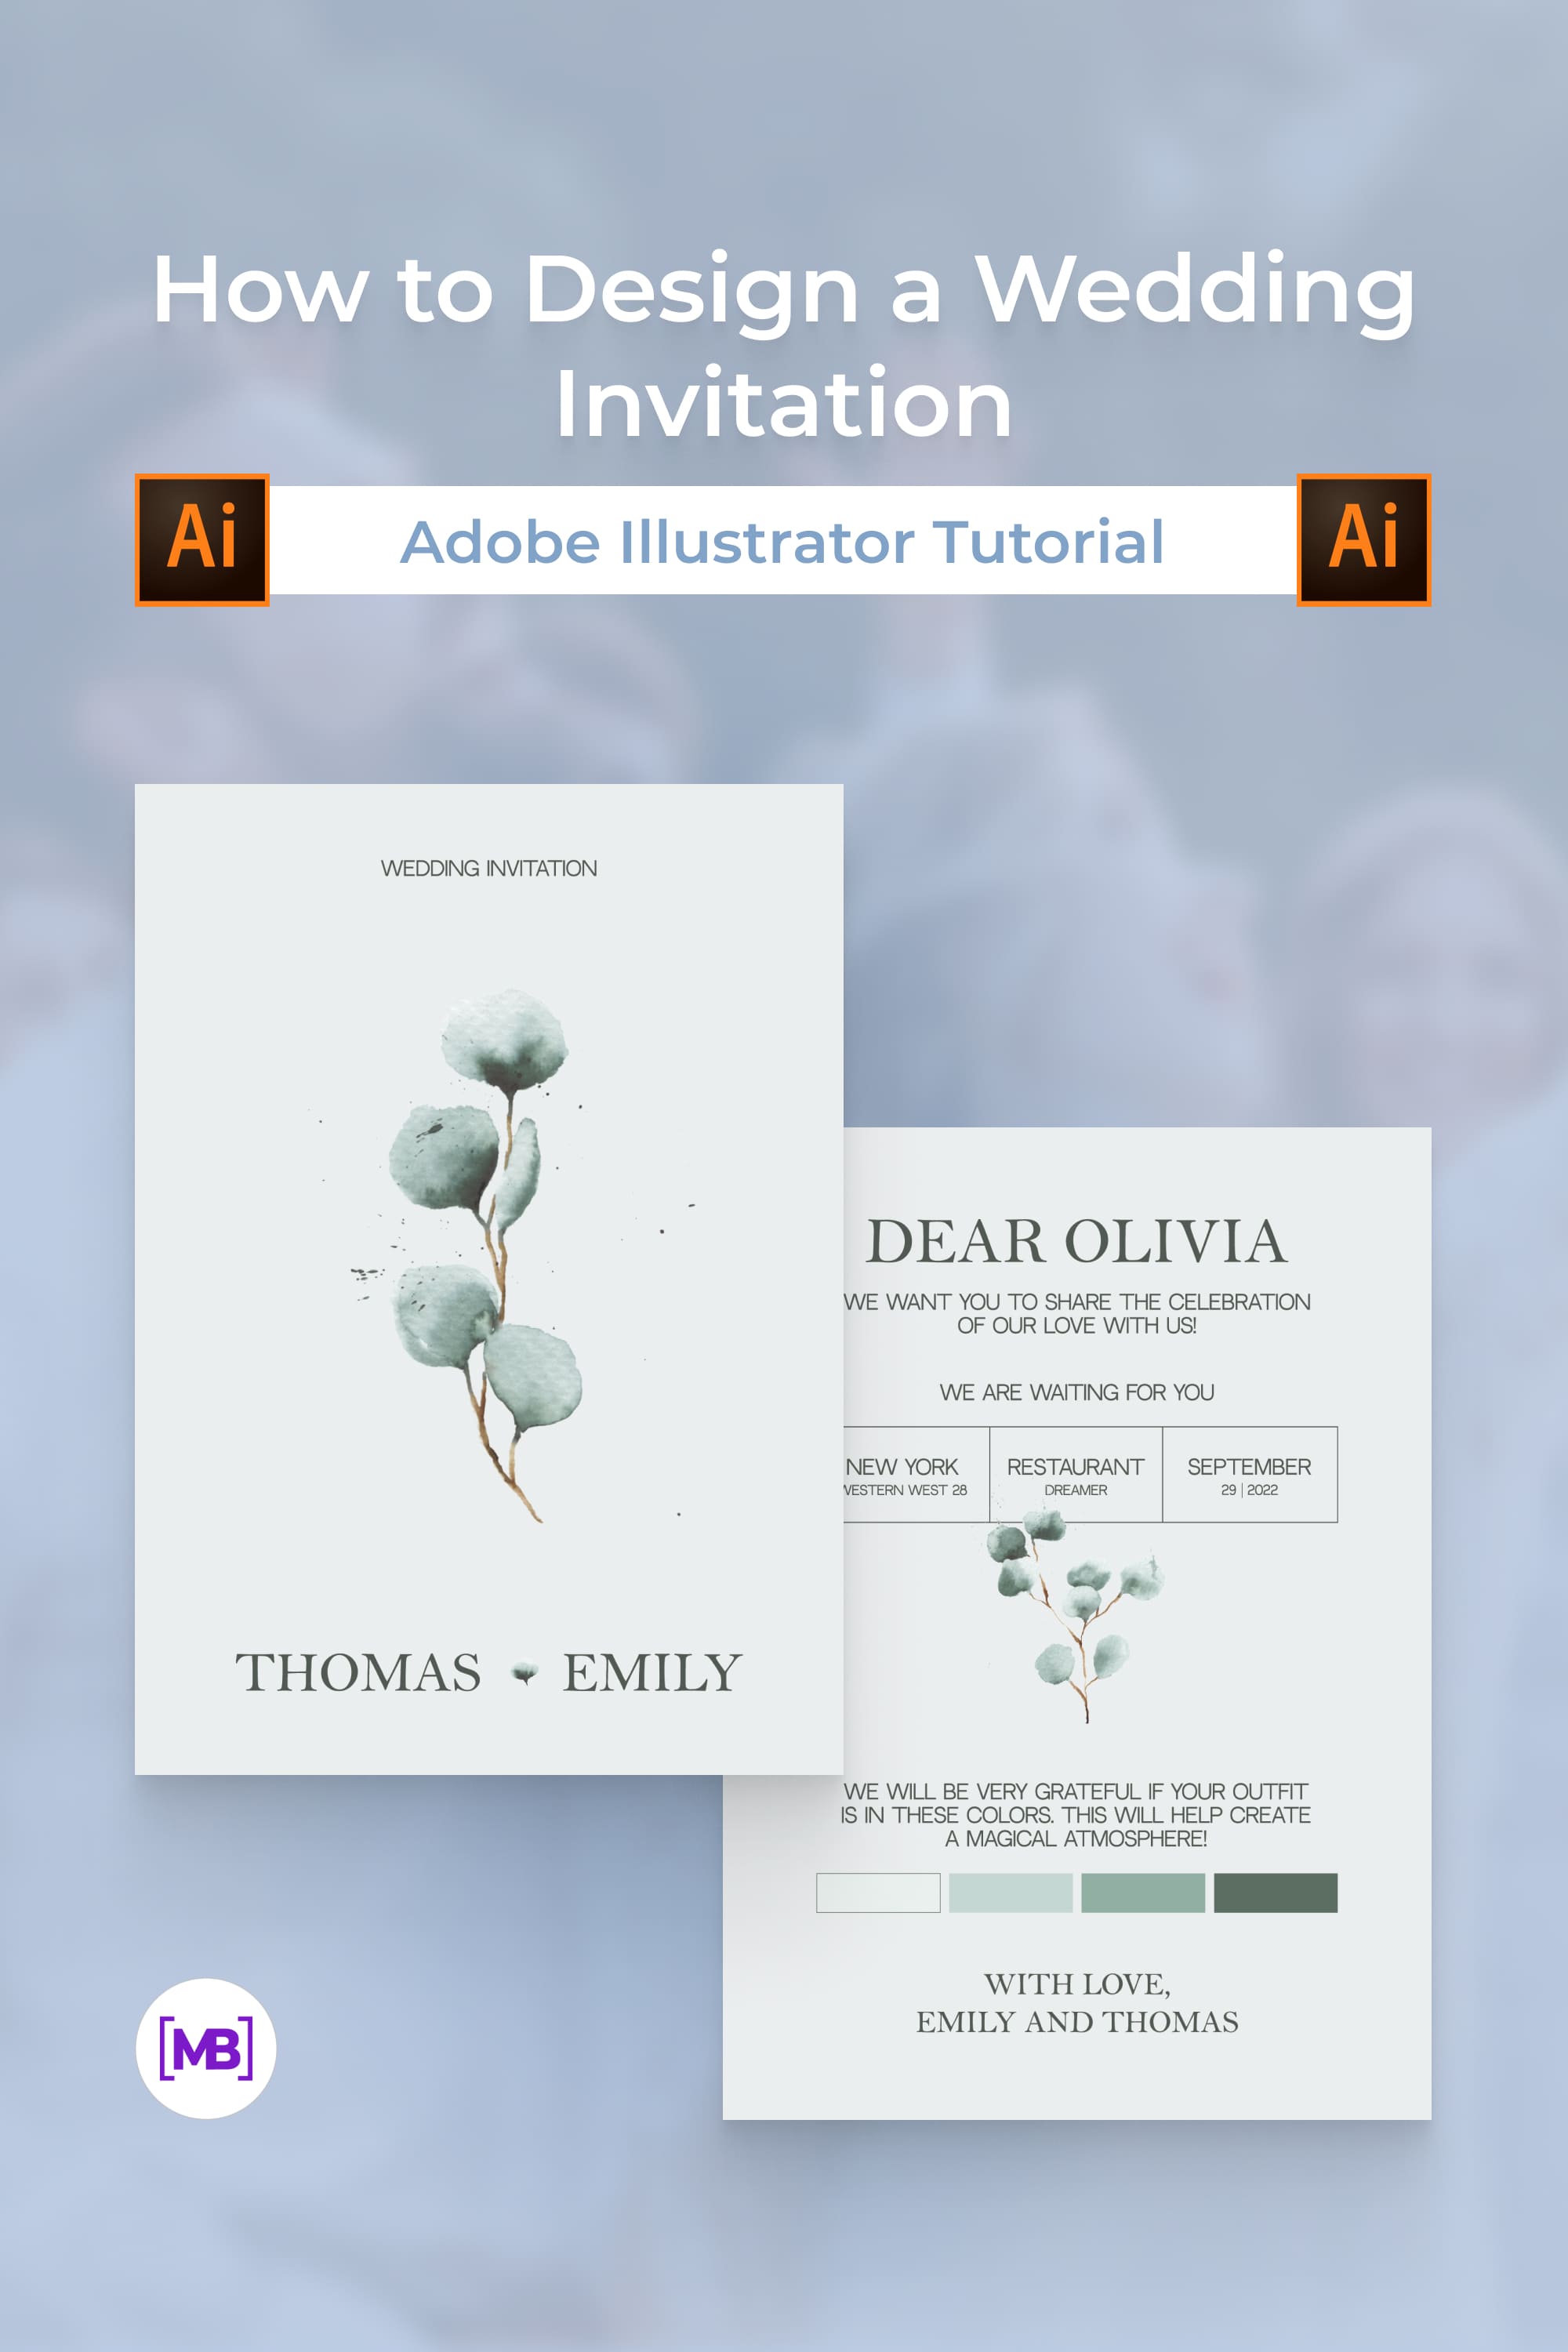
How to Create a Wedding Invitation: Easy Adobe Illustrator Tutorial
In this simple and clear Adobe Illustrator tutorial, I have prepared a text and video explanation of how to design a wedding invitation. For work, I chose Illustrator, but such a layout could have also been done in Photoshop because I will use raster images of flowers. So choose the software that is convenient for you.
If you are not a designer, then with this tutorial, you can easily create your wedding invitation.
You will see all the steps in the video — from finding references to saving the layout. I also left useful recommendations for you, so read carefully 🙂
How to Create a Wedding Invitation: Easy Adobe Illustrator Tutorial
Customizable wedding invitation templates
Wedding Invitation Templates
More graphics: Masterbundles.com
Read the post: How to Create a Wedding Invitation: Easy Adobe Illustrator Tutorial
Preparation for Work
Here is how to create a wedding invitation. It is best to start with a design brief of your clients to find out their wishes and style. If you do not know how to work with a brief, then you will find detailed information and a free template in this article.
After that, set aside 30–60 minutes to look for references, mood board photos, and inspiration. Show your selection to the clients to see if you’re on the same wavelength.
Products that Can Come in Handy
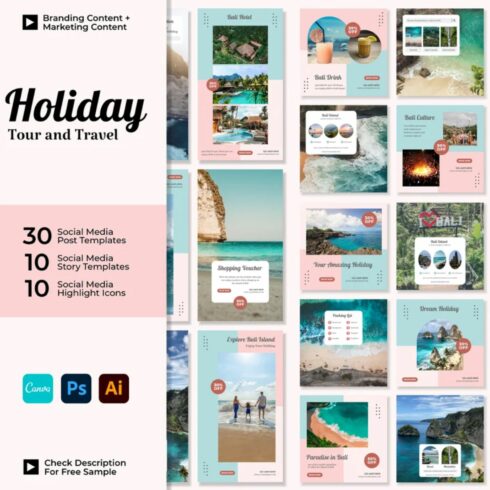
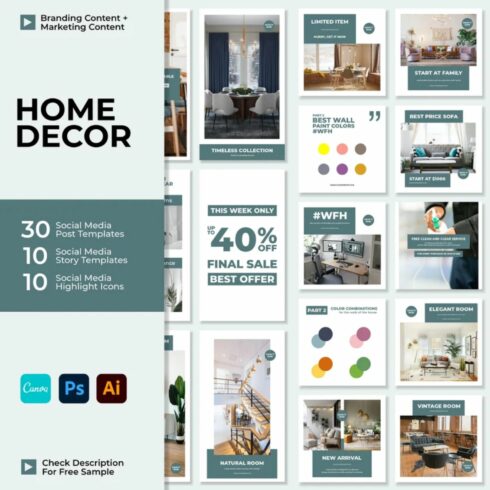
To save time, I decided to buy illustrations that suit me — it’s just a godsend. It is also convenient that this is a pack and there is a choice of colors in different shapes. To save your time, I share the most useful links, just between us 🙂 If you have an urgent order or you don’t have time to make invitations, then go to the page with Adobe Illustrator invitation templates. If you are looking for illustrations for designs, you will find them here.
I want to share with you some beautiful illustrations that will look great on wedding invitations.
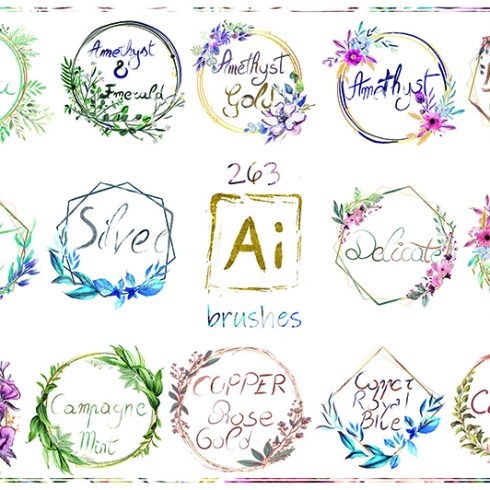
Delicate Spring Flowers
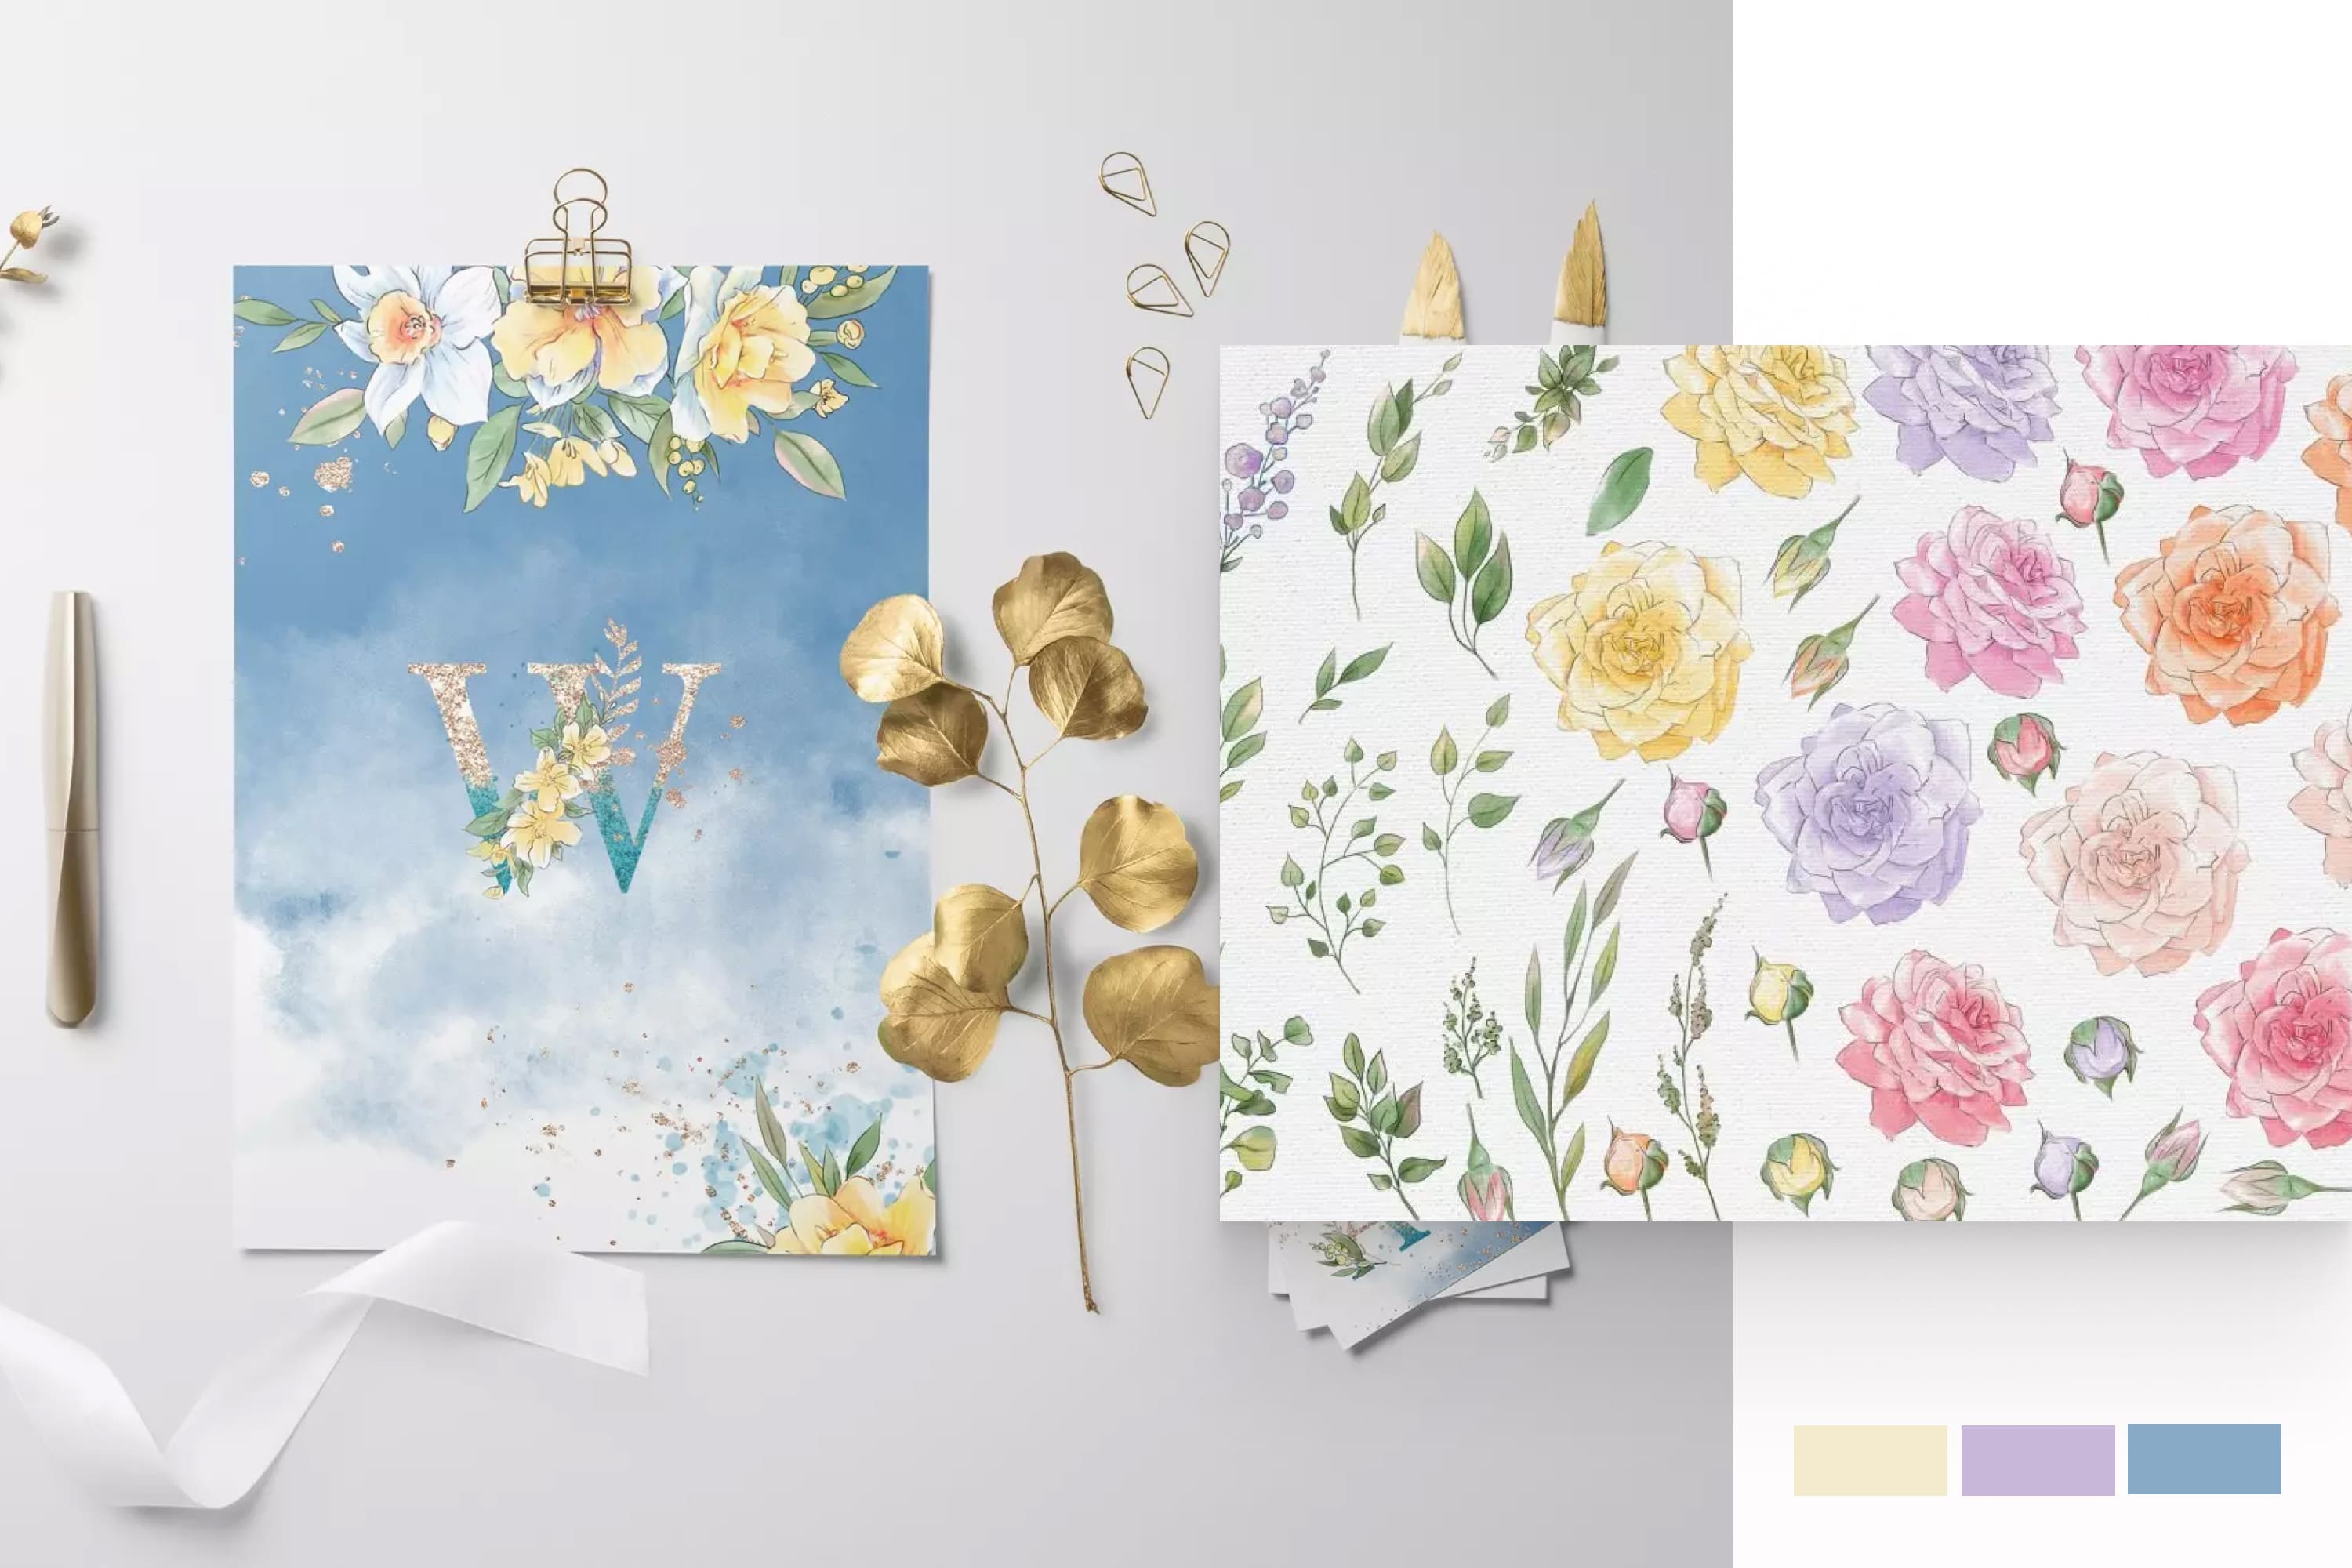

This watercolor bundle is worth your attention! Here you will find more than 100 high-quality illustrations: flowers, frames, and abstracts. It is suitable for creating wedding invitations, cards, certificates, etc. An excellent solution for an elegant and delicate design.
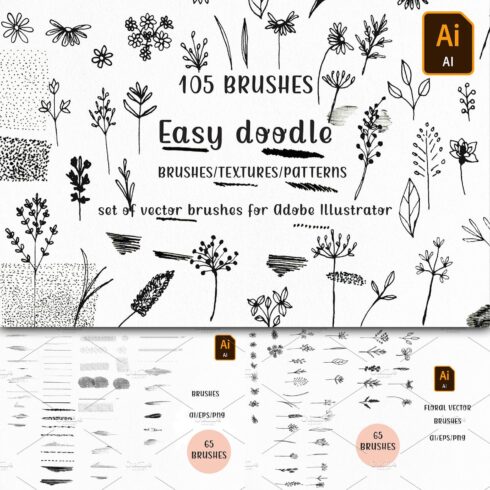
10 Flower Drawing With Line-Art
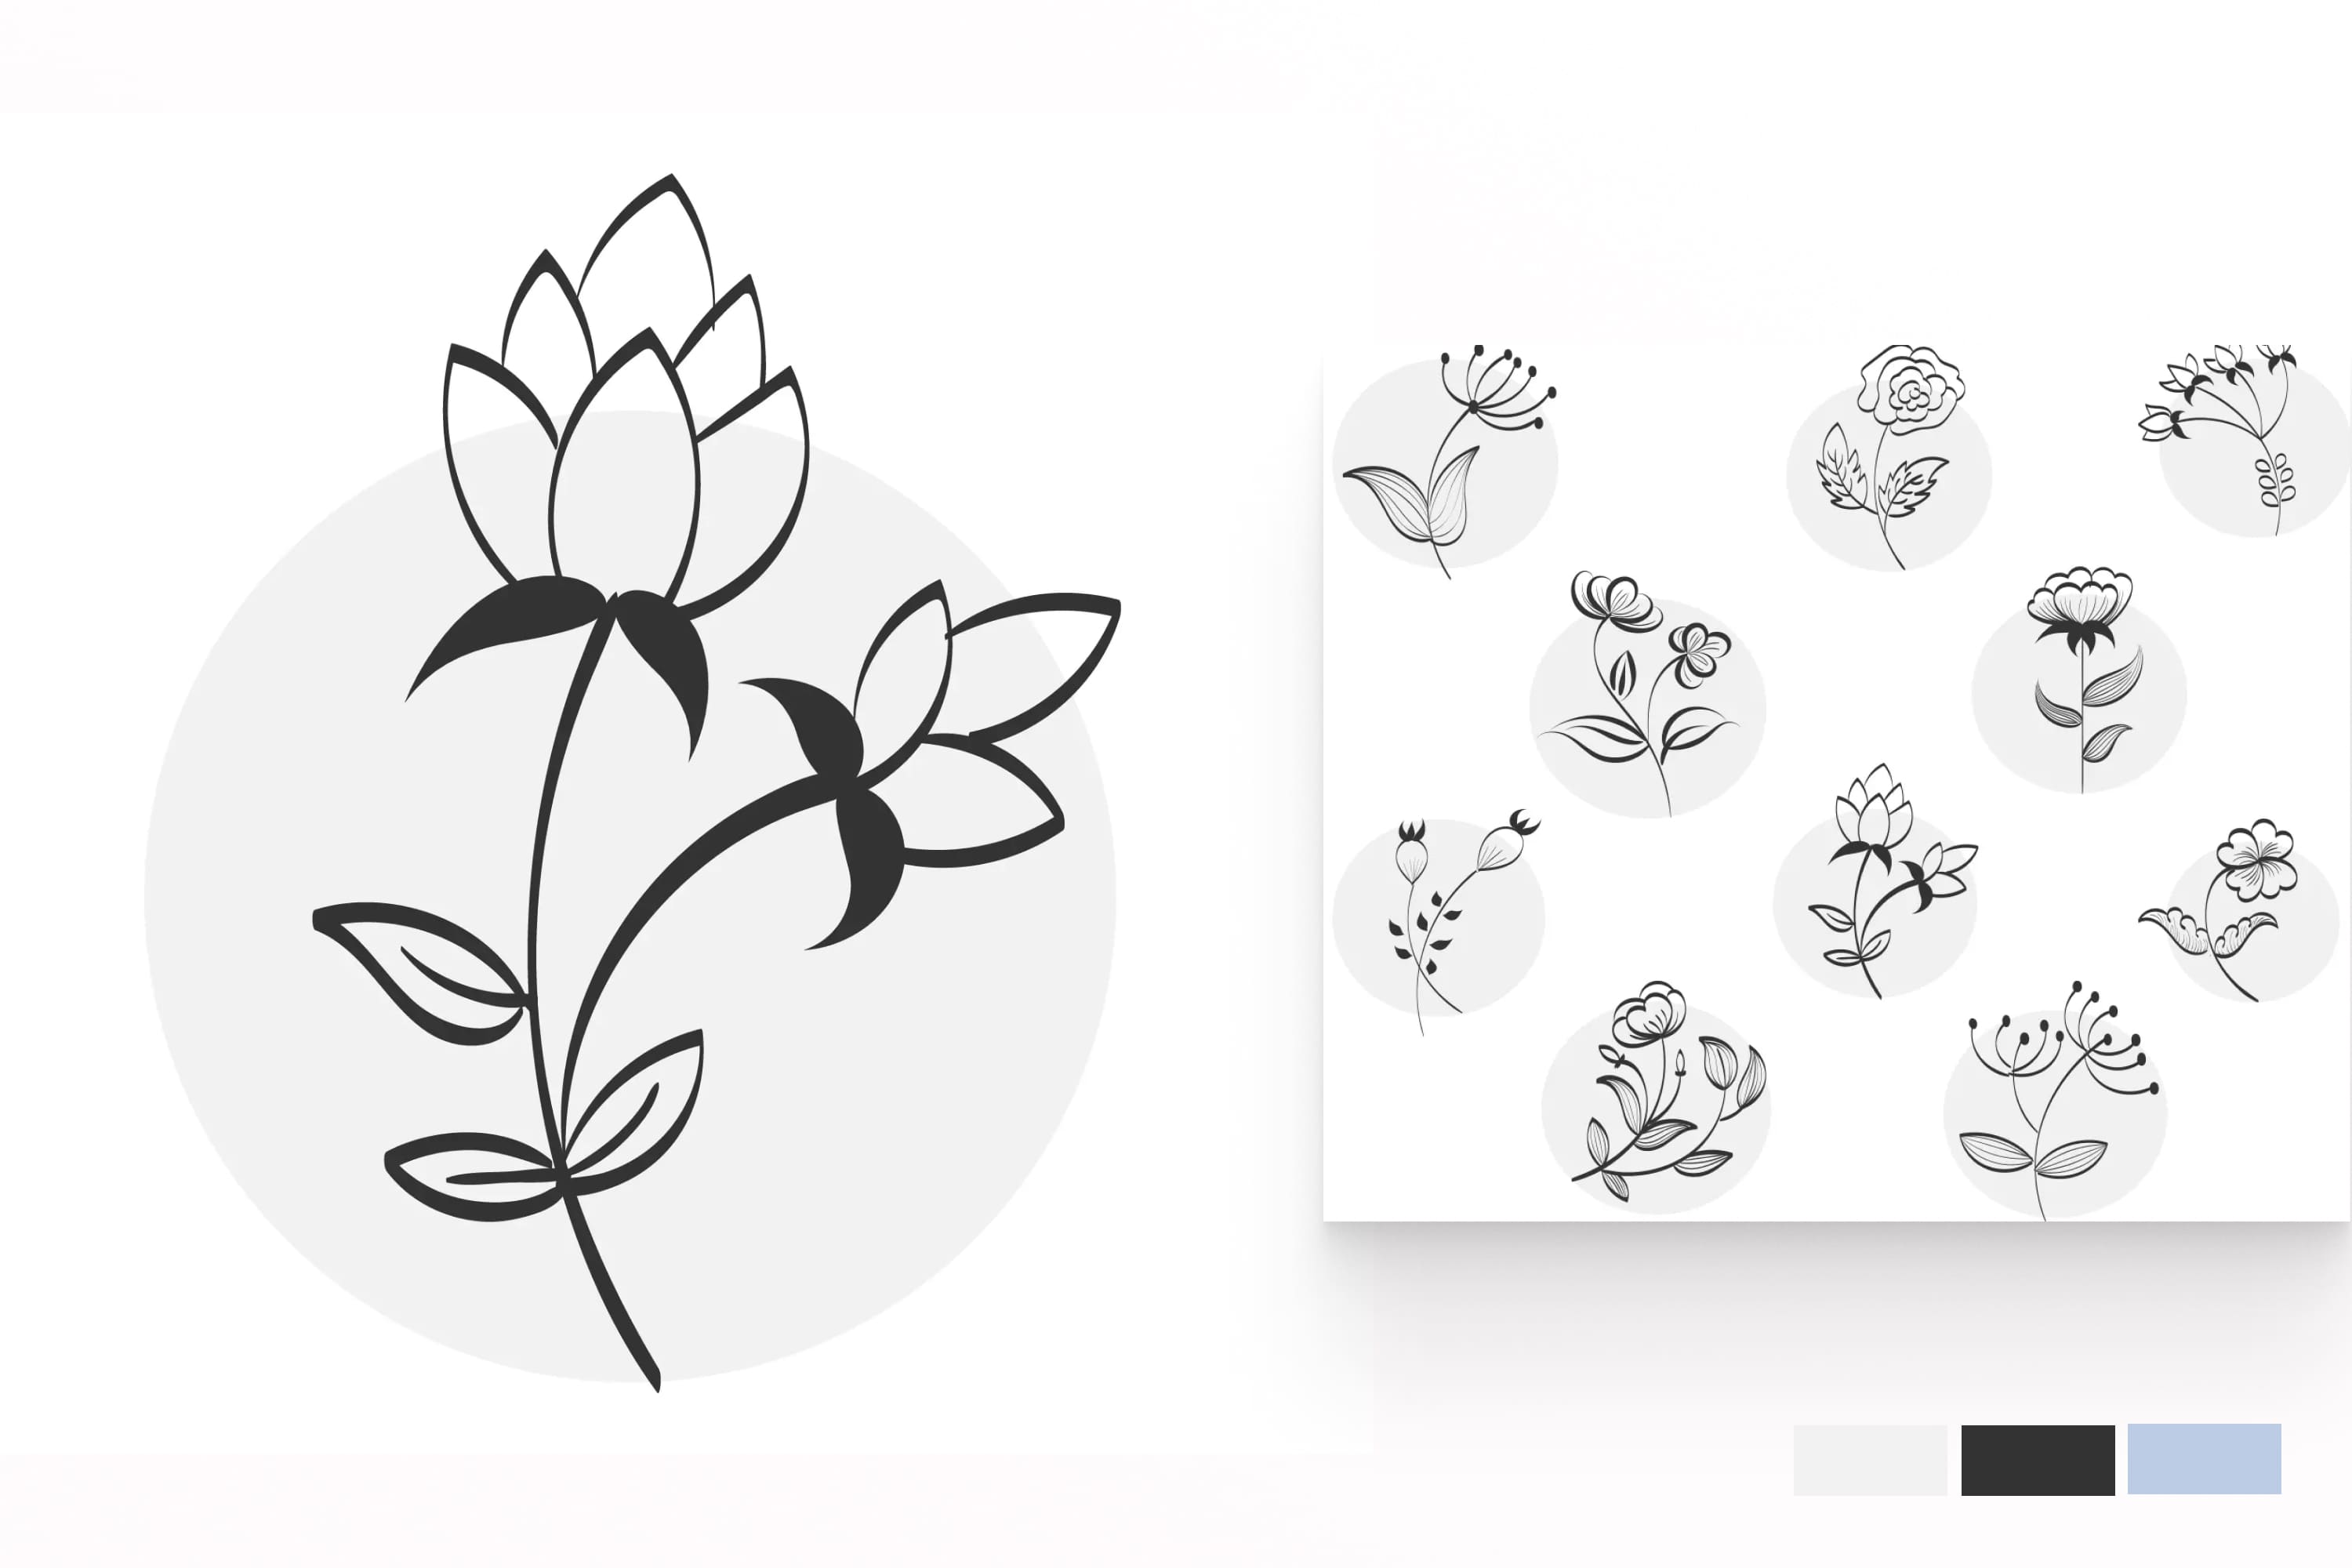
A fantastic pack with 10 flowers that is perfect for a b&w design.
Abstract Clipart Art Hermosa Collection
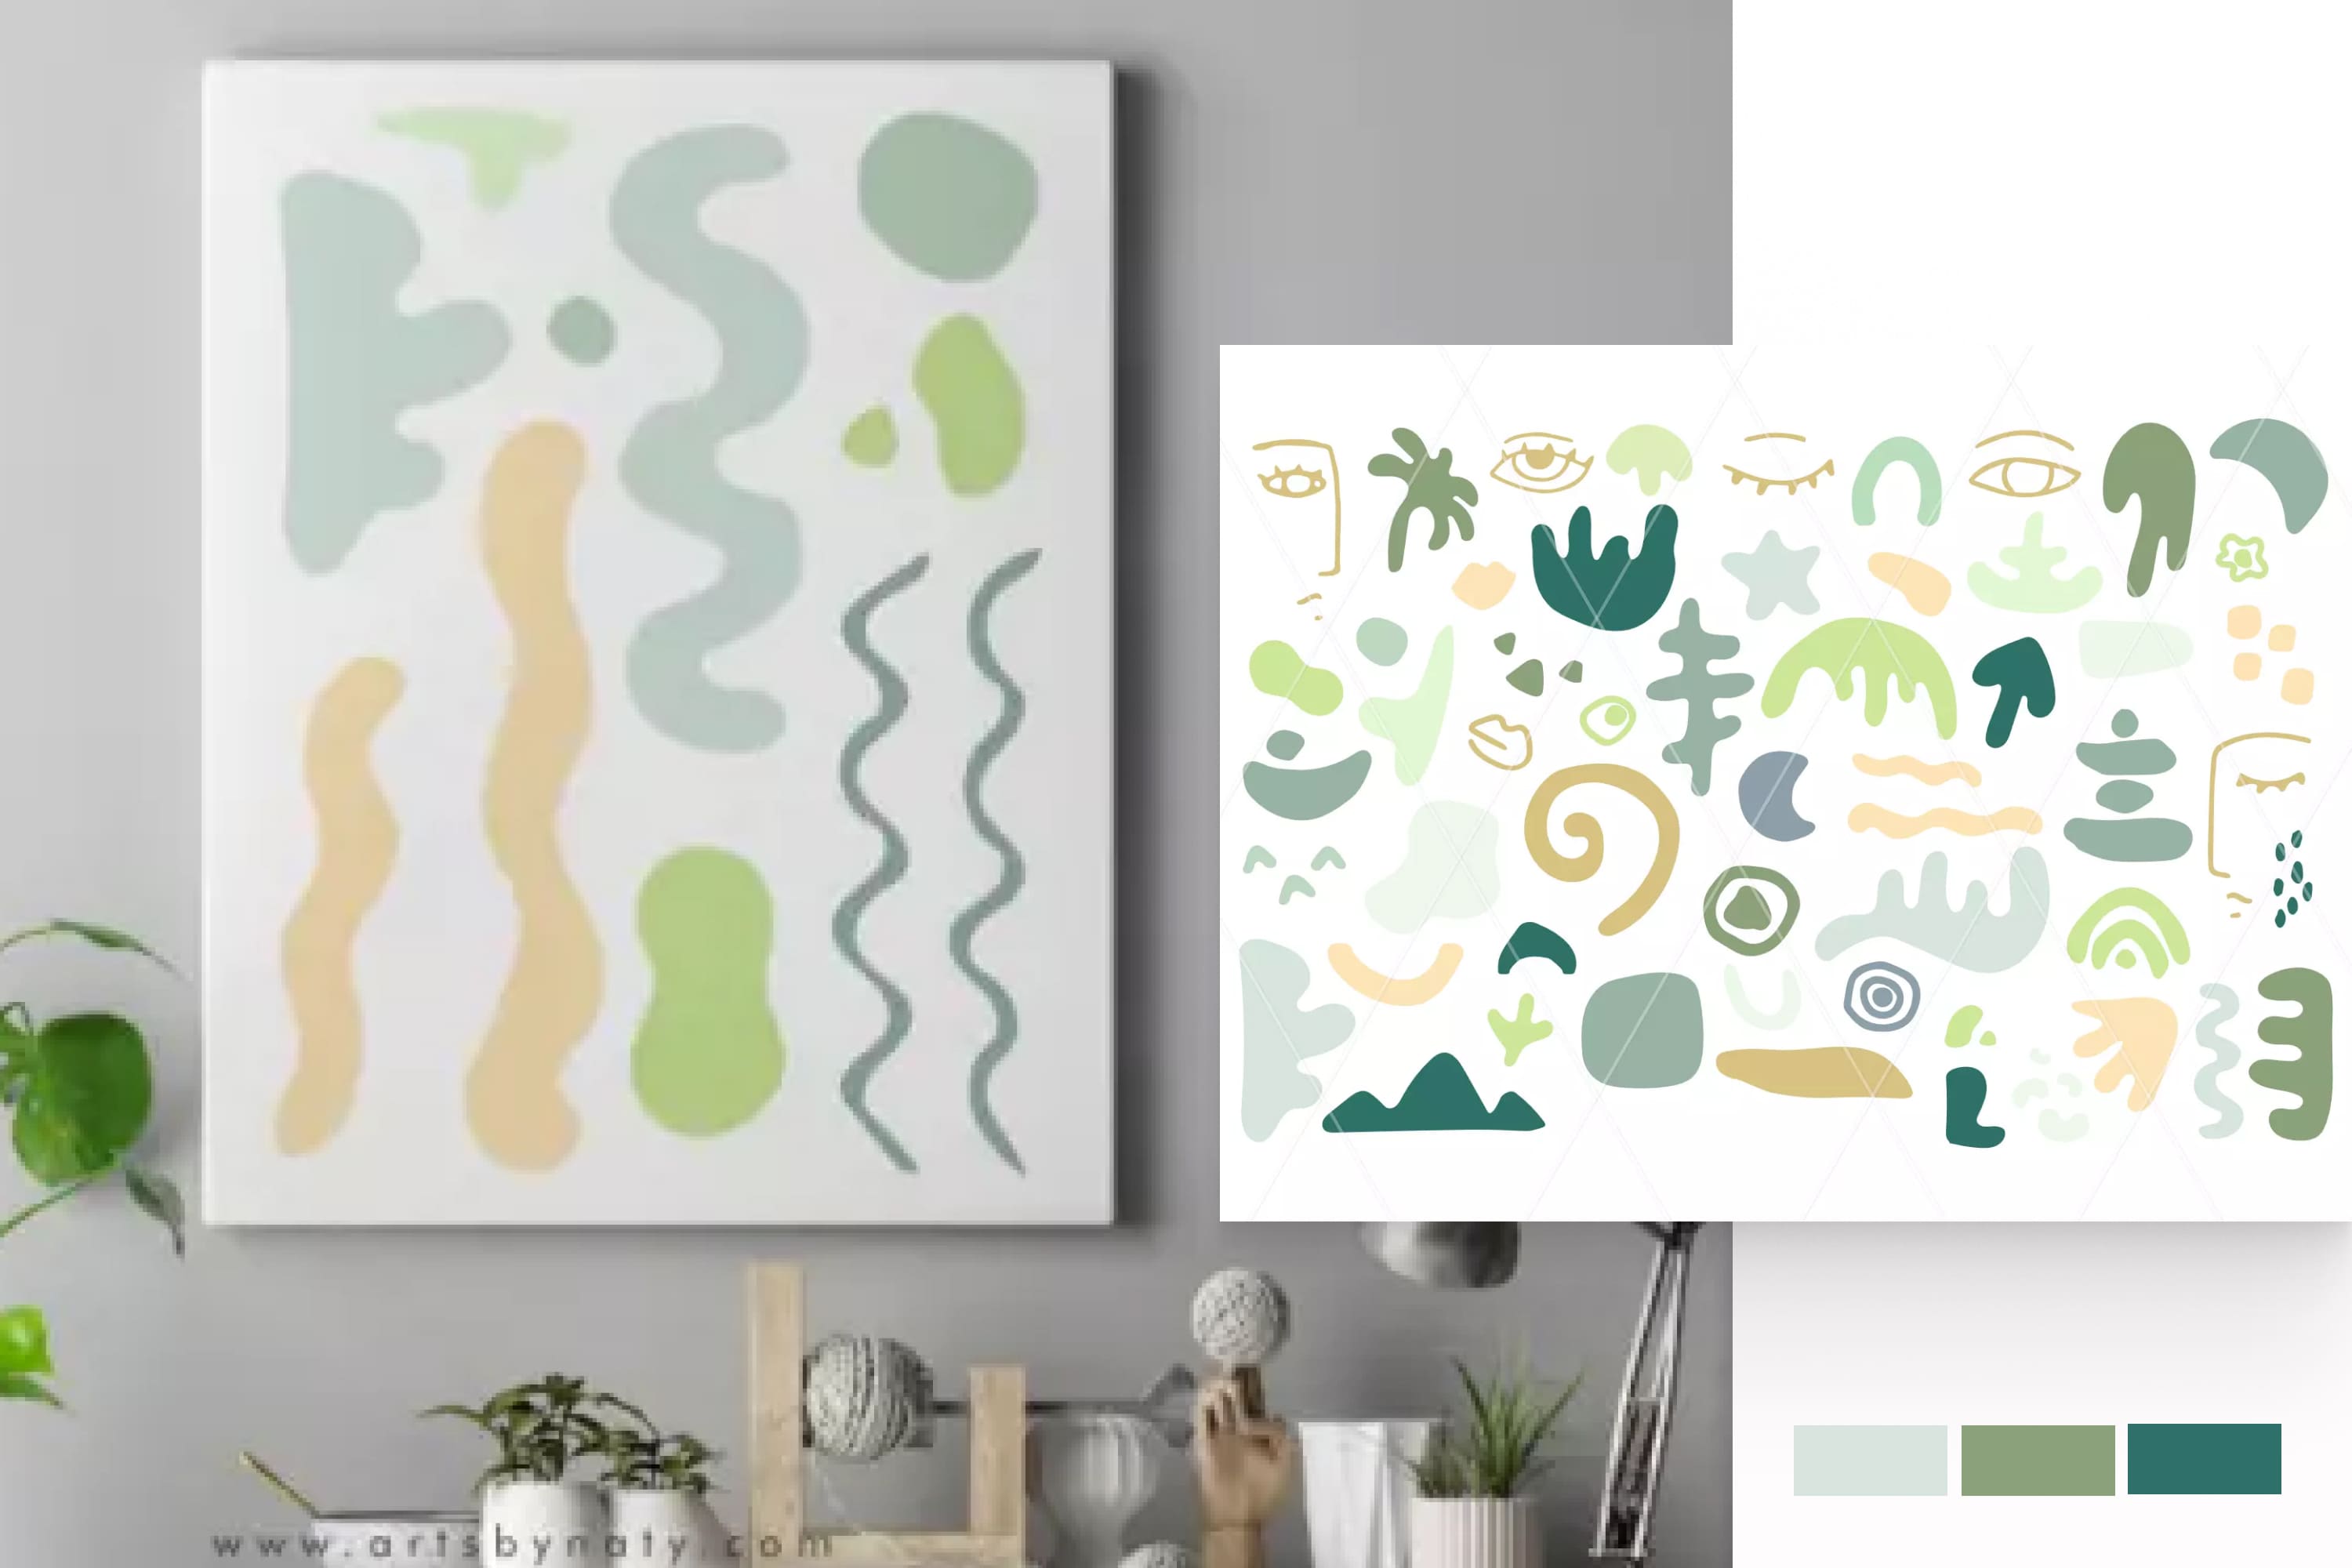
Do your clients want designs that are fun and a bit out of the ordinary? Then there are unique illustrations for your invitation or any graphic design. They perfectly emphasize the cheerful mood that will be at the wedding.
Watercolor Fall Clipart
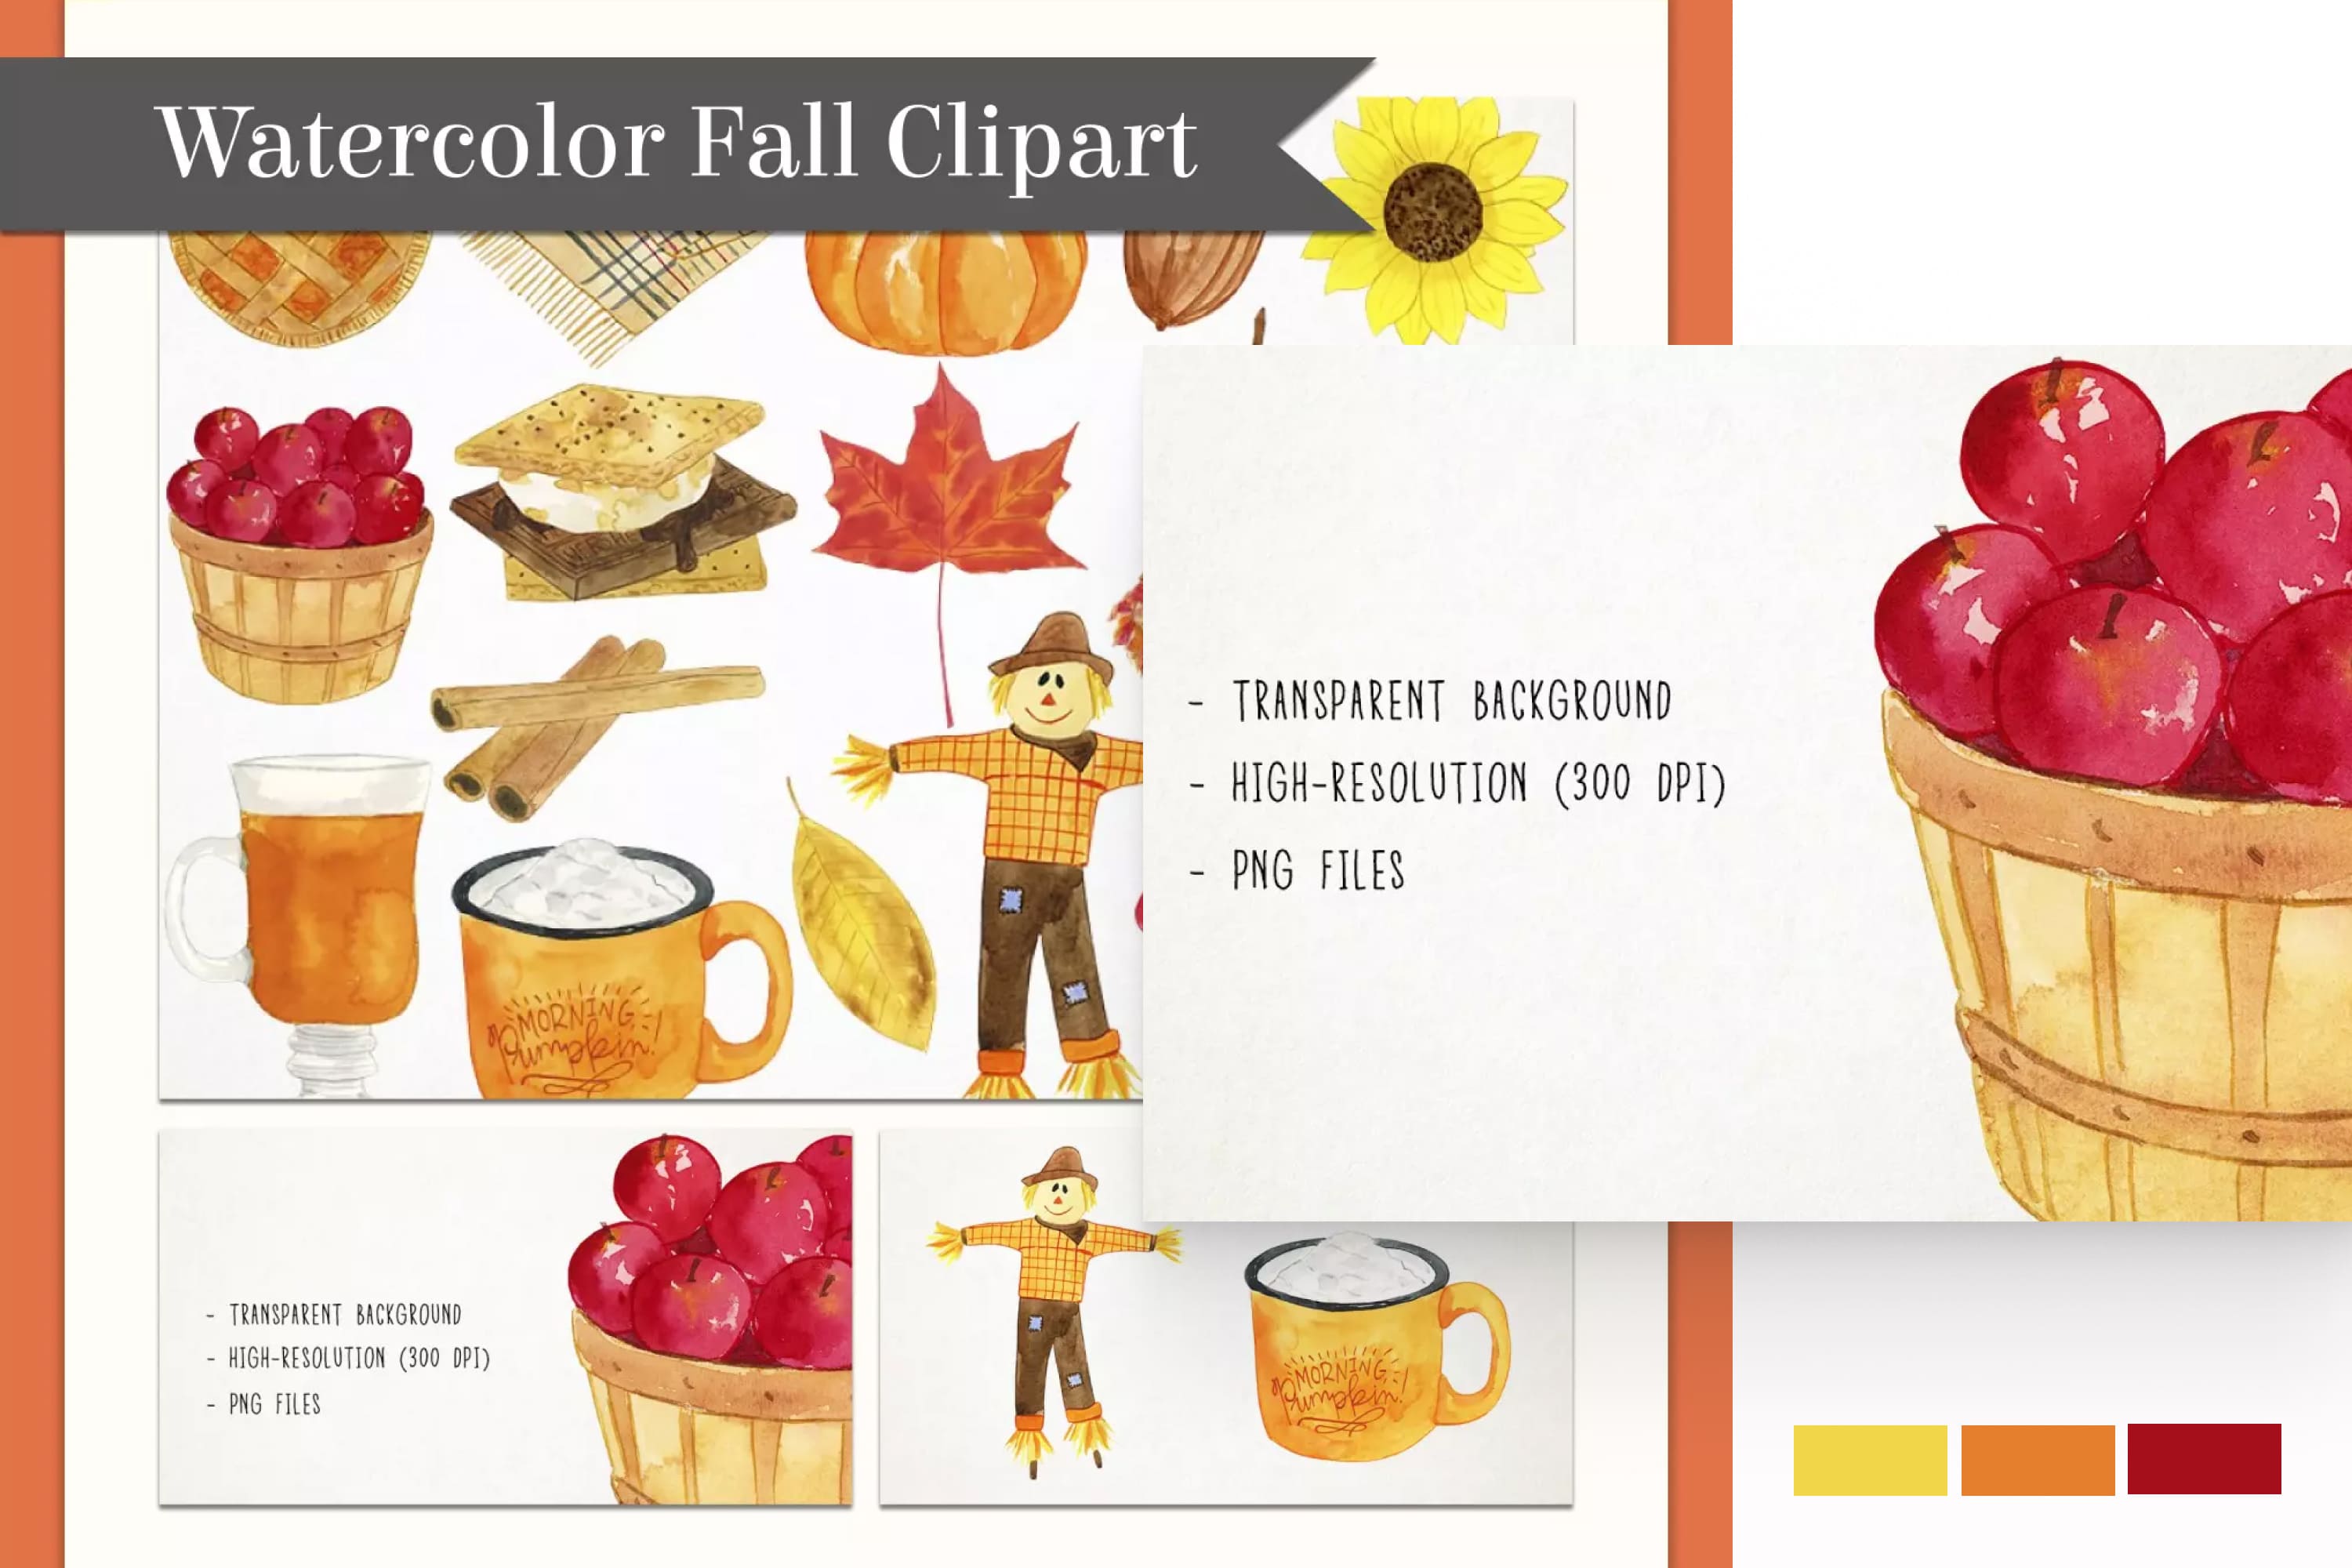
Very cozy autumn illustrations. They will help convey the mood of this period and create a special atmosphere. They will look great in a minimalistic design on a light background.
Navy Blue Wildflowers Watercolor Set
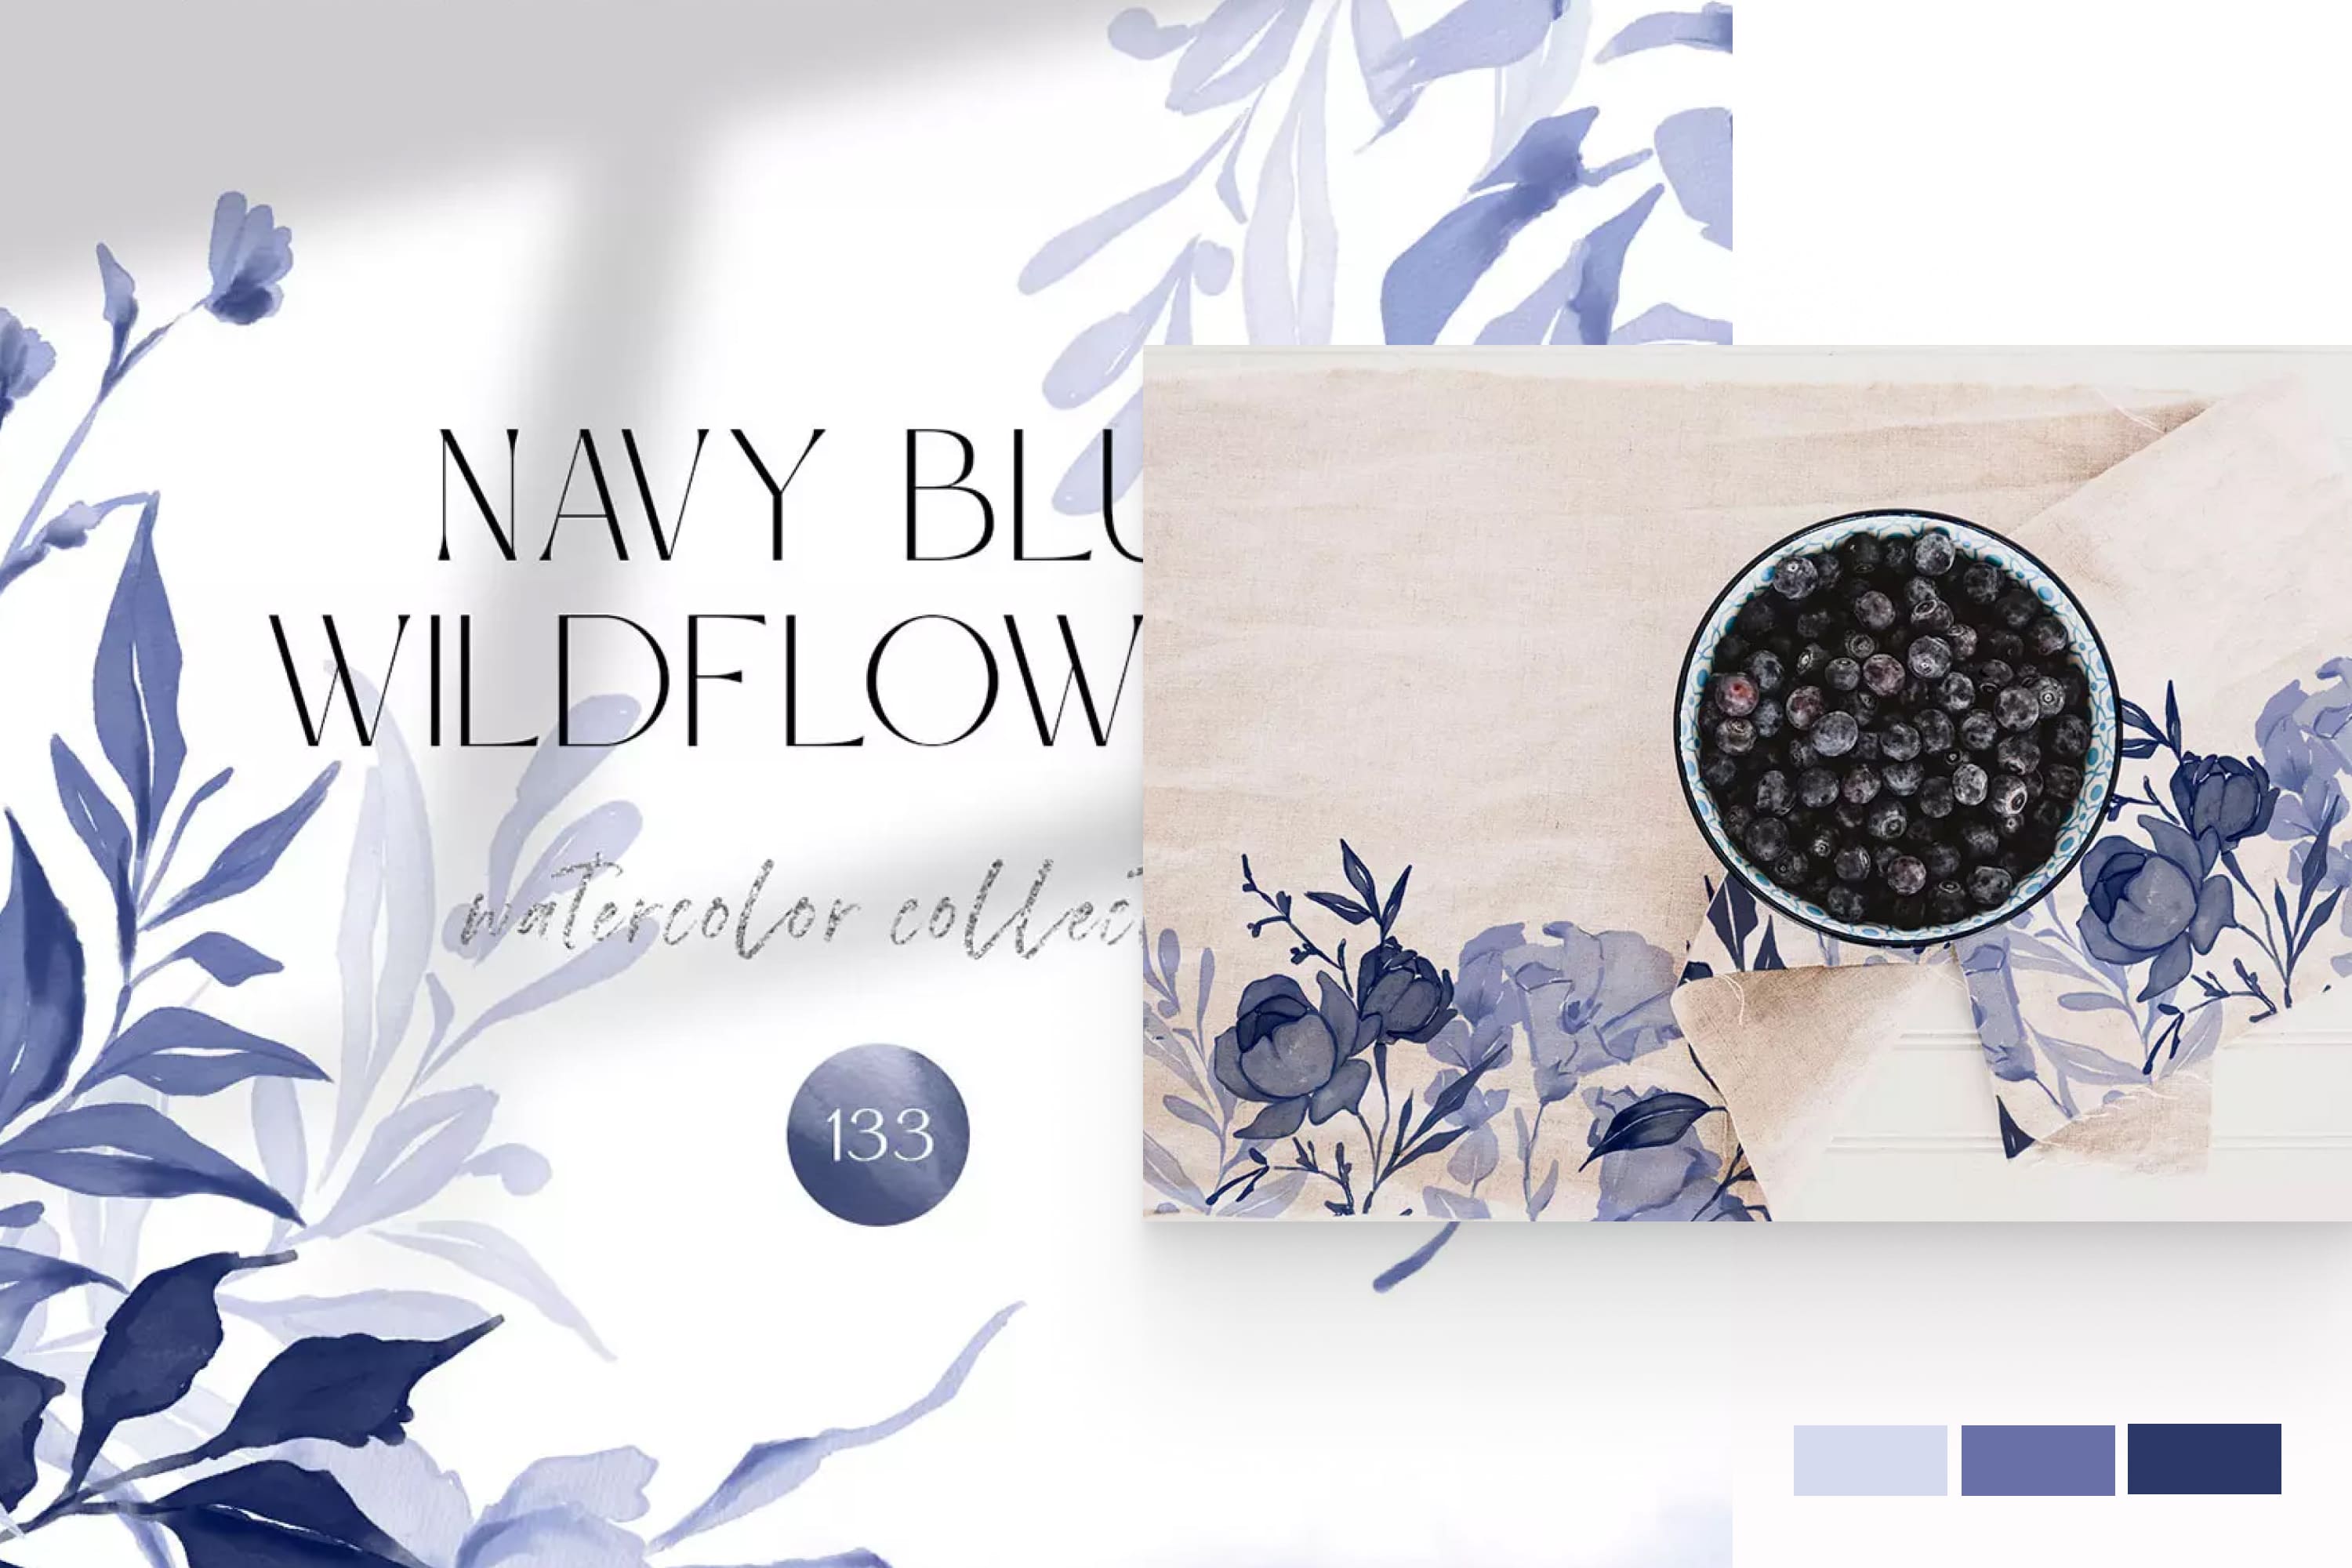
Very aesthetic blue sheet illustrations. This is just a godsend for wedding invitations. You can use them for both minimalistic and creative invitation designs.
Background Clipart, Wedding Arch
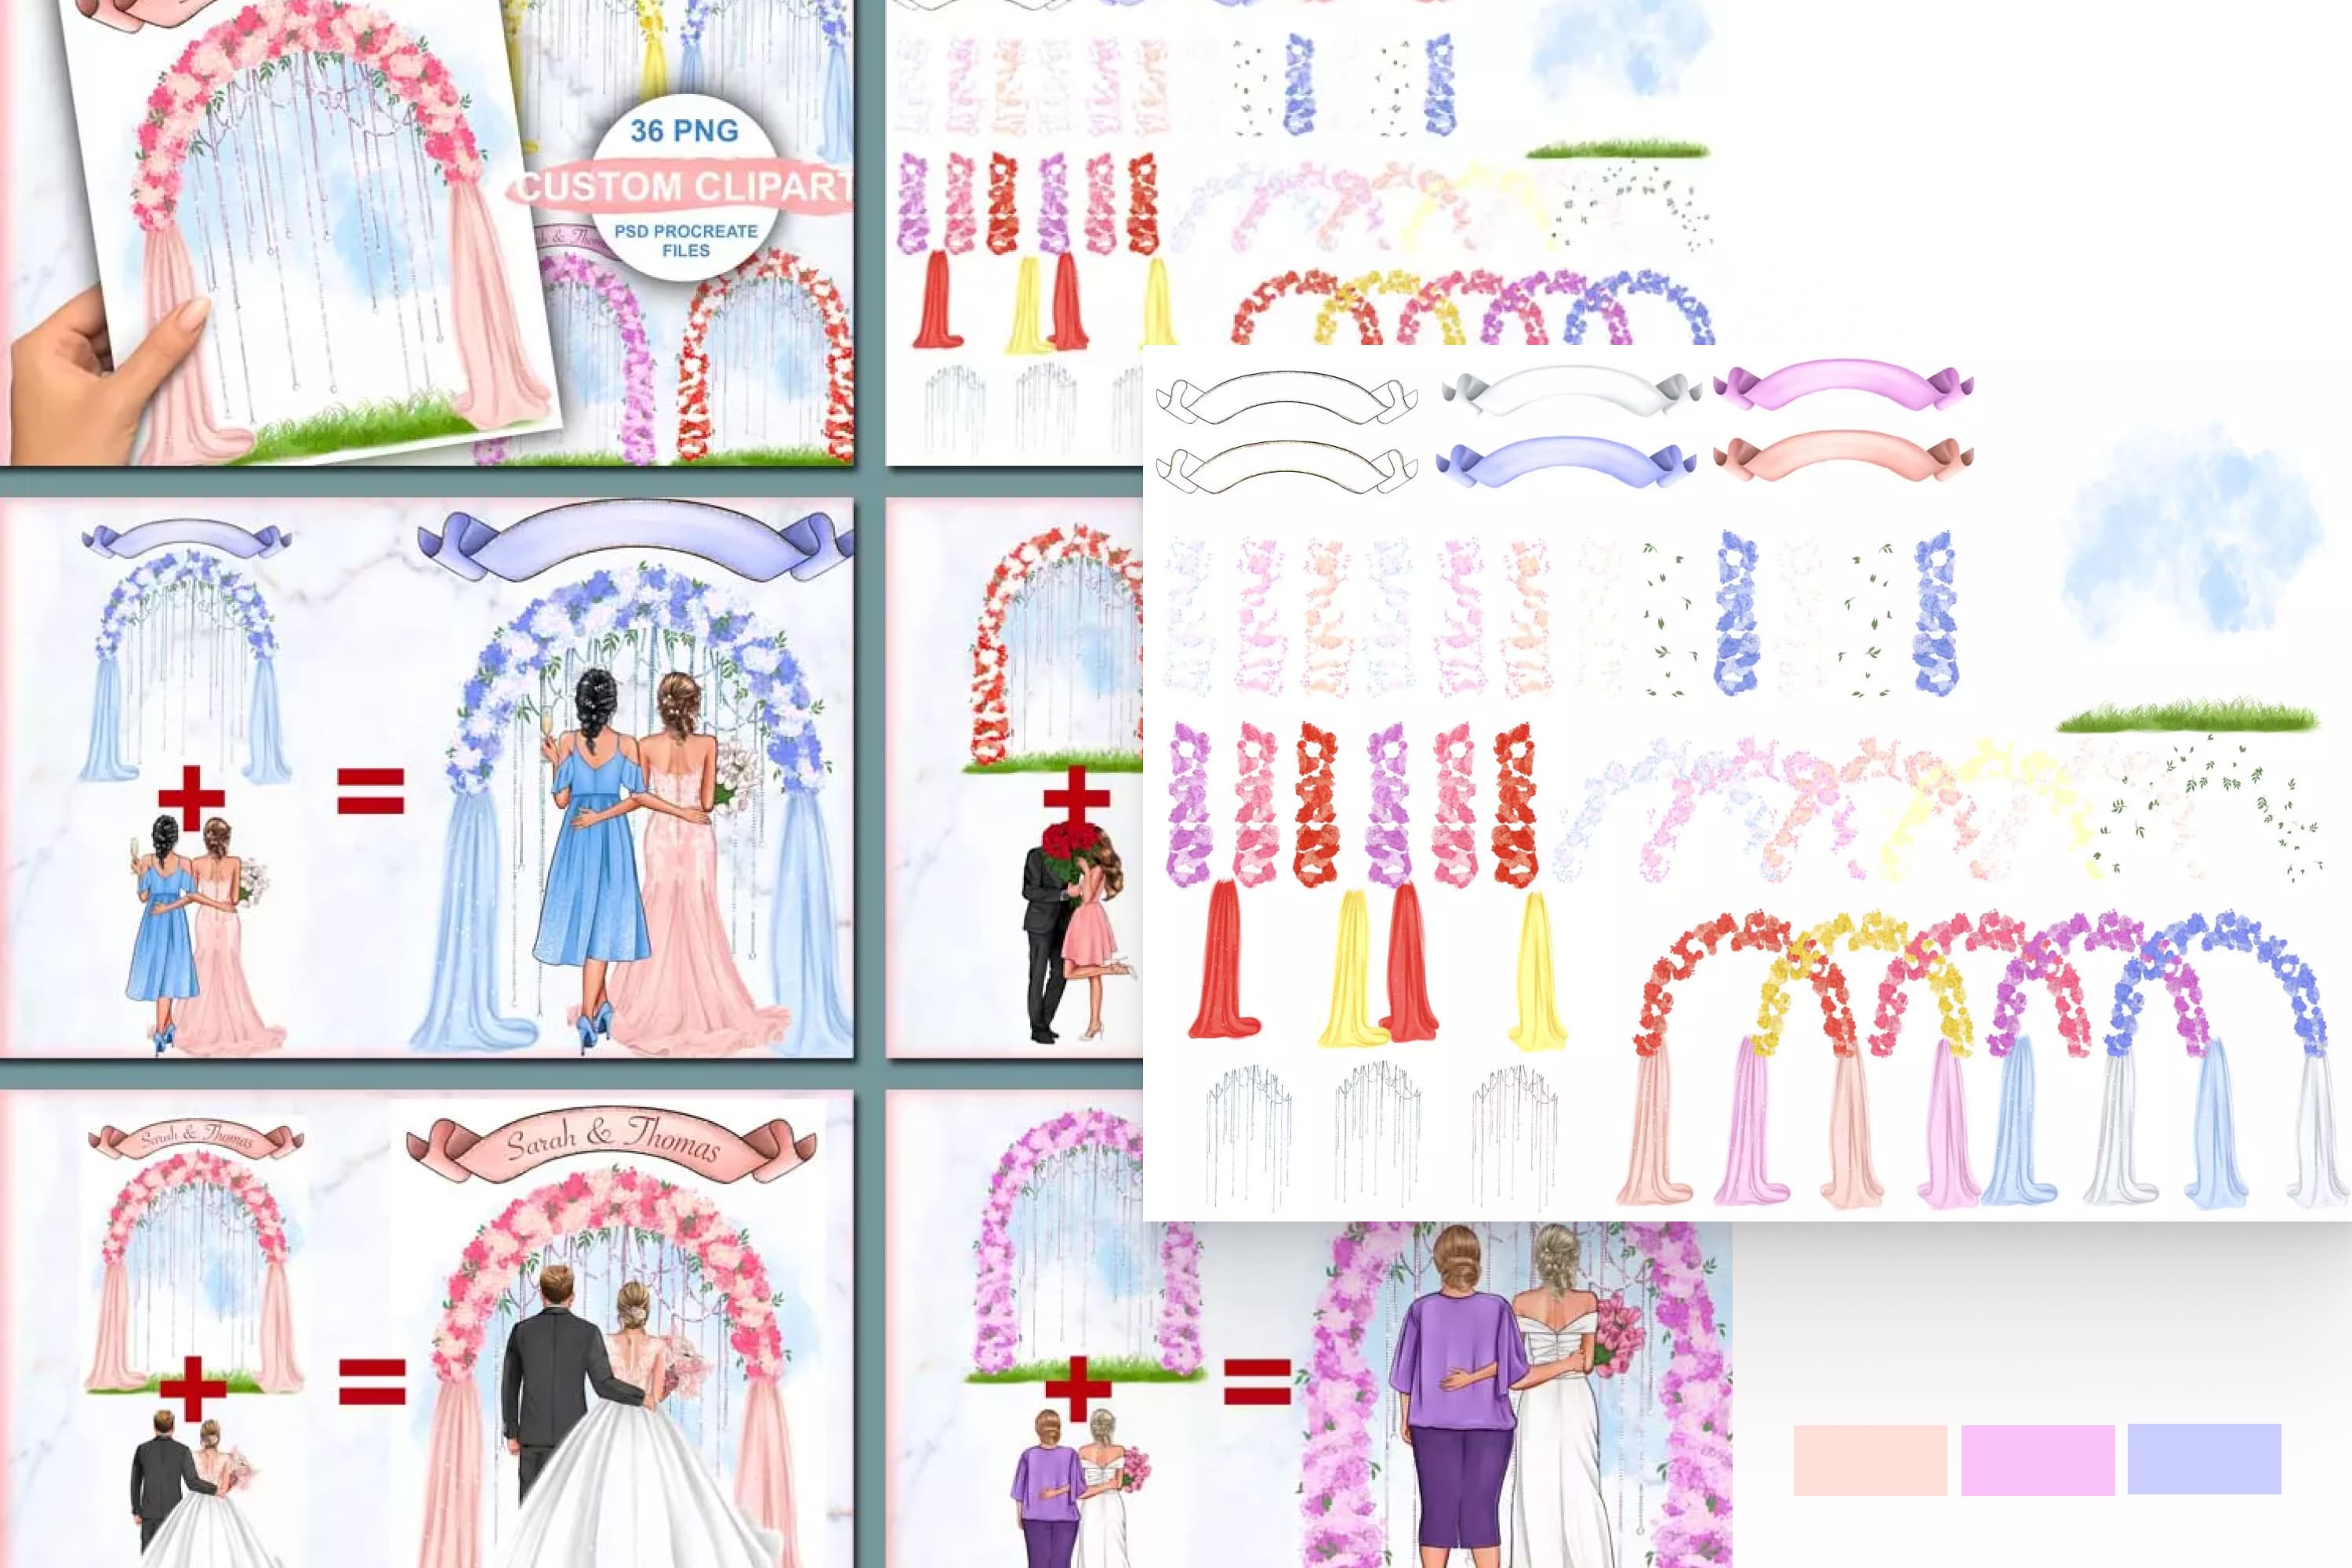
It takes a very long time to draw such a wedding invitation illustration, so it’s a godsend to save you time. They will look great on the front of the invitation.
Do you create cool illustrations, wedding invitation templates, etc? Your work should be included in the next selection of MasterBundles. To do this, simply go to the Sell Your Deal form and upload your work in 5 minutes. It’s easy and fast 🙂

Illustrator Invitation Card Tutorial
Creating a Document
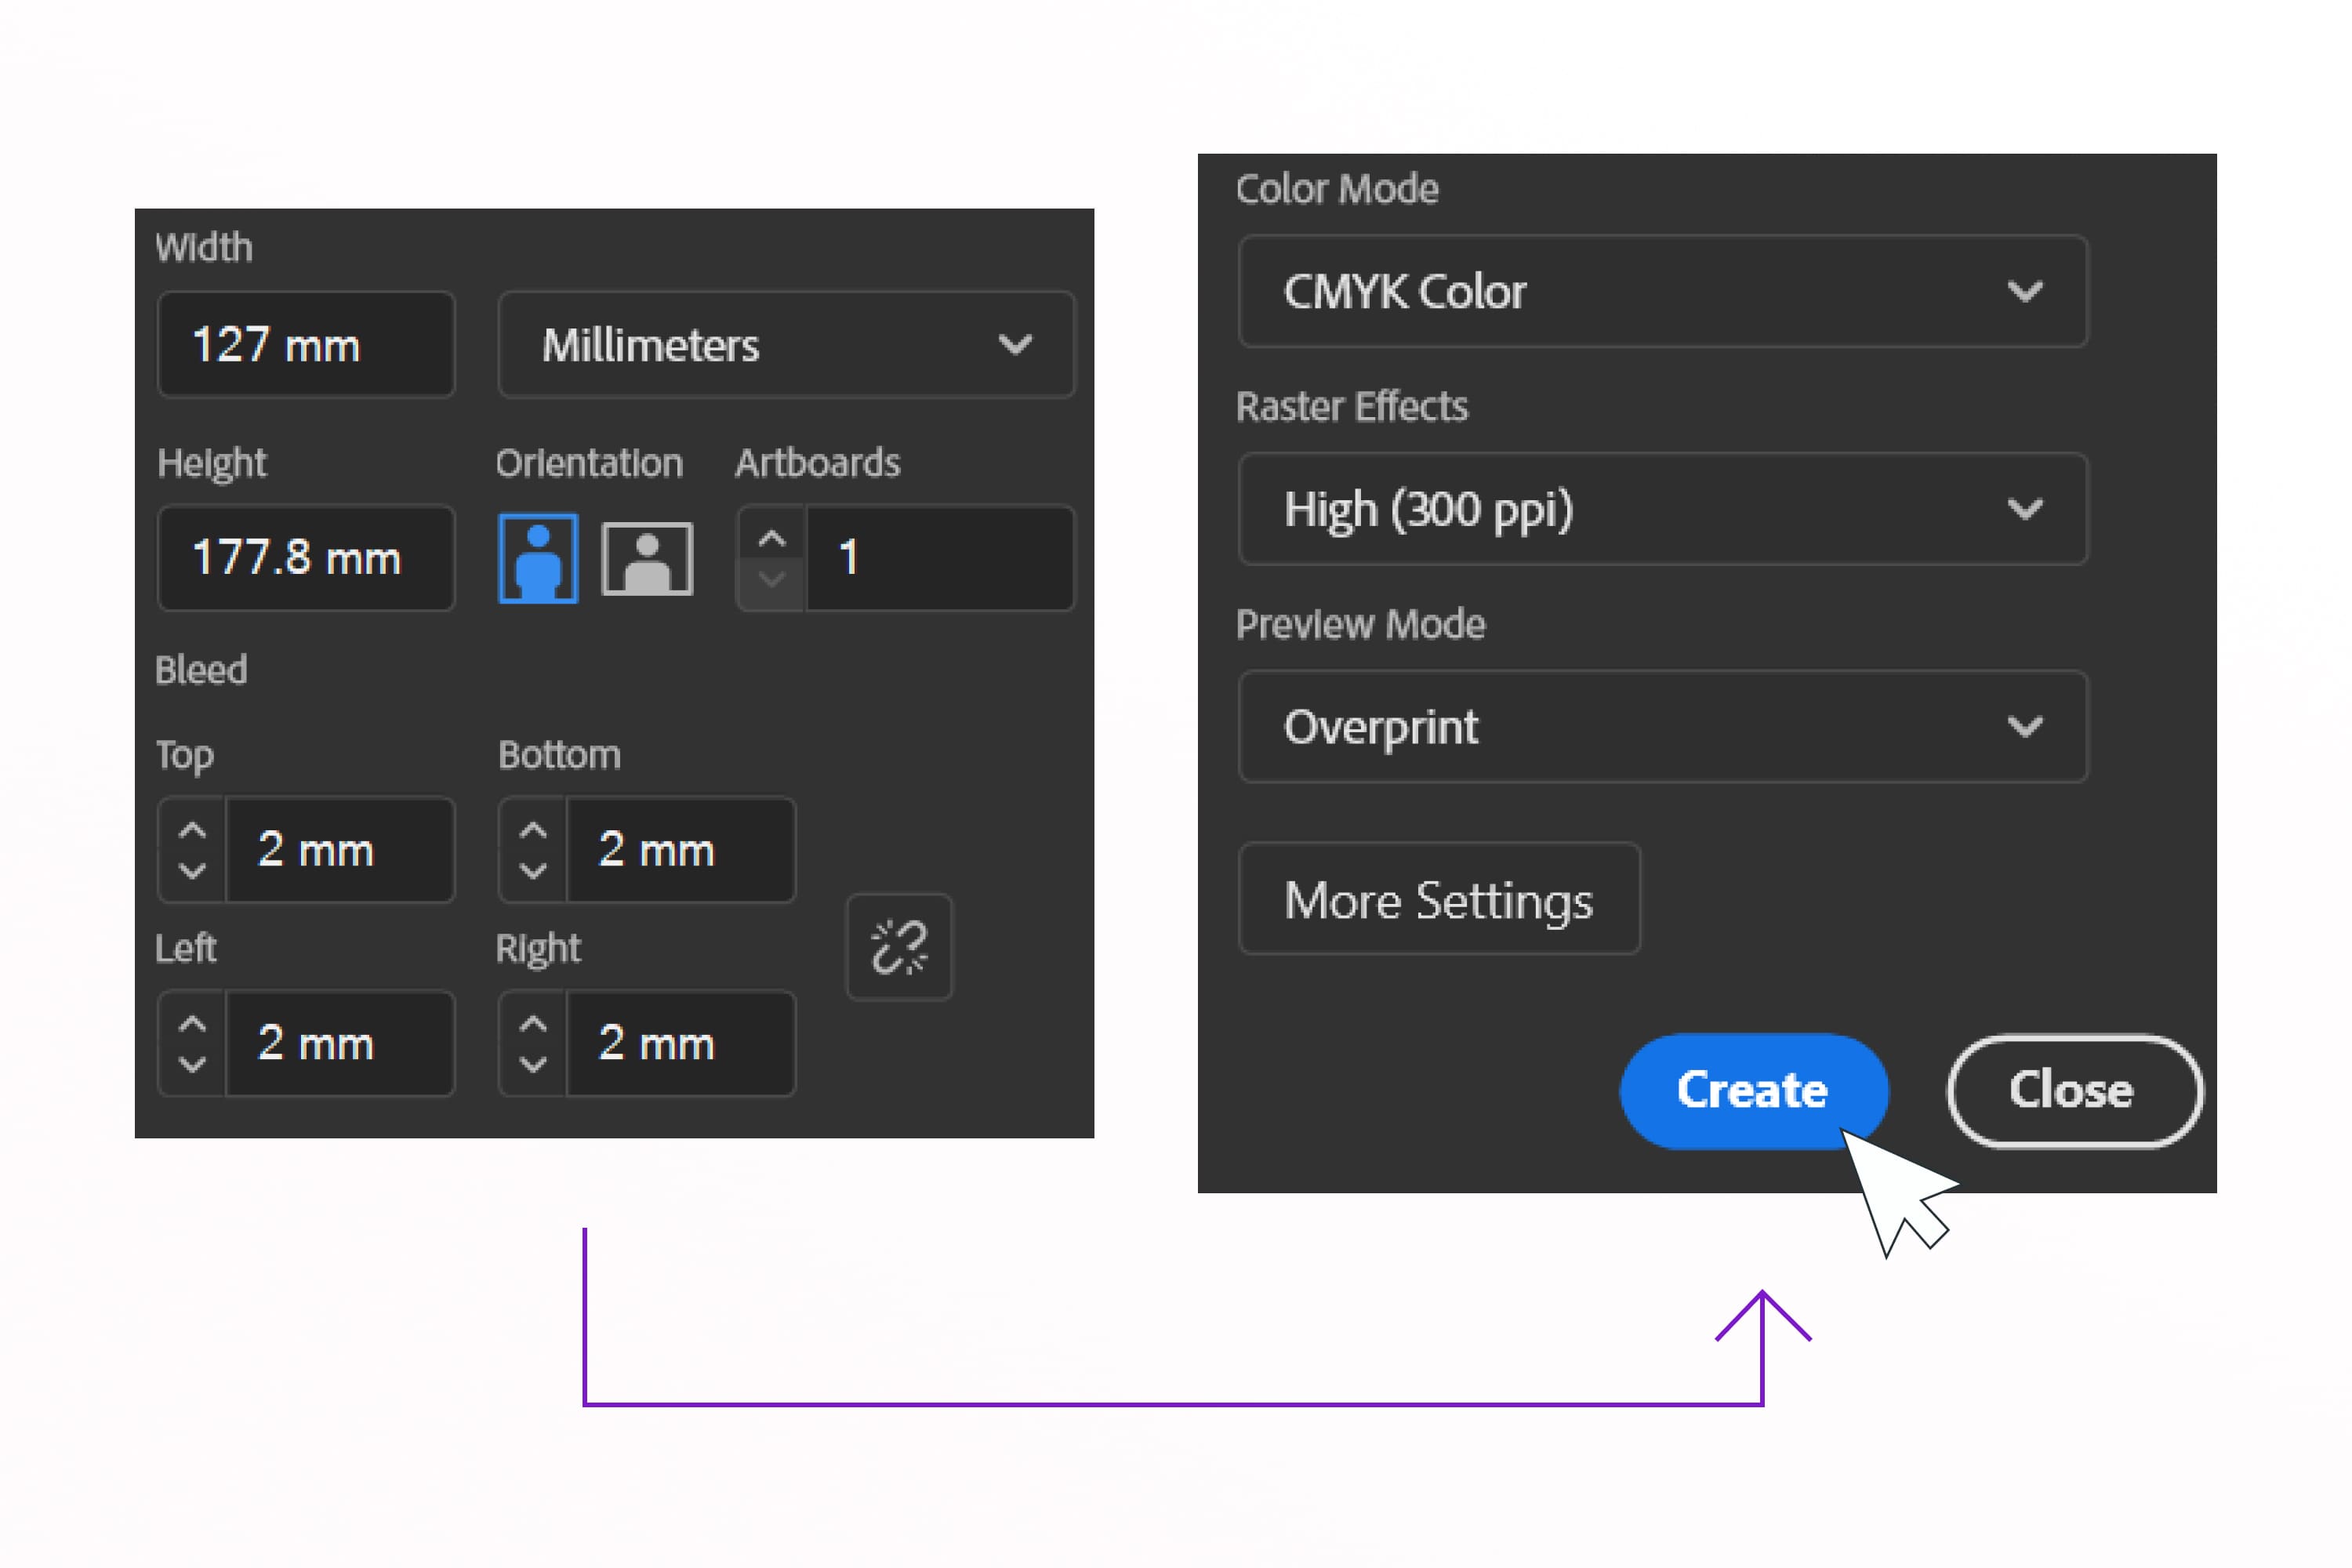
Open Illustrator and click “Сreate” to start a new project. For this Illustrator invitation card tutorial, I chose the standard invitation size — 5×7 inches (127×177.8 mm).
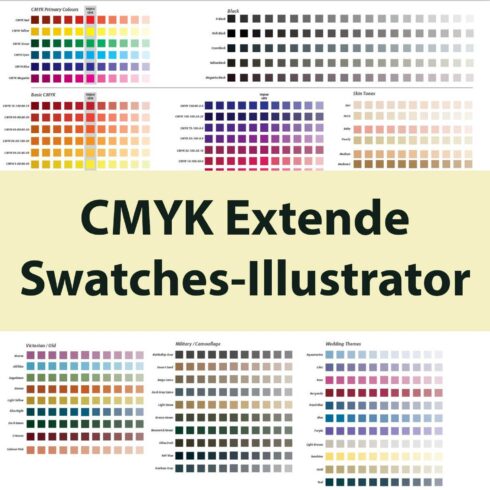
Check that the color profile is CMYK, as this is a printable design. To create a digital wedding invitation, it is better to choose RGB and use Figma.
Because of the small size design, you can put 300 PPI. But if you know where the wedding invitations will be printed, then it is better to write to the manager and ask for layout requirements. This will save your nerves and the customer will get a good product.
Don’t forget to put overhangs (known as a bleed) under the notch, for example, 2mm on each side. They are needed to avoid unnecessary trimming in the finished product.
Here I chose the “Overprint” mode. This mode will help you avoid white spaces when printing. This is especially important if you are making colored text on a colored background.
Great, click “Сreate”!
Creating a Comfortable Workplace
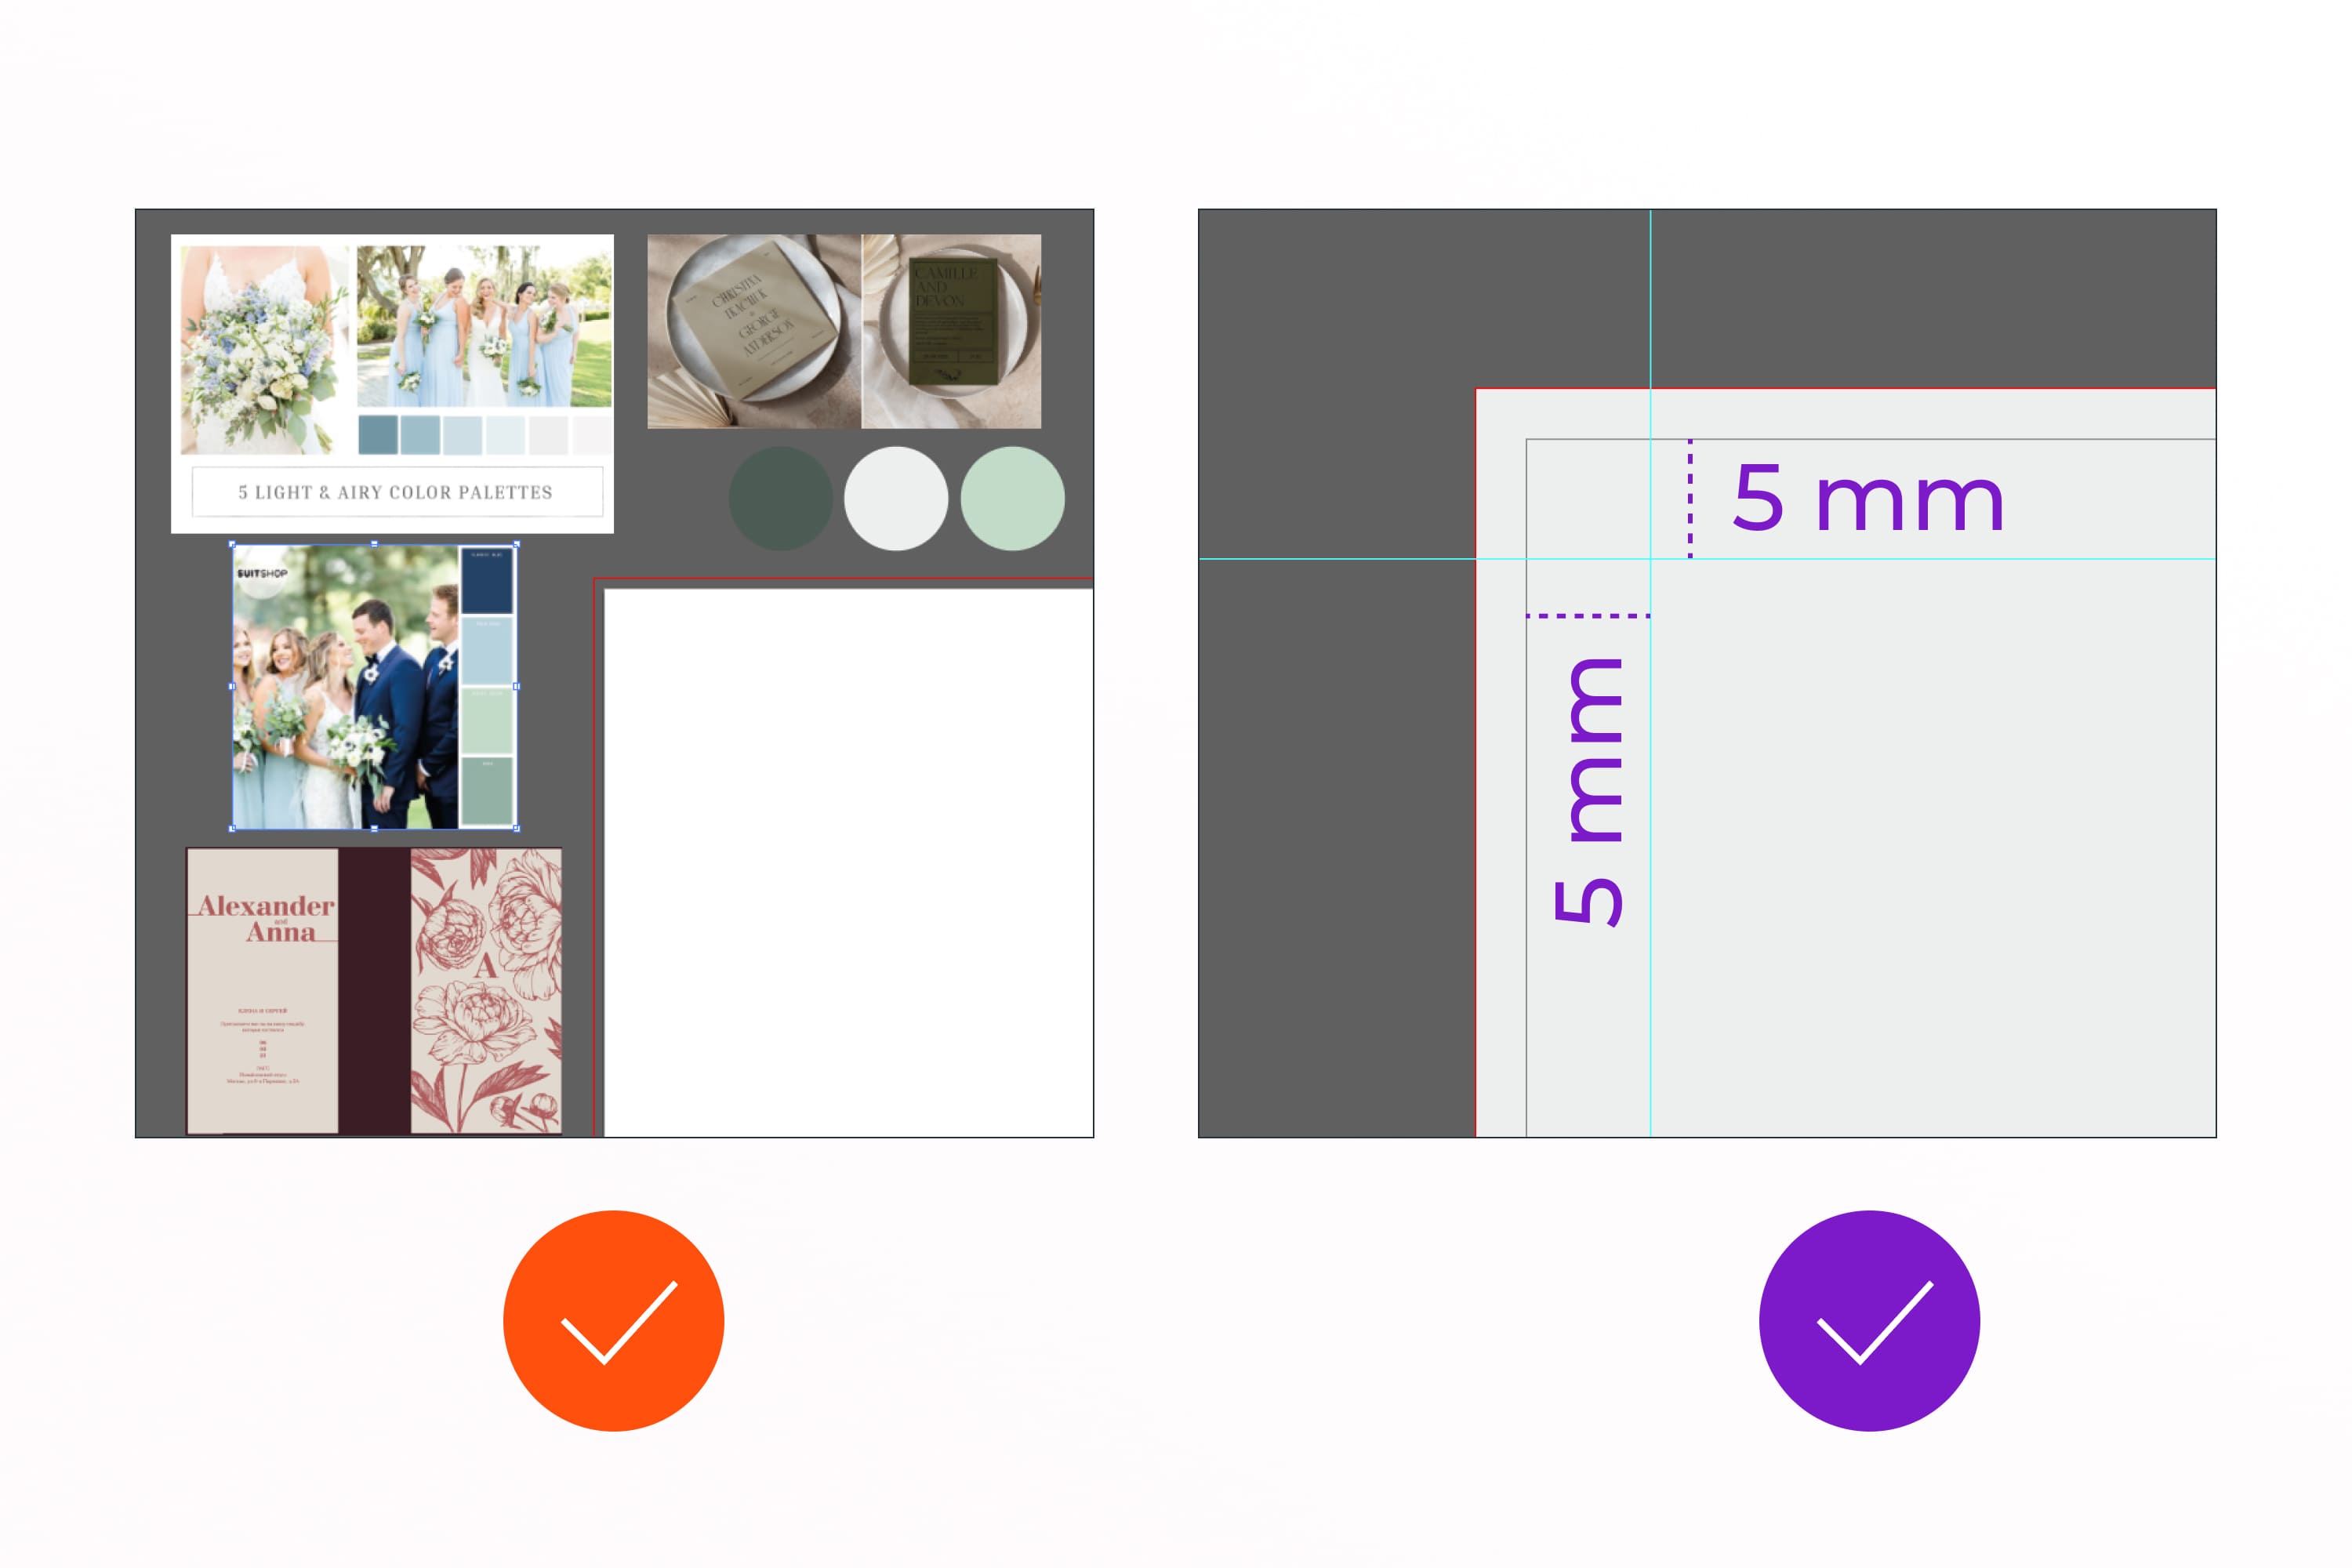
I always surround myself with recommendations and mood boards to make my job easier. I put the designs and photos I like in a separate layer.
Now I will immediately create and move the artboard away so that later the elements do not overlap each other.
I recommend creating a color palette and loading all the elements for your design at once — this simplifies the work. It will also help you minimize the exit from Illustrator and focus on your design.
Pay attention to this point: Do not place important information close to the edges when printing. Yes, we allocated 2 mm for cropping. But imagine that the machine makes a bevel when cutting. This will result in a defective design. Therefore, we use guides and retreat from the visible edge by 5–10 mm — this will be a good safe zone.
How to Design a Wedding Invitation
Let’s say a client filled out a brief and you discussed that the design would be in mint tones and a minimalist style. Let’s start!
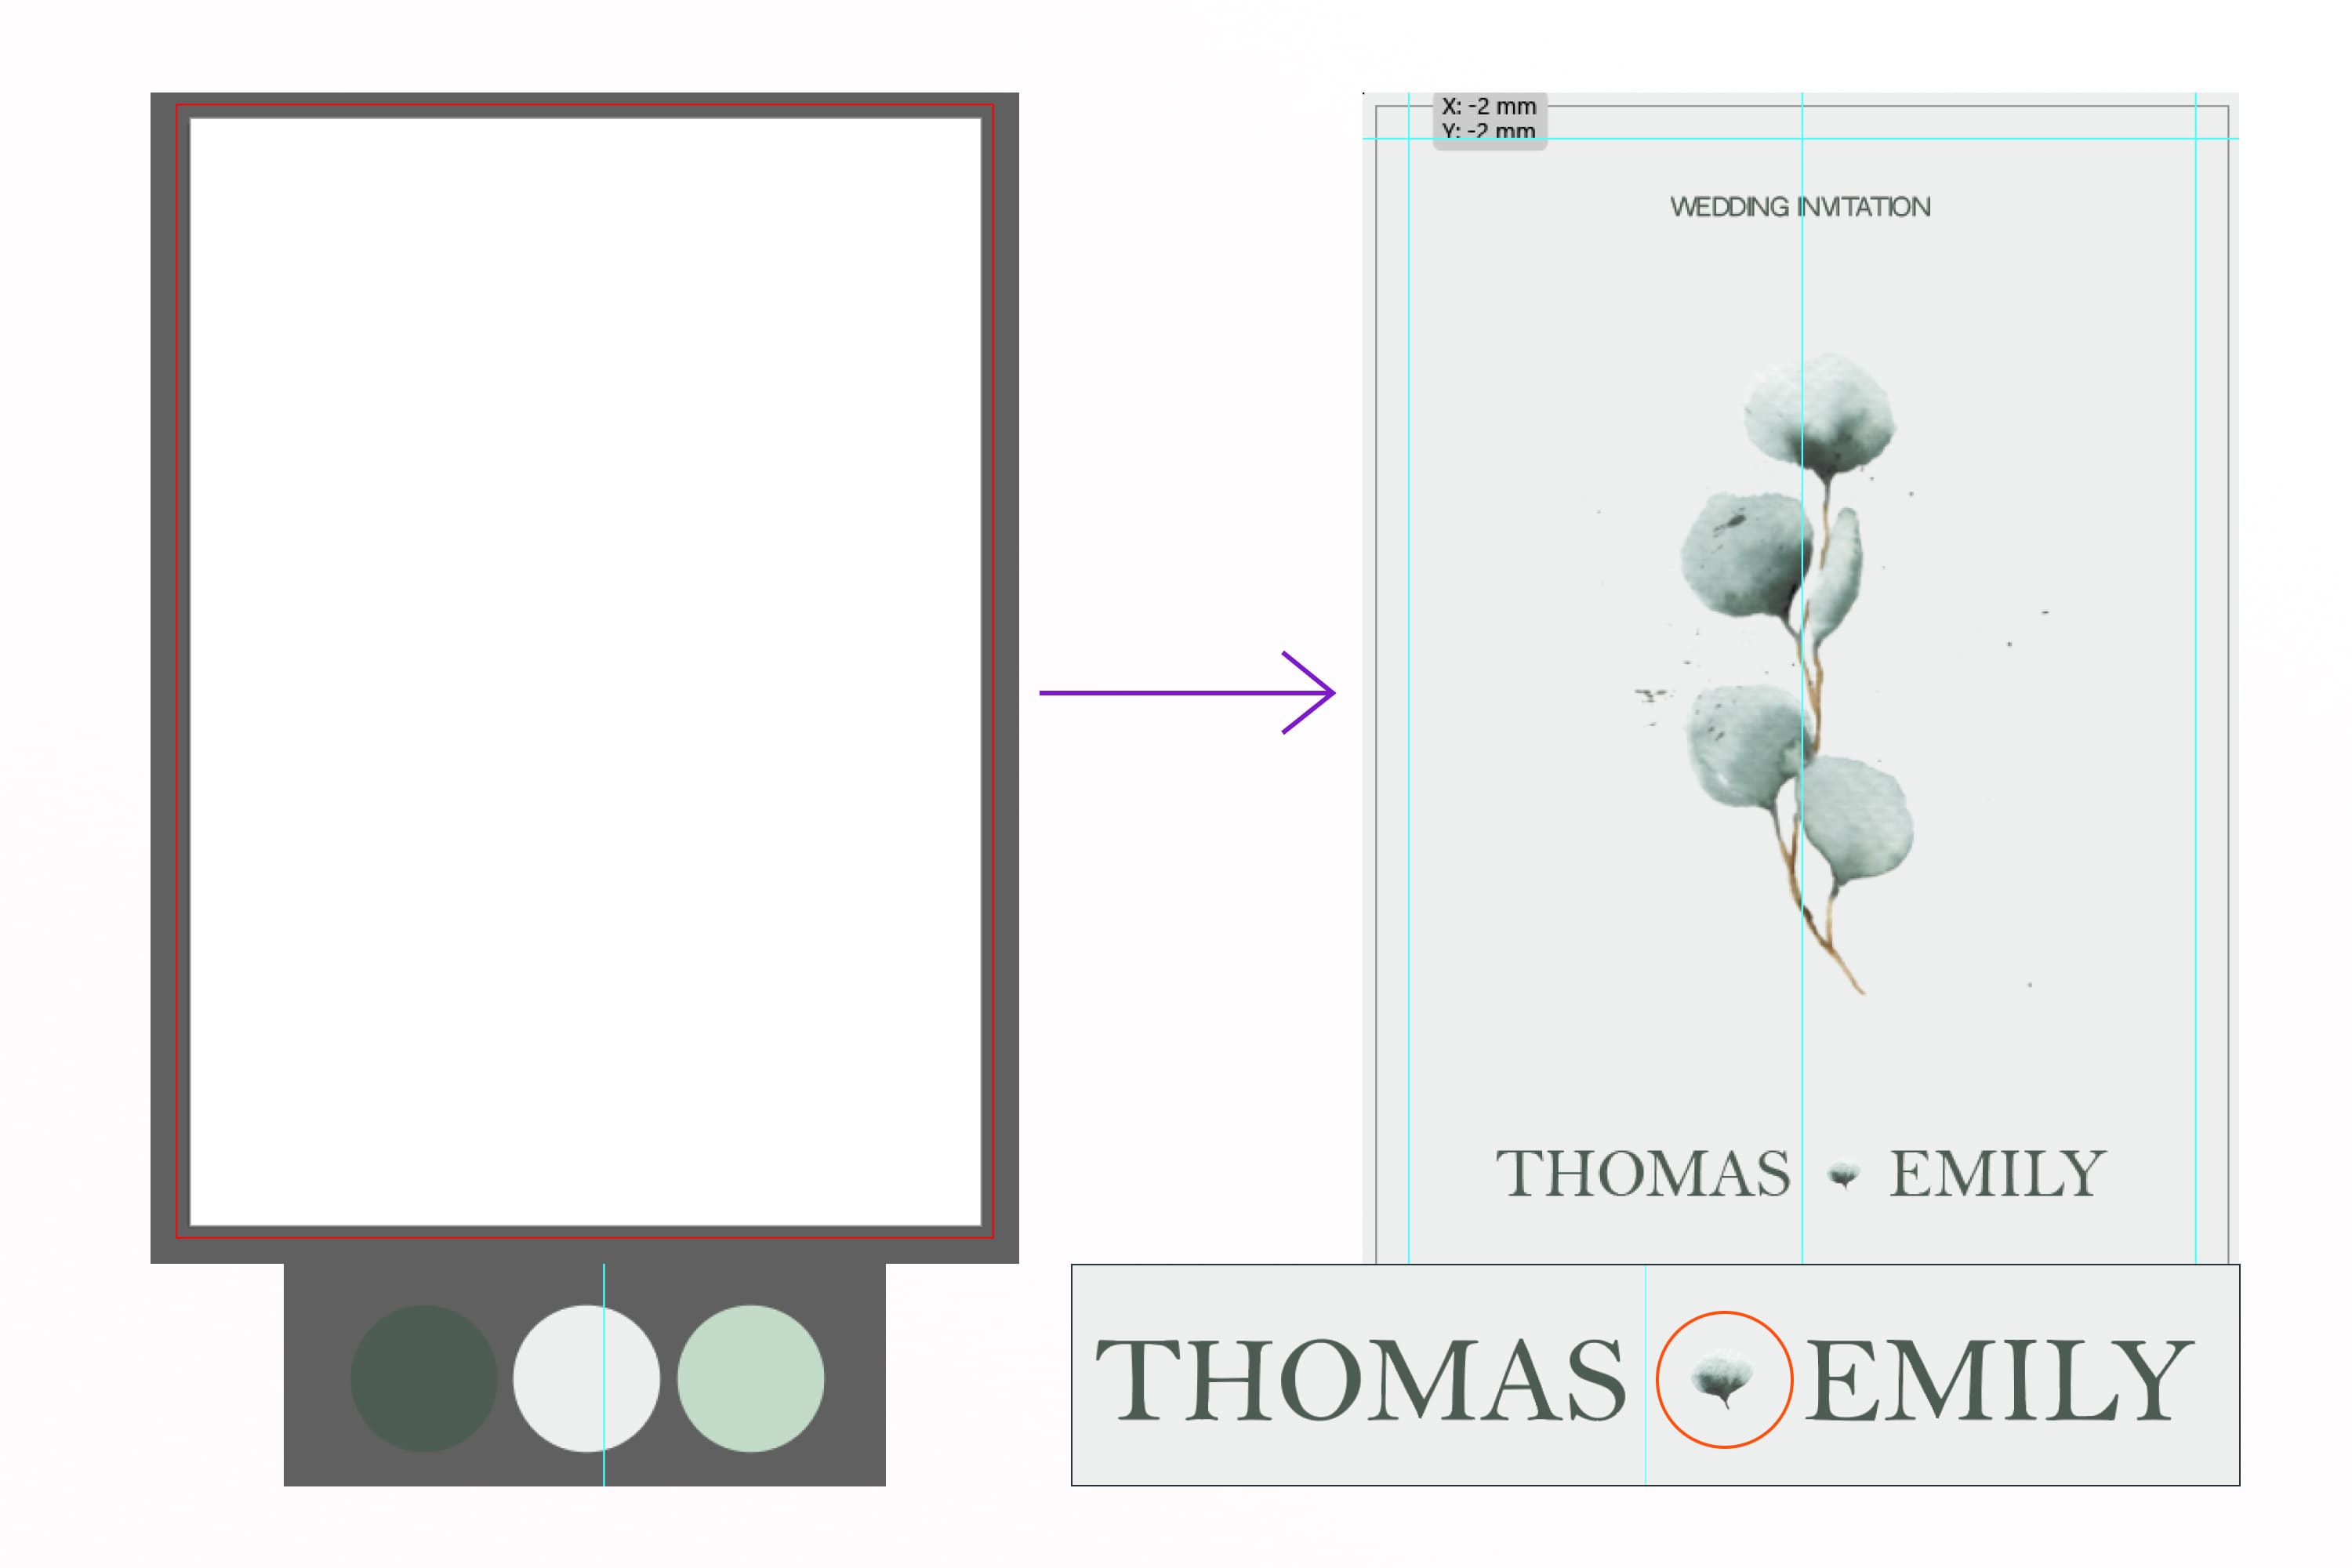
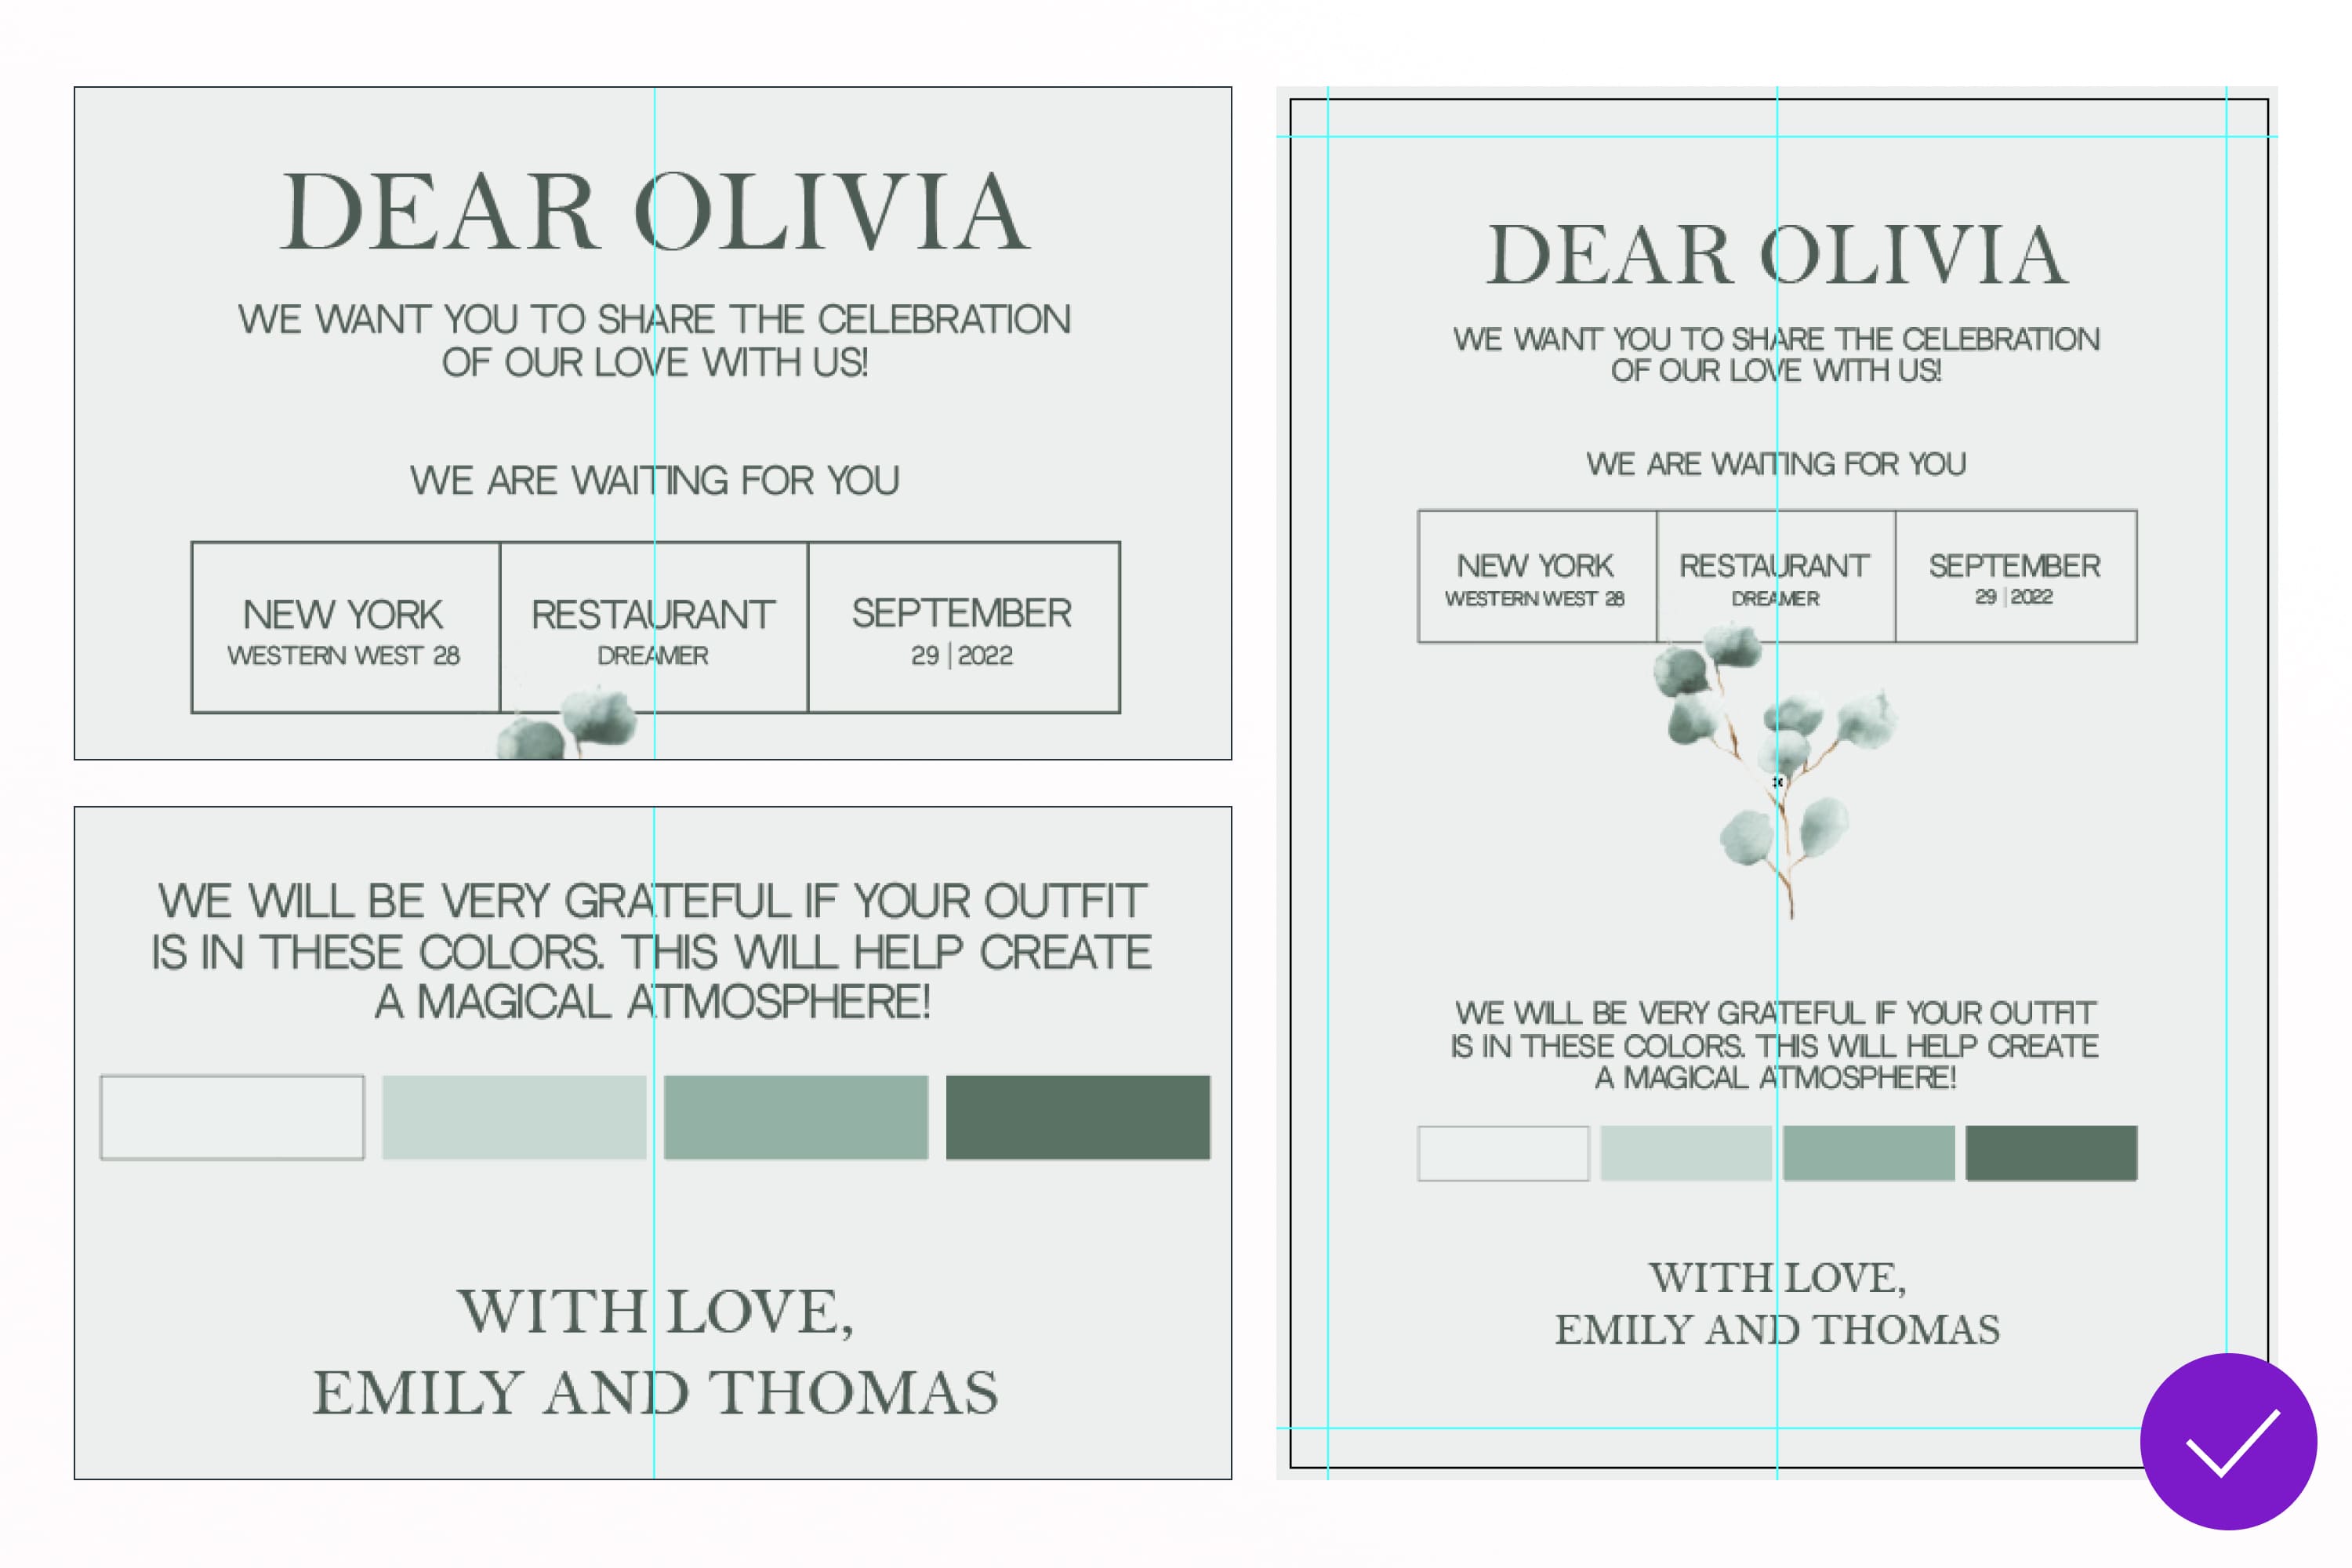
I create a background in light shades and add text to it. I decided that there would be a central arrangement on both sides of the invitations.
I arrange the text and select the font. I chose Bell MT for the accent font — it will be used for headings. For the main font, I chose a sans-serif and easy-to-read font — Neutral Face.
I recommend checking out these accent fonts because they are excellent for delicate wedding invitations and other projects.
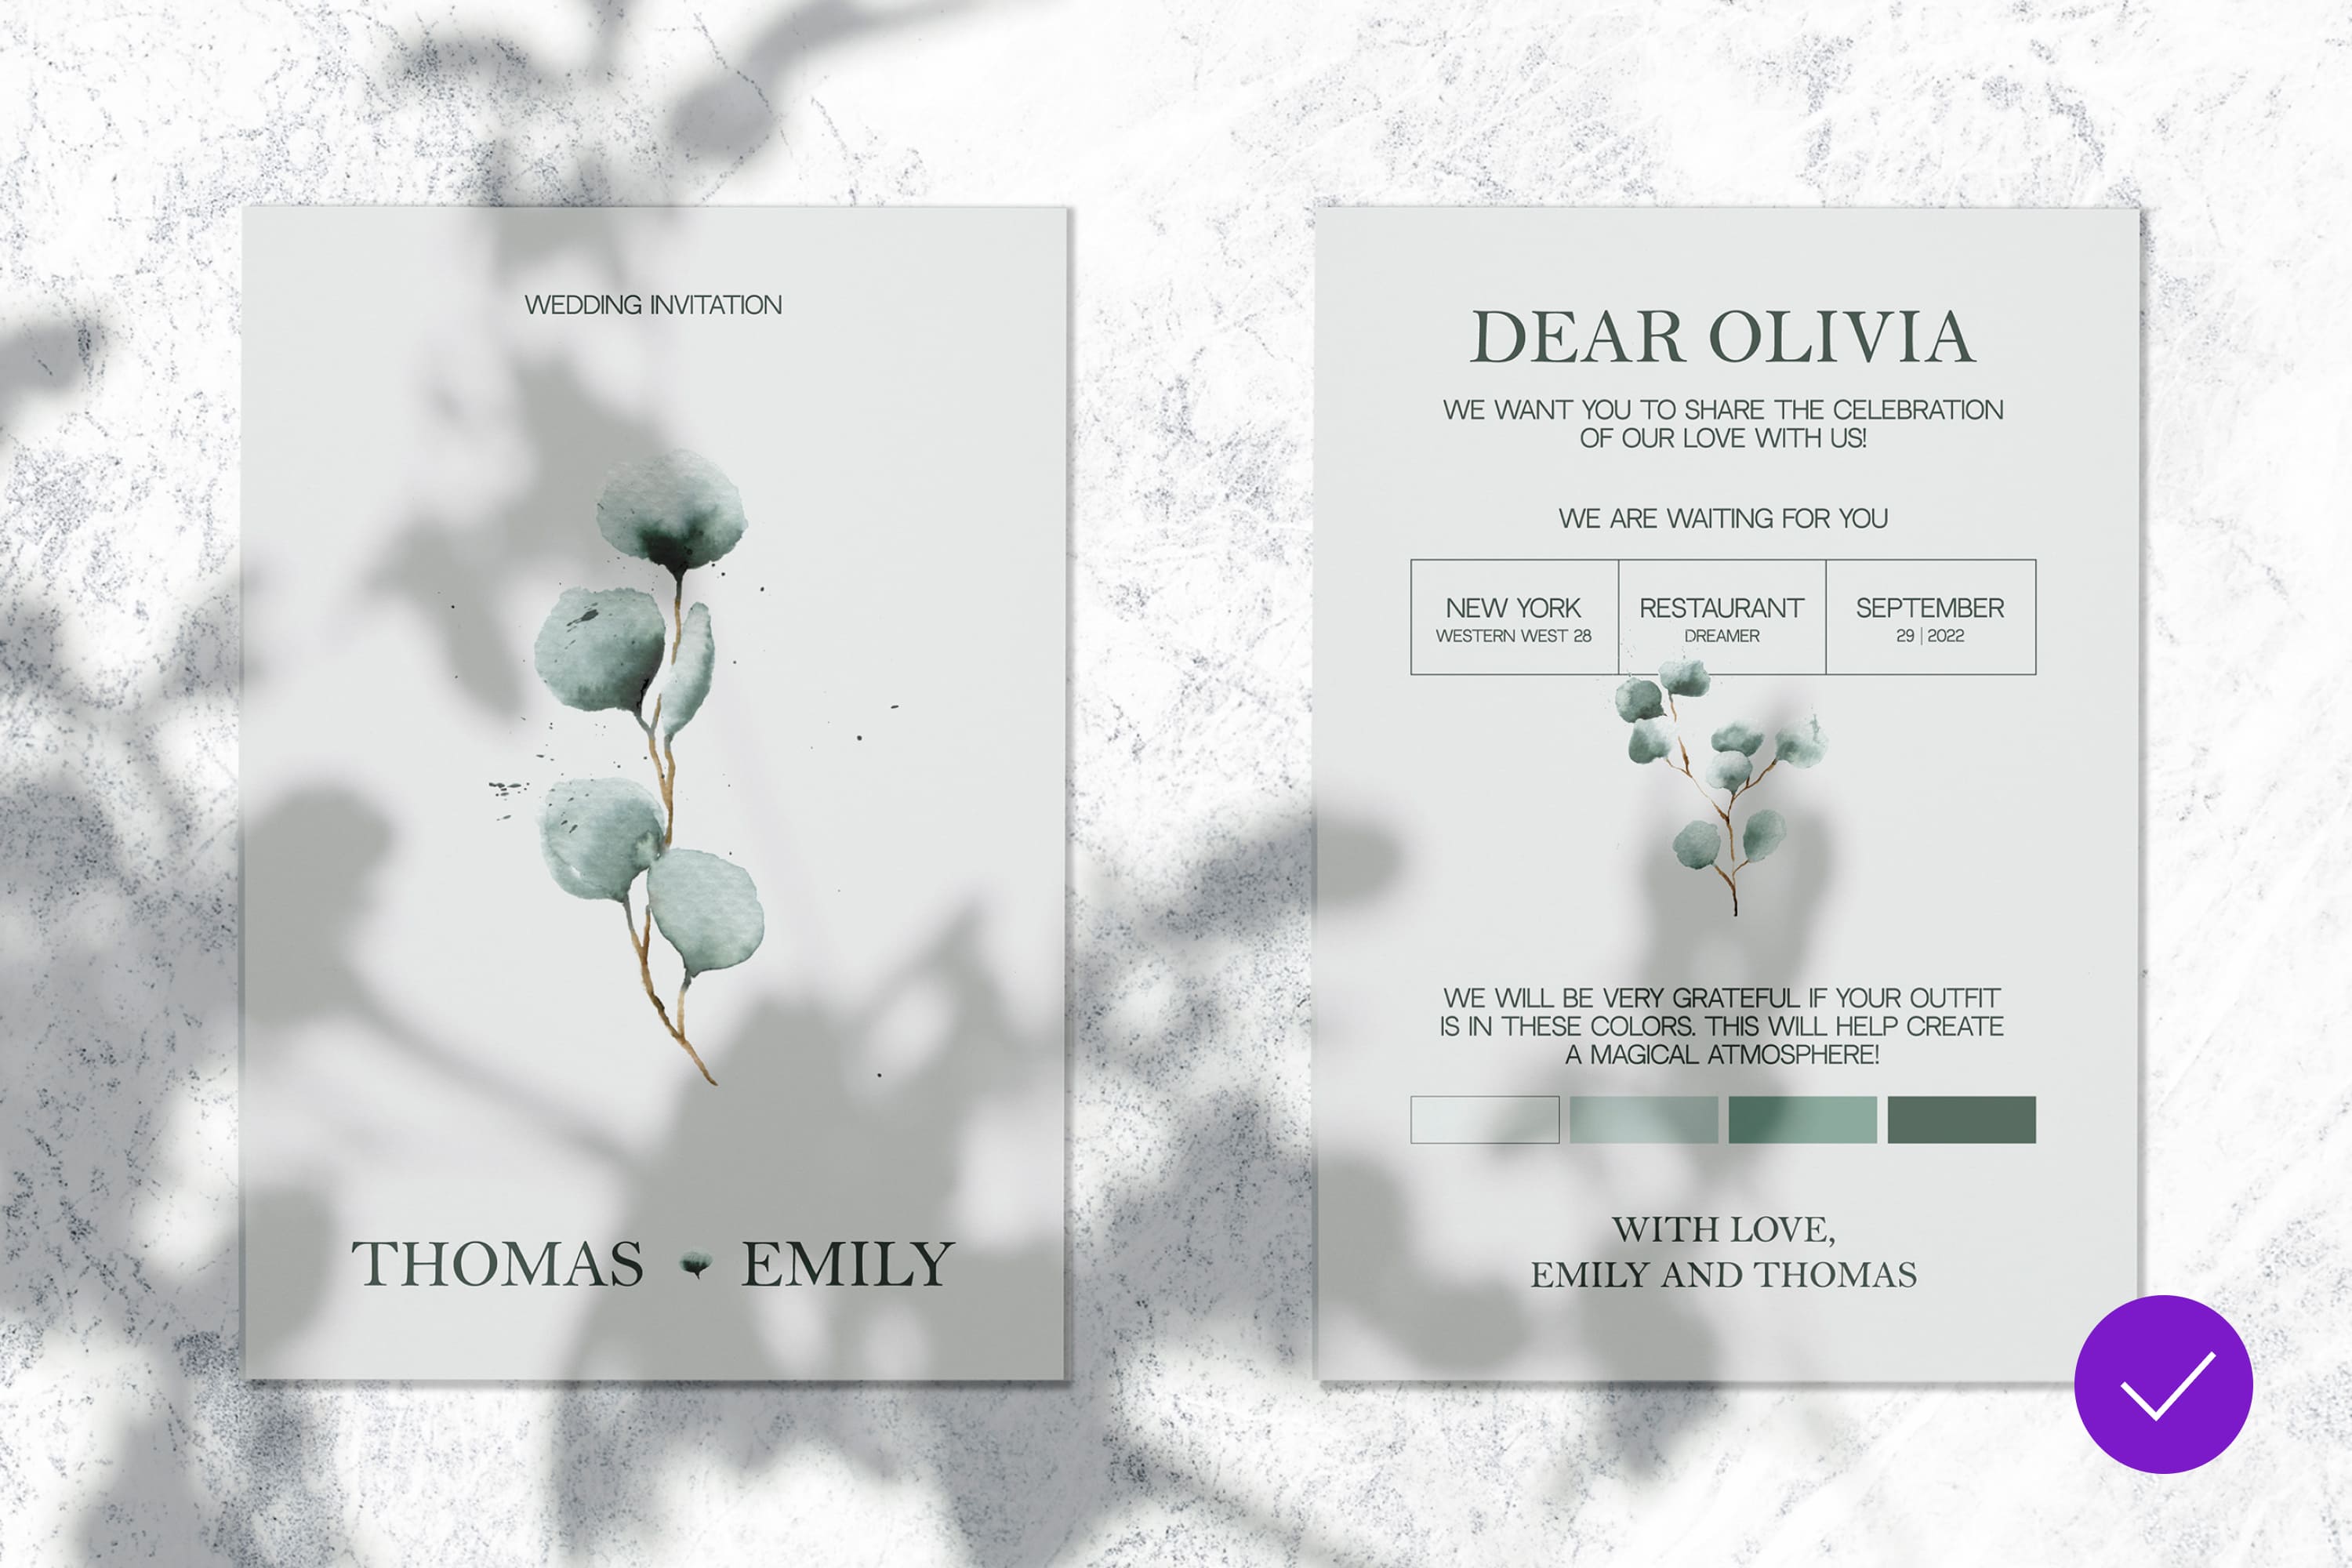
In the center, I placed a flower that matches the color scheme of the holiday and makes the design more sophisticated. To support this flower, I added a small petal between the newlyweds’ names. That’s the advantage of a set of illustrations — you have options for combining them in one style.
I turn to the back of the invitation. Here I post important information: location, wedding date, to whom it is addressed, and wishes.
To do this, I select all the finished layers, copy and paste them into a new layer. I hold Shift to smoothly drag the layers onto the second artboard.
At the top, in an accent font, I write appeals. It is important to choose a size that looks good with different names. So just substitute some more and see how it looks. Always check your design for adaptability if something changes (name, location, text). It is always better to ask the client for a ready-made text.
Next, for all text, I use the main font.
I place important information on a plate so that it is convenient and stands out from the rest. I reinforce the emphasis on this information with a flower, which I put just a little on the edge of the table.
Below, to keep the style of the table, I make rectangles with colors for advising on the suggested clothing colors of the guests. This is a cool and simple thing that will help to remove the visual noise at the wedding and get beautiful aesthetic photos. So offer this feature to your newlyweds 🙂
I chose an accent font for the farewell phrase to make it stand out from the others. That’s it — a quick and stylish wedding invitation is ready! Let’s move on to saving the layout.
Saving a Project
The most common formats for printing are Tiff and PDF. They will also accept design in program formats: AI, PSD, CDR. I saved my layout with all the sources so that I could edit it later.
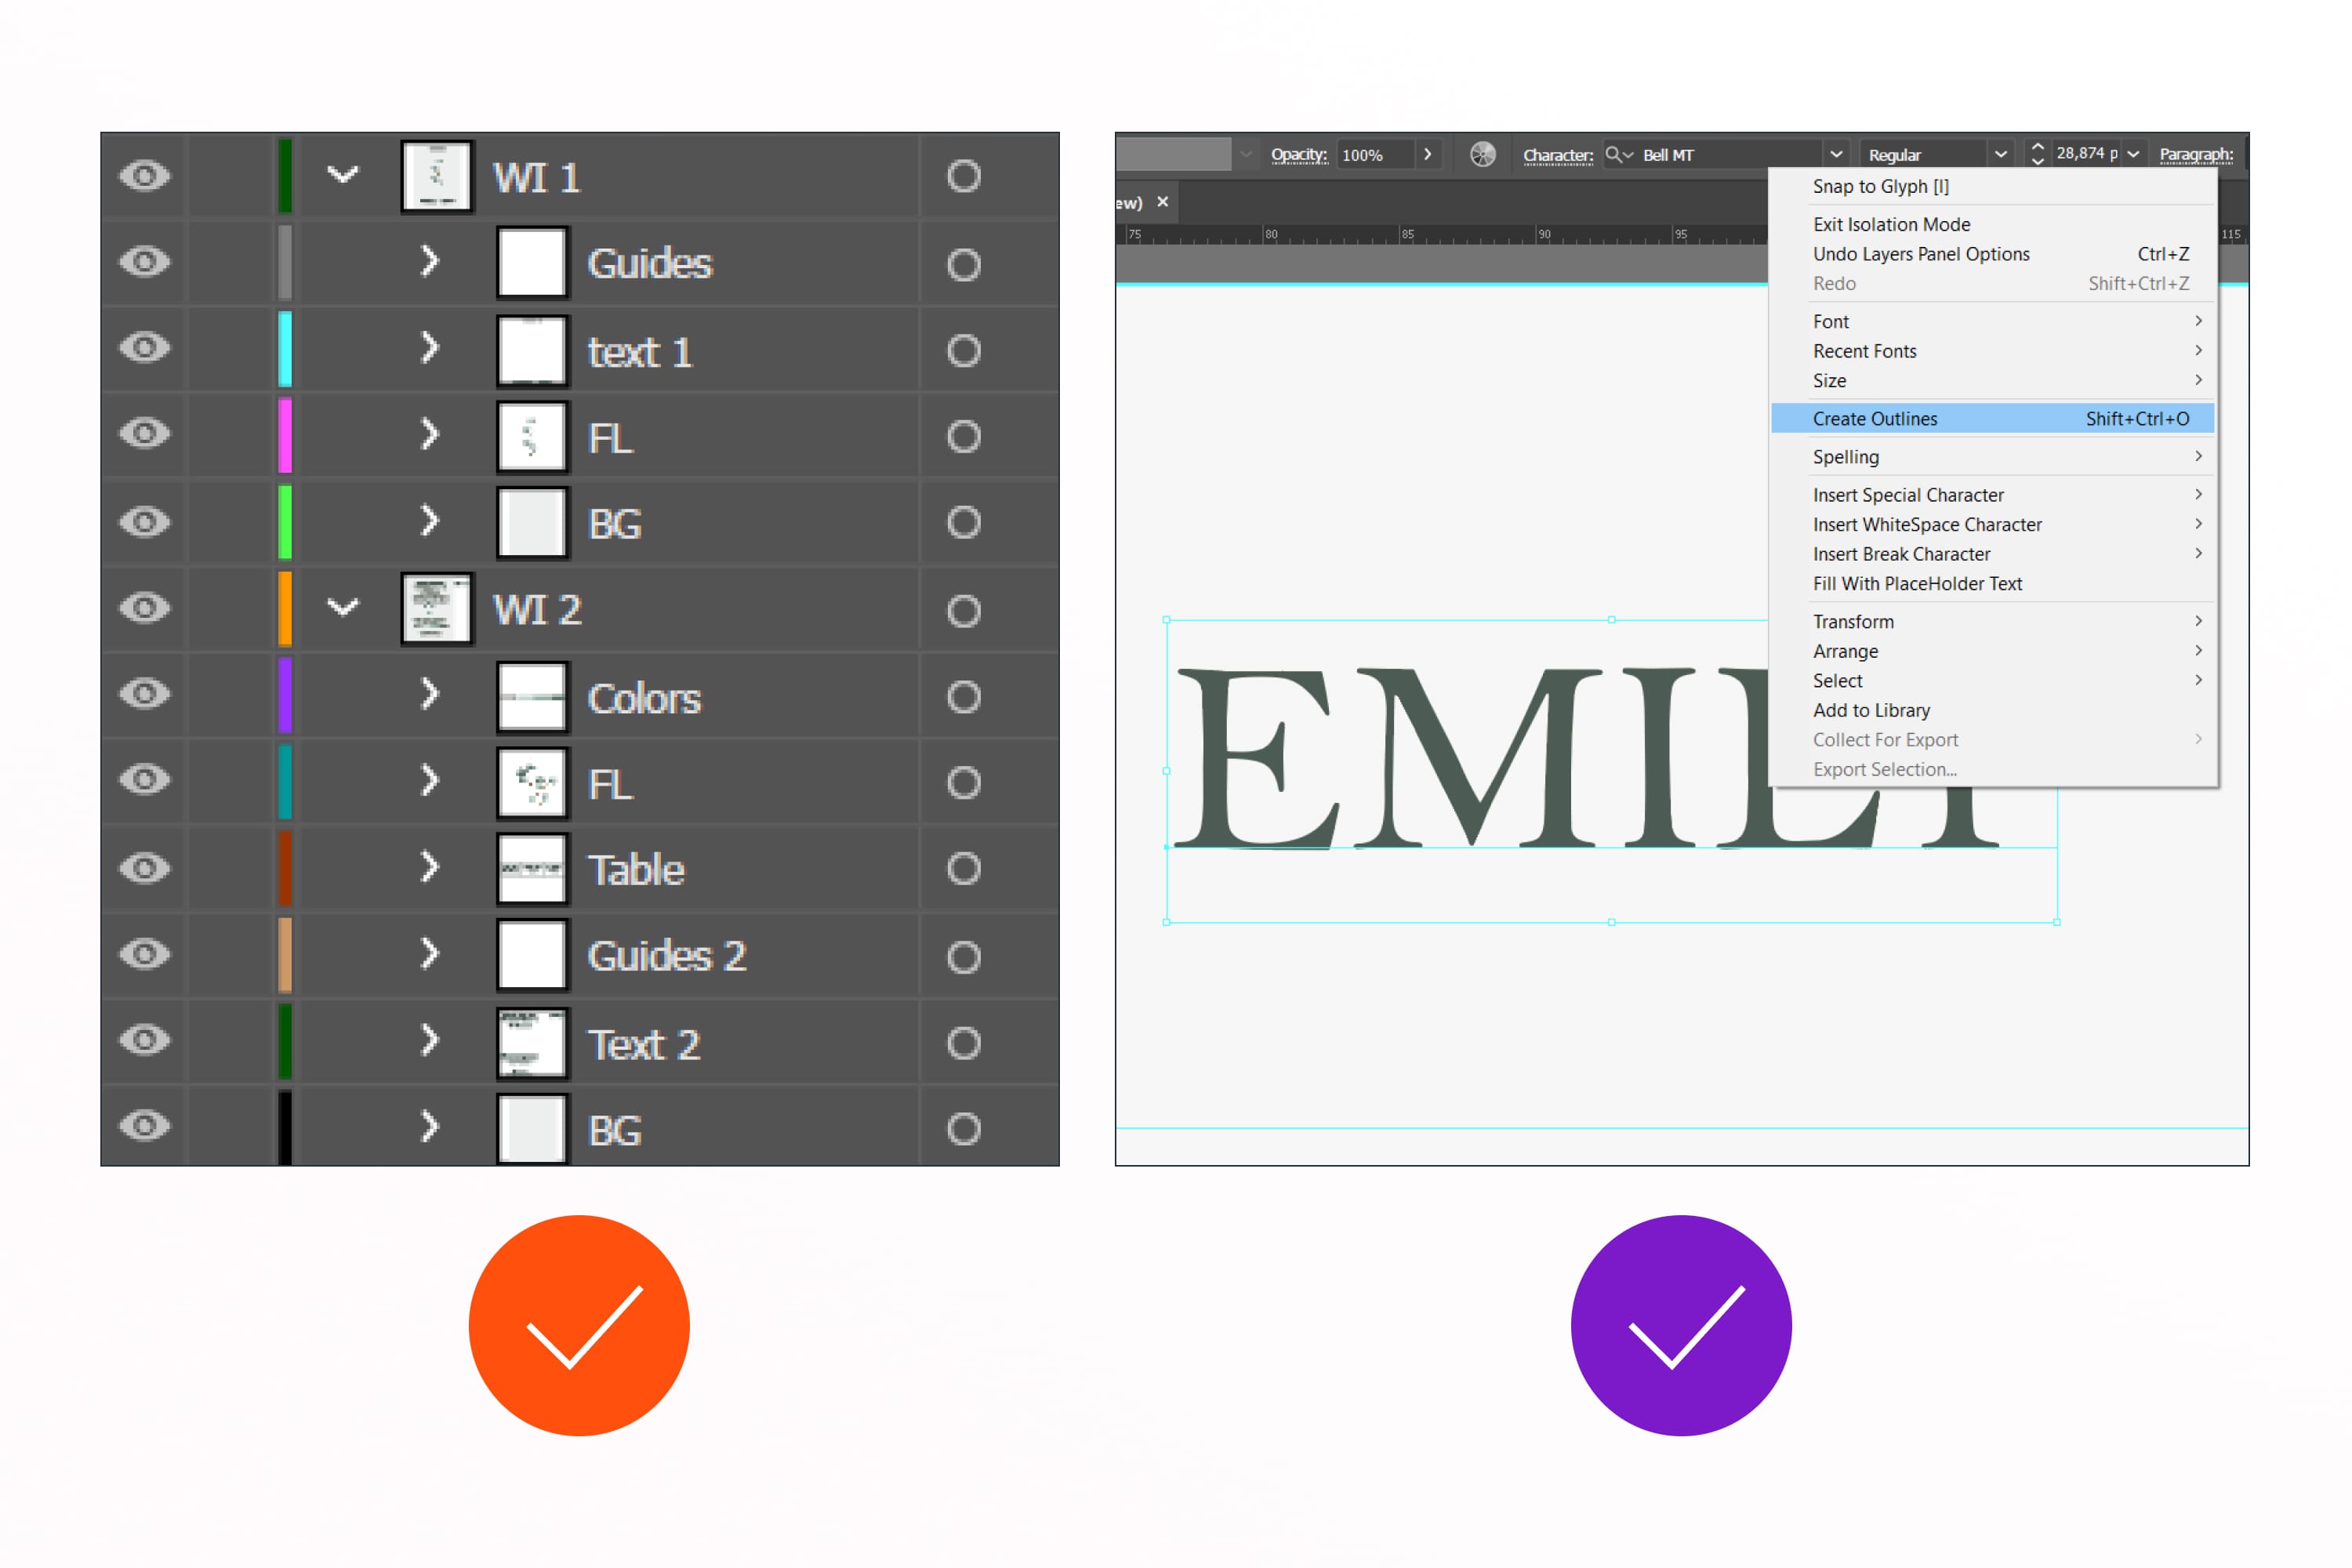
Now I delete everything unnecessary and put the layers in order — I sign, group, and remove blockages.
It is very important to convert fonts to curves. To do this, click on the text and the key combination CTRL + Shift + O. This is necessary so that when the layout is opened by a printing employee, nothing in your layout is broken. And it can even break because the fonts used may not be installed so outline them to be sure.
Press CTRL + Shift + S and save everything in ai and pdf format. Also, save the jpeg for preview.
Do you want to get +1000 in karma? In the layout’s name, indicate the dimensions so the printing worker immediately understands what he will be working with.
Well, for +1000 in karma from the client, find a mockup and pack your design into a beautiful presentation with a visualization of the finished design.
Now the last step is to watch the video with all the steps we just covered. If it was useful for you, then please leave your feedback — I’ll be very happy 🙂
In this basic Adobe Illustrator tutorial, you learned how to make a wedding invitation. This design does not take long, and it is very likely to capture the hearts of customers. Also, look again so as not to miss all the recommendations for working with printed products.
Thank you for visiting this tutorial. I wish you good luck with your designs.
Best Related Articles


- graphic design trends 2023
- graphic design printers
What are your concerns?
Thanks for your response!
Disclosure: MasterBundles website page may contain advertising materials that may lead to us receiving a commission fee if you purchase a product. However, this does not affect our opinion of the product in any way and we do not receive any bonuses for positive or negative ratings.