Make a Cute Halloween Card in 10 Minutes in Illustrator: Step-by-Step Tutorial + Video
Halloween is coming, so soon there will be pumpkins, costumes, and fun everywhere. Meanwhile, graphic designers are already looking for ideas for their spooky designs. Since we are all about graphic design at MasterBundles, our contribution to the holiday atmosphere is a tutorial on how to make a Halloween card in Illustrator.
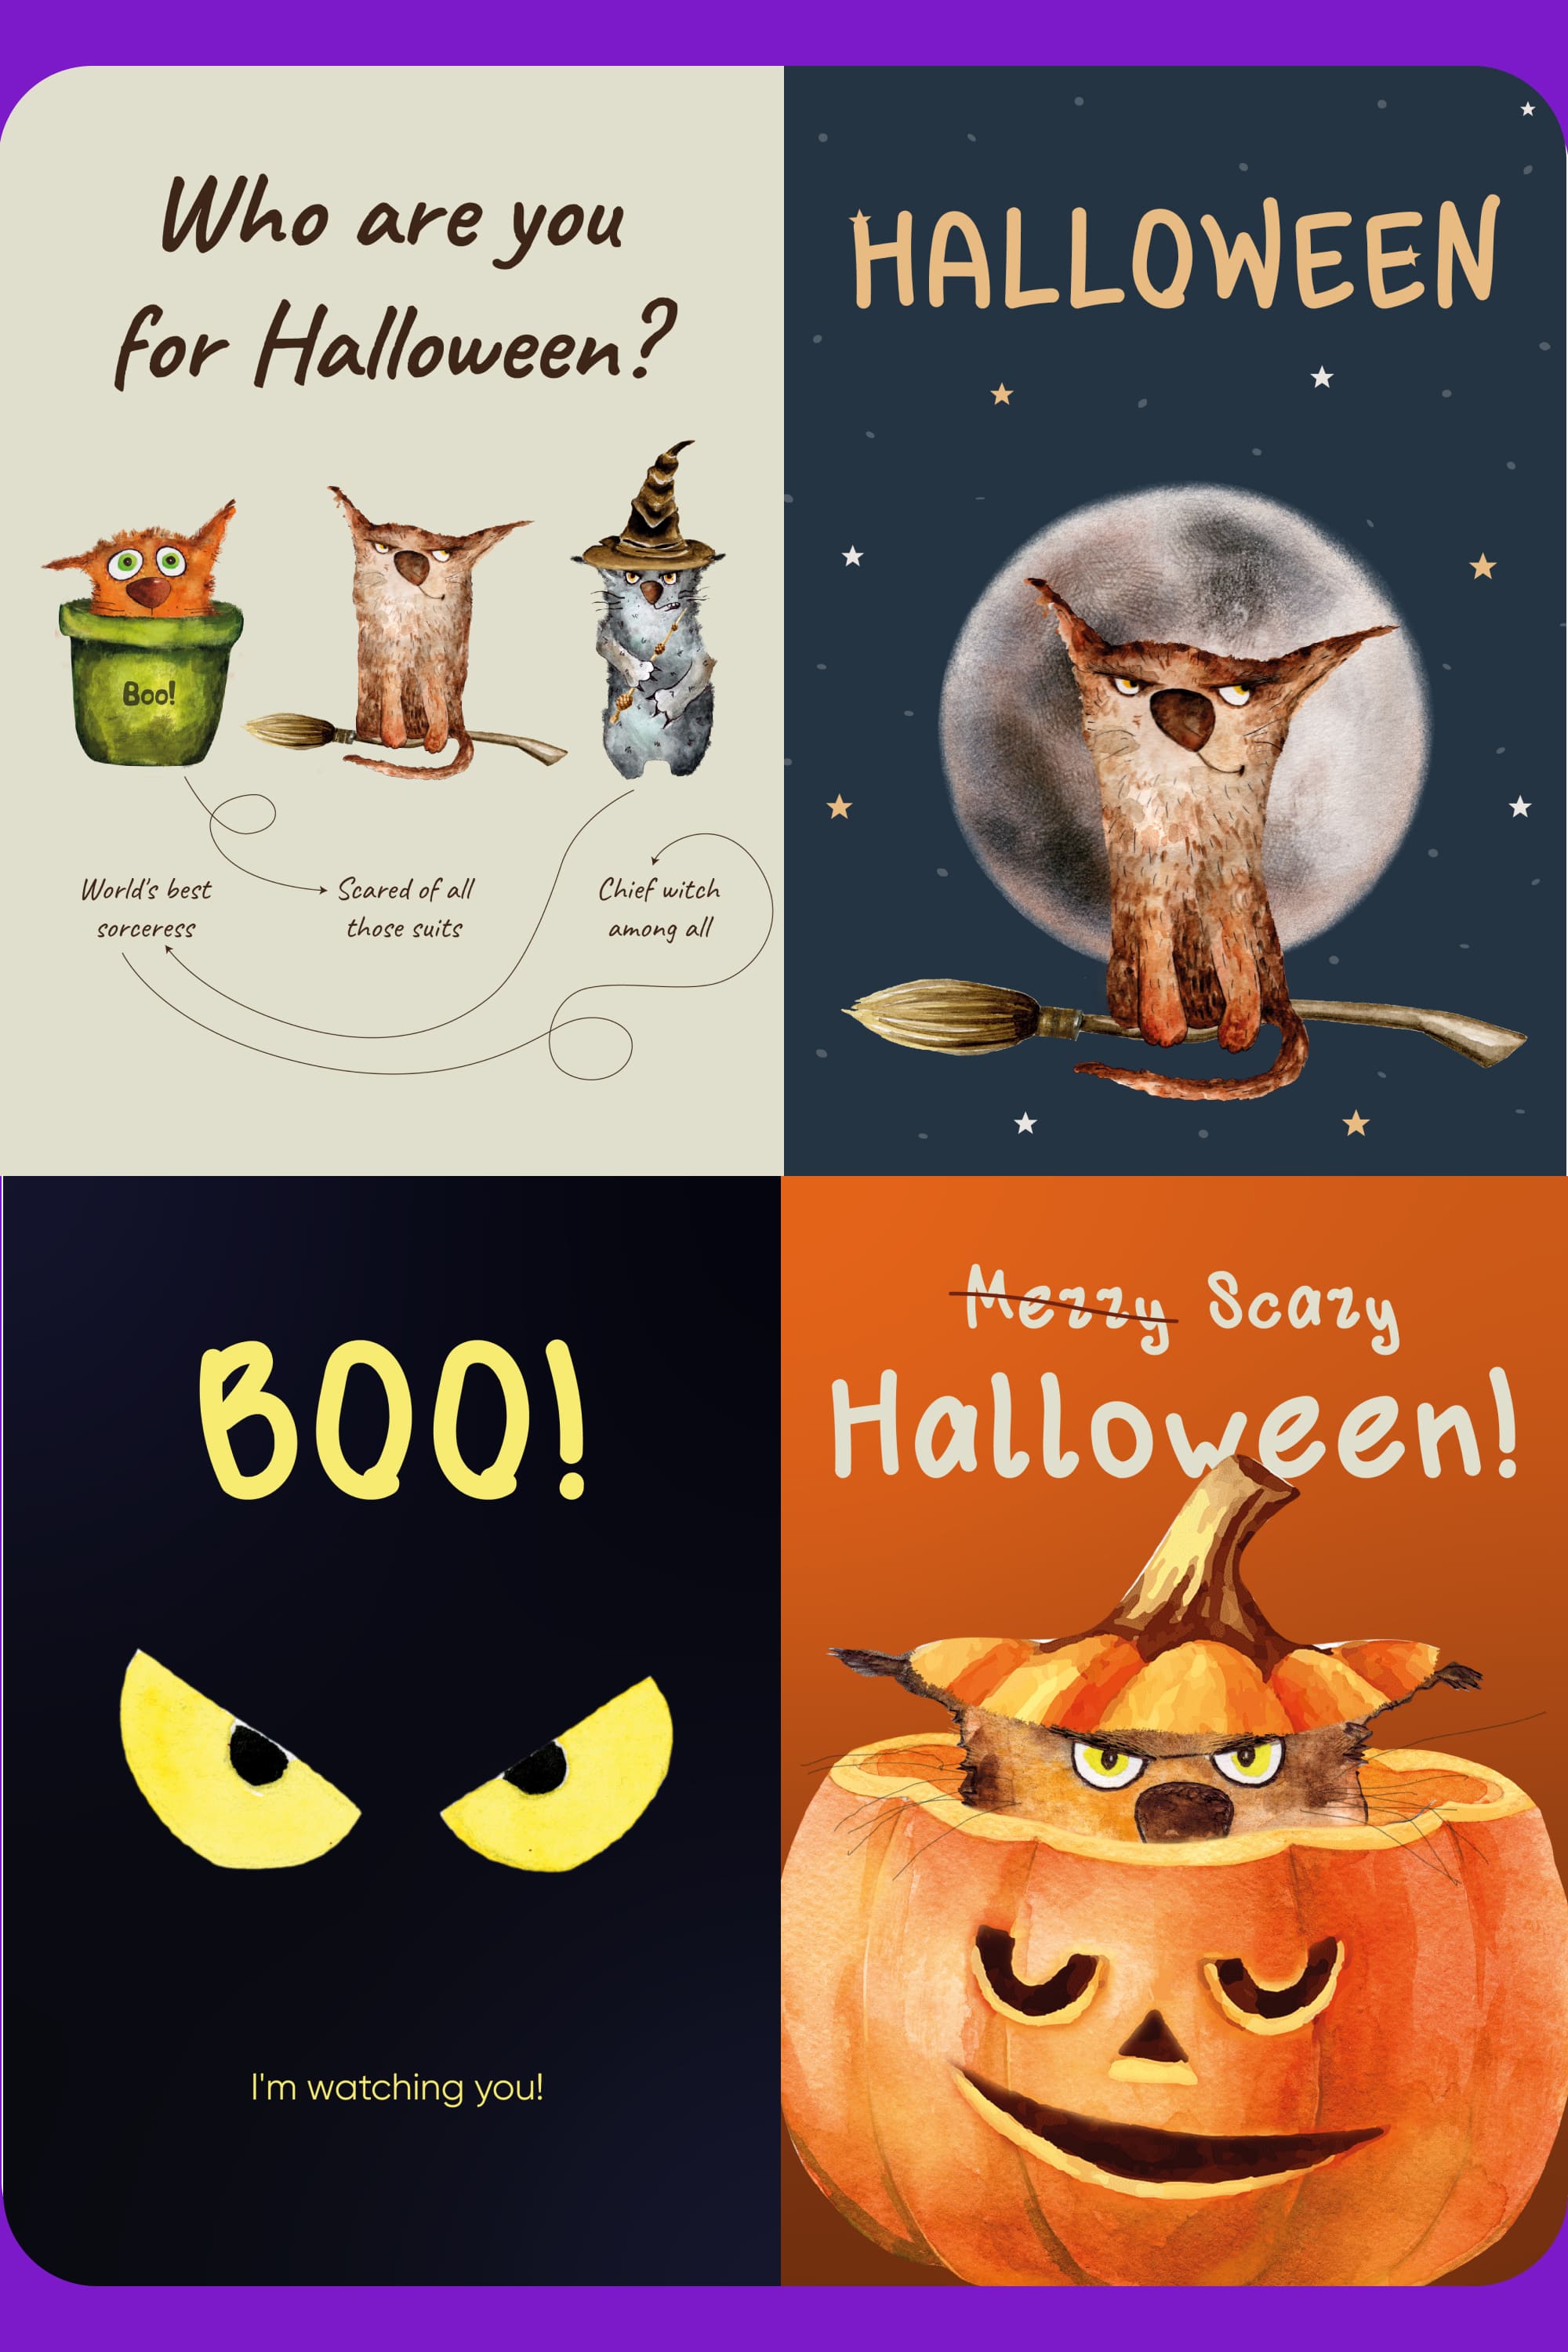
Watch, repeat, and adapt the procedure for yourself. In the video, you’ll find 3 extra ideas for your design. These Halloween card ideas will speed up your work and add some inspiration. We did our best, so we will be glad for your feedback on our DIY Halloween card ideas!
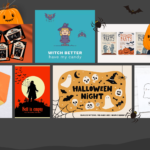
How to Create a Halloween Card in Illustrator: 4 Different Variants Shown
💜 Tutorial on our blog: https://masterbundles.com/make-a-cute-halloween-card-in-illustrator-step-by-step-tutorial-video/
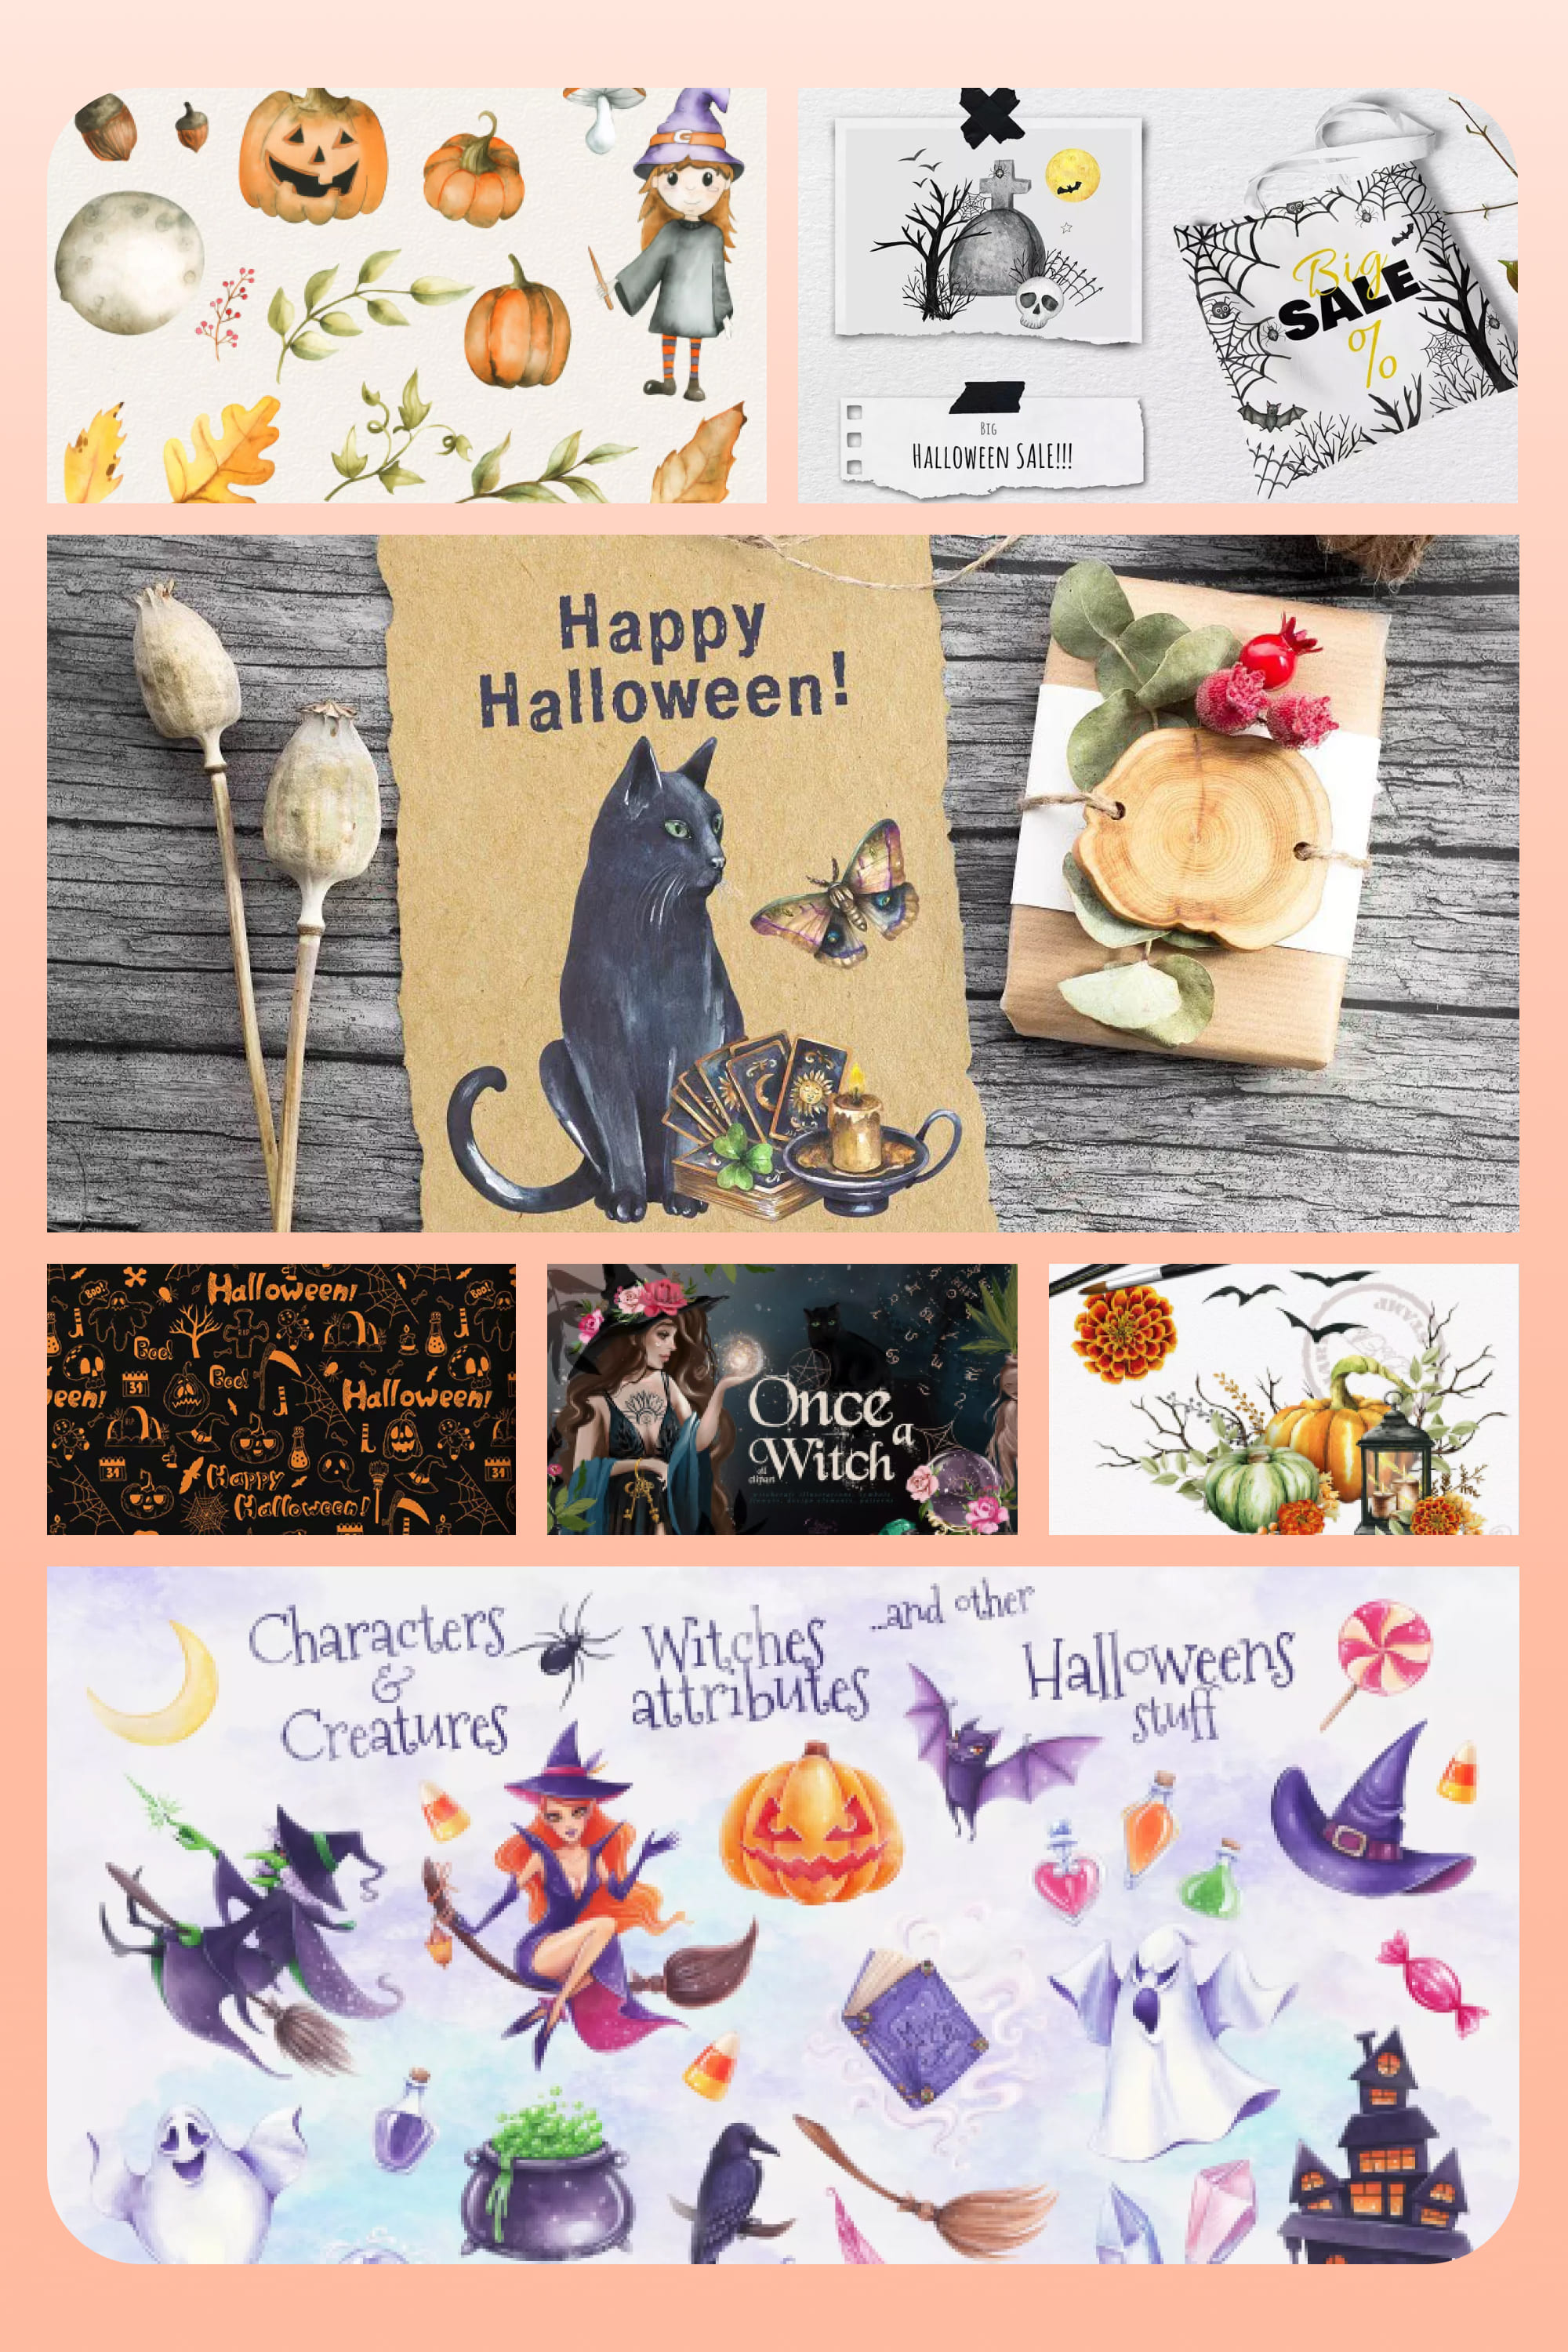
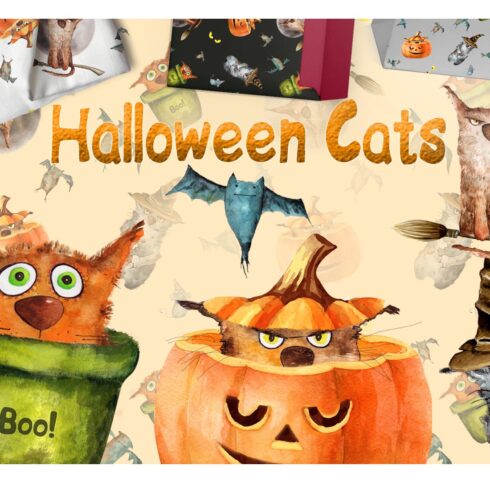
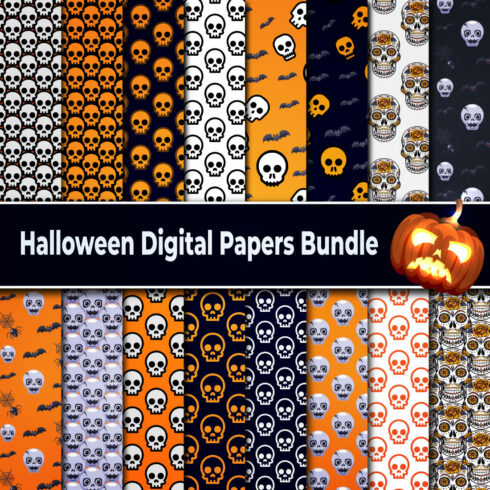
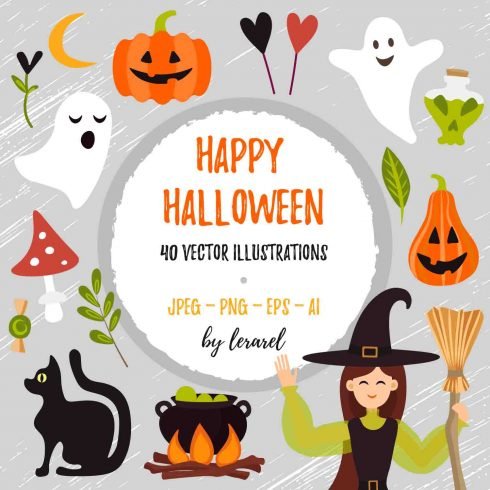
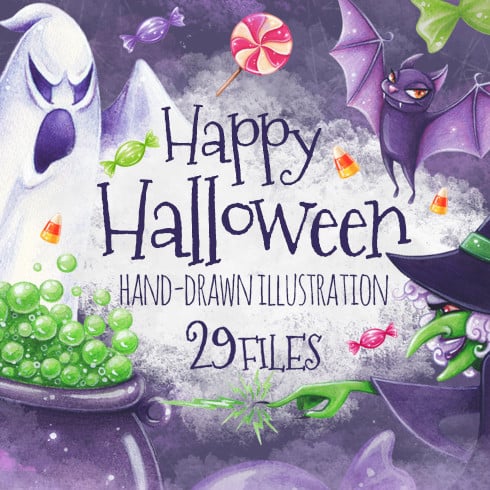
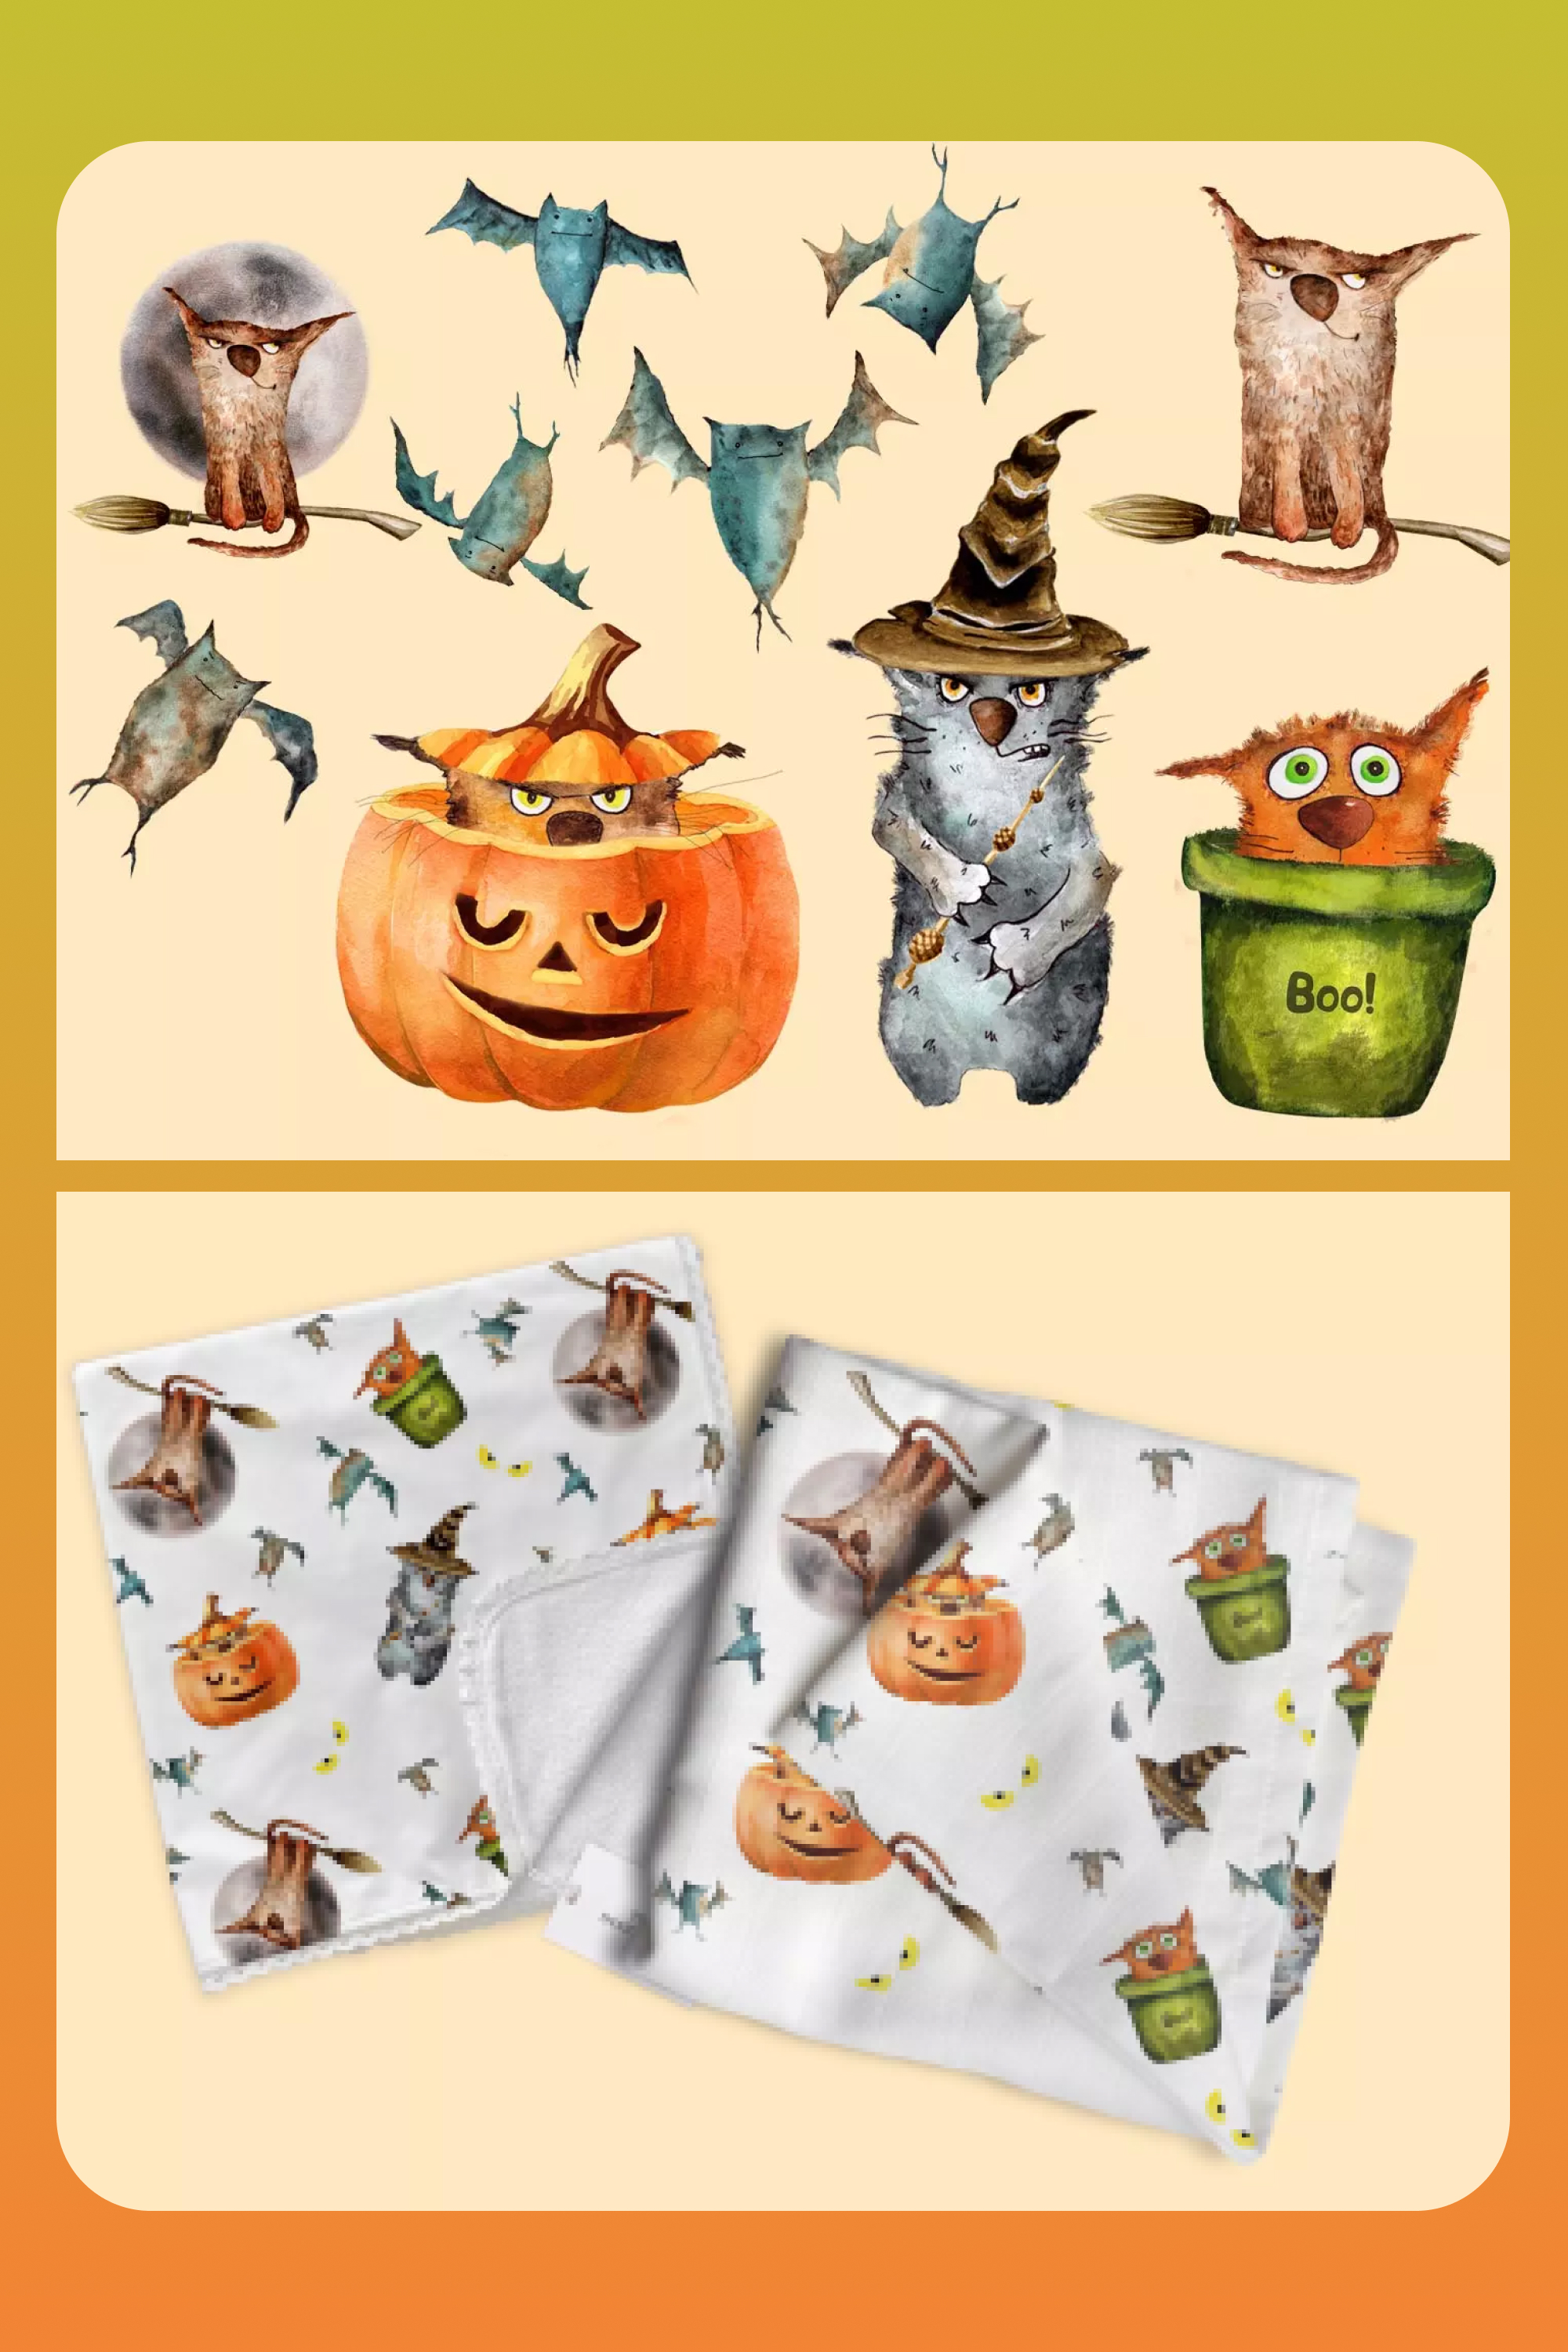
💜 Illustrations used in the tutorial: https://masterbundles.com/watercolorcreatures/halloween-cats/
💜 More bundles with up to 90% off: https://masterbundles.com/
To create a card, you will need access to Illustrator, some Halloween illustrations, and a good mood.
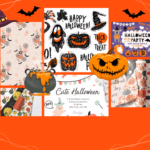
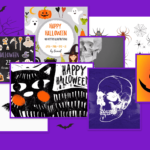
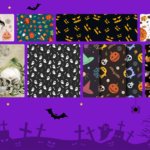
If you don’t have any illustrations, check out the interesting designs available on MasterBundles. Here you can find cool illustrations and Halloween patterns at a nice price. For example, I bought illustrations that I used in the tutorial for only $2 and they saved me a lot of time and work 🙂
Best Related Deals


If you enjoy making vector art or any other Halloween art, stop keeping it in your closet. Upload your work through the fast and convenient Sell Your Deal form. We are open to designers of all styles and levels. Halloween is coming soon, but you still need to earn money for your costume 🙂
Now, let’s start making cute Halloween cards! Watch the steps or watch the video and start implementing these ideas.
Preparation for Work
Find or draw some cool illustrations for the postcard. I chose these cute watercolor illustrations as an example because I really liked them. This pack consists of png files, but you might find that it is better to choose vector formats.
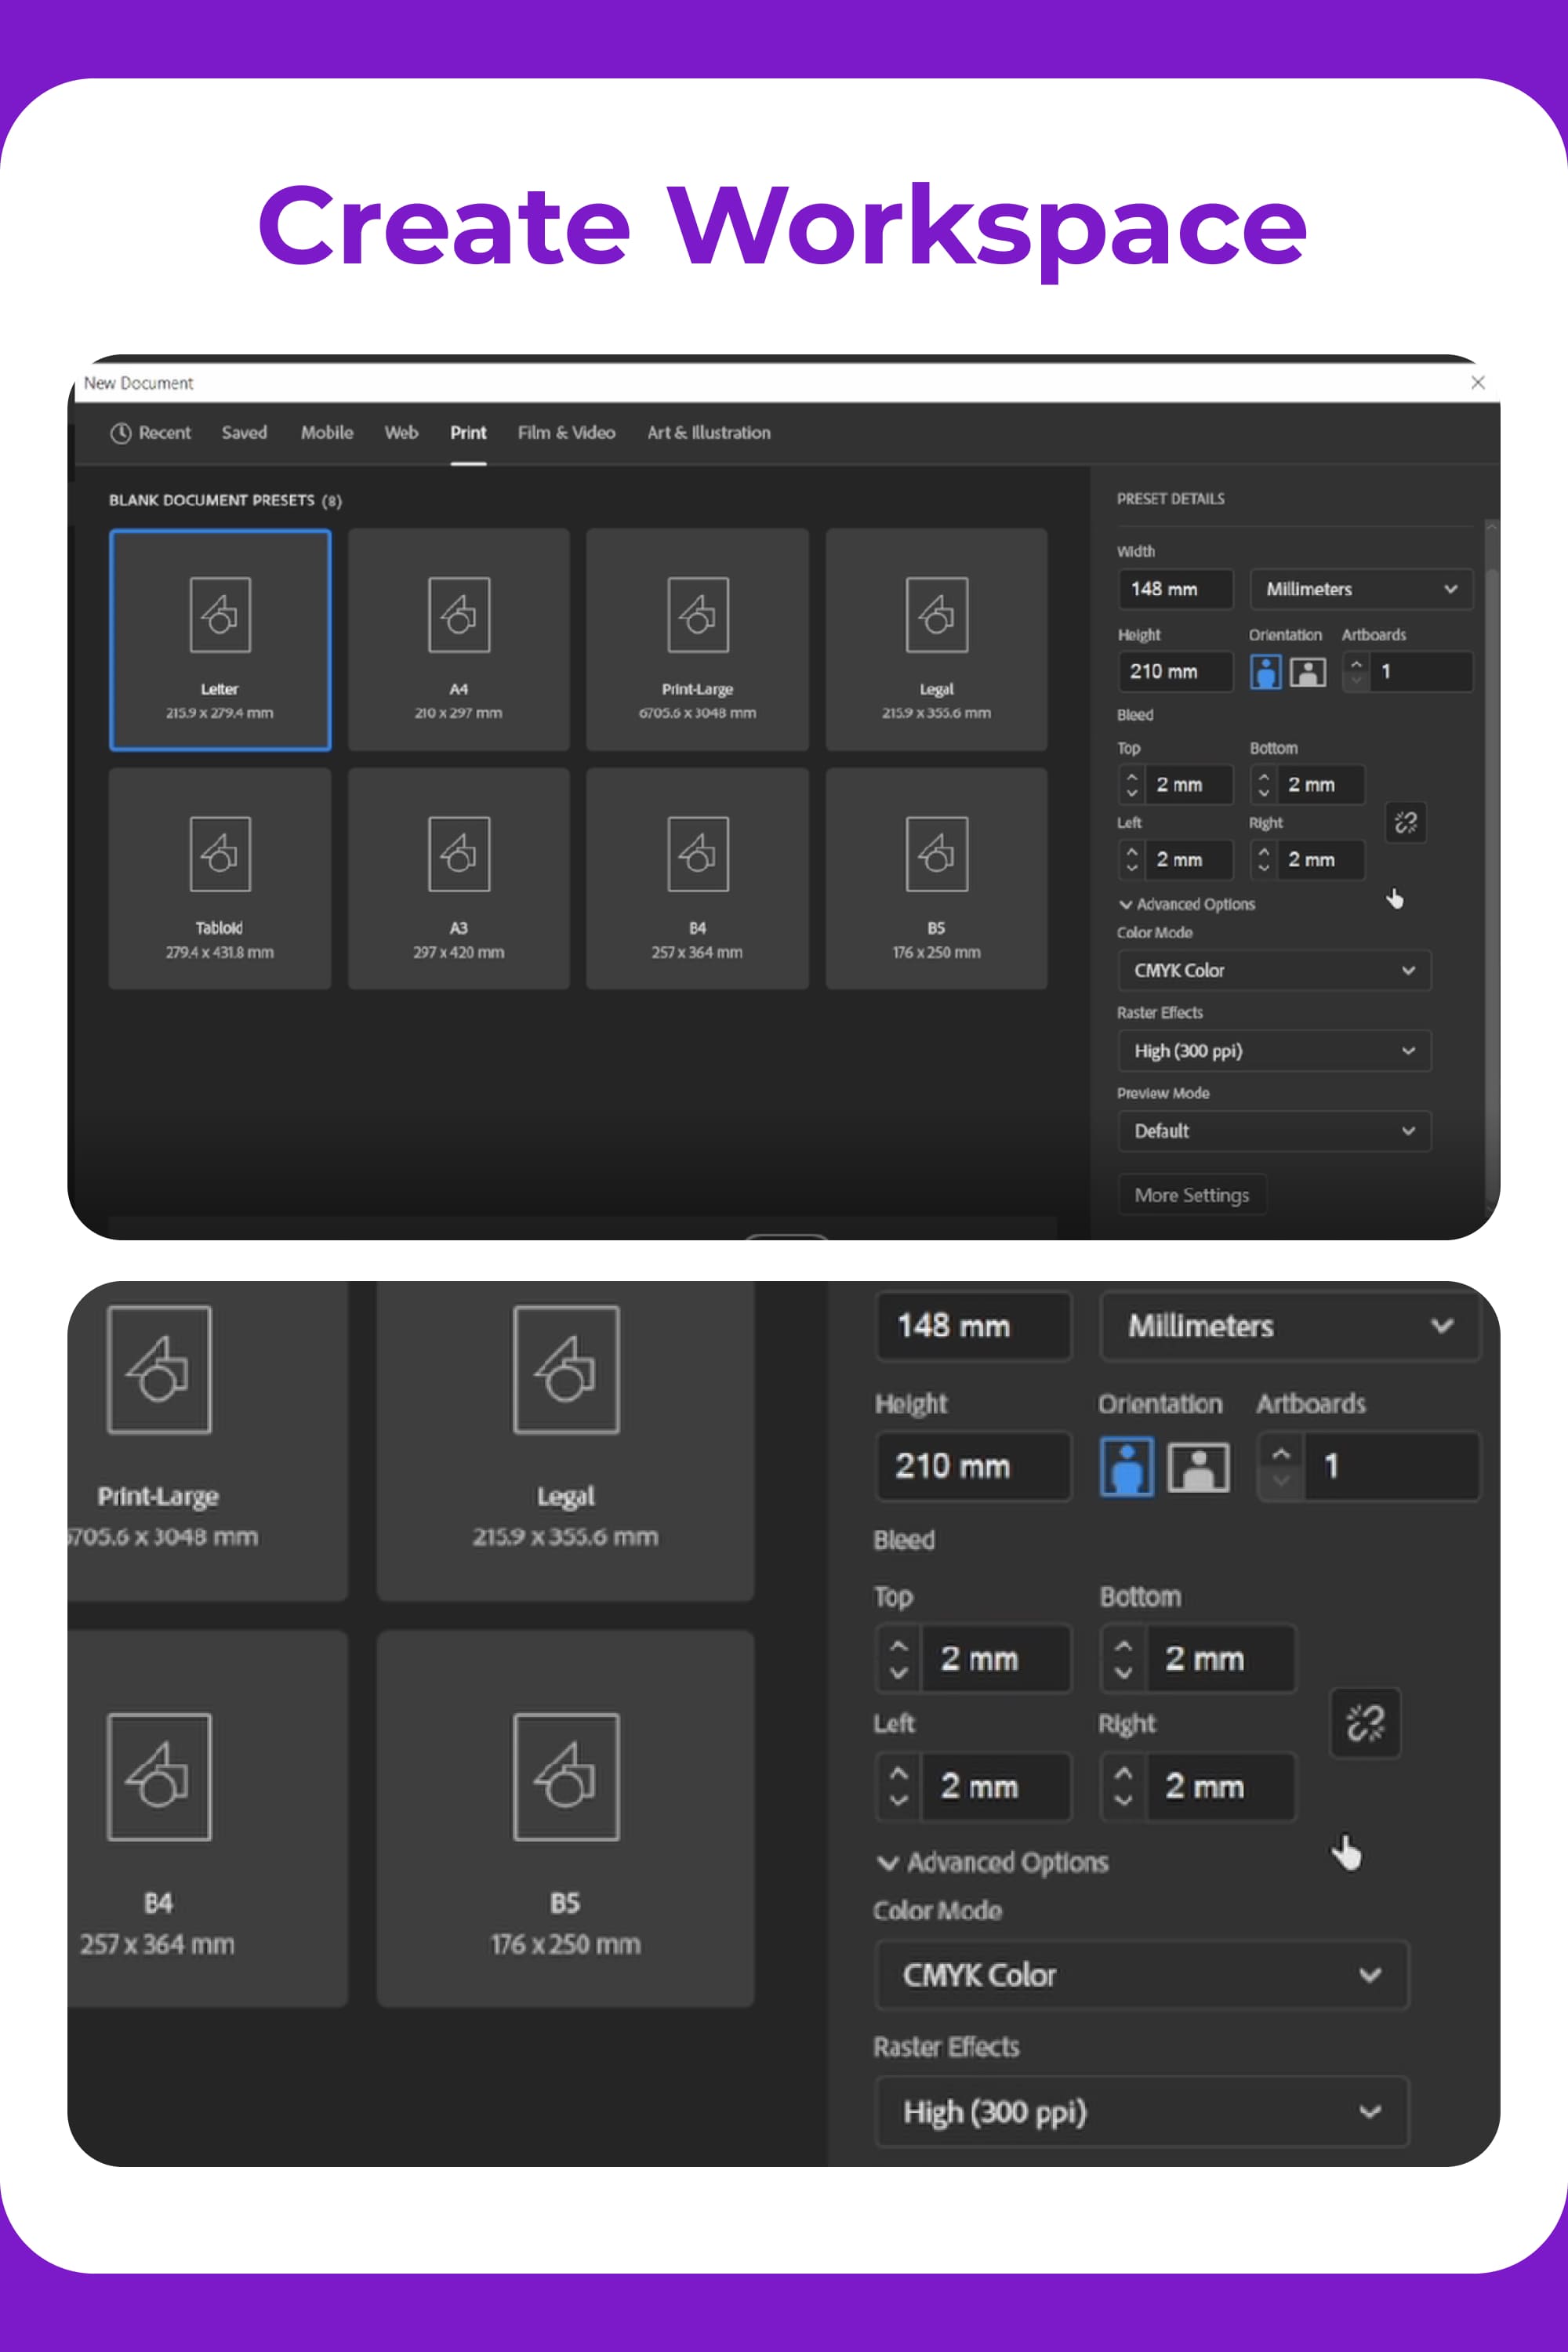
Create a Workspace
I will be making postcards in A5 size (5.83×8.27 inches / 148×210 mm). Select the “Print” section and create a workspace of this size in Illustrator.
Make allowance to have 2 mm on each side of the workspace and check that the CMYK indicator and 300 DPI are set.
Click “Create.”
Creating the Graphic Part of the Halloween Card
Go to the workspace and add illustrations, references, and anything else you need to work there. Each group of elements is best done on a new layer.
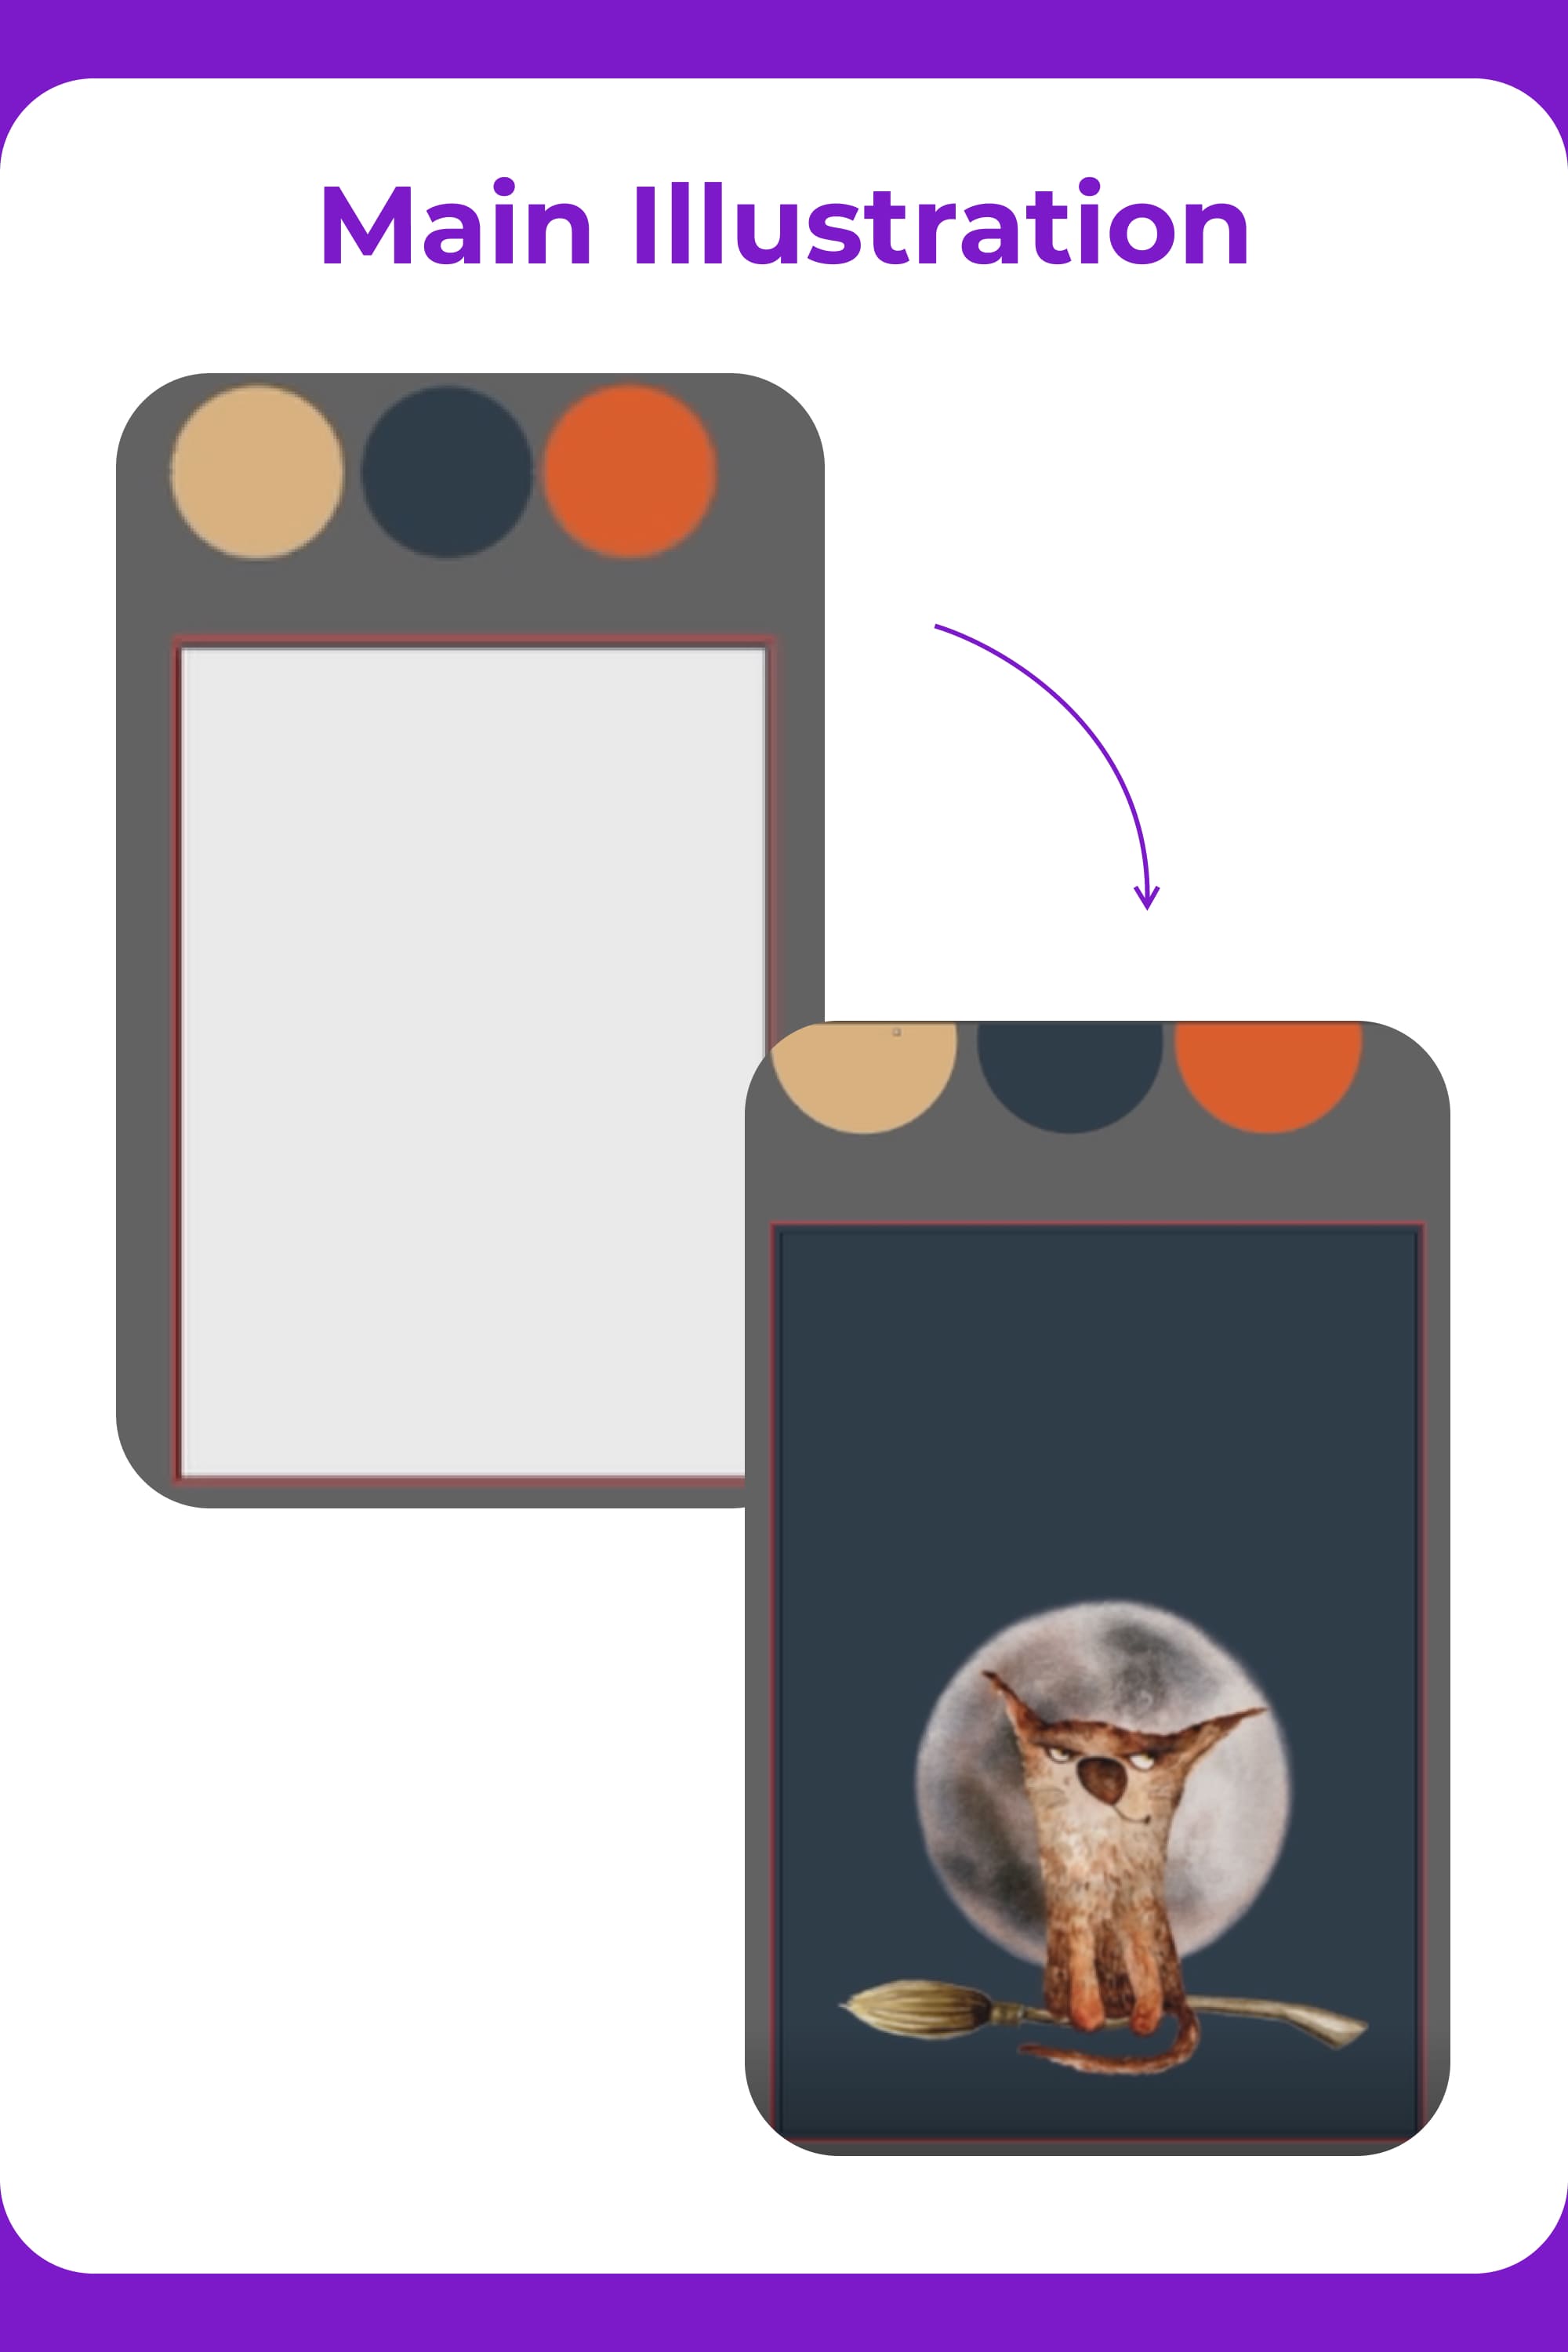
I will make Halloween cards in a more minimalist style. Create a palette of colors for ease of creating the holiday design. For convenience, Google “Halloween color palette” and choose the one you like. In our version, the colors are #E9BC83, #243443, #B1ACAE, and #EDE5DF.
Press the “M” key and draw a rectangle – this is our background. Press the “I” key and with a pipette, take a dark blue color from the palette. For convenience, lock the layer.
For Halloween card making, add an illustration of a cat with a moon.
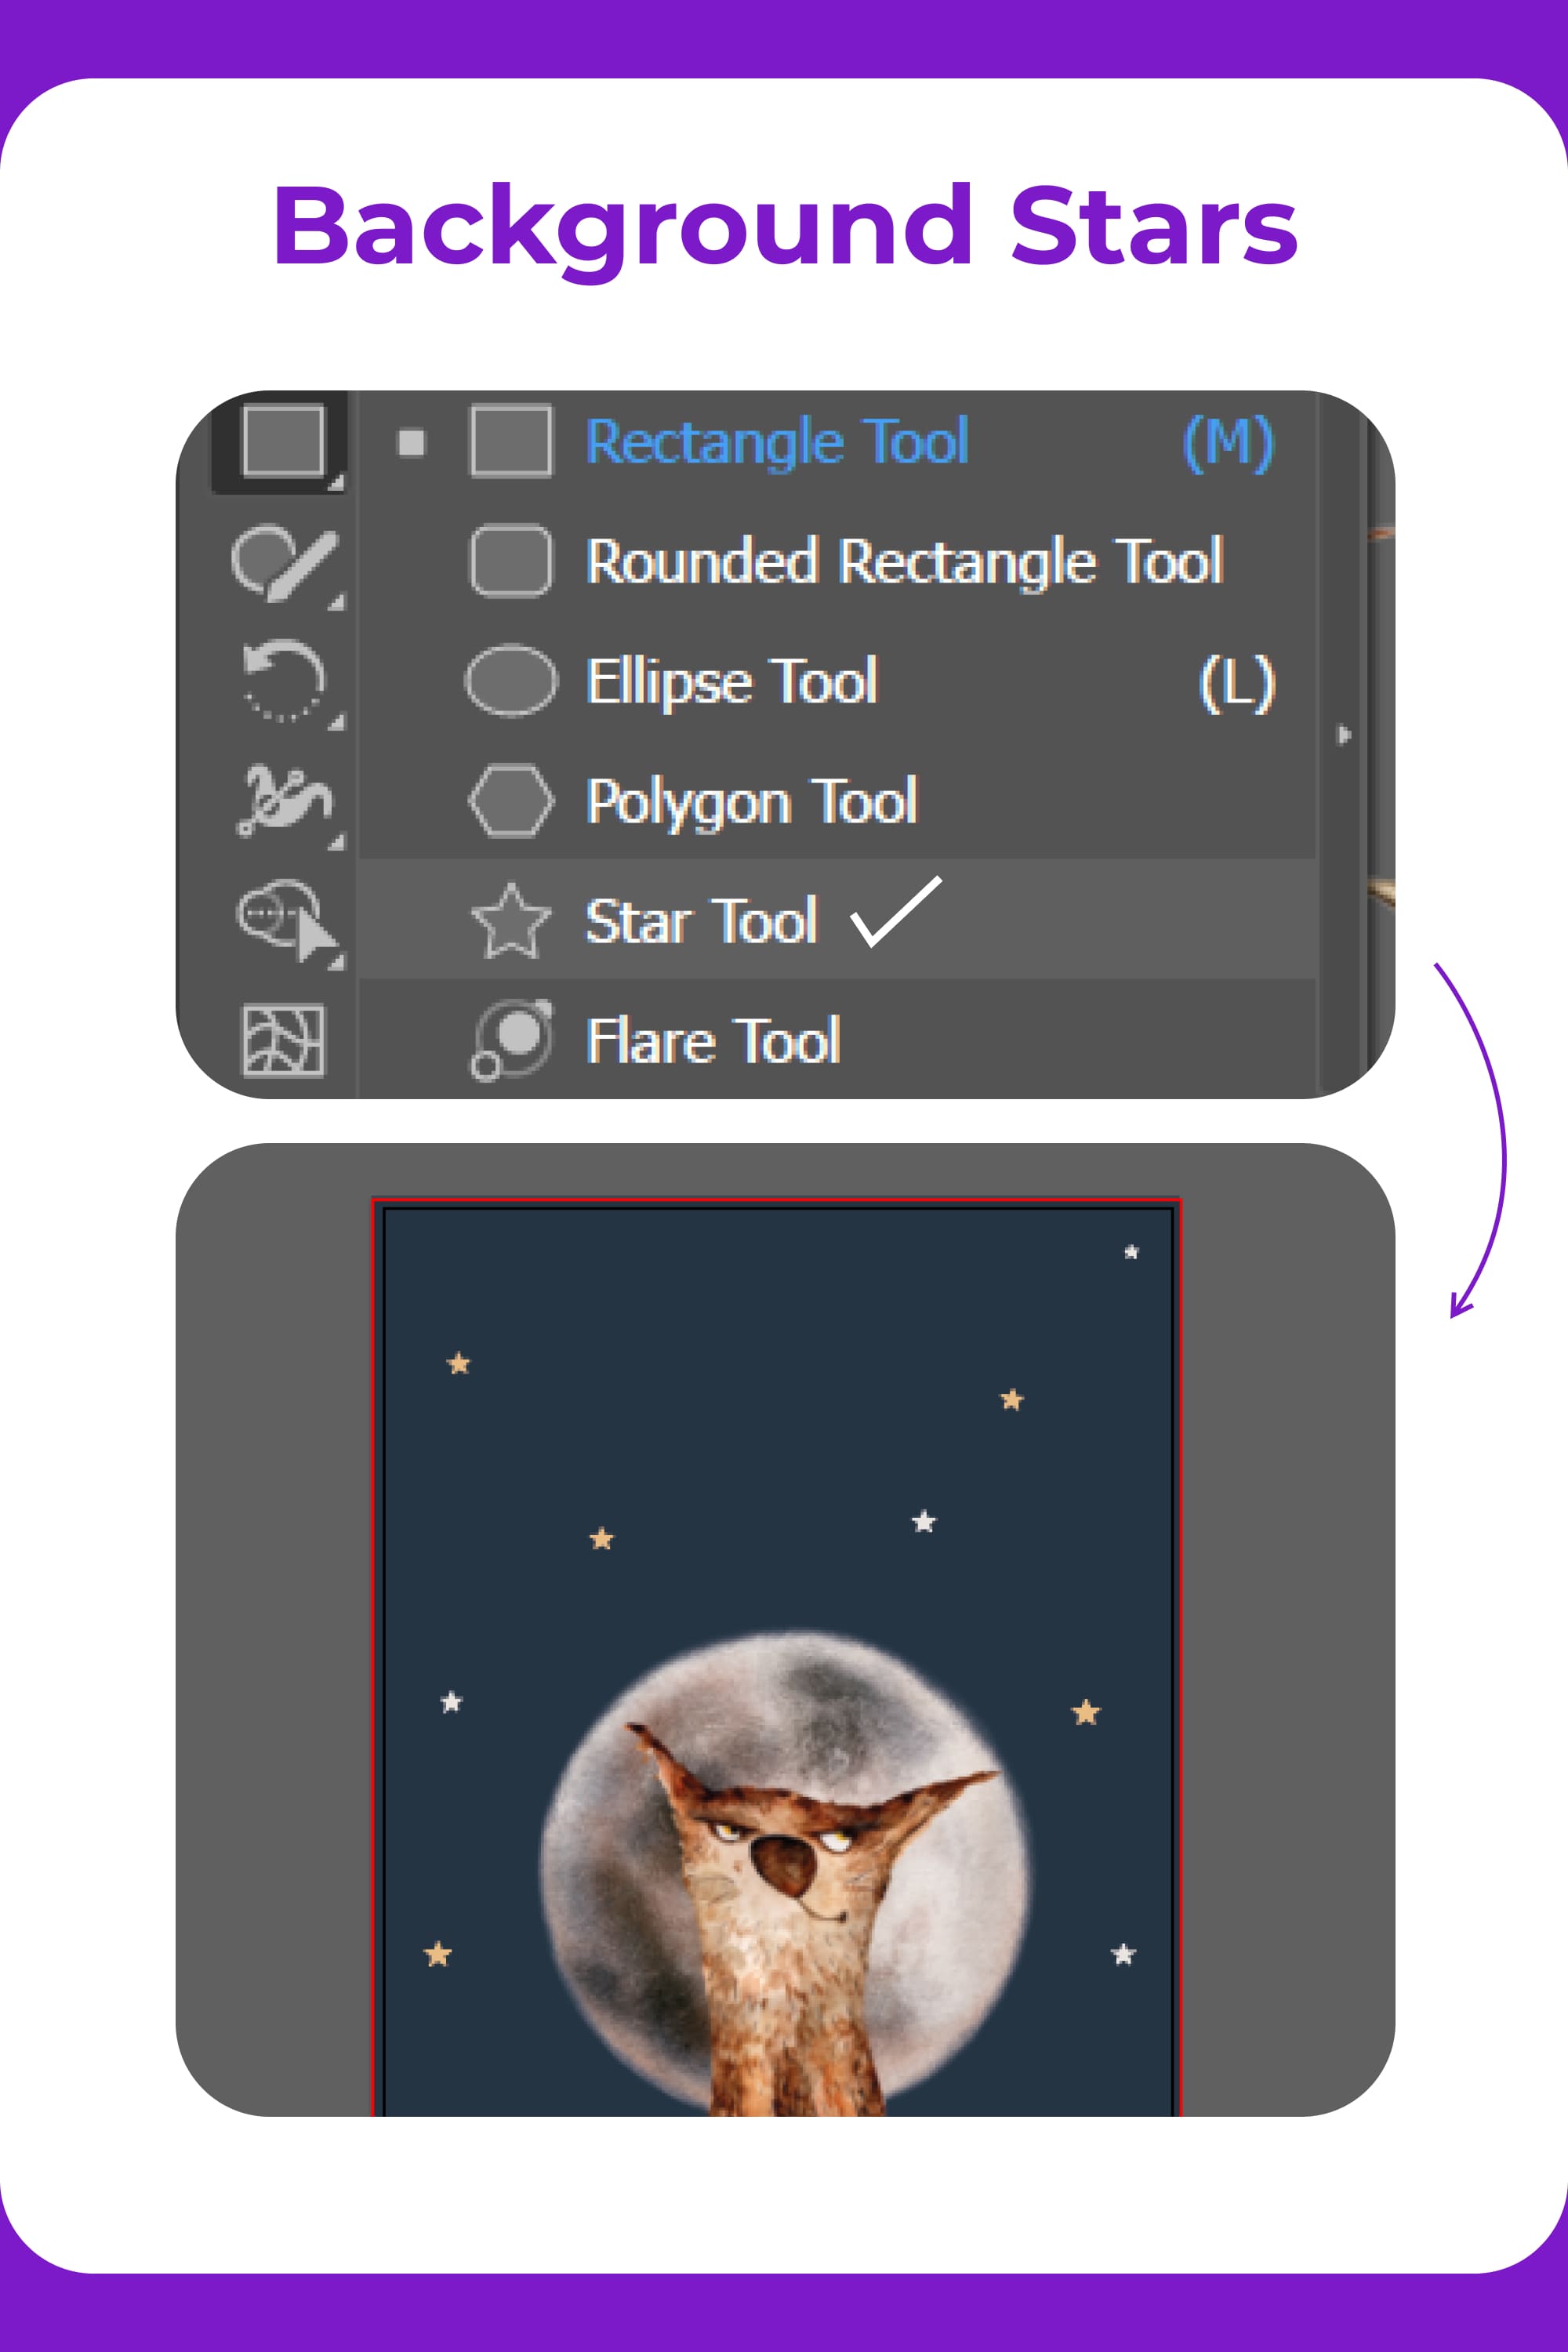
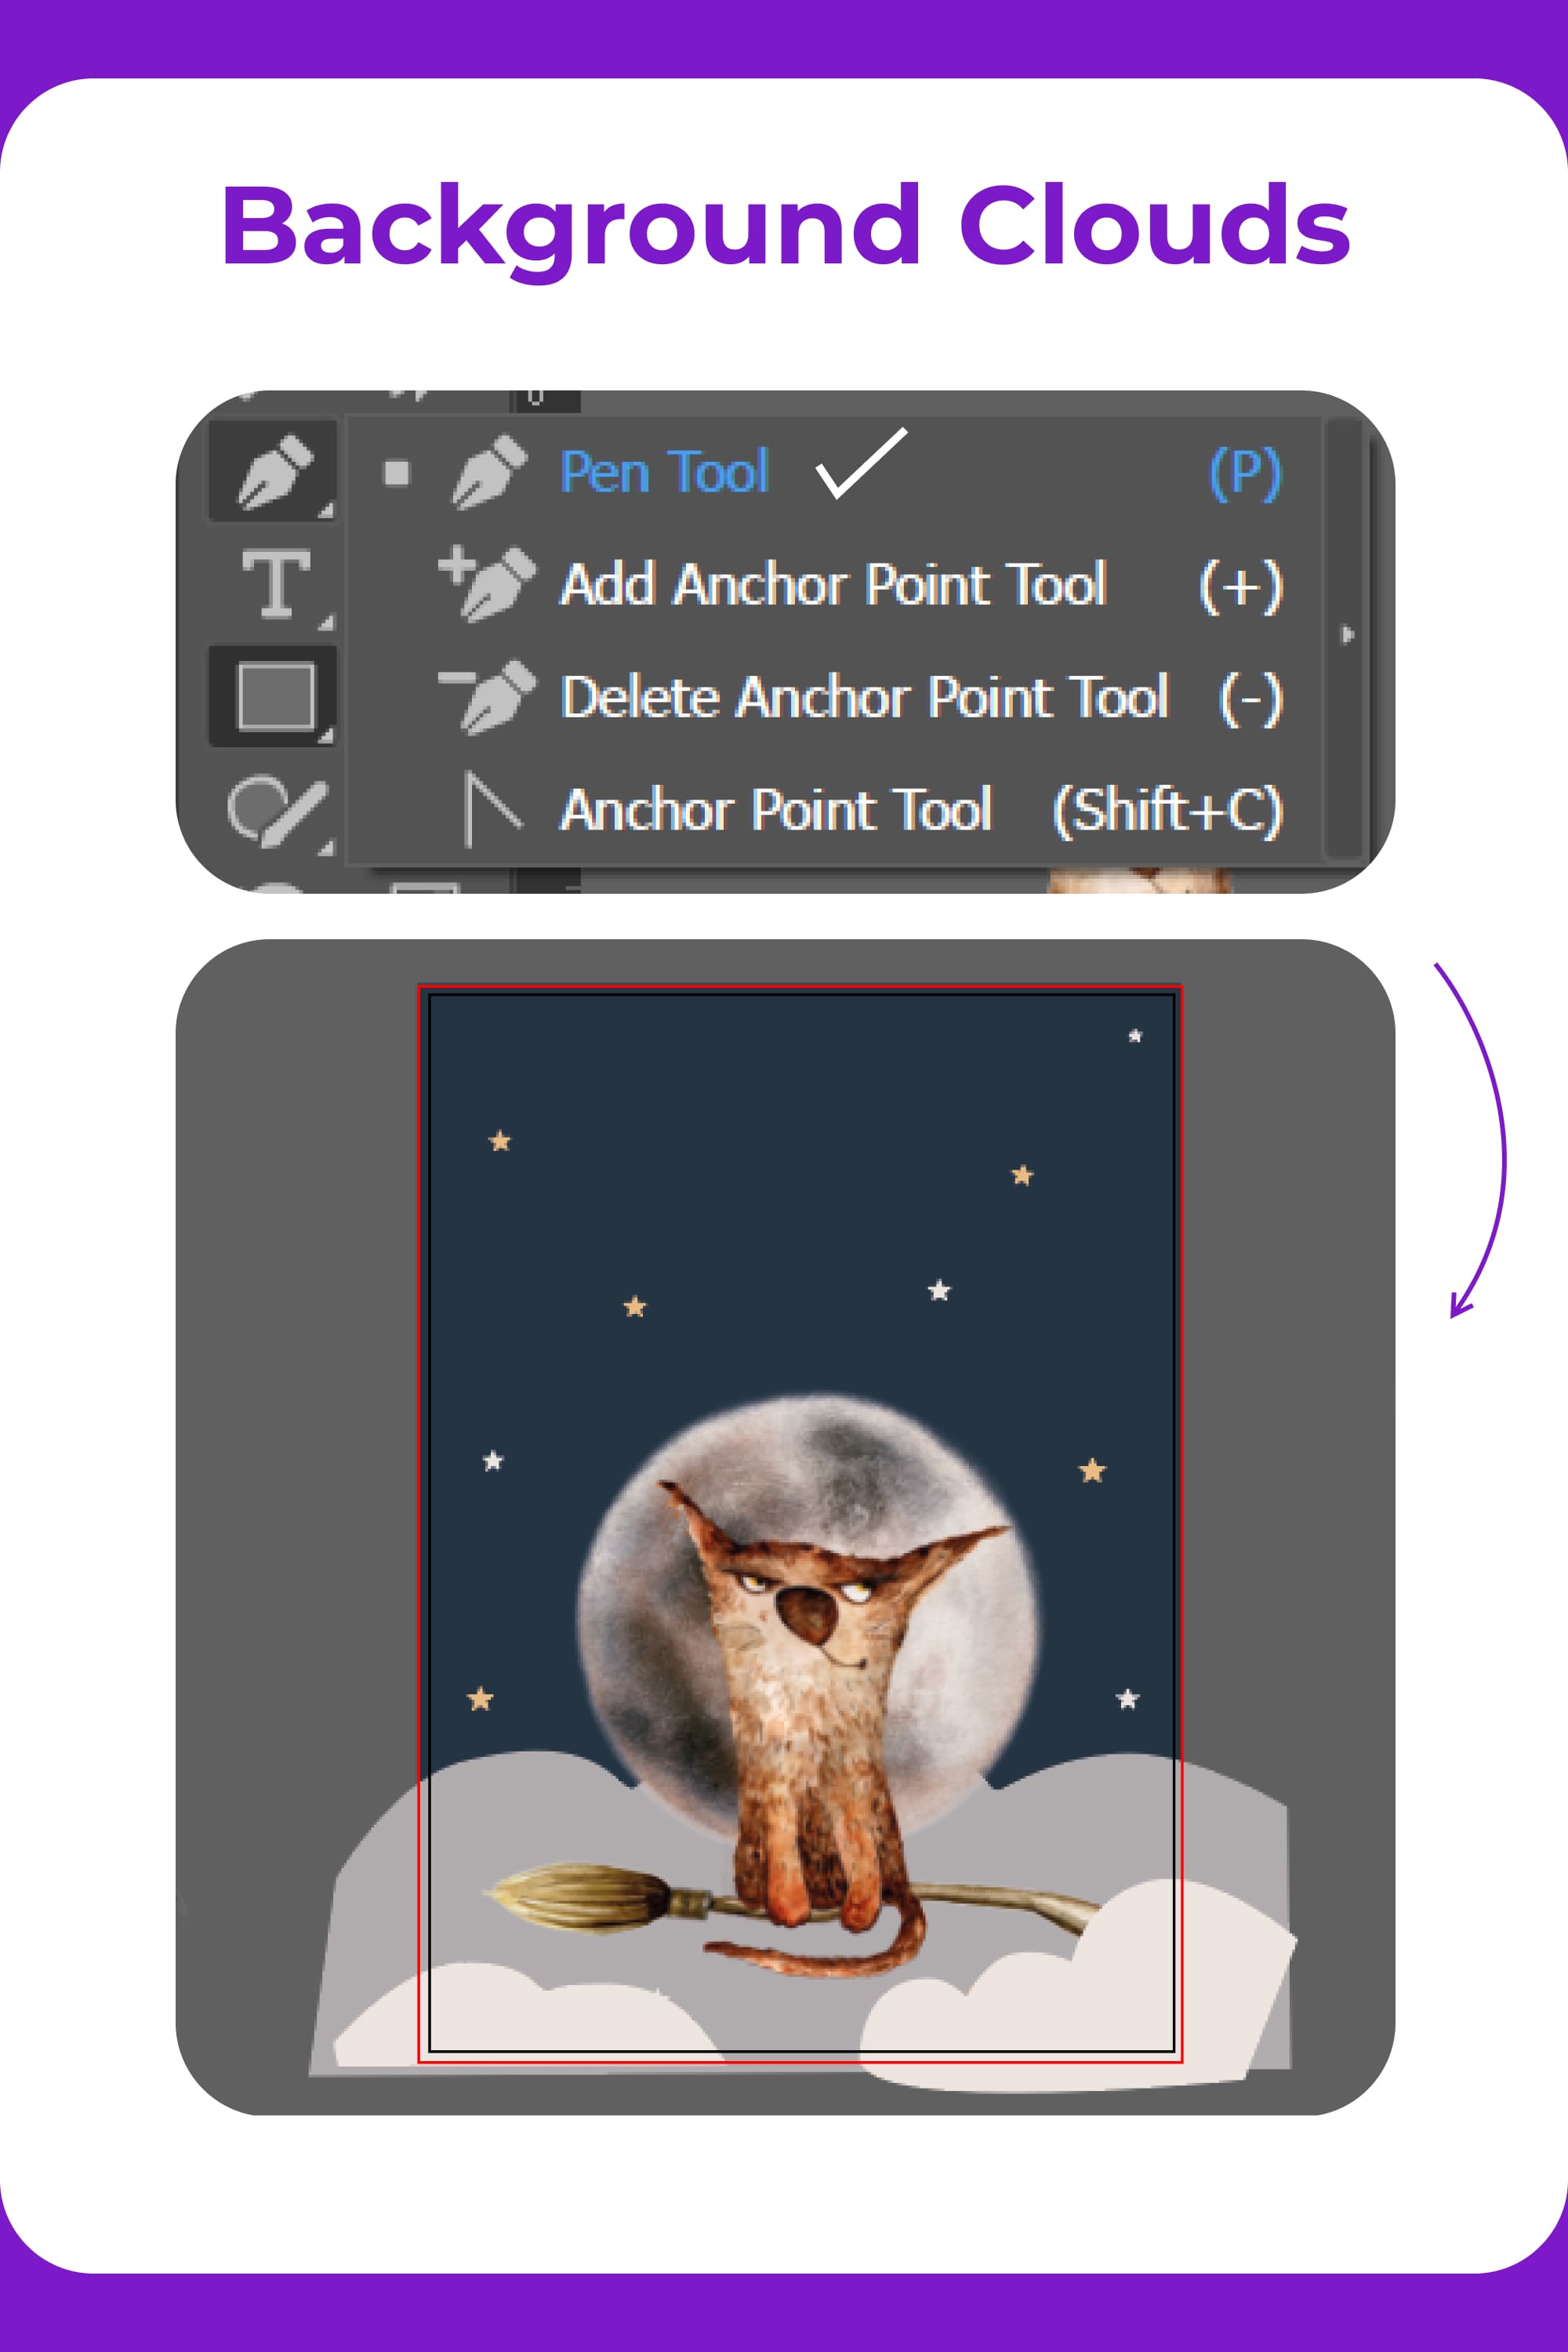
Okay, now decorate the background. On the toolbar, find the shapes and select the star. Make stars and color them in #E9BC83 and #EAE5E0. Arrange the stars in the background to make it look harmonious. In the final version, I also put stars around the cat.
Press the “P” key and draw 3 clouds with the pen – one in the background and 2 in the foreground. Layer the correct cloud in front of the cat. If you want, you can do it without clouds and fill the bottom with stars and it will look cool too. The final version was left without clouds though. Has this happened to you at work? 🙂
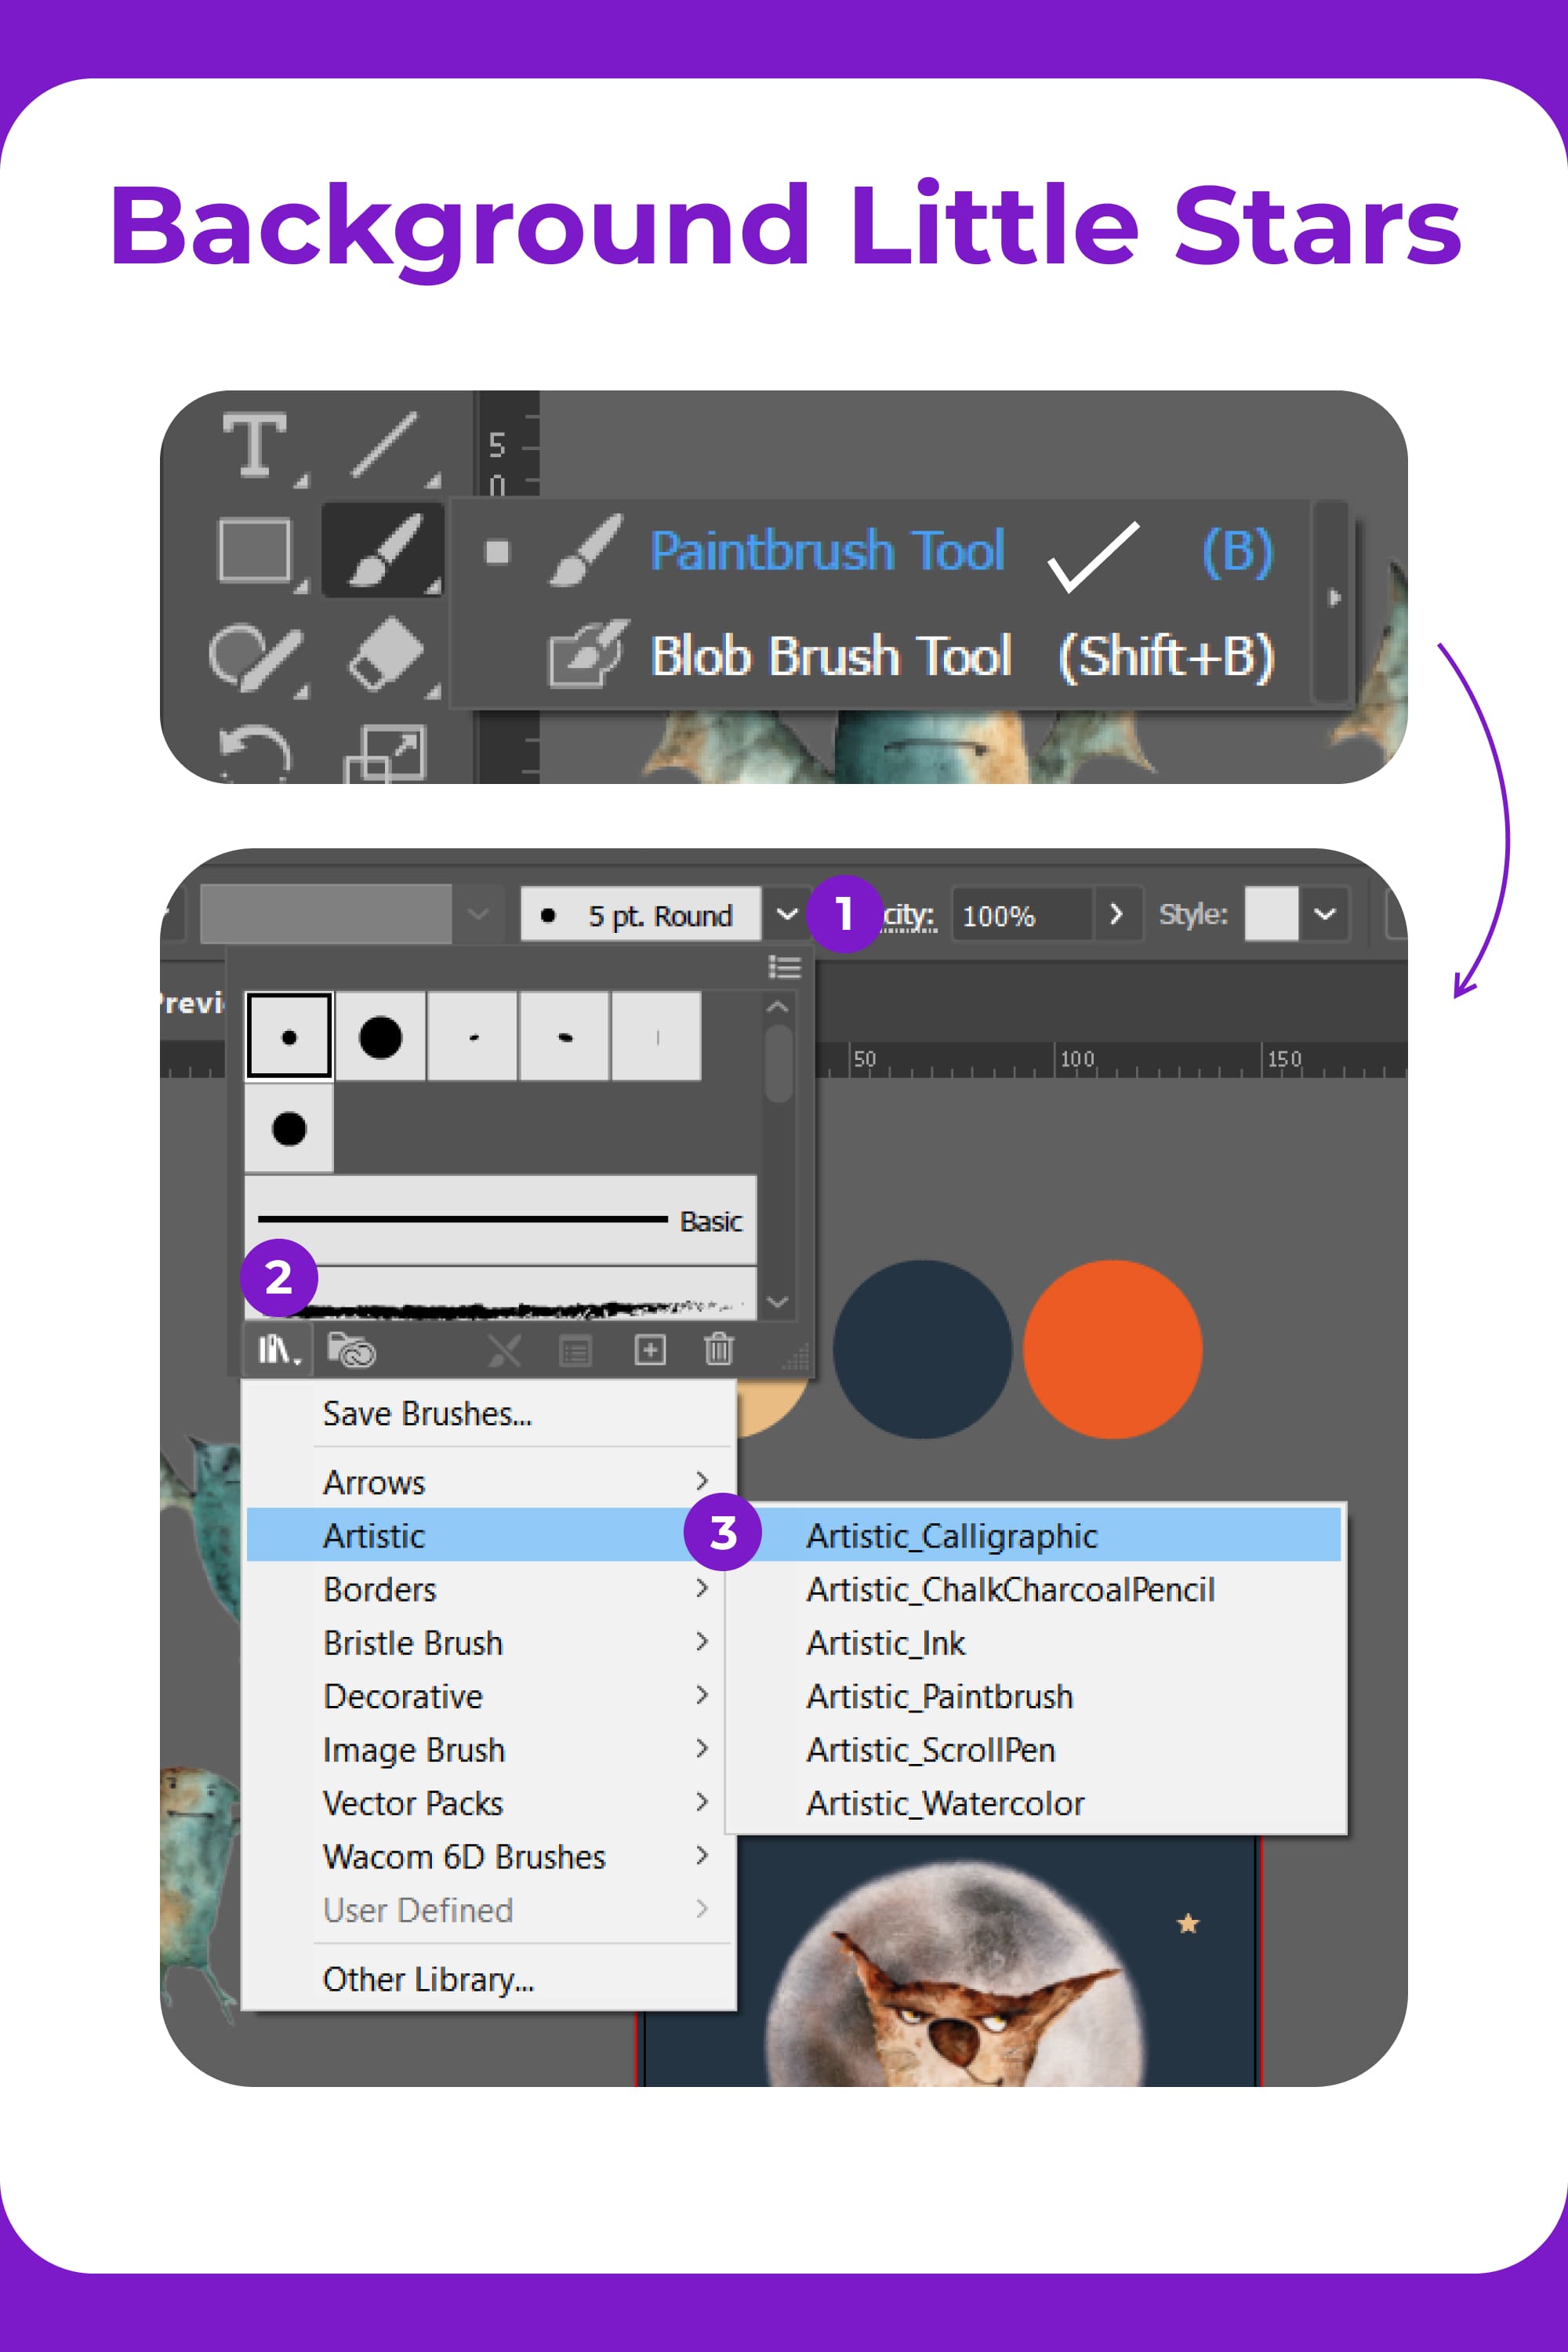
Press the “B” key and select the Artistic_Calligraphic category in the brush library (if not, you can choose a similar one or download/buy the same set). Here we select figure 5 pt. Oval. Draw dots on the background.
Select only the points and make the transparency 20–30%.
Choosing a Font
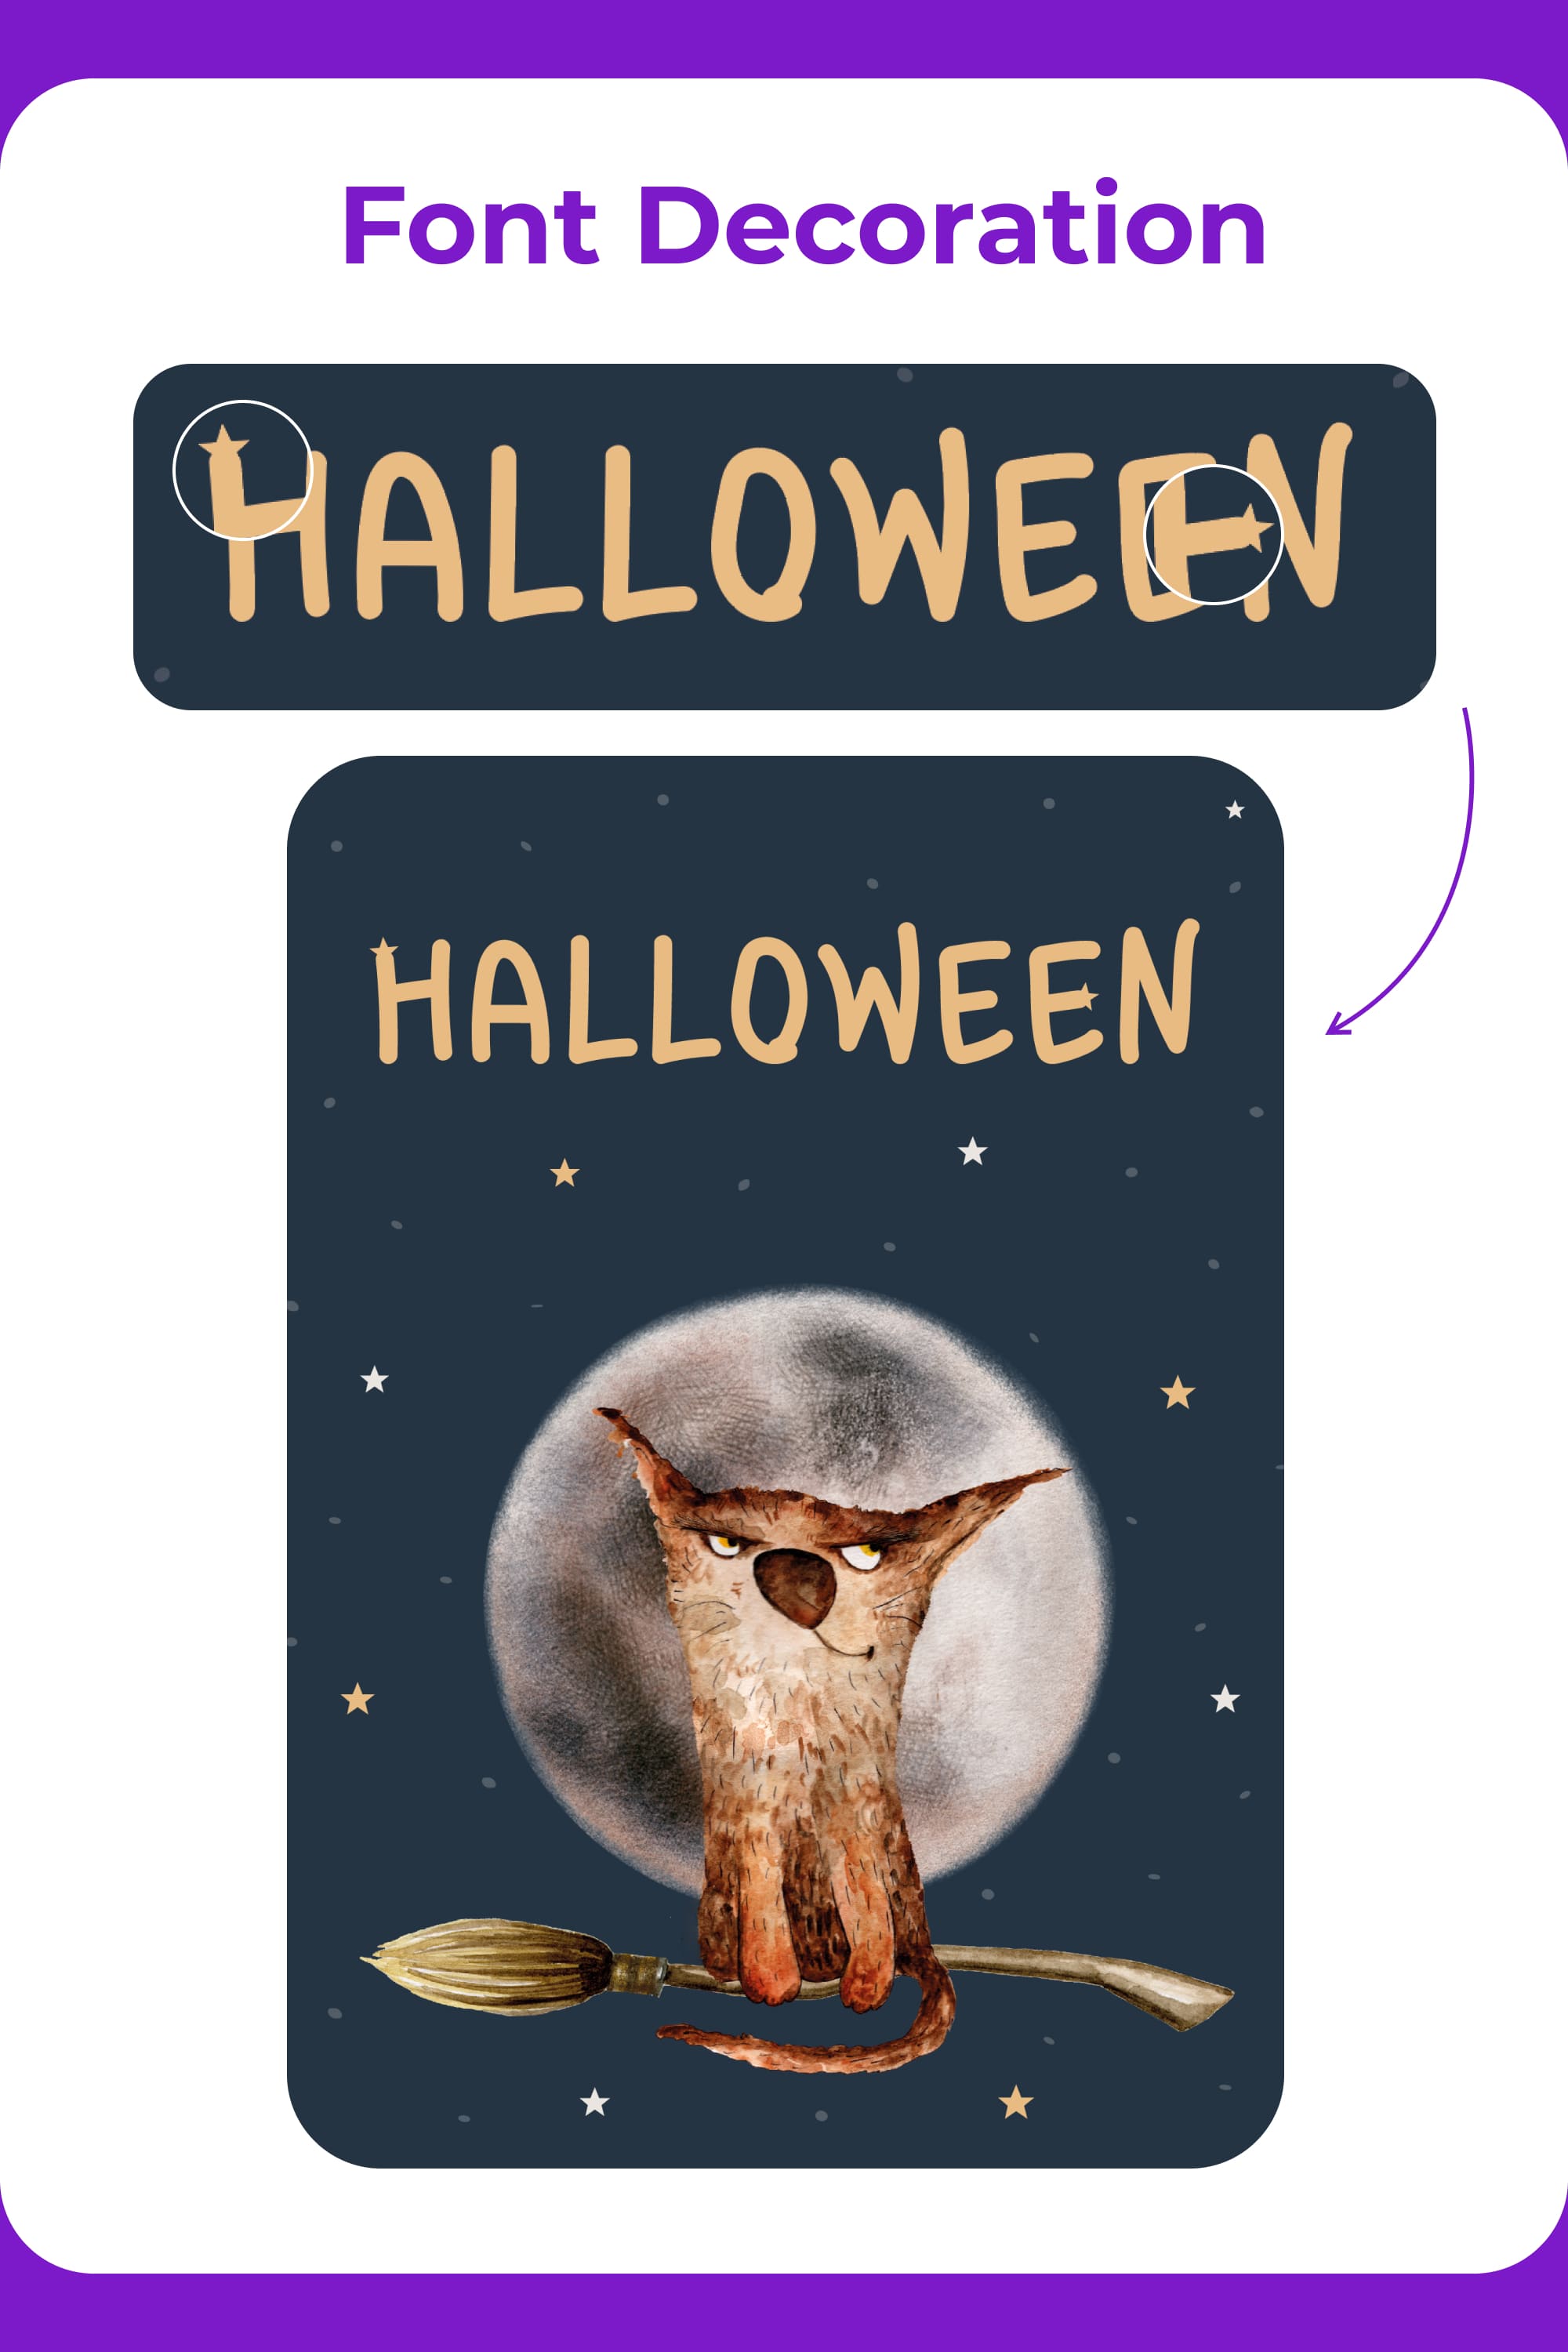
Let’s choose a font for this Halloween DIY card. Press the “T” key and write a phrase for the postcard.
You can choose something else, but I decided to use the “Klyakson” font. The illustration is quite cartoony and this font emphasizes its style.
Tip: When choosing a font, also pay attention to the scope of the company. The font and lettering must match its tone of voice.
I decided to decorate the font and add stars to the letters “H” and “E”. Take note of this so that you can decorate the fonts in other projects.
Hooray, we’re done! We hope you liked our idea of Halloween card making.
This postcard style is best suited for children’s shops, sweets, girls’ clothing stores, holiday agencies, and shops. You should not offer such postcards to brands with a very serious audience. When making any design, be sure to consider the target audience of the business. Remember that your design must be effective.
If you haven’t watched the DIY Halloween card video yet, now is the time to do it. There you will find 3 more postcard designs to create.
Best Related Articles
FAQ
How to make a simple Halloween card?
If you want to make a printable Halloween card template, especially in large print runs, your best bet is to use Illustrator in the CMYK color mode. This way you will get the highest possible quality. When working with this software, there are some nuances, so we recommend that you look at our article with a step-by-step guide of 4 ideas for postcards.
If you want to make Halloween cards for the web or for yourself and don’t have too high of a print quality requirement, then use Figma or Canva.
How do you make Halloween cards on Cricut?
To create a Halloween card in Cricut, of course, you need a Cricut Machine. In fact, any type will work out. Many recommend Cricut Joy. Then, you should have all the additional tools – fine-point blade, scoring stylus or scoring wheel, high-quality paper, light and standard grip mat, black Cricut pen 0.4 tip, and printer. Tutorials on DIY Halloween cards can be found in this article or in this video.
What to write on a Halloween card?
What you write on the cards depends on who you are making the cards for. If you’re designing for a brand, it’s best to choose neutral expressions or phrases from famous Halloween-themed movies. If you are making personalized cards, you can use humor and some personal wishes.
Here is an example of several inscriptions:
- Scary Halloween!
- Happy Halloween!
- BOO! It’s Halloween!
- It’s finally Halloween! Hope your costume is a big hit and your night’s full of thrills and chills!
- Have a killer Halloween!
- Keep calm, trick or treat and carry on!
- Have a spooky Halloween!
- Trick or treat!
- BOO! I’m watching you!
- We’re dying to see you on Halloween!
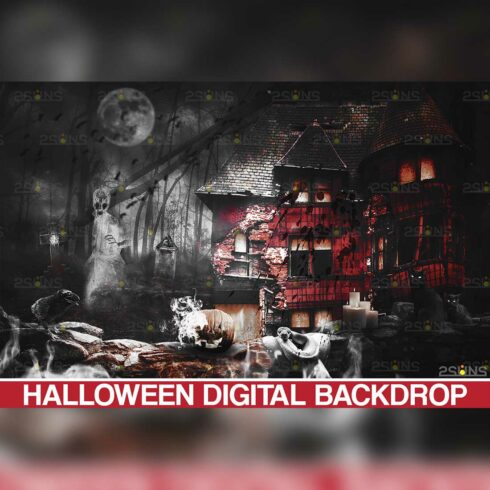
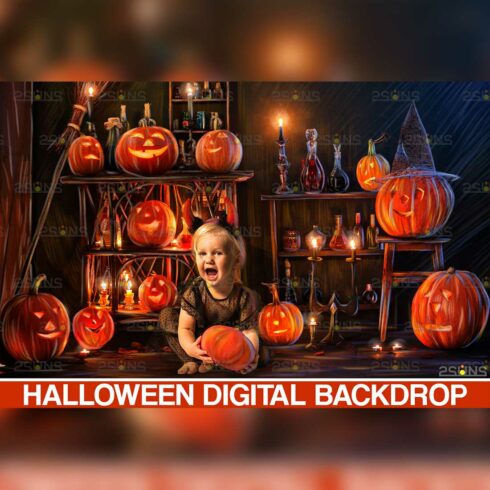
- best Halloween background
- Halloween color palette
What are your concerns?
Thanks for your response!
Disclosure: MasterBundles website page may contain advertising materials that may lead to us receiving a commission fee if you purchase a product. However, this does not affect our opinion of the product in any way and we do not receive any bonuses for positive or negative ratings.