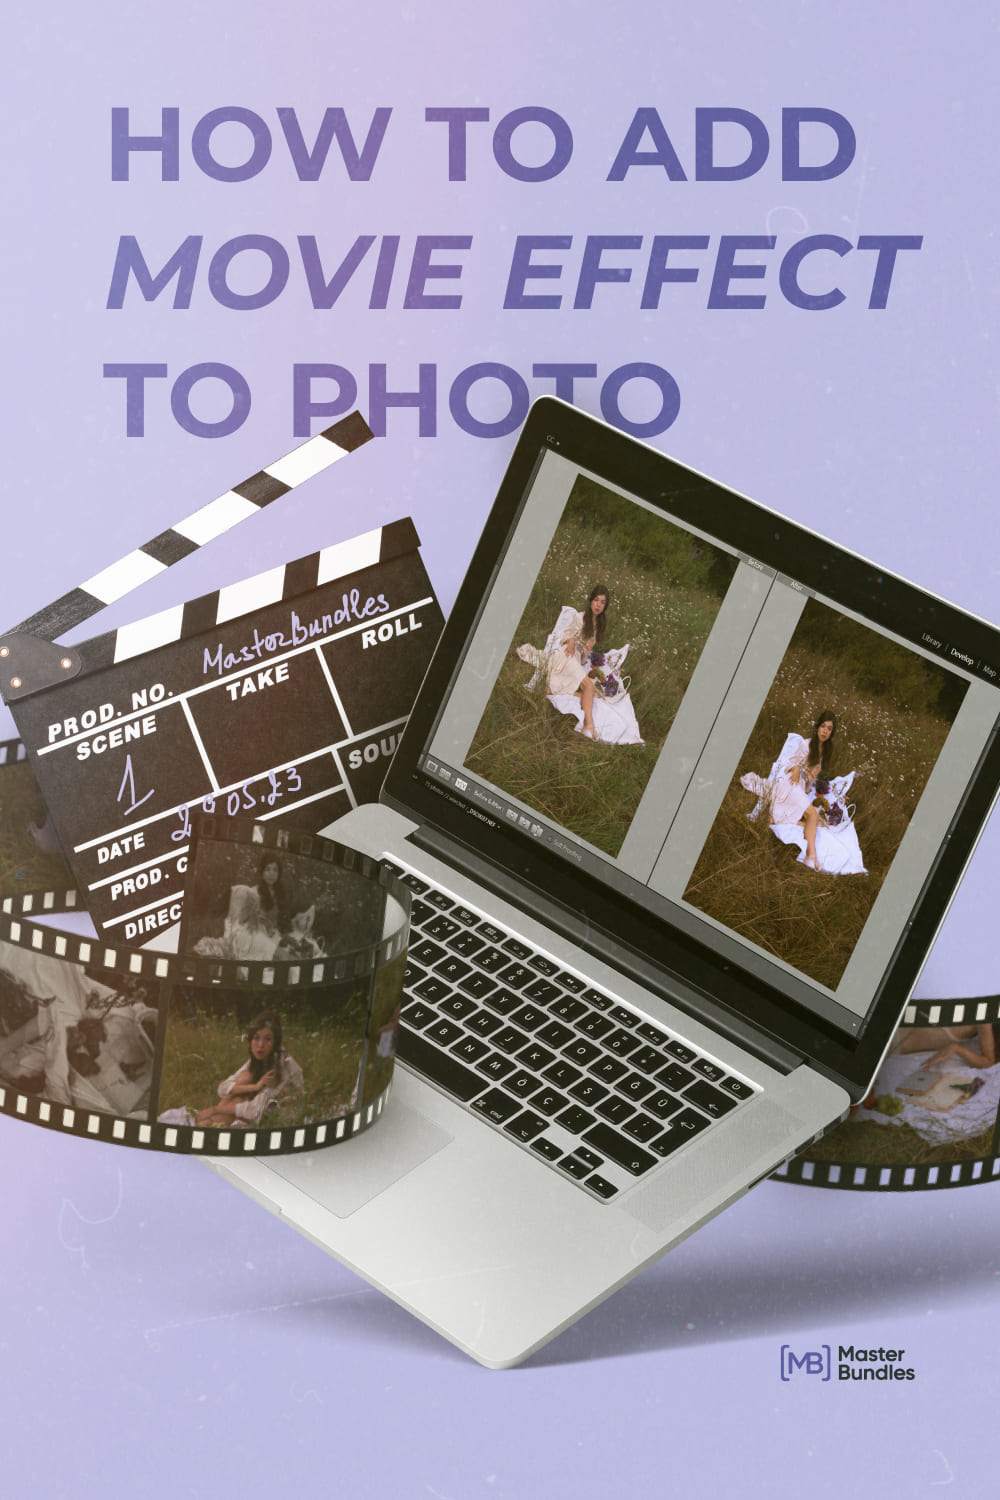
How to Add Movie Effect to a Photo Using Just Lightroom Presets
The digital era offers numerous modern technologies to take a photo. Without some of them, we can no longer imagine our existence. Others are unimportant but still make our life easier and more comfortable. Today it is difficult to calculate the number of modern gadgets for capturing photos. All modern smartphones have amazing cameras to eternize every great moment of everyday life. To add more, we constantly observe new leaps in the development of digital photography, the growing popularity of this photo art, and the expansion in the number of new fans of this type of shooting. More and more photographers enjoy cinematic photos in terms of post-processing. на:
You need just one tool and a few manipulations to add a cinematic effect to a photograph. Moreover, you probably already have this tool on your smartphone – Lightroom. It has an awesome thing – Lightroom presets. These sets of already customized settings can transform a photo fast – you don’t have to adjust every single setting manually.
In this article, we will show you how to use presets to add a movie effect to your photos. You will also find a few Lightroom presets that will turn your photos into Wes Anderson movie footage.
Use Lightroom Presets to Turn Your Digital Photograph into a Film
It is an amazing idea to turn a modern photo into a scene from a movie. Cinema never goes out of fashion, so this type of post-processing will always be actual.
Before you process a photo, think about the movie scene you wish to replicate in your picture. You can turn your ordinary digital photo into a masterpiece by playing with the Lightroom color scheme, color saturation, luminance, vignette, and other parameters. You may never stop experimenting and adjusting various settings, but with high-quality presets, you can get amazing results immediately.
Many wonderful movie-style presets have been created to speed up your photo editing process. You need just one click to make your photo 85-90% processed; sometimes, one click is enough to complete the process.
Before we present awesome products, let’s discuss a few recommendations.
Begin With ‘Flatter’ Images
A flatter image is a great option to start with before you dig into playing with Lightroom presets. This means your image should not be too contrasty and saturated already. Presets will add more contrast and saturation, so your end result may become overwhelming with those effects.
To avoid any issues when using Lightroom presets, try to shoot with a flat or neutral profile on your camera, producing a flatter photo with less contrast and saturation. It is just a general rule to achieve the best processing results.
In the case of stock pictures, reduce their contrast and save them before using Lightroom presets. Applying a preset directly to a photo without flattering first prevents you from getting a harsh result.
Import Your Presets
To import a Lightroom preset, follow these simple steps: Lightroom > Preferences > Presets > Show Lightroom Develop Presets. You will get to your local folder where Lightroom keeps your presets. Now you can just drag and drop your new presets into here.
Apply Presets & Enjoy Effects
After you choose the correct preset and your photo has already been prepared for it, you just need to click it, and the changes will immediately be displayed in the photo.
Some effects can be used in combination with the presets. Be creative and experiment with different presets to create a desired picture. Minor adjustments may be required if you are still unsatisfied with a photo.
Basic Adjustments
Suppose you have already applied a preset, but your result differs from what you sought. It is quite simple to fix the issue with a few basic temp, tint, and exposure adjustments. This will be the quickest solution to refine the look of your preset without getting too involved in the various settings.
I cannot provide any exact parameter values as they may vary depending on your preferences and the effect you are looking for. However, explore the Graduated Filters tool (‘M’ on your keyboard). It will be helpful if you want to reposition fades and light leaks. Move it around to observe the result.
One more shiny tip from me – use Lightroom shortcuts. They will speed up your work even more.
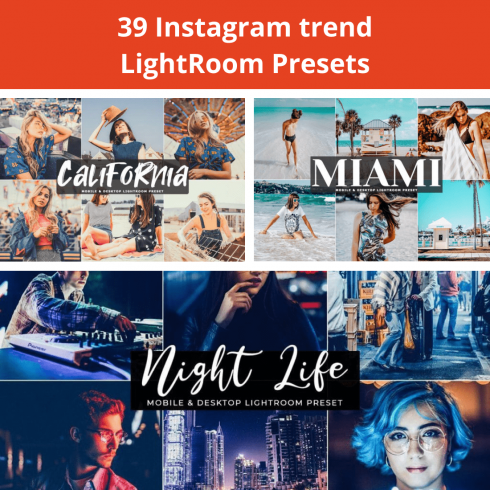
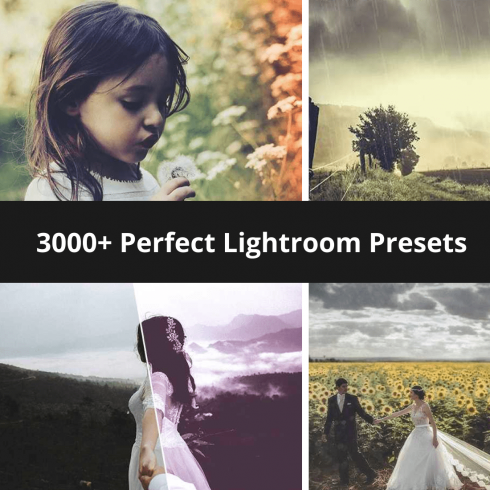
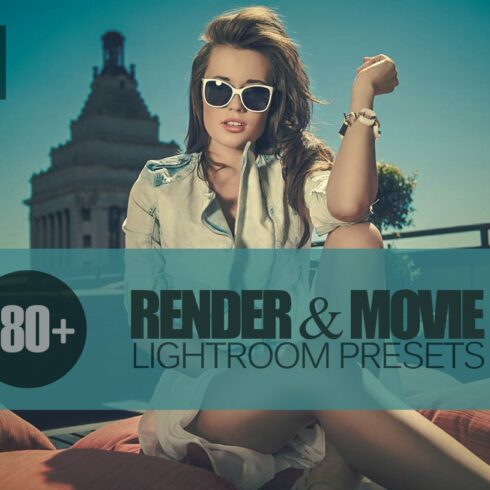
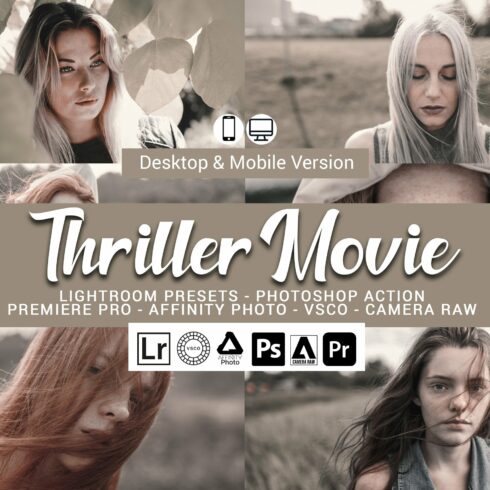
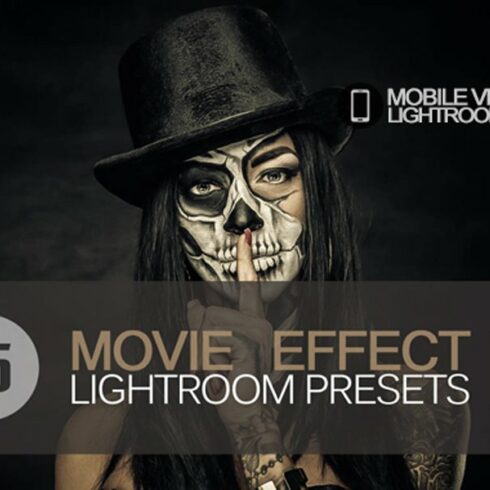
Best Lightroom Presets to Add Cinematic Effect
As promised, here are 5 awesome presets that will turn your photo into a movie still.

Conclusion
In case you create Lightroom presets or any other graphic design goodie, upload them to MasterBundles and get a source of passive income. We offer fast moderation, assistance in promoting the best products, and a friendly atmosphere. Join us!
Best Related Articles


Some Awesome Videos about Lightroom presets
Turn Your Digital Photograph into a Film | MasterBundles
The digital era we live in offers numerous modern technologies to take a photo. Without some of them, we can no longer imagine our existence, others are not so important but still make our life easier and more comfortable.
- professional stock images
- graphic design movies
What are your concerns?
Thanks for your response!
Disclosure: MasterBundles website page may contain advertising materials that may lead to us receiving a commission fee if you purchase a product. However, this does not affect our opinion of the product in any way and we do not receive any bonuses for positive or negative ratings.