12 Essential Lightroom Shortcuts for Effortless Editing
As a Lightroom user, you know how time consuming editing can be. That’s why learning Lightroom shortcuts is crucial to improve your editing speed and efficiency.
In this article, we’ll share 12 essential Lightroom classic keyboard shortcuts to help you take full advantage of the software. We’ll cover everything from primary navigation to advanced editing techniques. This knowledge will help you to streamline your workflow and achieve stunning results. You’ll also find 10 Lightroom presets and a cheat sheet with even more shortcuts.
So, grab your keyboard, and let’s get started! Don’t let editing eat up your time 😉
[Cmd] + [‘] for Mac & [Ctrl] + [‘] for Win — Create a Virtual Copy
This Lightroom keyboard shortcut is a game-changer for Lightroom users who want to experiment with different edits without altering their original images. It allows you to explore different styles and techniques without fear of losing your original image.
Creating virtual copies allows you to work freely and creatively without limitations or constraints. It’s a liberating feeling that every photographer should experience.
So, try it out and see how it can enhance your fearless editing process.
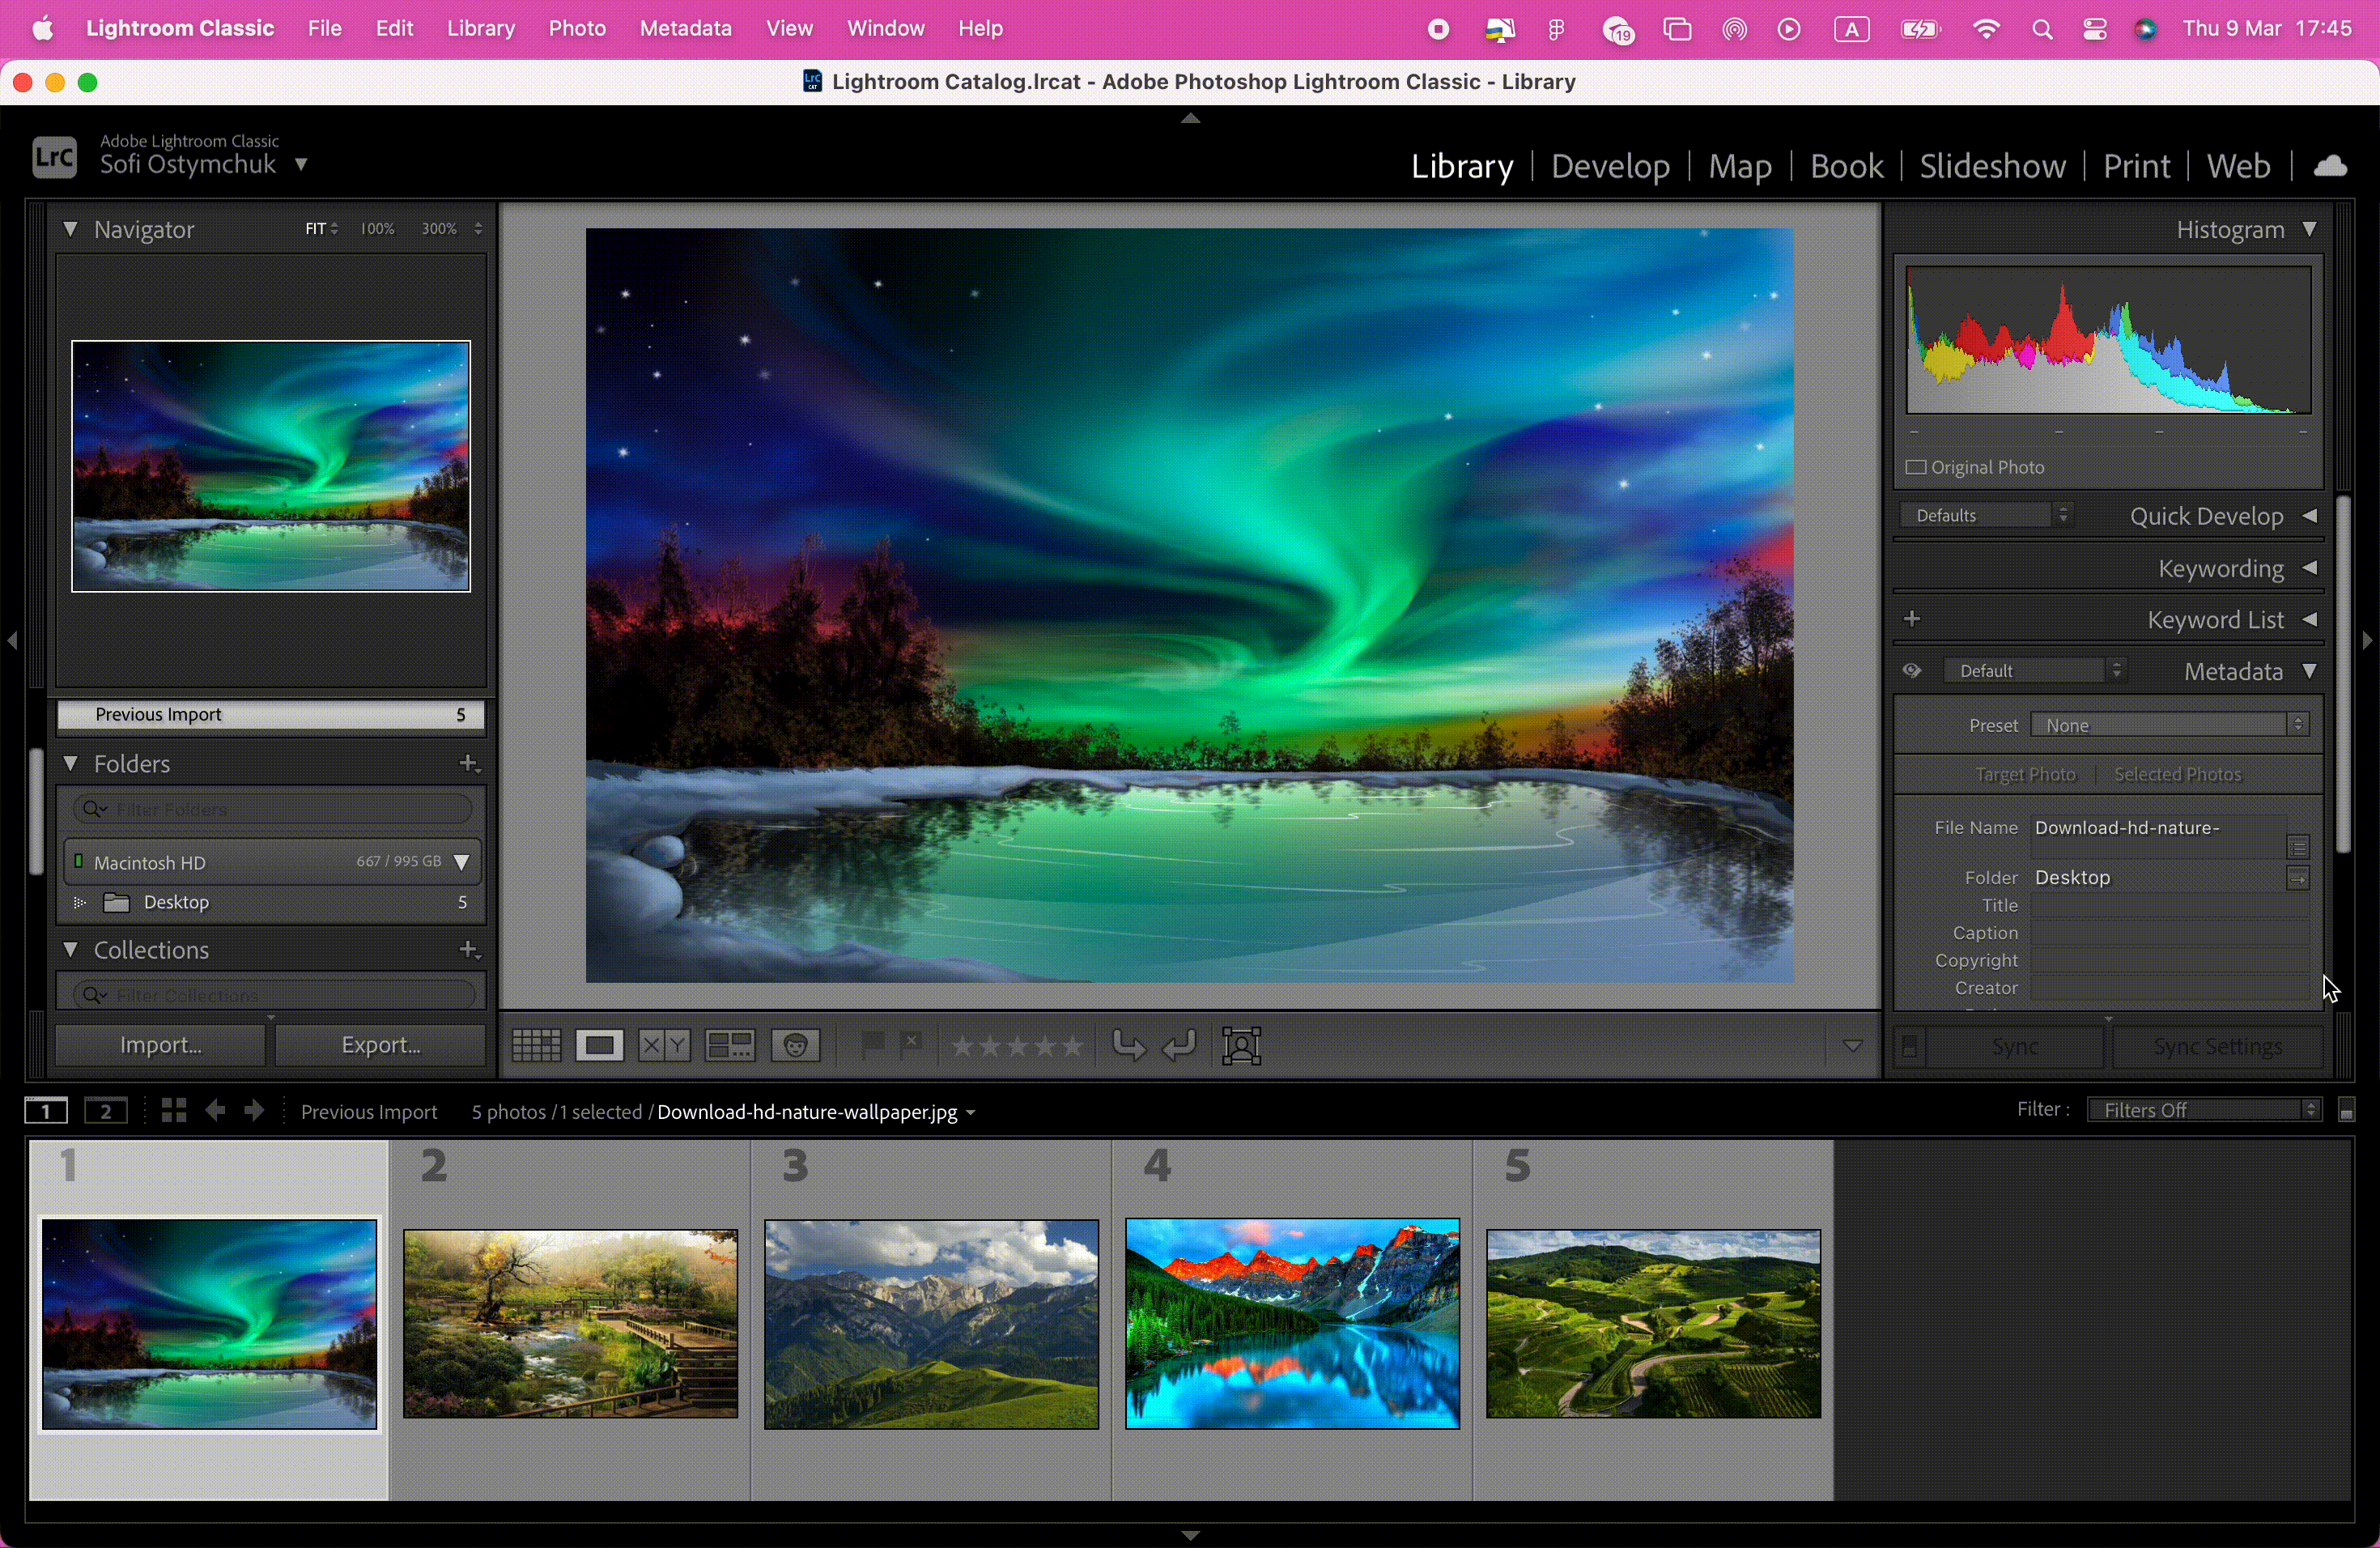
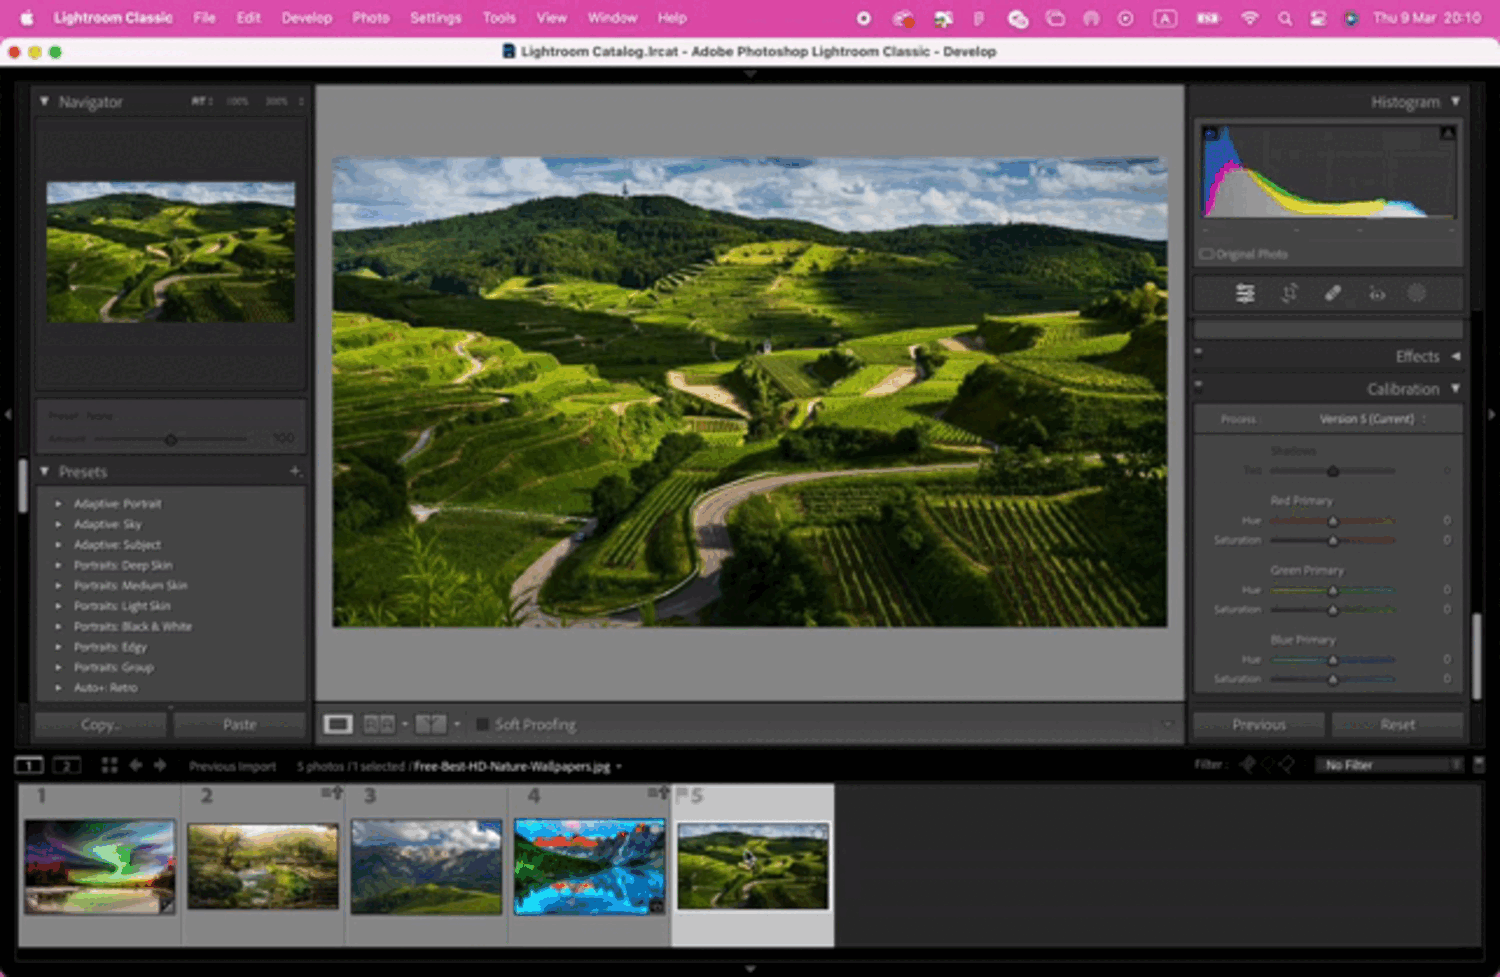
FYI: If you make a Virtual Copy, it will be visible alongside the original photo in the Grid view. To indicate that it’s a copy, Lightroom will show a folded paper icon in the lower left corner (highlighted below).
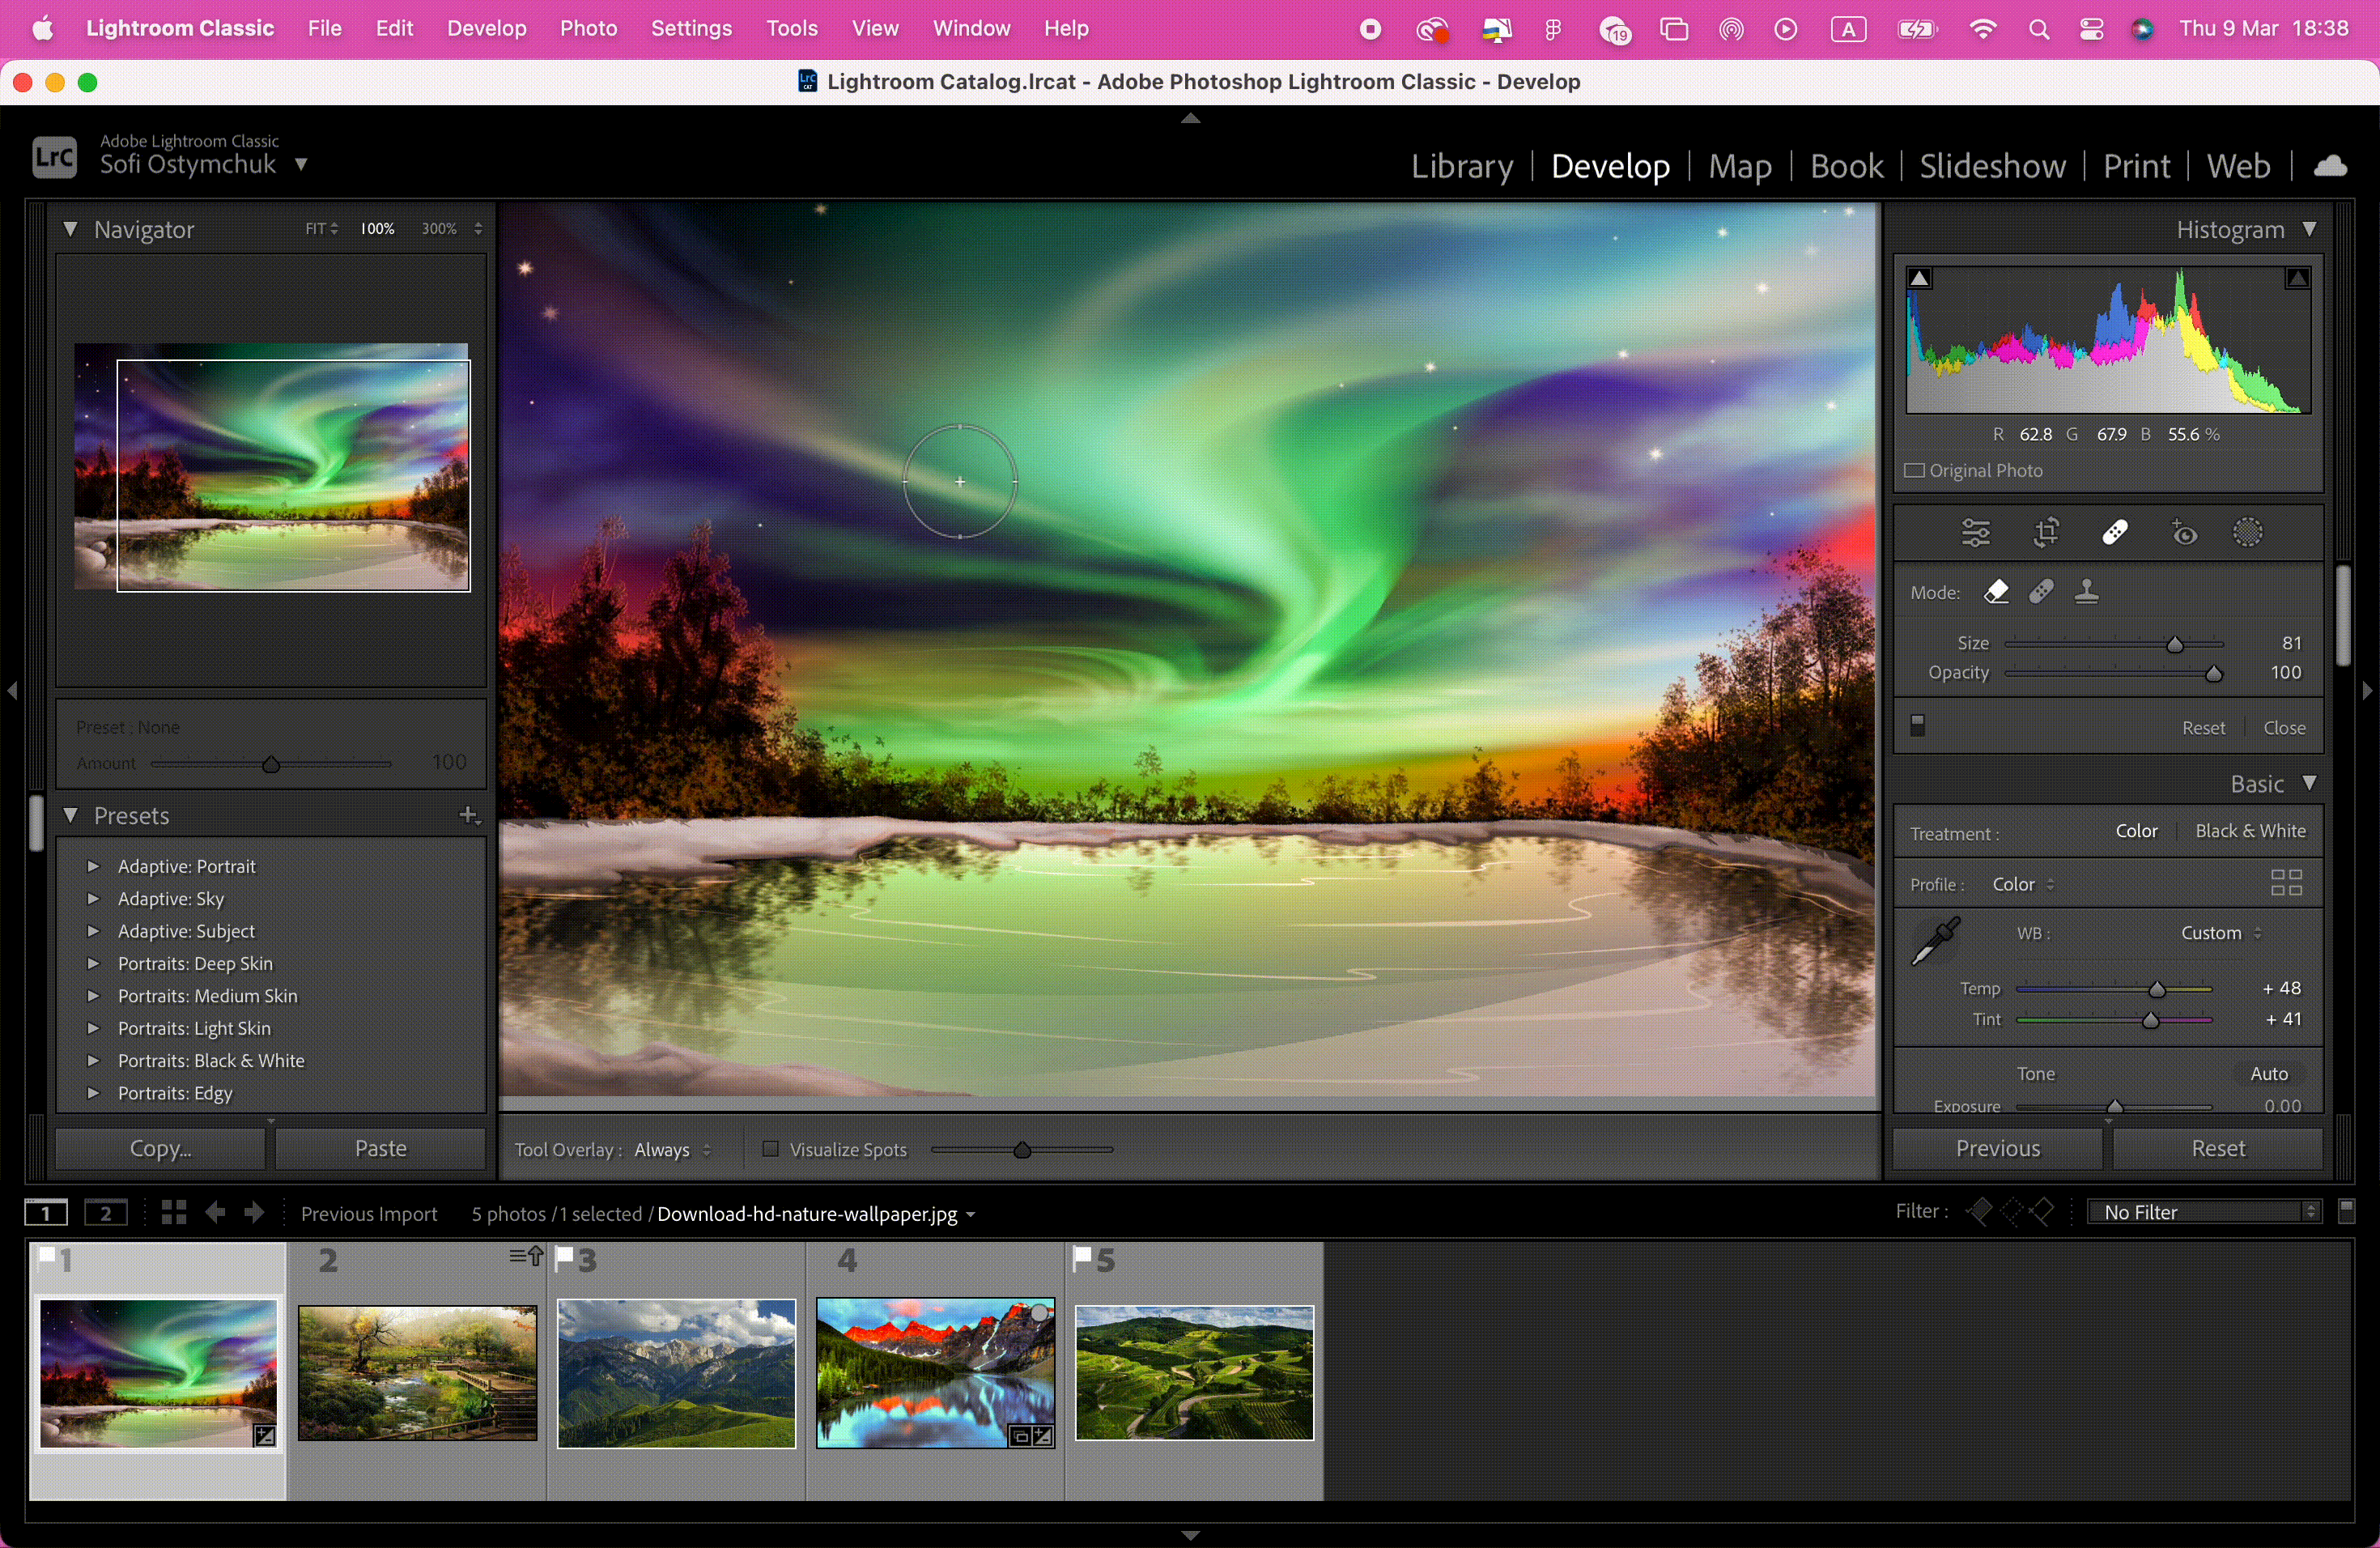
[Shift] + [R] — Reference Mood
Easily compare photos in the catalog to ensure editing consistency throughout your photos. By toggling the before-and-after view, you can quickly see the changes you’ve made to your images and ensure consistency throughout your photos. This feature is particularly useful when you’re working on a project that requires a cohesive look and feel, such as a photo book or a series of images.
FYI: You can easily change the photo you want to have as a reference, just like shown in the video.
[L] — Lights Out
This alternative to Lightroom full-screen shortcut hides the busy interface of Lightroom and isolates your image or images for better viewing. It is beneficial when you want to focus on your images and remove distractions from the interface. By dimming the background and hiding all of the Lightroom panels, you can immerse yourself in your images and view them in a distraction-free environment.
FYI: There are two dimming moods — darker and utterly black, just like you can see in the video.
[\] — Before/After
This lightroom before and after shortcut is a powerful tool that helps you compare your edited images with the original ones quickly. By pressing this Lightroom shortcut to see the original, you can easily see the changes you’ve made to your images and assess whether they enhance or detract from your photo. This feature is handy when editing many photos and ensuring that your final product is consistent and of the highest quality.
[Opt] for Mac and [Alt] for Win — Cropping Toward the Center
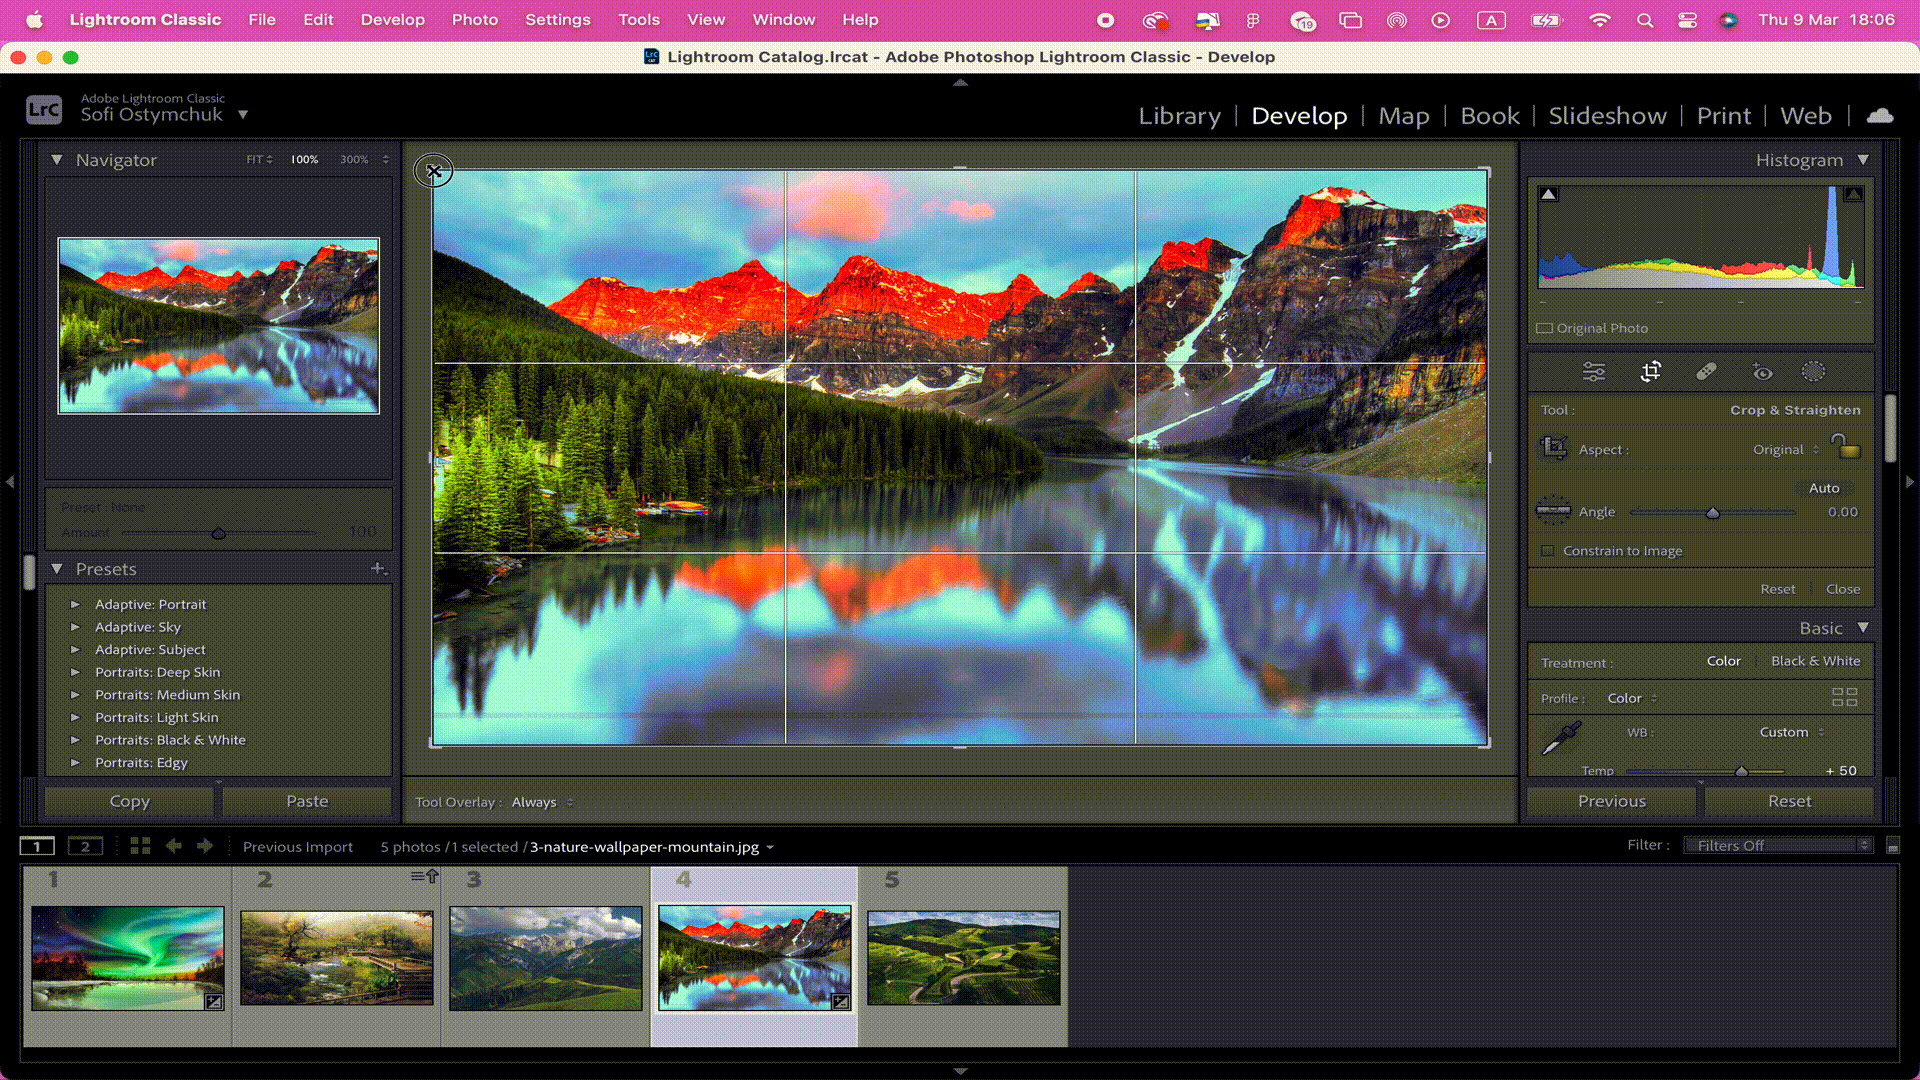
Take your cropping skills to the next level! When you hold down the Option key (Mac) or Alt key (Windows) and click and drag to start cropping, Lightroom crops toward the center instead of cropping from the selected corner. This Lightroom crop shortcut is particularly useful when you want to maintain the aspect ratio of your image and crop it more precisely. Using this shortcut, you can avoid distorting your image or accidentally cutting it too much.
[Shift]+[Cmnd]+[Opt] +[E] Key for Mac and [Ctrl] + [Alt] + [Shift] + [E] for Win — Export With Previous Settings
[Shift]+[Cmnd]+[Opt] +[E] Lightroom shortcut is a powerful tool for users who want to export their images quickly and efficiently. It’s an essential tool for photographers who need to export multiple images with consistent settings, such as watermarks or image sizes.
FYI: You will need to create unique names for each export.
[N] — Rate Selected Images Side by Side
By selecting multiple images and pressing N, Lightroom will display them all on the screen at once. This Lightroom rating shortcut allows you to compare the images side by side and identify the best one. Moreover, the screen displays can be customized by changing the layout, zoom level, and image size to suit your preferences.
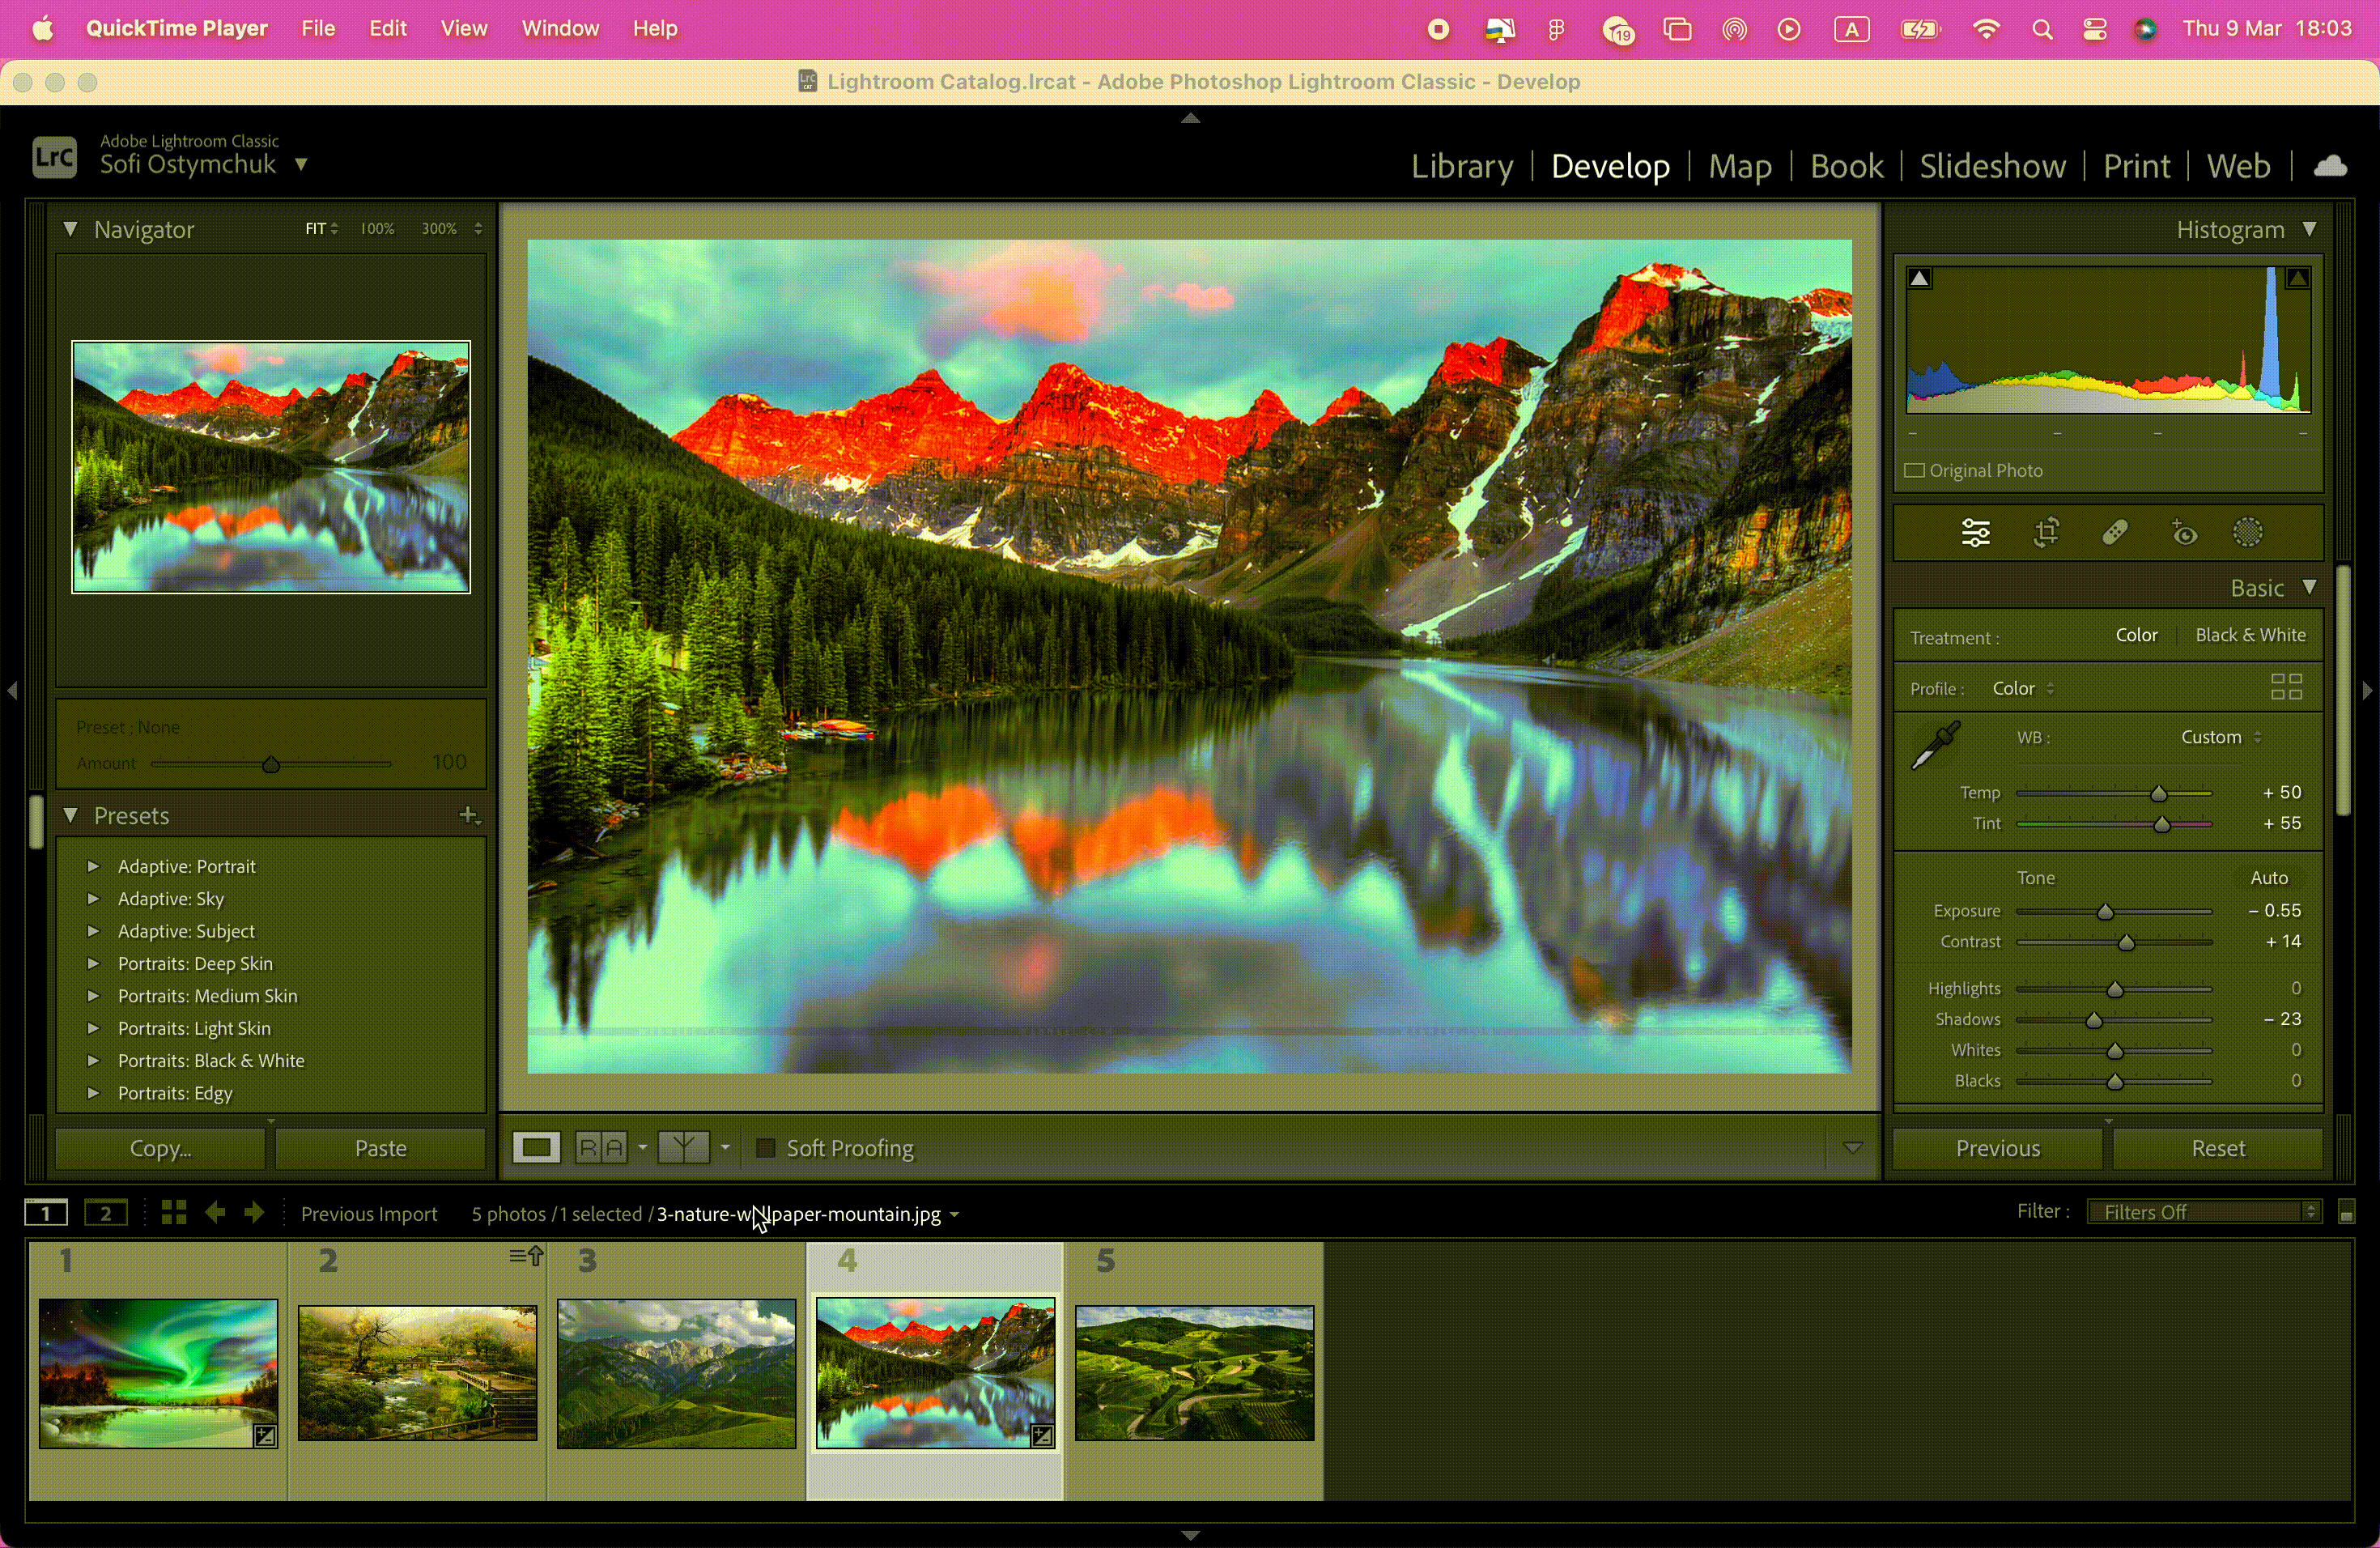
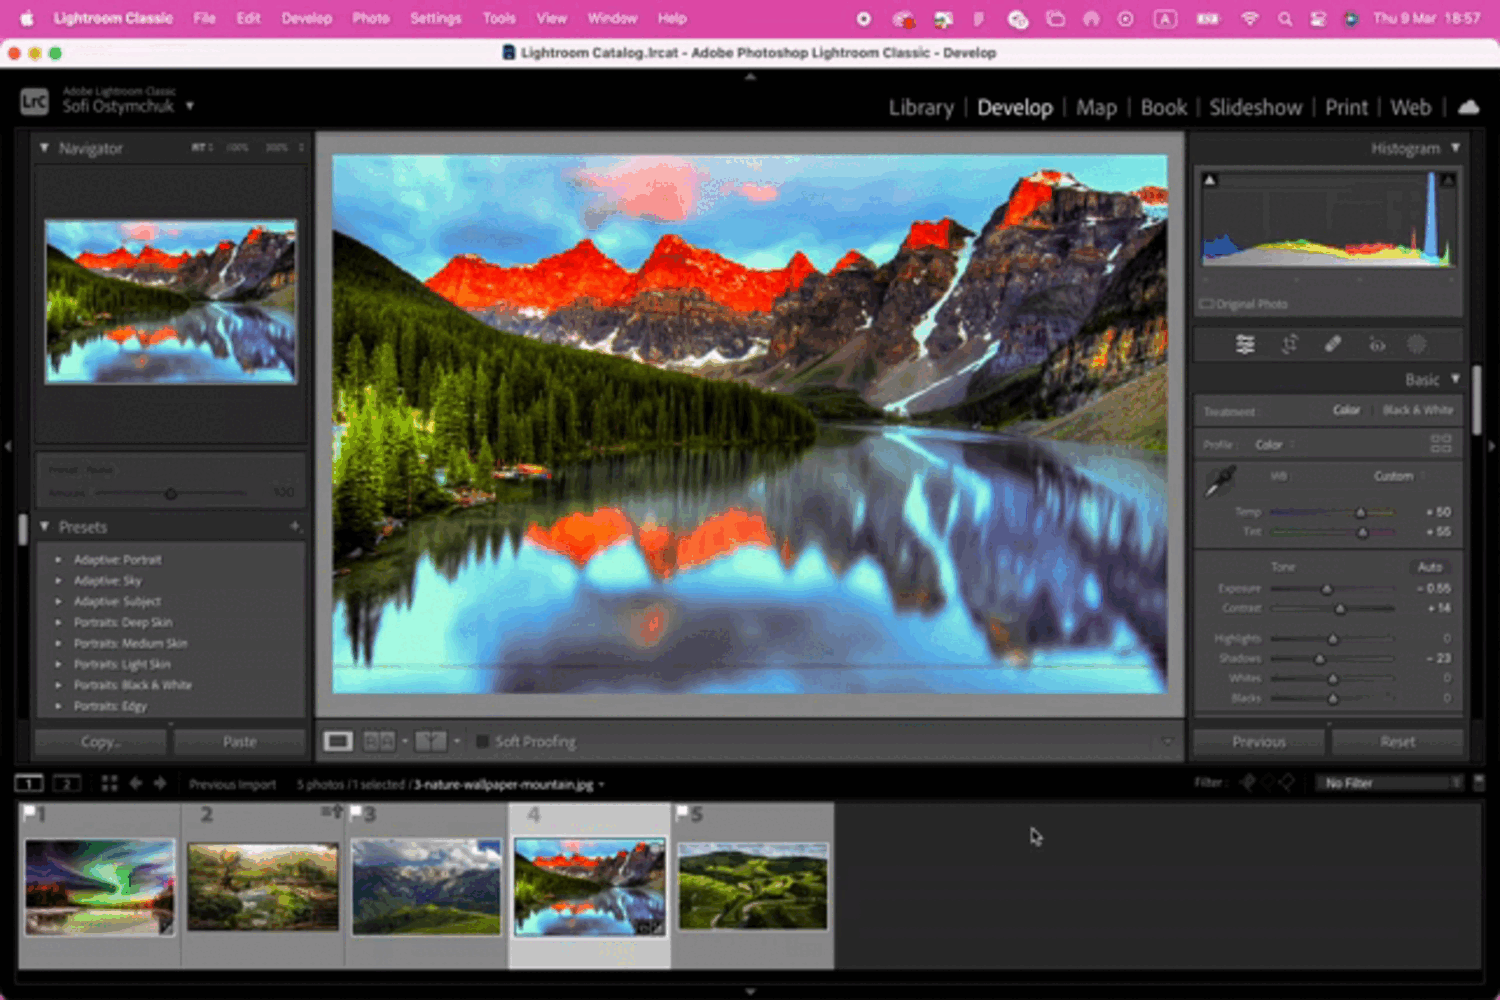
[J] — Clipping
You may be aware that you can switch the black and white points clipping on and off in Lightroom’s Develop module by clicking on the triangle shapes in the top corners of the histogram. However, a more efficient way to perform this action is to press the J key. This keyboard shortcut immediately toggles black-and-white point clipping on and off, enabling you to visualize where you’re losing details in your image.
[P] — Choosing Favorites
By pressing the “P” key, you can mark an image as a pick and select it as a favorite (as well as use it as Lightroom unflag shortcut). Once you have flagged the photos, you can filter them in any module of Lightroom using the filter bar. This feature enables you to quickly identify and access your favorite images without having to go through the entire collection. Using the “P” key shortcut is a great way to streamline your workflow and manage your photos efficiently.
[ ] — Adjusting Brush Size
When using the Adjustment Brush or Spot Removal tools in Lightroom, you can adjust the size of your brush quickly and easily by using the “[” and “]” keys. The left bracket key “[” decreases the size of the brush, while the right bracket key “]” increases it. This Lightroom shortcut is particularly useful when you need to make precise adjustments to a specific area in your image. For instance, you can decrease the brush size to make precise adjustments around edges or small details, or increase the brush size to make broad adjustments to larger areas of your image.
[Shift] + [Cmnd] + [F] for Mac and [Shift] + [Ctrl] + [F] for Win
Using the Lightroom full-screen shortcut is a great way to focus on your images and eliminate distractions. It’s particularly useful when you want to view your images in detail or compare them side-by-side. With the [Shift] + [F] shortcut, you can easily switch between different screen modes, depending on your needs.
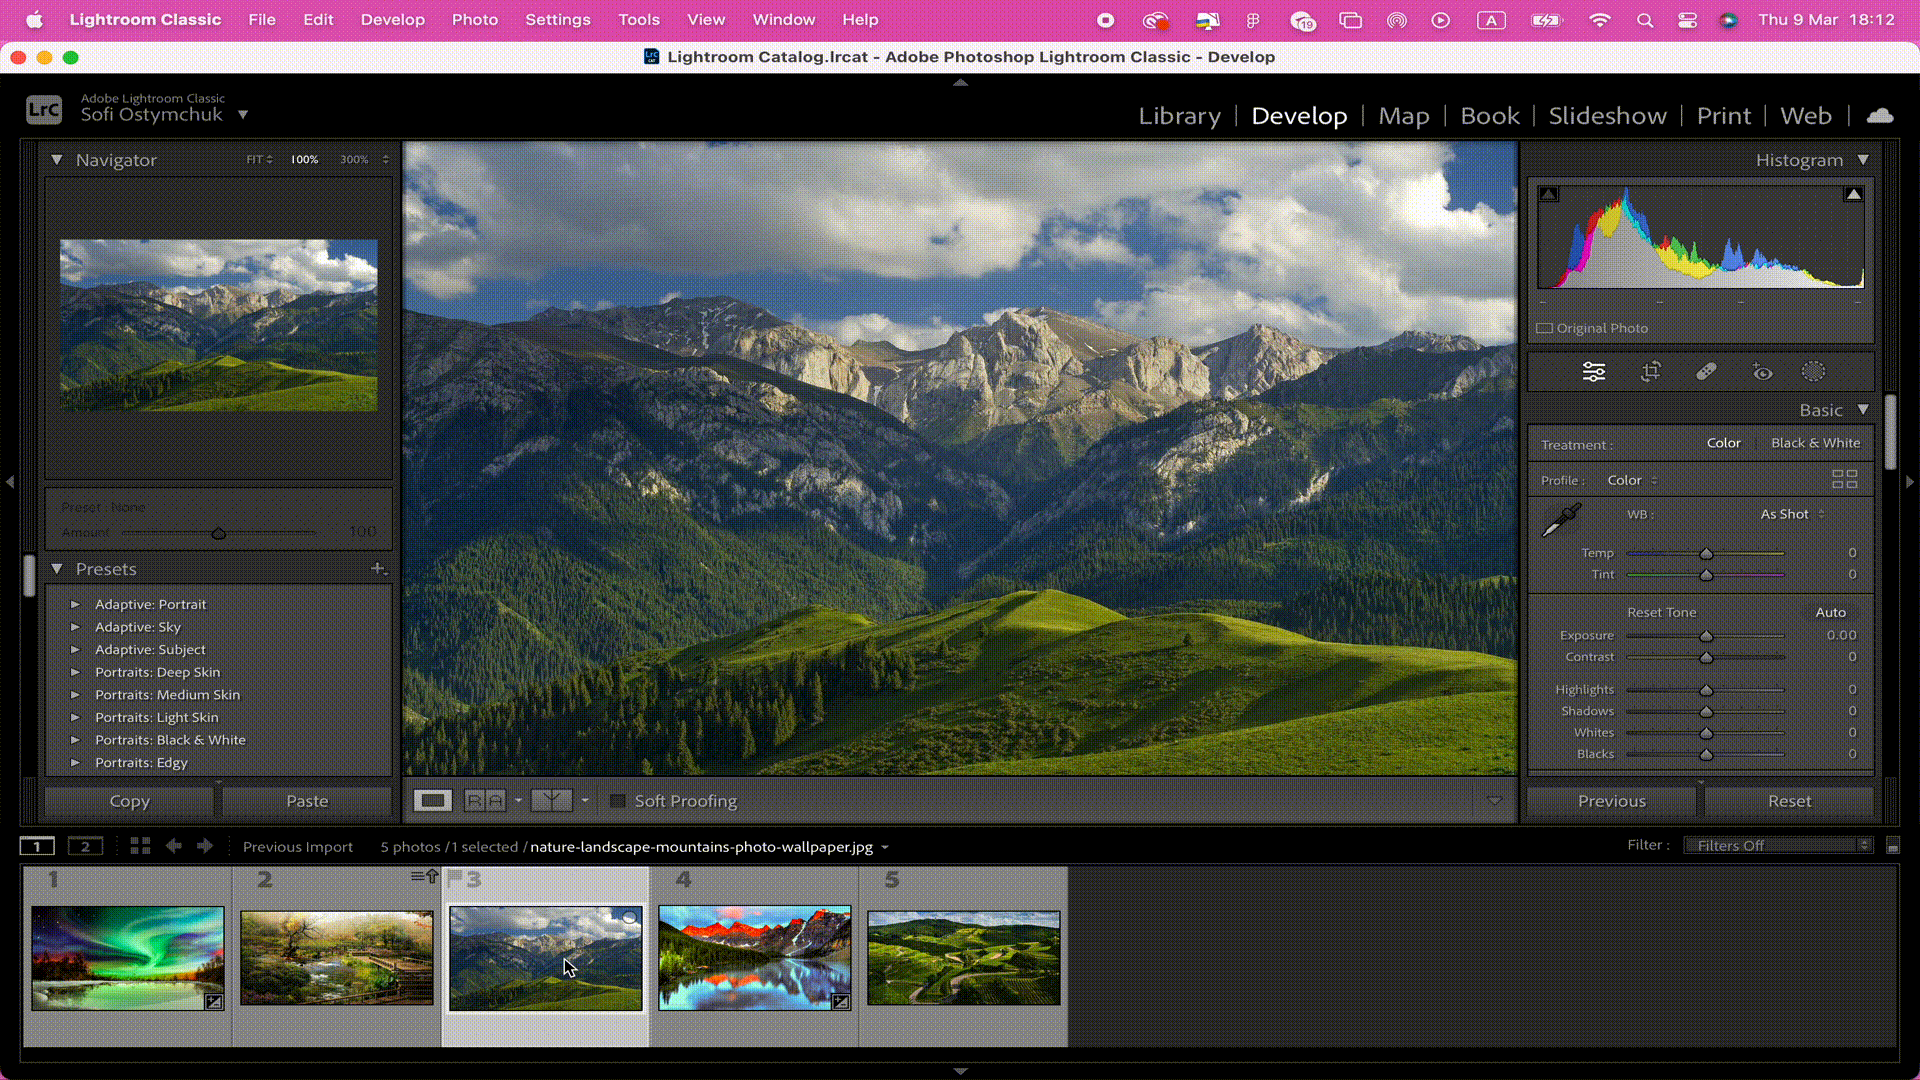
[Cmnd] + [Shift] + [R] for Mac and [Ctrl] + [Shift] + [R] for Win — Reset All the Settings
Using this keyboard shortcut will reset all of the settings in the Develop module for the currently selected photo. This includes any adjustments made to exposure, contrast, saturation, and any other settings.
FYI: It’s important to note that this shortcut will not remove the photo from the Lightroom catalog, nor will it delete any metadata or keywords associated with the image. It simply resets all of the settings to their default values, allowing you to start over with a clean slate.
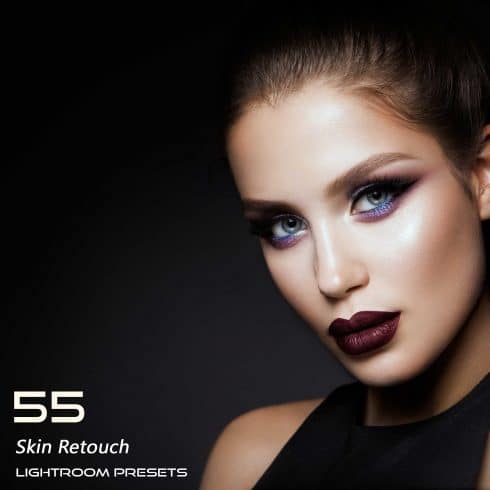
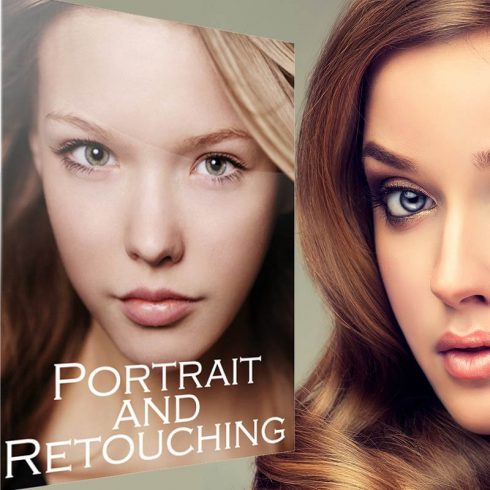
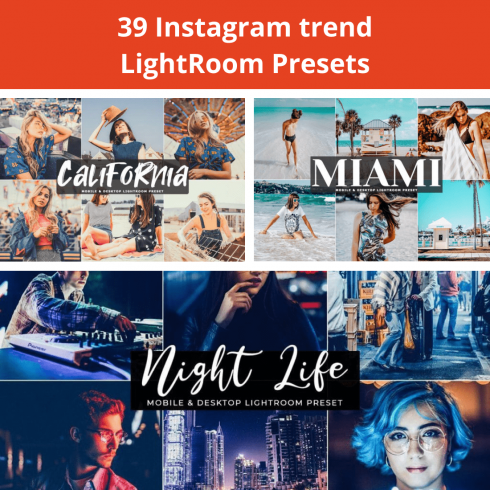
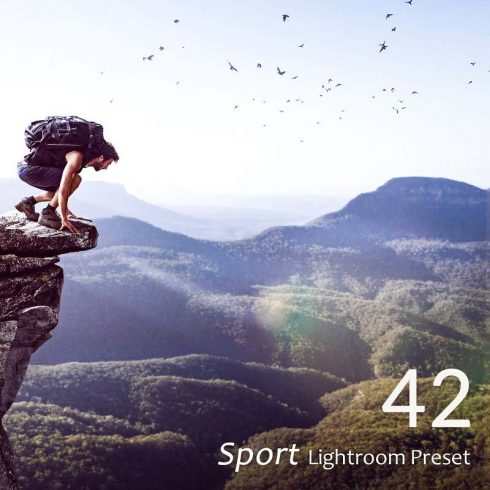
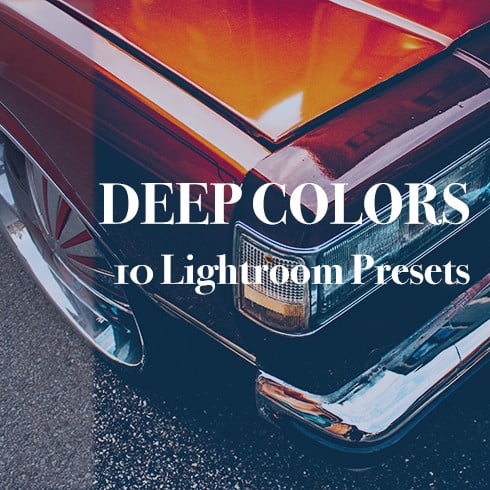
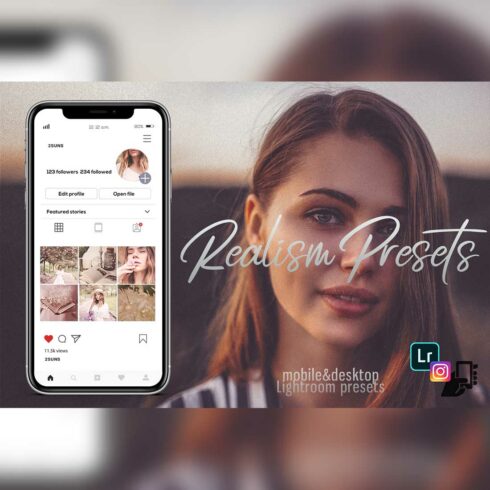
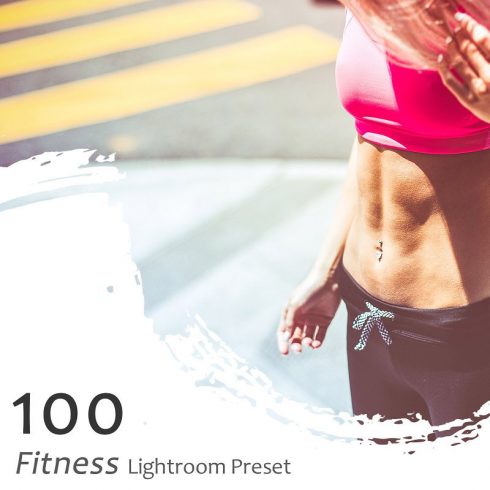
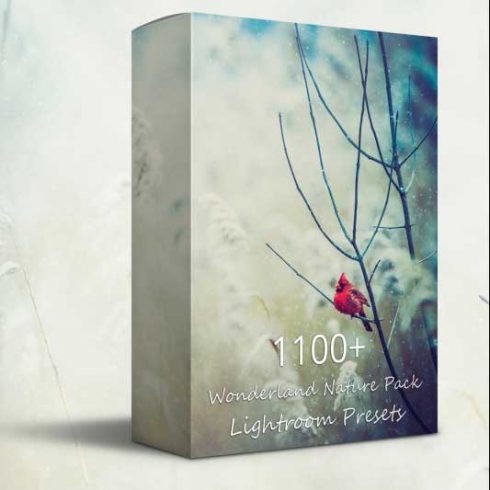
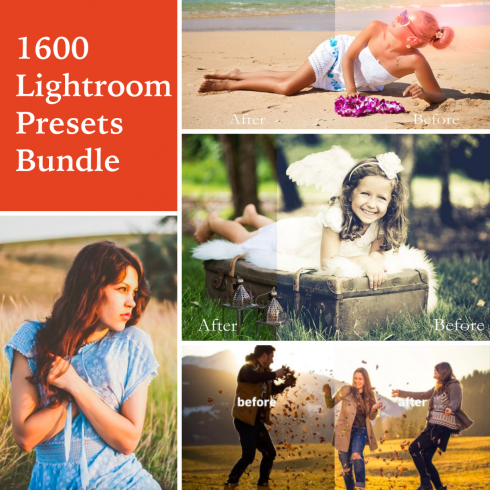
Best Lightroom Presets From MasterBundles
If you want to take your Lightroom editing to the next level, MasterBundles has got you covered. You can find a wide range of presets for Lightroom that can help streamline your editing process and add a professional touch to your images. Whether you’re looking for Lightroom presets that can enhance your landscapes, portraits, or street photography, MasterBundles has various options catering to different styles and preferences.
With these Lightroom presets, you can achieve stunning results in just a few clicks, making your editing process more efficient and productive. So, if you’re ready to take your Lightroom editing to the next level, check out MasterBundles’ presets and see how they can transform your images.


Summing Up
Mastering Lightroom keyboard shortcuts is vital for anyone seeking to enhance their workflow in Lightroom. This Lightroom shortcuts cheat sheet will speed up your editing, reduce repetitive stress injuries, and improve your muscle memory. Whether you’re a pro photographer or an enthusiastic amateur, with these shortcuts, you can take your photo editing to new heights and unlock your creative potential.
Just in case you wonder about other Adobe Lightroom shortcuts — check the full list on the official Adobe website.
And if you want to take your skills to even greater heights, why not become a MasterBundles vendor and start selling your designs? Join a vibrant community of creatives, photographers, and designers who are passionate about their craft. Being part of MasterBundles allows you to showcase your skills, connect with other like-minded individuals, and start selling your designs to a global audience. Together, we can continue to learn and grow as photographers and creatives!
Lastly, we’d love to hear from you! What are some of your favorite Adobe Lightroom shortcuts? Comment below and share your insider tips and tricks with our community.
Best Related Articles


Some Awesome Videos about Lightroom Shortcuts
TOP 10 LIGHTROOM Shortcuts All GREAT Photographers Use!
These shortcuts will drastically improve your editing workflow!
Top 10 Absolutely Essential Lightroom Classic Shortcuts – Edit 2x Faster!
Learn the top 10 Lightroom Classic keyboard shortcuts to double your editing speed. Save time and improve your photography editing.
What are your concerns?
Thanks for your response!
Disclosure: MasterBundles website page may contain advertising materials that may lead to us receiving a commission fee if you purchase a product. However, this does not affect our opinion of the product in any way and we do not receive any bonuses for positive or negative ratings.