Step-By-Step Guide: How to Easily Create, Upload & Sell Products on MasterBundles
Sometimes you can sink into a condition of mental stupor when thinking about selling your designs. You can be out of ideas or don’t know where to start. Whatever the reason is we all faced this condition. What you definitely can do is start creating the product and upload it to the platform where you will sell it. I prepared a step-by-step guide covering the whole process. In this article, I will show you how I created 3D geometric shapes and uploaded them to MasterBundles. You will see that you can do the same easily 🙂
If you worry about your style or hard skills, a kindly reminder – designers of all styles and levels are welcome. Do not worry about it:)
Idea Search
On MasterBundles, you can sell an existing work or create a new one.
If you decide to create a new design, check out existing categories, products, and topics on the site. Are there any relevant topics (holidays, world events, style, and design direction)?
Choose what you are interested in working with. After all, work should bring not only money but also pleasure 🙂
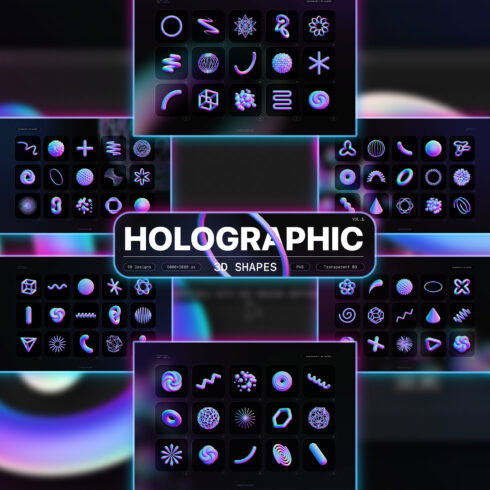
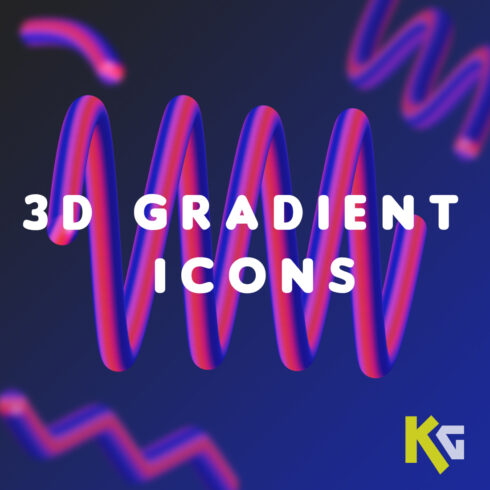
I decided to create three-dimensional neon holographic shapes. Why? First, they look cool and trendy, and second, they are interesting to work with. Are you done with an idea? Let’s start creating!
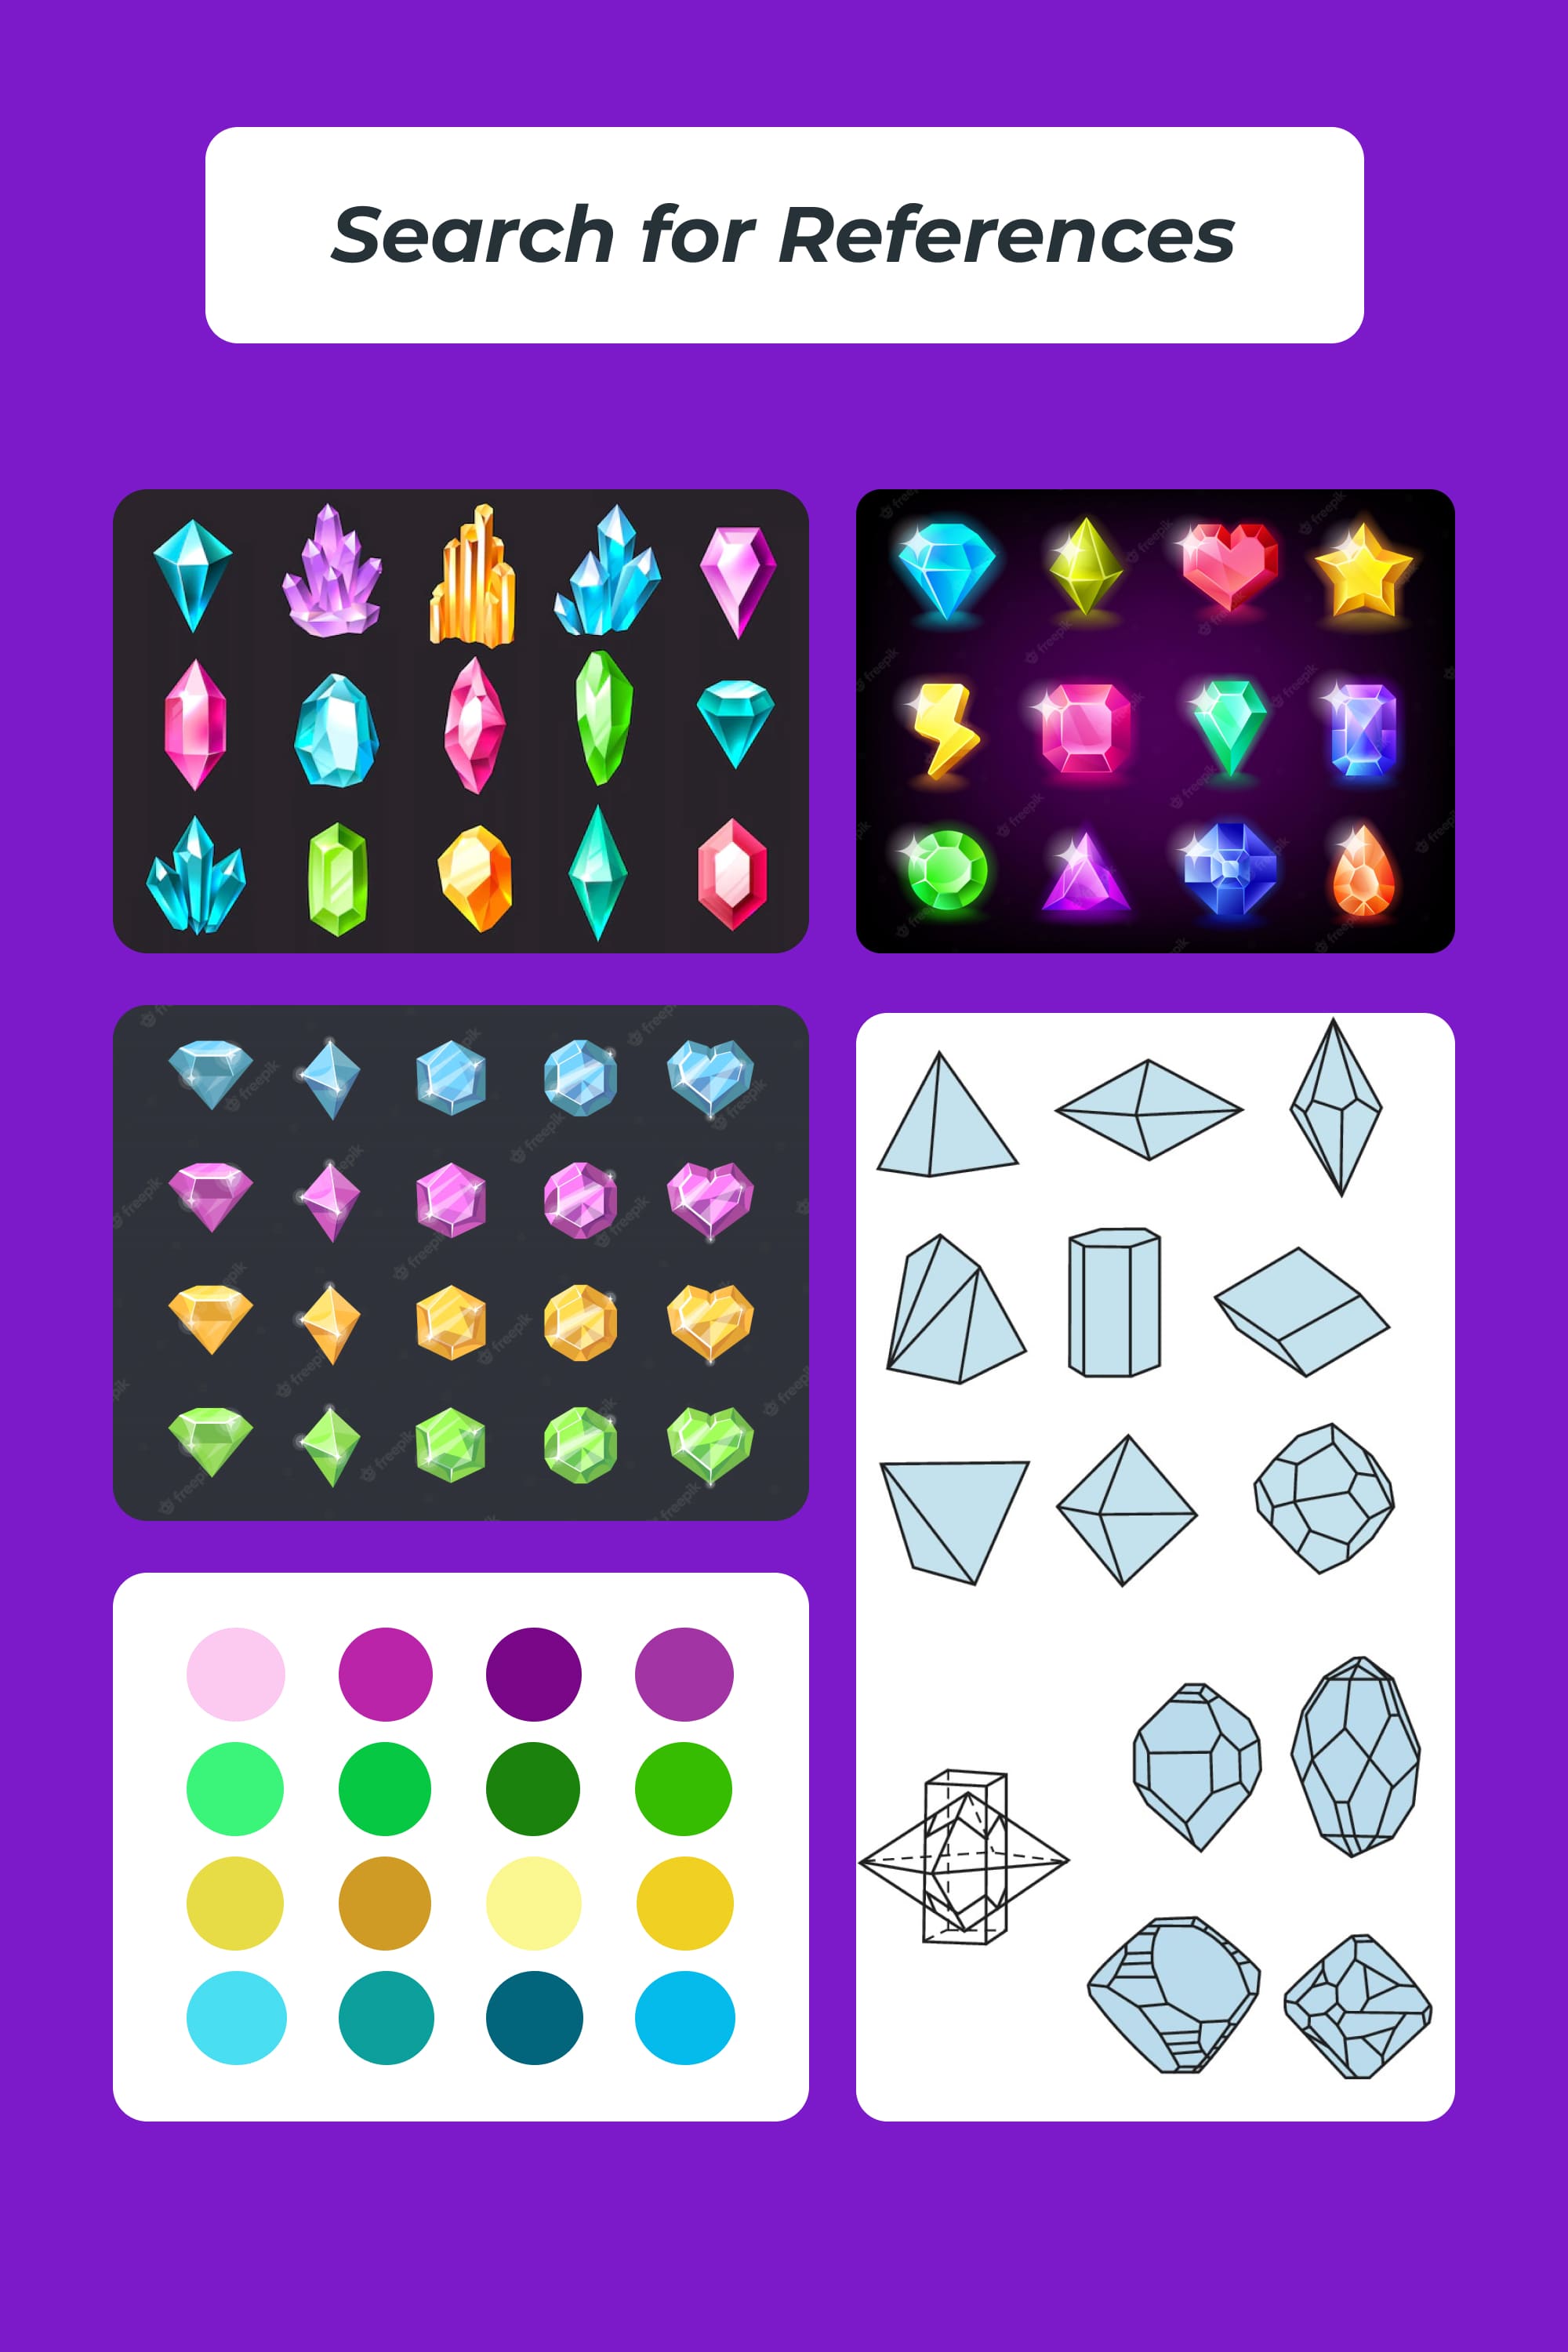
Search for References
References will make your job easier, so take the time to look for what suits your work. But remember that viewing some chips and interesting implementations is for inspiration, but not for completely copying someone else’s work. Let’s respect each other’s work.
You can look for references on Behance, Dribbble, Google, or Figma Community — depends on what you do. I just searched on Google for pictures of three-dimensional figures and crystals to get an idea of the shapes and colors.
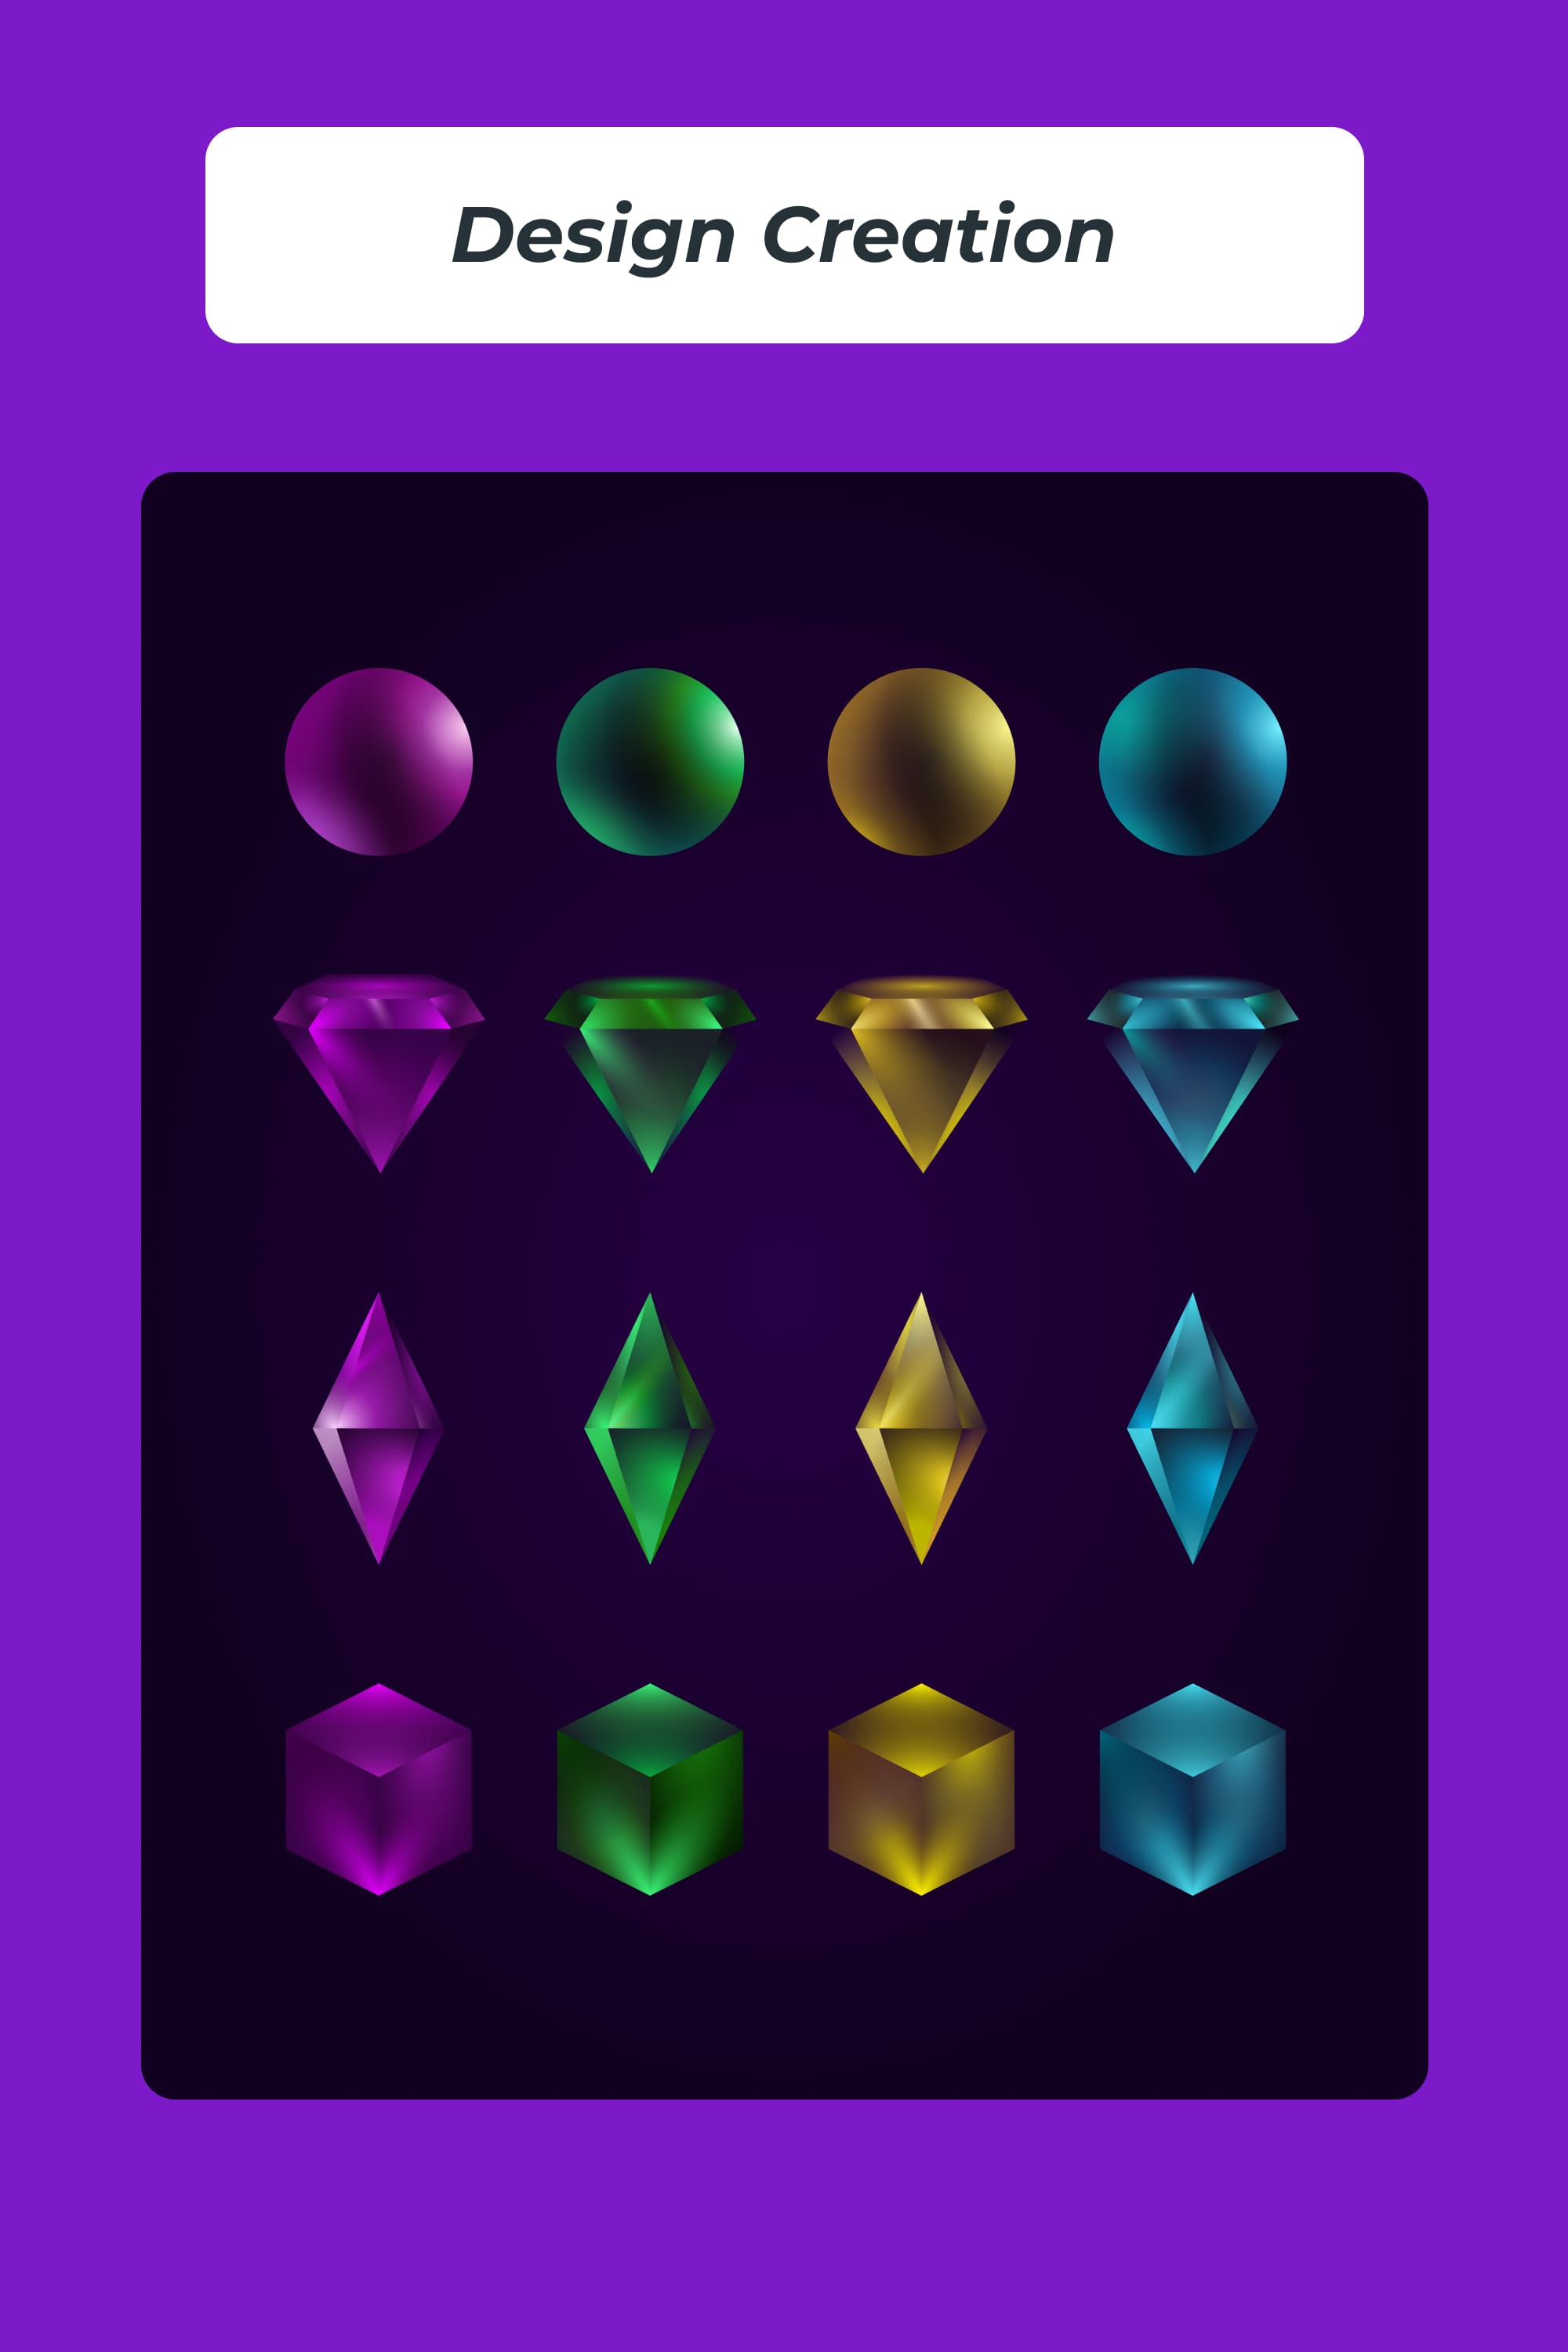
Design Creation
This stage is individual because everyone will create something different. I created the 3D shapes with a radial gradient that also made a neon effect. By the way, there will be no tutorial on how to create such a gradient but we already made a similar graphic design tutorial — it’s here 🙂 Of course, the video shows the whole creation process, so don’t forget to watch it.
Creating 3D Shapes and Uploading the Product to MasterBundles
Upload the products & start selling
At this stage, you need to choose a program in which you will work – I will create shapes in Figma.
Tip: To speed up the work, I copied the element settings in places. This can be done using Ctrl+Alt+C to copy and Ctrl+Alt+V to paste the setting.
For convenience, I recommend making color palettes, it’s easier to work in the future.
Leave yourself room for creativity, but also think about the benefits for a potential buyer. I created a ball, a cube, a diamond, and a crystal, and decided to make these figures in different colors so that the buyer has a choice.
Preparing Project for Sale
So, I’m ready to upload the project to the platform. I open the website with the MasterBandles Sell Your Deal form and fill it out. Don’t do that just for the sake of uploading the product. Let’s spend a little more time to make it look more professional and thus increase the potential sales.
How to do it? Follow these steps:
- Look at the designs on MasterBundles and choose what you like in terms of visual design/structure (or maybe even find something to buy for your work 🙂
- Look at the file size requirements. The “add media” part does not specify file requirements, so you can choose any. I chose 1500×1100.
In the previews, show your work in close-up, add a tiny, catchy, and attractive description, available formats, and the number of products. From 1 picture, a person should understand what you are selling.
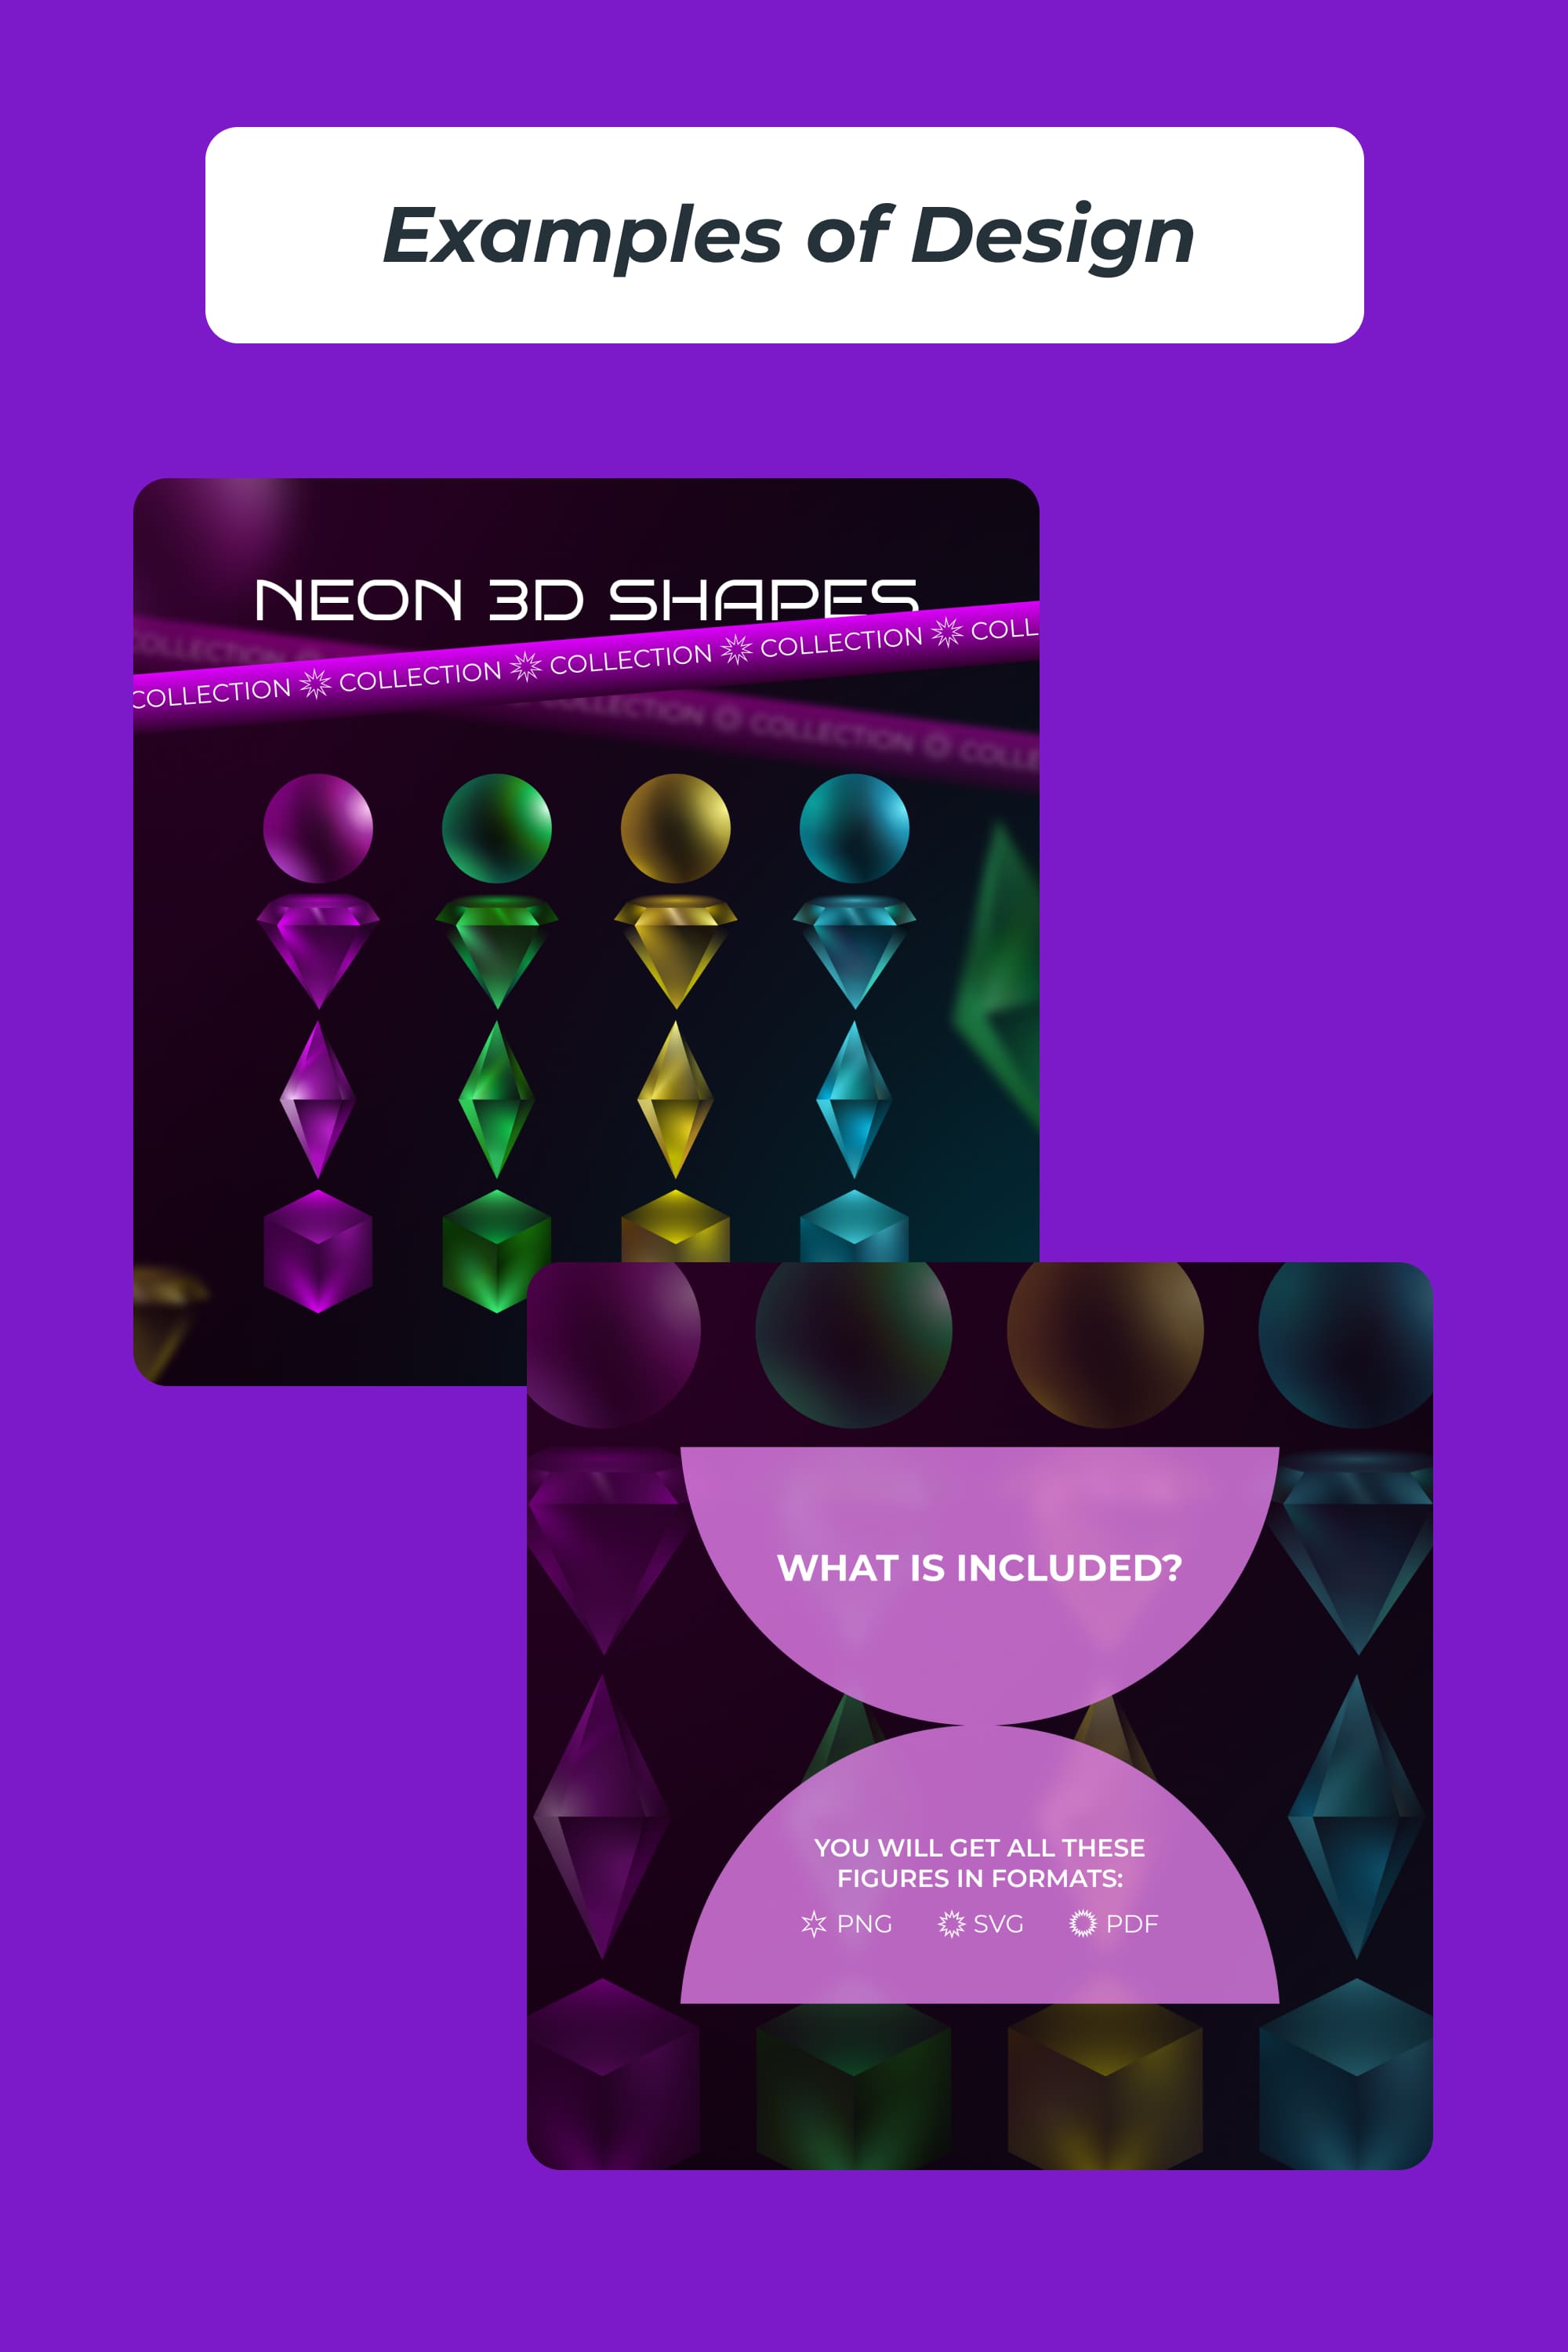
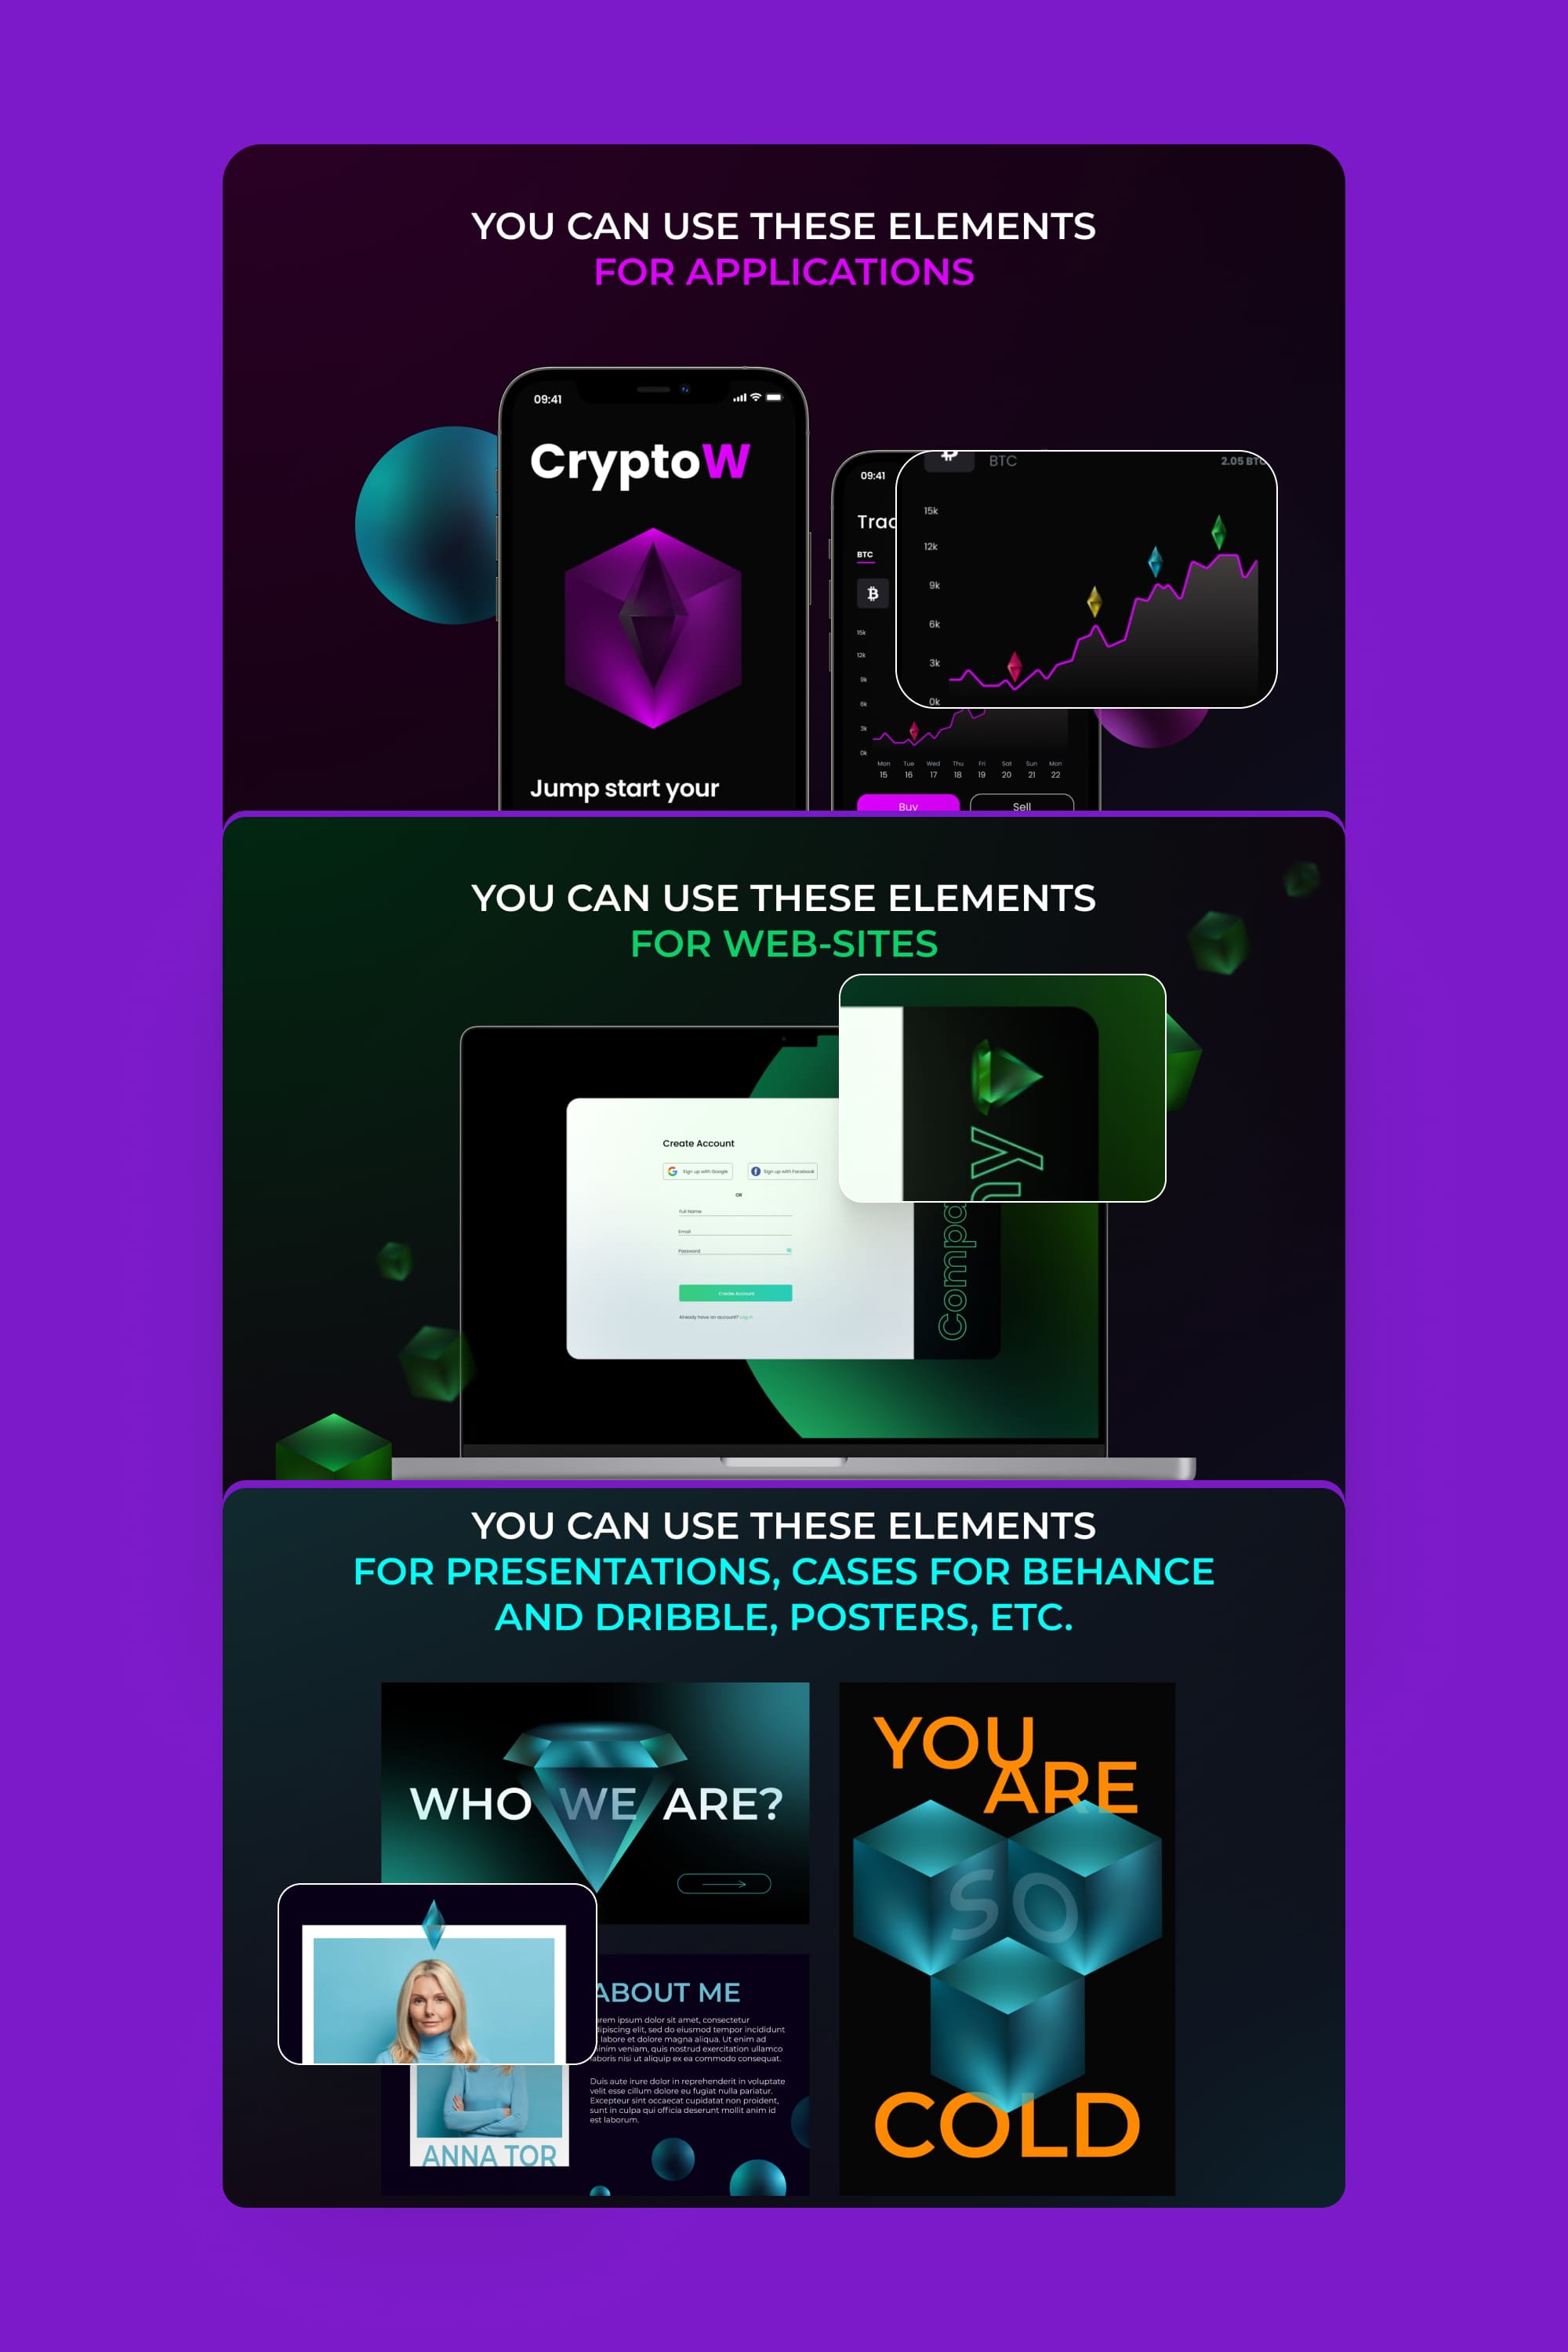
- Next, consider what your design can be used for and show examples. I showed how these neon shapes look in a dark setting because they look really cool this way.
Where can it be used? I concluded that it is suitable for applications, websites, presentations, posters, and social networks. I showed it in the examples. So it will be easier for a potential buyers to understand whether your product suits them.
I created examples of designing application screens, a website, presentation pages, and a poster with 3D shapes.
I recommend using mockups to show the implementation of the design with your product as realistically as possible, and to help the product stand out. For quick mockups in Figma, there is a convenient plugin — Artboard Studio Mockups.
- Prepare a short but understandable description of your job. Write here for which projects your design is ideal, in what formats it is available, and some of your tips.
- Pick up the keywords to optimize your page for search engines & search on the website.
- Customize your search engine listing.
- Add file formats in the “Add Property” part.
- Analyze the price of similar products or categories to set the relevant price. There is automatic pricing, which is especially helpful if you’re uploading your work for the first time. This feature isn’t perfect yet, but it can get you in the correct range.
- Choose a platform category for your product. I chose the Abstract Shapes category. If you can’t find a more suitable one for your design, then you can also choose the same one.
- Check if you have completed everything and click “Publish” at the end of the page.
Hooray! You posted your work on MasterBundles. That’s it — it’s easier than it seemed. And if suddenly you have any questions, just write to our support and we will help you solve your problem. If you haven’t watched the video yet, now is the time to do it 🙂
See you soon, designer!
What are your concerns?
Thanks for your response!
Disclosure: MasterBundles website page may contain advertising materials that may lead to us receiving a commission fee if you purchase a product. However, this does not affect our opinion of the product in any way and we do not receive any bonuses for positive or negative ratings.
