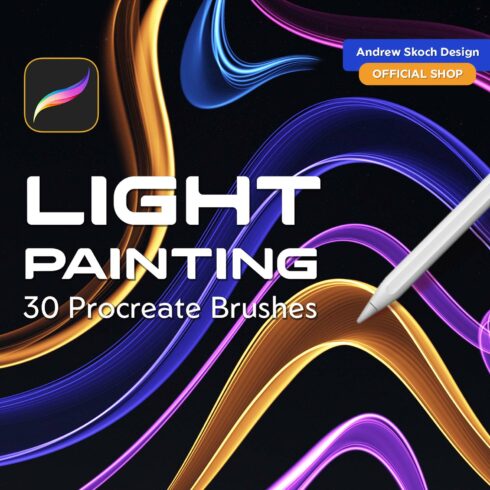
Procreate Brushes
1-36 of over 456 results for Procreate Brushes
Hot Search Results:

FAQ
What is Procreate and why do designers need it?
Procreate app is one of the most requested, essential, and functional mobile apps for digital artists and designers. It contains a large library of tools, brushes, and textures. Most importantly, the advantage is mobility. Since Procreate is an iPad app, you can carry it with you everywhere. Also, this application has a convenient, intuitive interface and simple gesture control. You no longer have to look for the undo button or remember the key combination: just tap the screen with two fingers. Minimum icons with maximum possibilities.
Procreate app is a very simple and intuitive graphic editor. By installing it on your tablet, you can draw directly on the screen, just like on a canvas. The program has many tools to help designers. One of the most important is of course the brushes in Procreate.
What are brushes in Procreate used for?
Brushes in Procreate are one of the most important tools in the program, solving completely separate tasks: lettering, shading, background filling, and stylization. It is worth noting that there are more than 180 built-in brushes in the application, which can also be transformed into feathering and an eraser. This, in turn, allows for an even more individual approach to the process of drawing and creating textures on illustration objects.
Brushes in Procreate can perform different functions and simulate different tools: pencil, paintbrush, pastel, and airbrush. Brushes can be used to fill the background, shading, lettering, creating textures, small details, highlights, and ornaments.
How can you change the brush settings in Procreate?
Each brush has its own settings. By controlling the settings of the brushes in Procreate, you can change the opacity, change the grain, increase the volume, edit the tilt level, or immediately build in the blend mode. Also, using the settings, you can apply color using strokes, spray, and fill, or perform other tasks. The feather and eraser tools also work with the brush library, except in this case, the selected brushes will erase or feather.
How to add custom brushes to Procreate?
If the standard brushes don’t work for your project, you can download brushes from the Internet to your computer, save them to the cloud, or download them directly to your iPad. To add brushes to Procreate, follow these steps:
- Open a new canvas and tap the brush icon to open the Brushes panel.
- Select the folder where you want to install the brush.
- Click the “+” button above the list of brushes to import a new brush.
- Click “Import” in the dialog box that opens.
- You will see the iPad file interface. Navigate to the folder containing the downloaded Procreate brushes.
- Click on the brush you want to install. The screen will return to the Procreate canvas with the brush panel open.
Most Popular Articles
-

40+ Best Free Photoshop Actions 2023
by Alex Zanutto
-
12 Essential Lightroom Shortcuts for Effortless Editing
-

13 Best Free Photoshop Alternatives in 2023
-

160+ Top Behance Illustrator’s Accounts


