How to Add Fonts in Photoshop
Adding fonts to Photoshop is as easy as uploading files, but this skill will greatly expand your creative options. Although Adobe’s advanced software comes with a variety of fonts already added, there are thousands of other font options on the web that can give your project a unique look.
The following guide describes how to add fonts to Photoshop on Windows and Mac operating systems.
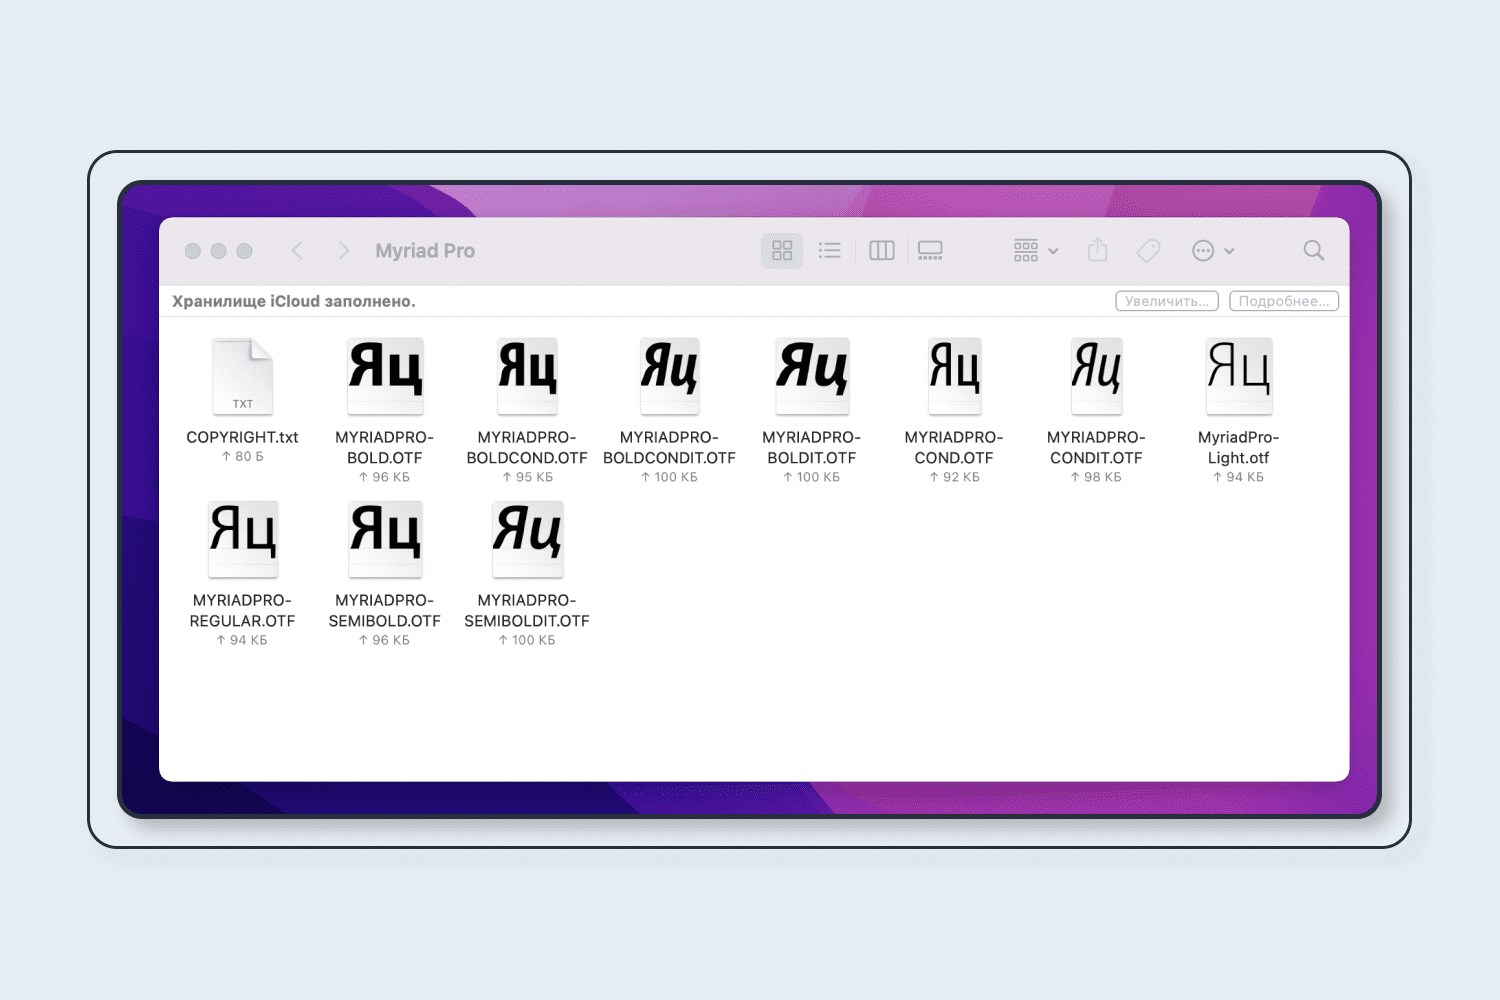
How to Add Fonts in Photoshop for Mac?
If you need to add new fonts to MacOS, it is highly recommended that you close all active applications and programs. This is due to the fact that most of them work with some type of font. That is, they are accessing a common base of fonts. Therefore, it is necessary to install new variants of the text design before the application starts to send requests to it and you can’t do it without closing the programs.
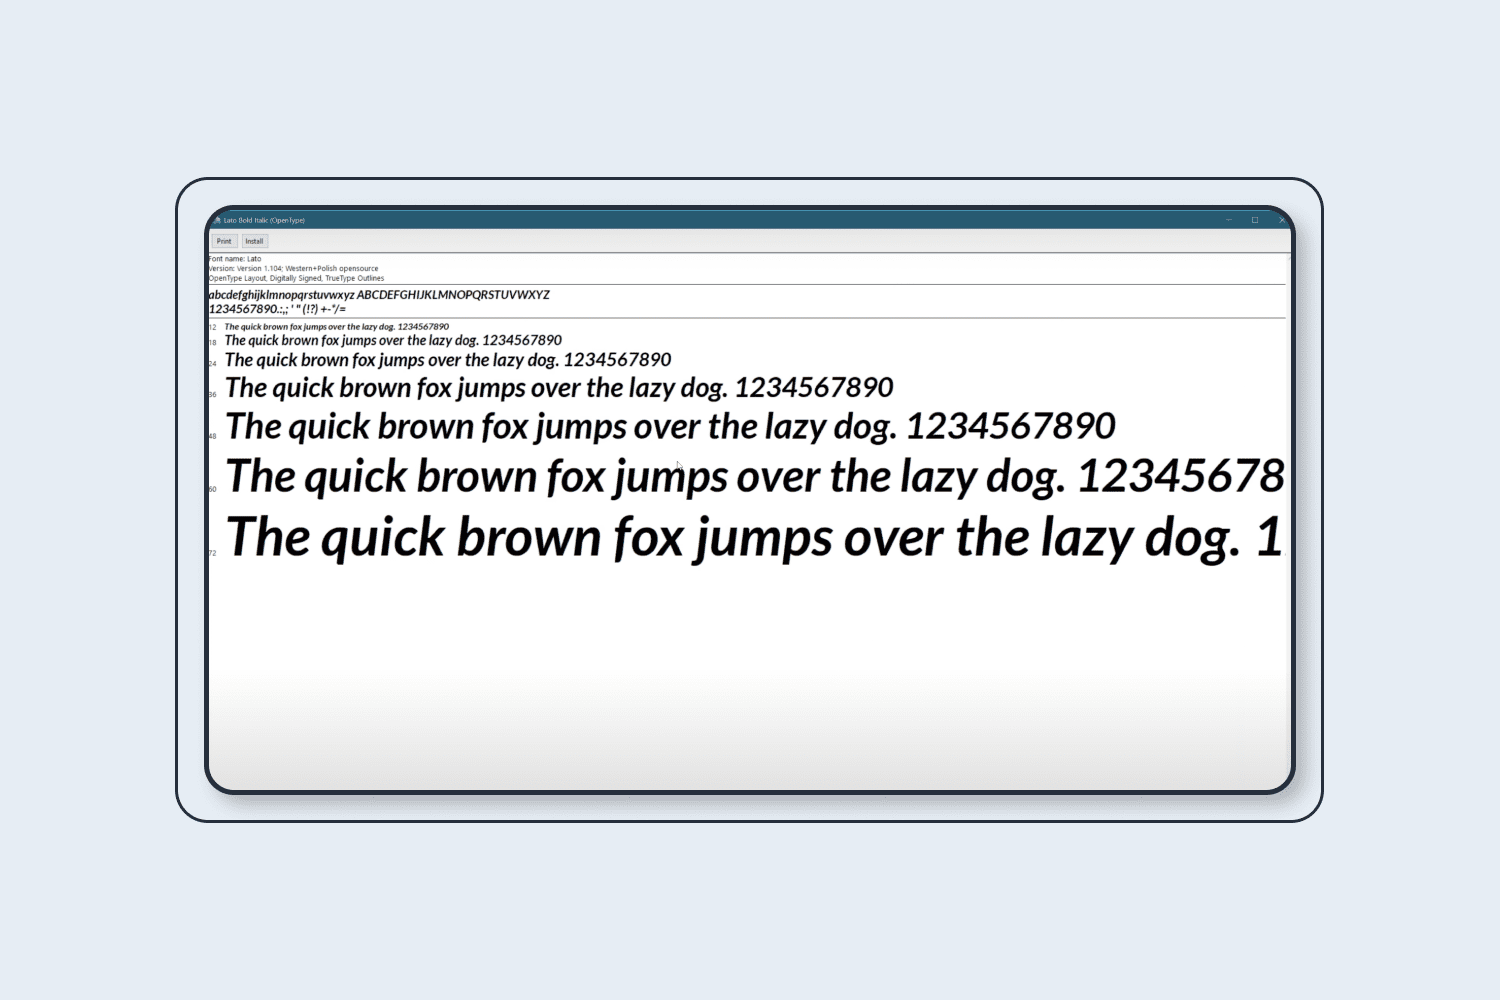
Step 1
To start the Font program, just double-click on the downloaded file with the corresponding extension. If it is in an archive, you will have to unpack it first.
Step 2
When the Font application opens, click on “Install Font.”
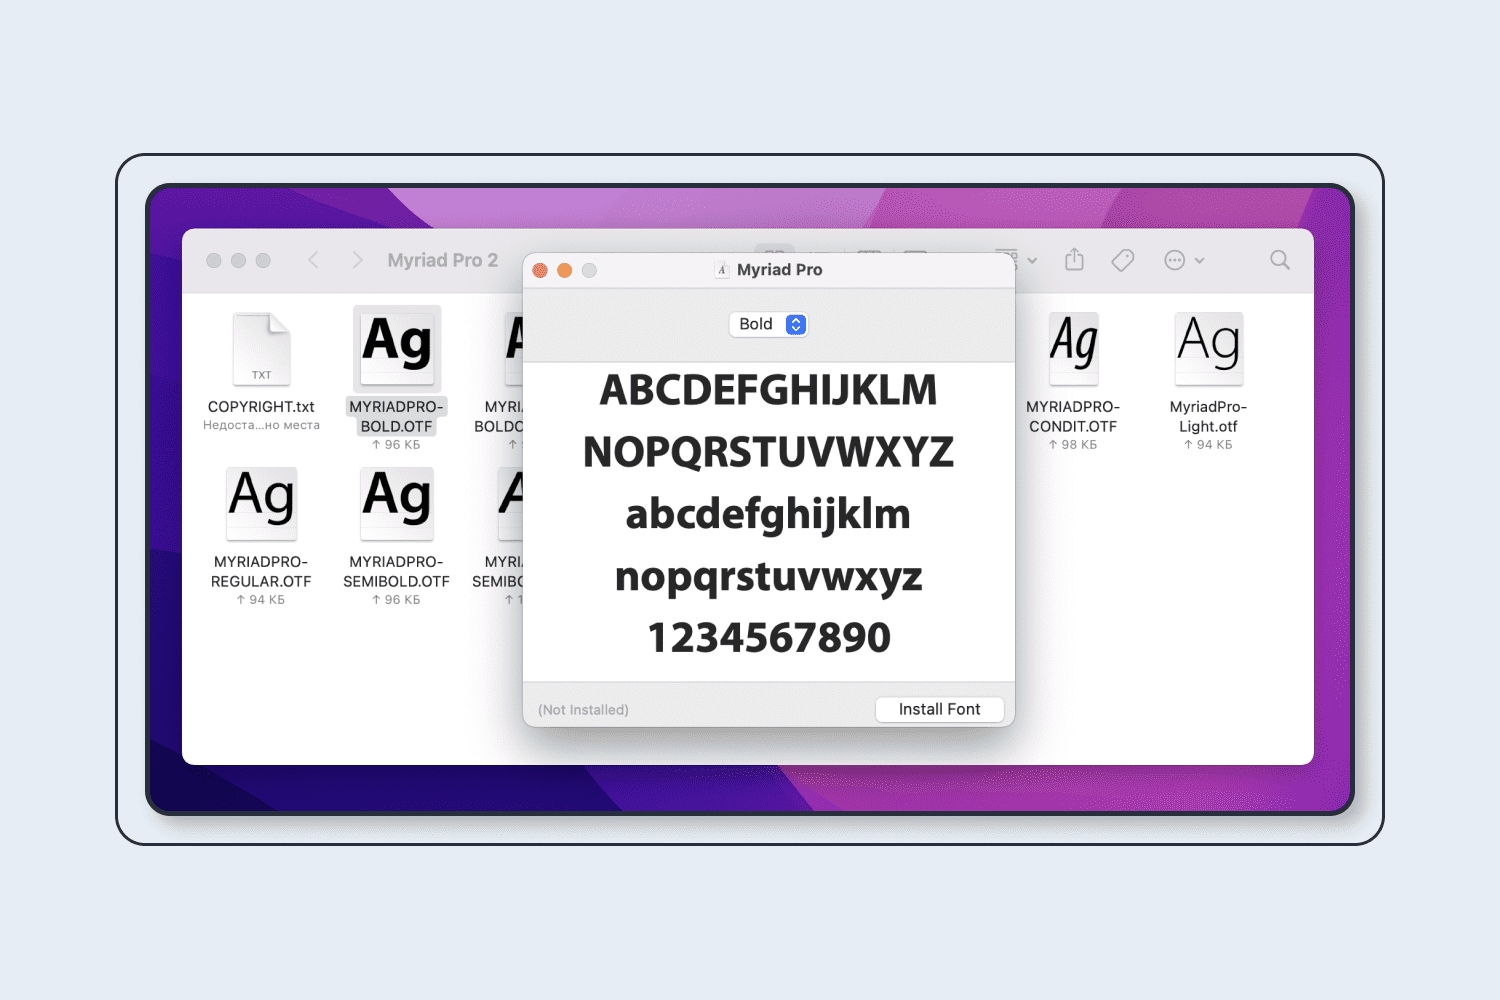
Step 3
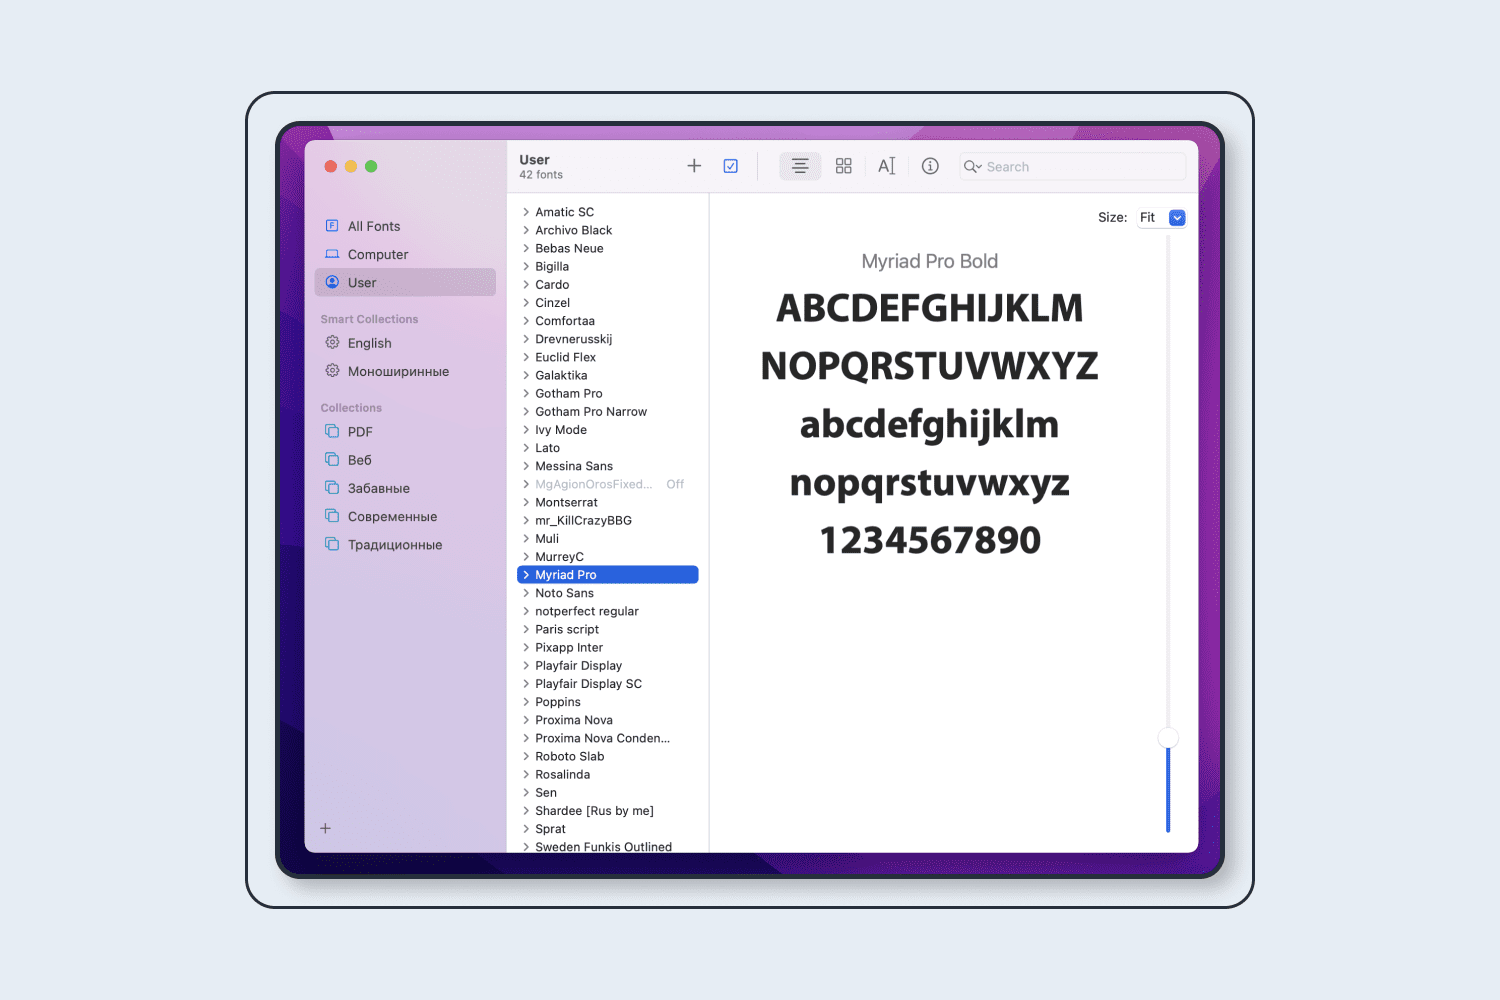
After you click on the file, the Font program starts, and a button to install is displayed in the lower-left corner. Since the new version is already in the system, Photoshop will be able to detect it without any problems and apply it to the next part of the image.
How to Add Fonts in Photoshop for iPad
Suppose we have our own font that we want to use on our Apple gadget. To install it on the system, we need the AnyFont app, which is easy to install from the AppStore.
Step 1.
To install a new font on our system, we first need to add it to the AnyFont app.
To do this, you can either download it to your device from the Internet using Safari, or get it in an email, in a messenger message, or have it downloaded to the cloud.
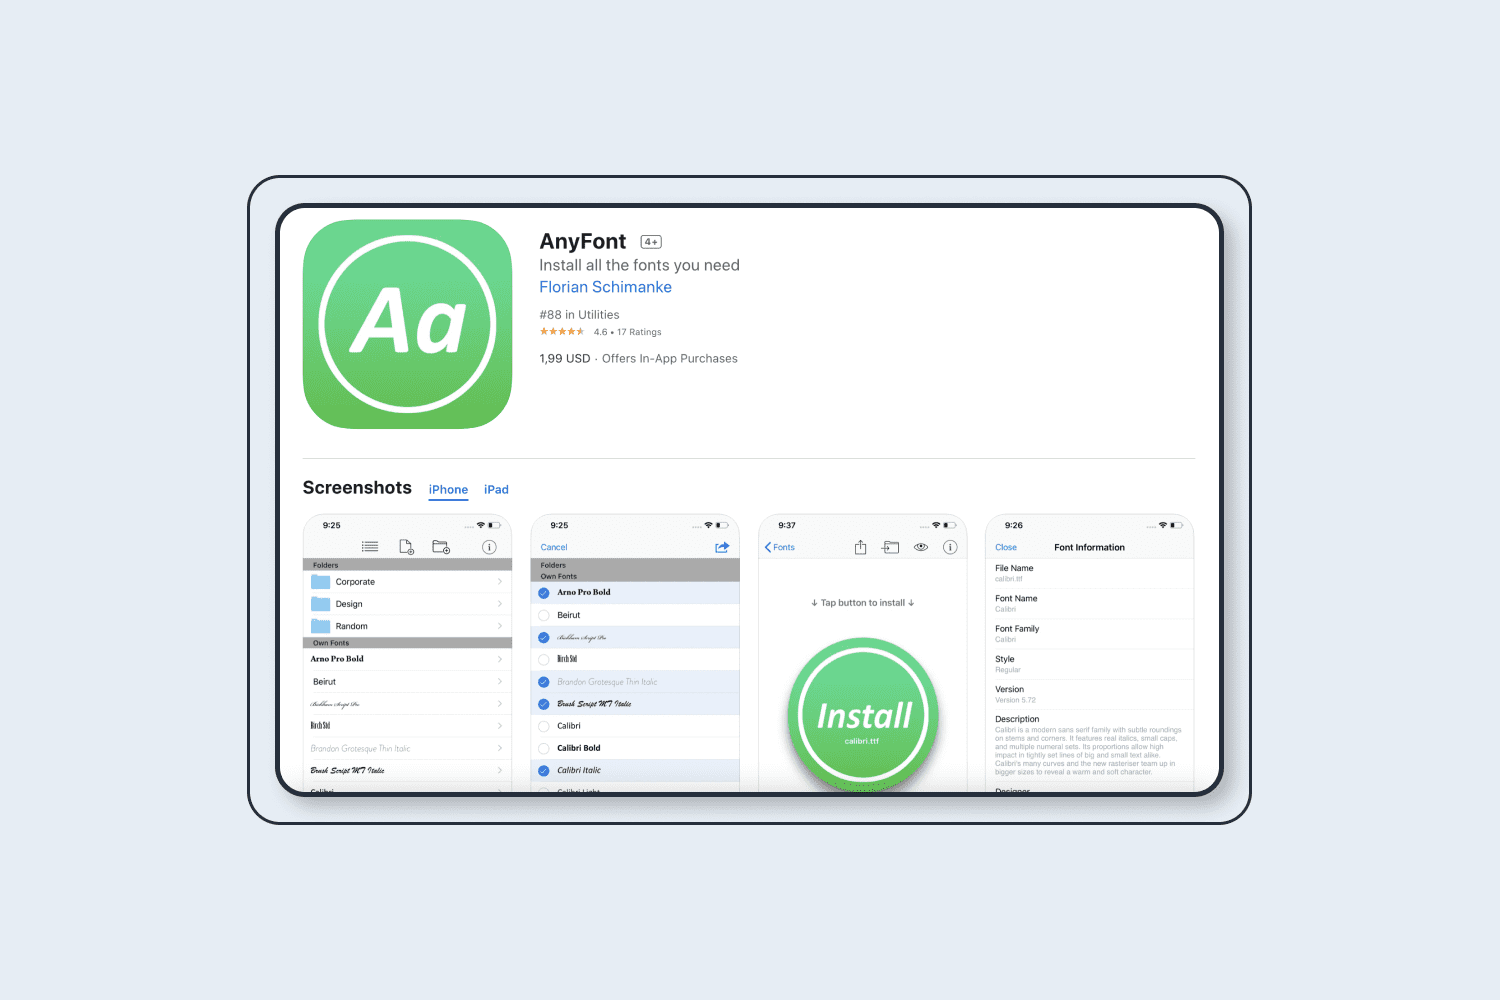
Step 2.
Next, when you tap on the font file name, just select the standard system menu “Share” as a square with an up arrow and select our AnyFont application in the list of options offered. You can download TrueType fonts with *.ttf extension.

Step 3.
Next, the standard menu for the operating system will pop up, but it will not include the AnyFont program among the applications represented in the top row of icons. In order to get to it, you need to tap the “More” button with three dots. This will open an additional list of programs, from which you will need to select “Copy to AnyFont.”

Step 4.
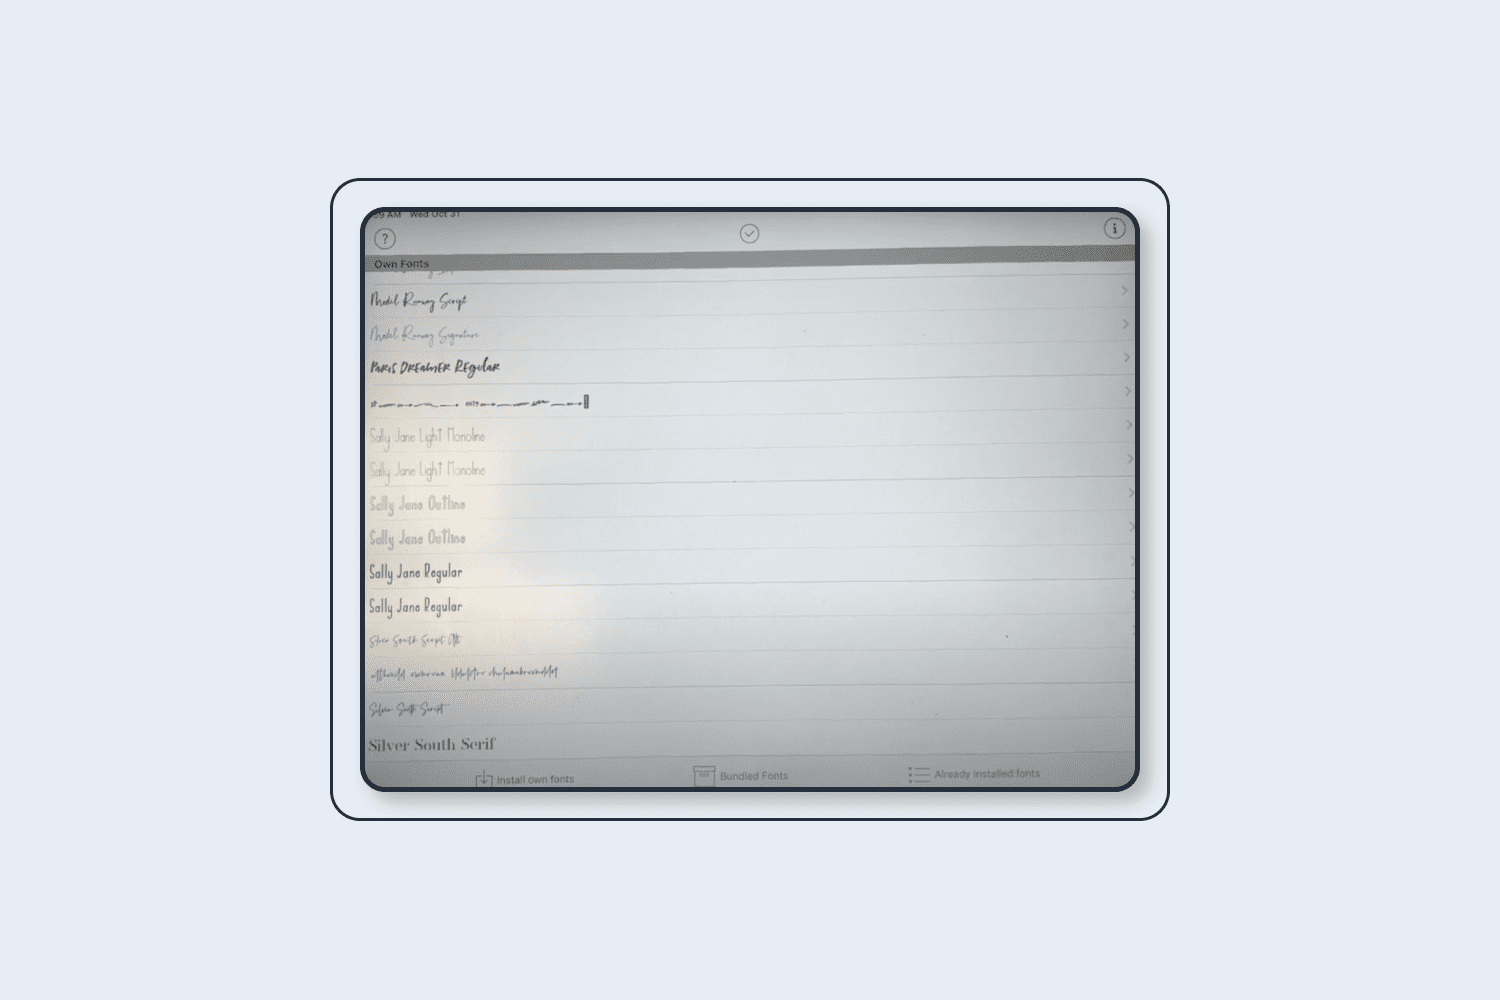
After selecting the “Copy to AnyFont” command, the application will open and the font added from the Files application will appear in the “Own Fonts” tab. The only thing that you need to do is to install it. To do this, tap on the name of the font. A window will pop up with a green “Install” button.
Best Related Deals

How to Add Fonts in Photoshop for Windows
All computers running Windows 10 use the same standard fonts set. They can be used in all built-in and third-party programs, but sometimes you need additional fonts that are not included in the built-in set. By the way, you can search for many new free Google fonts on the web. When you find the best font for your project all you need to do is to install it.
Step 1. From the Windows Store.
Go to the Fonts subsection of the Customization window.

Click on the line “Get additional fonts.”
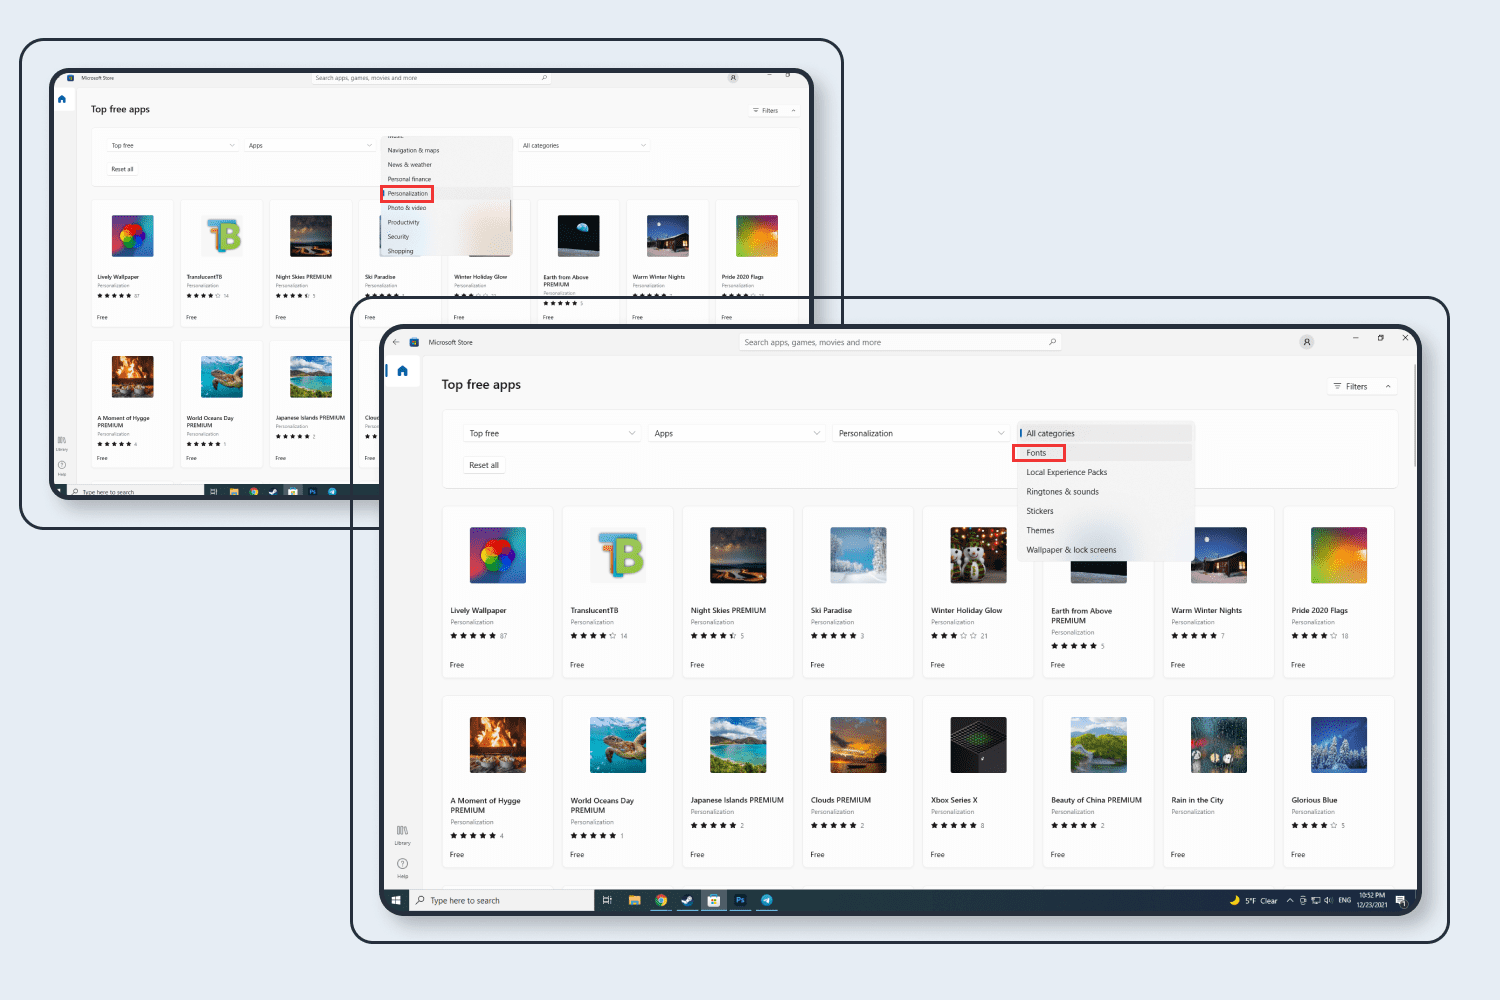
A list of available fonts will pop up where you can decide which one you like best.
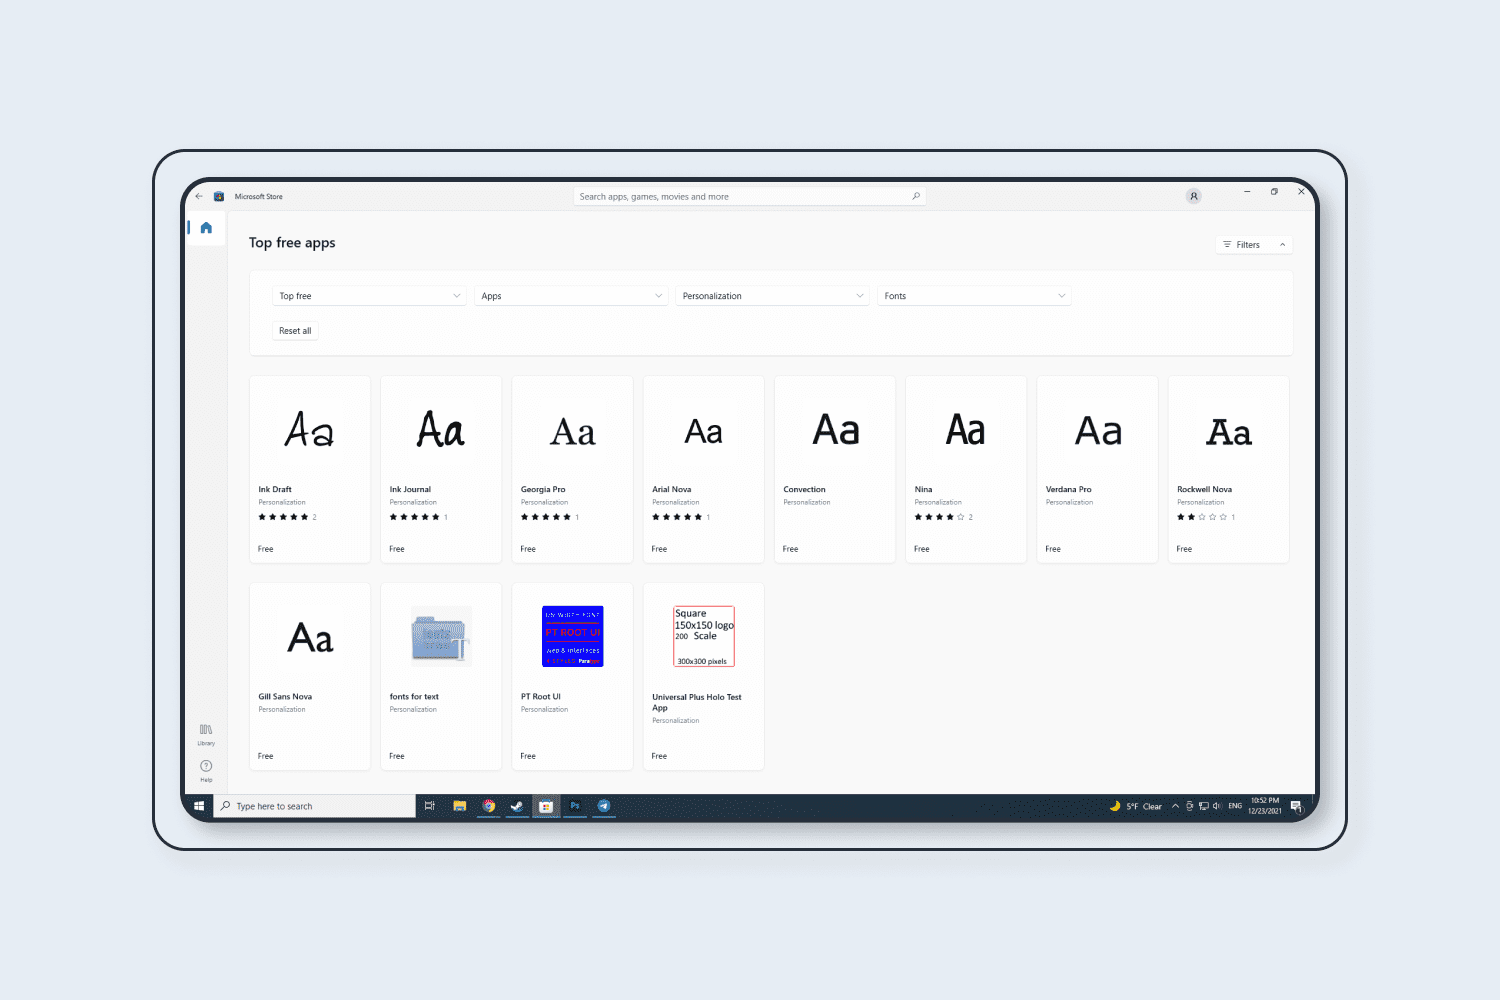
Choose the font you need from the list.
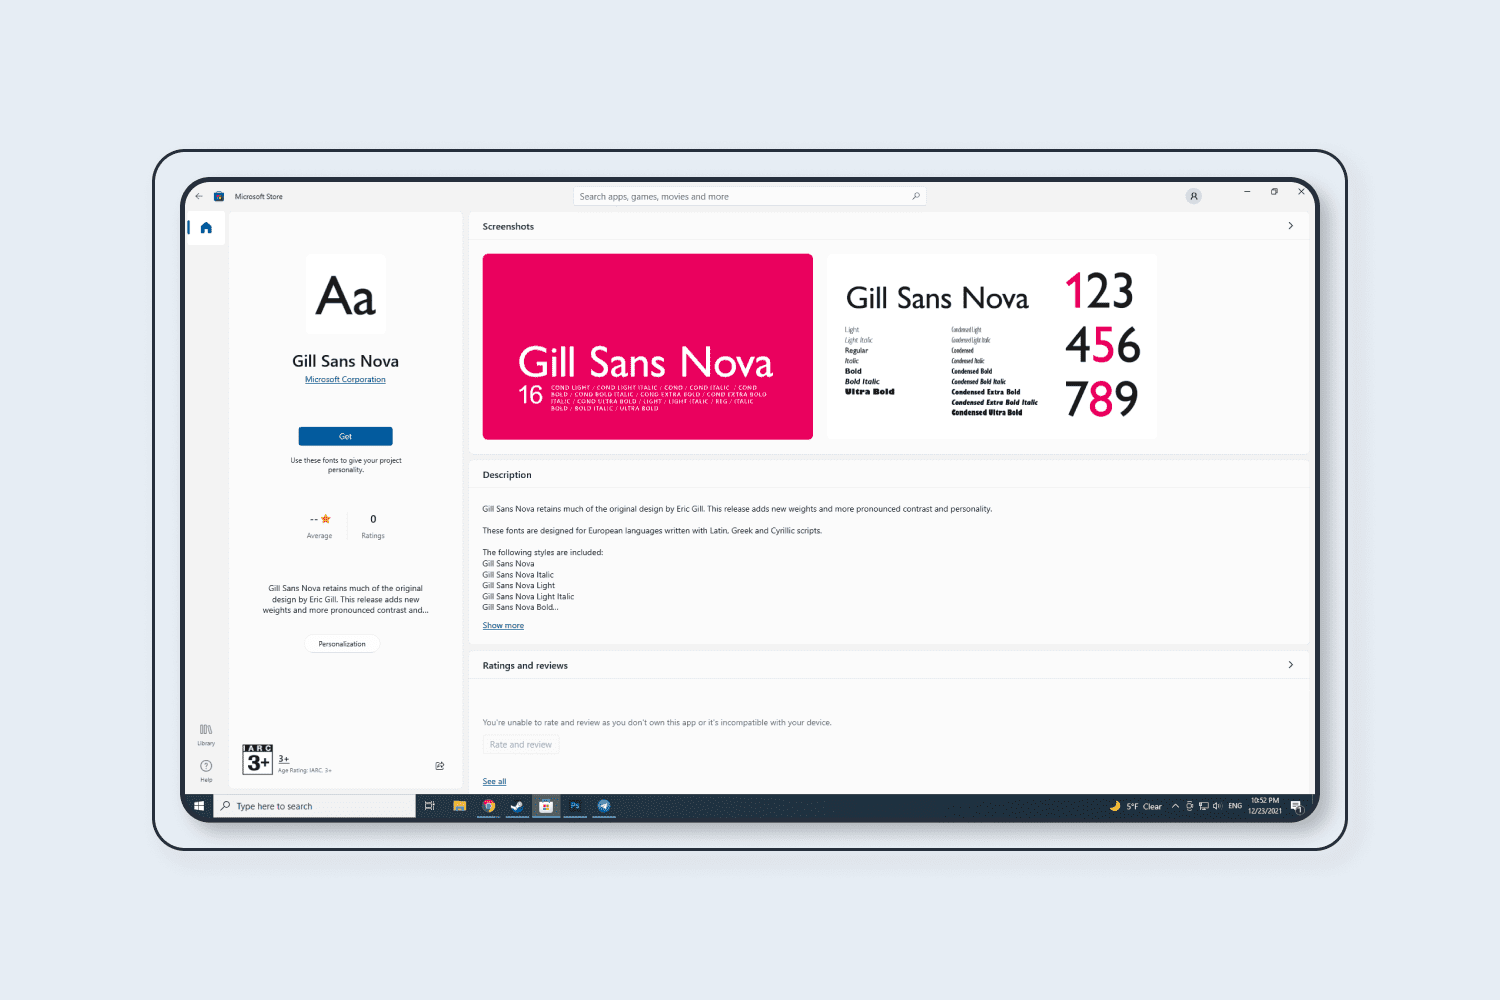
Click the “Get” button (or “Buy” if the font is premium) and wait for the installation to complete. Once the process is complete, the new font will be added.

Step 2. From the Downloads
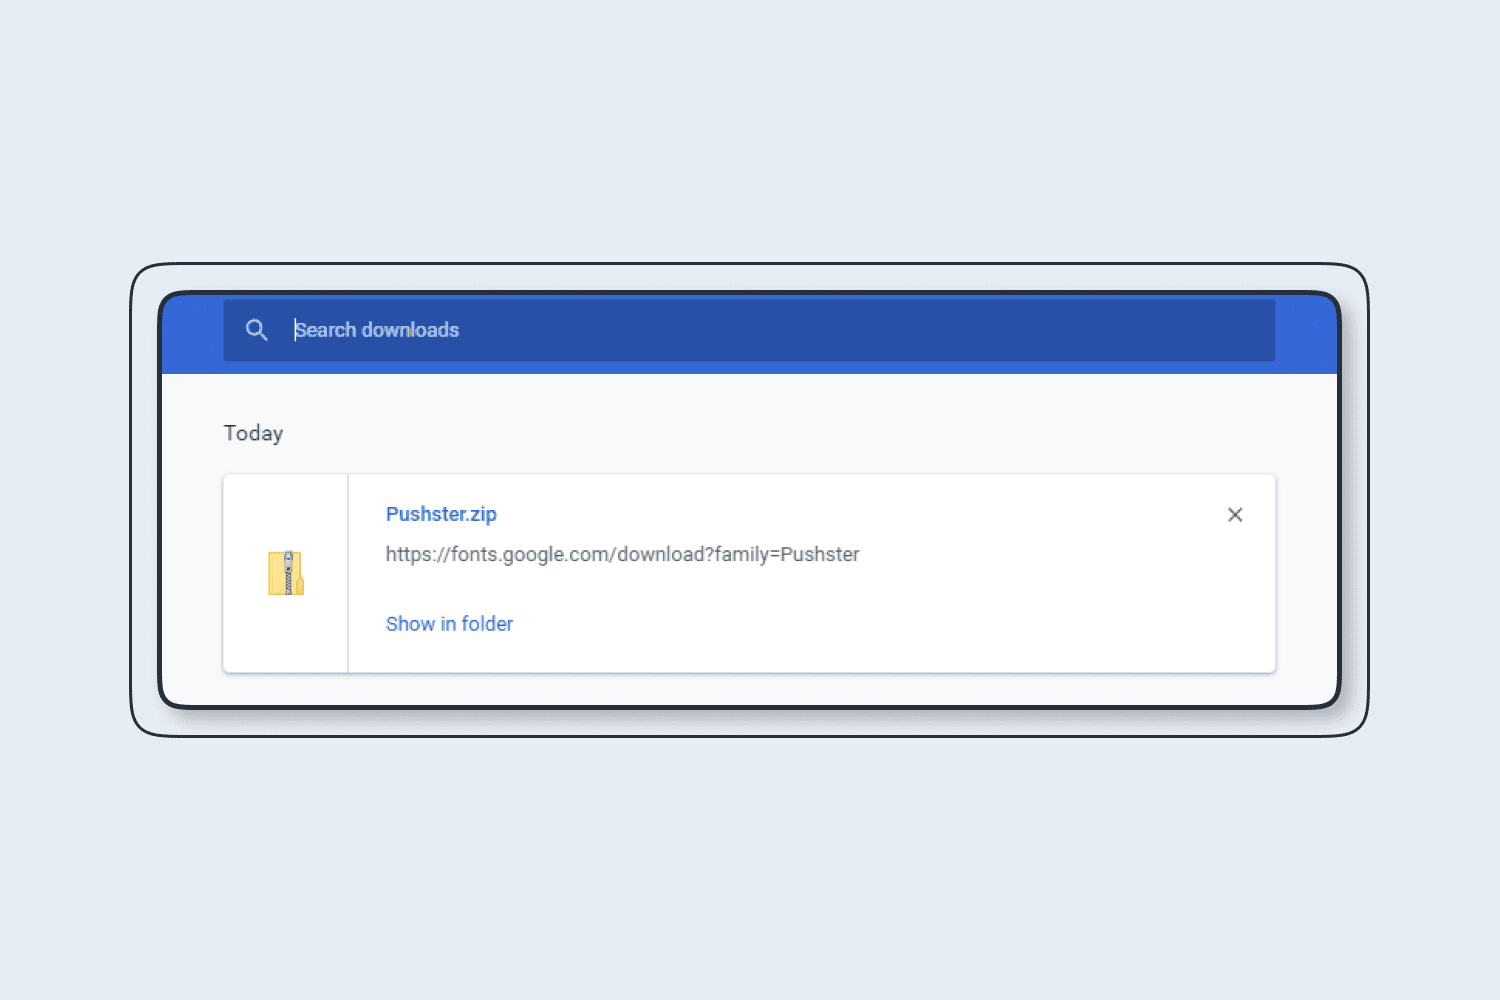
Not all existing fonts are available in the official Microsoft store. However, most of them are available on third-party sites in free or paid form. Windows 10 can work with two font formats: ttf and otf.
Having downloaded a file of either format from any resource, right-click on it and select the “Install” function. .
In the context menu click the “Install” button.
This will start an automatic font installation procedure. You won’t have to do anything else. Wait for the installation to complete.
At the end of the process, you’ll have a new font on your computer.
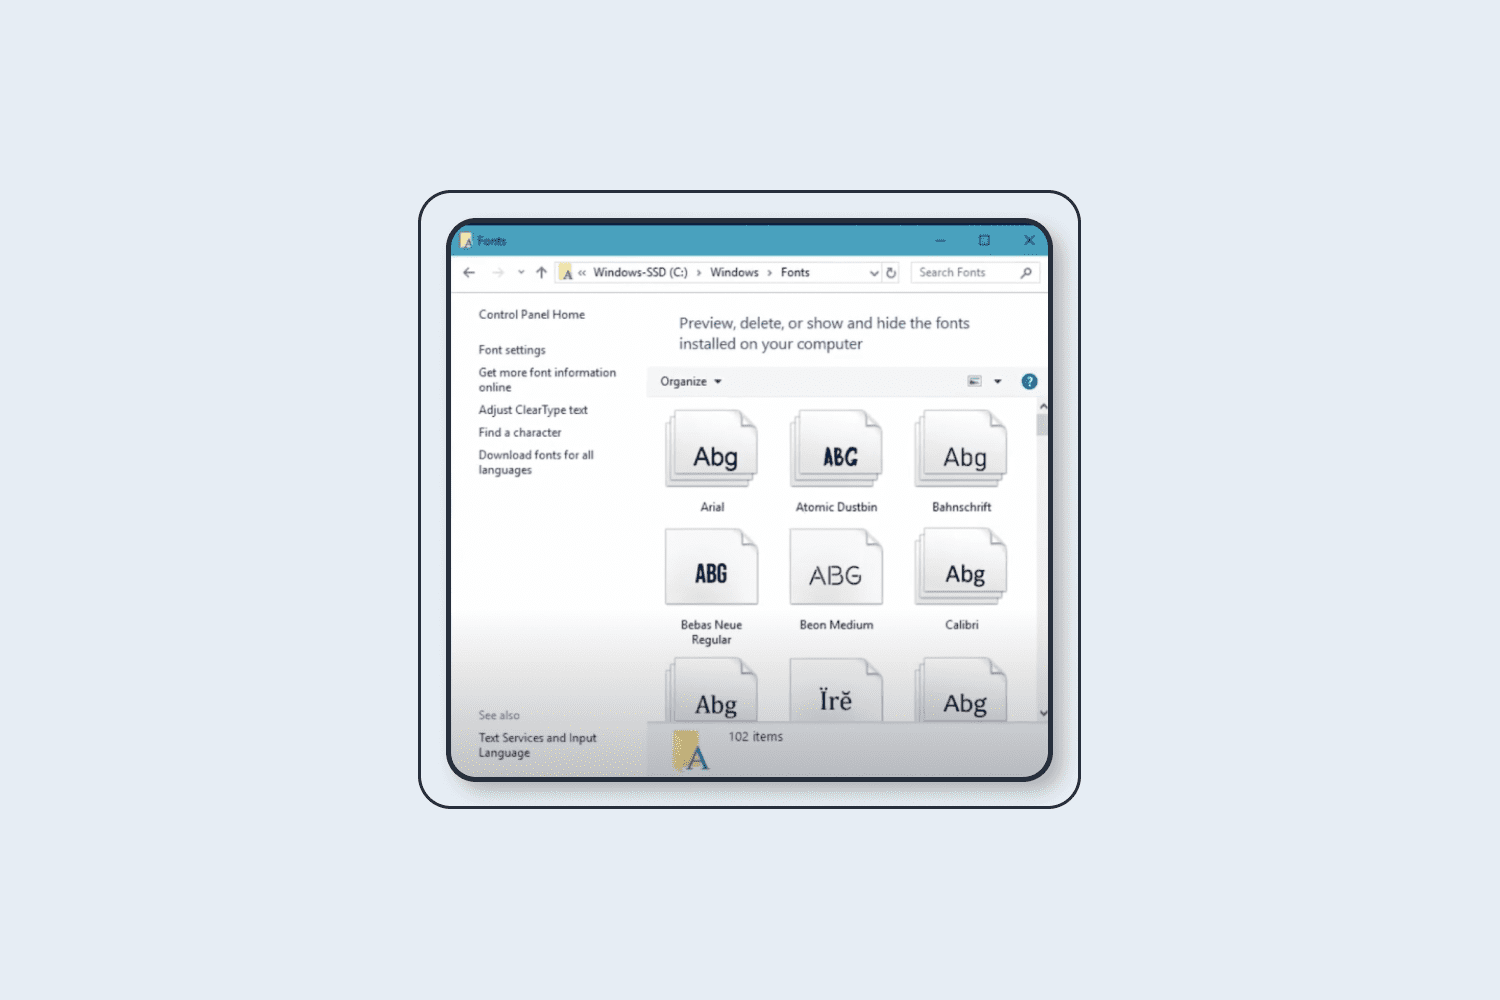
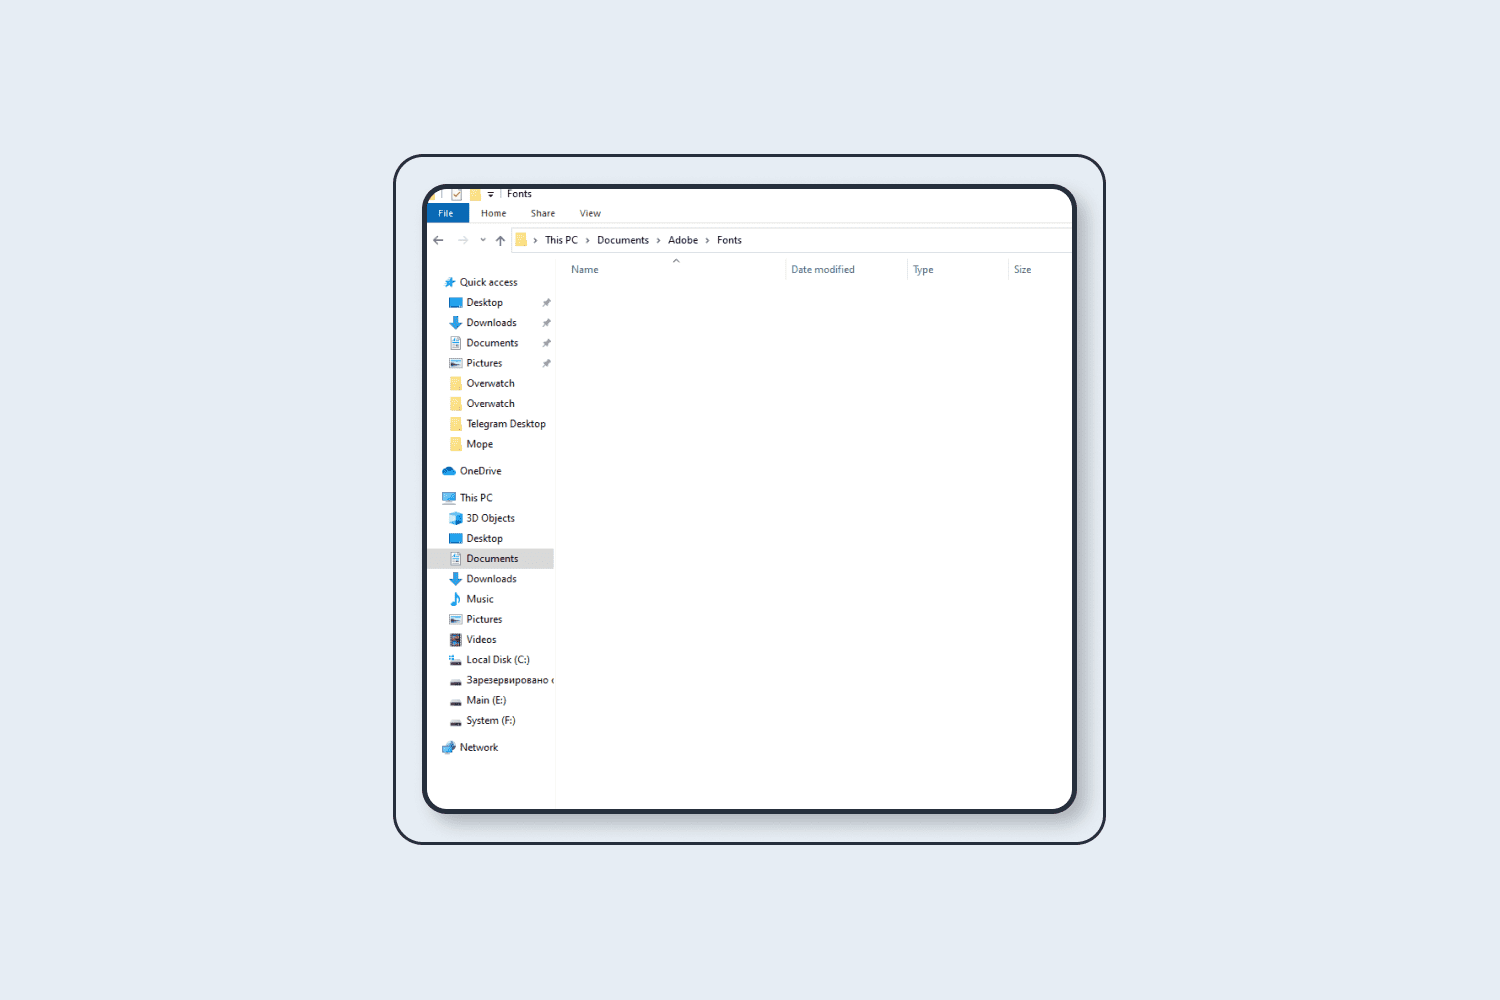
Step 3. Using a Font Folder
Windows has a special folder that contains all the fonts on your system and allows you to manage them in one place. You can access it by going to C: WindowsFonts. To add a font, drag or copy a ttf or otf file into this folder. After the file is placed, it will automatically be added to the list of fonts.
How to Add Custom Fonts Directly in Photoshop for Windows
If you can’t add a new custom font using your operating system, you can try installing it directly in the Photoshop folder. However, it will be available only for Photoshop.
To install the font, the user is required to do the following:
Download all the necessary files with fonts on your computer and, if necessary, unzip them.
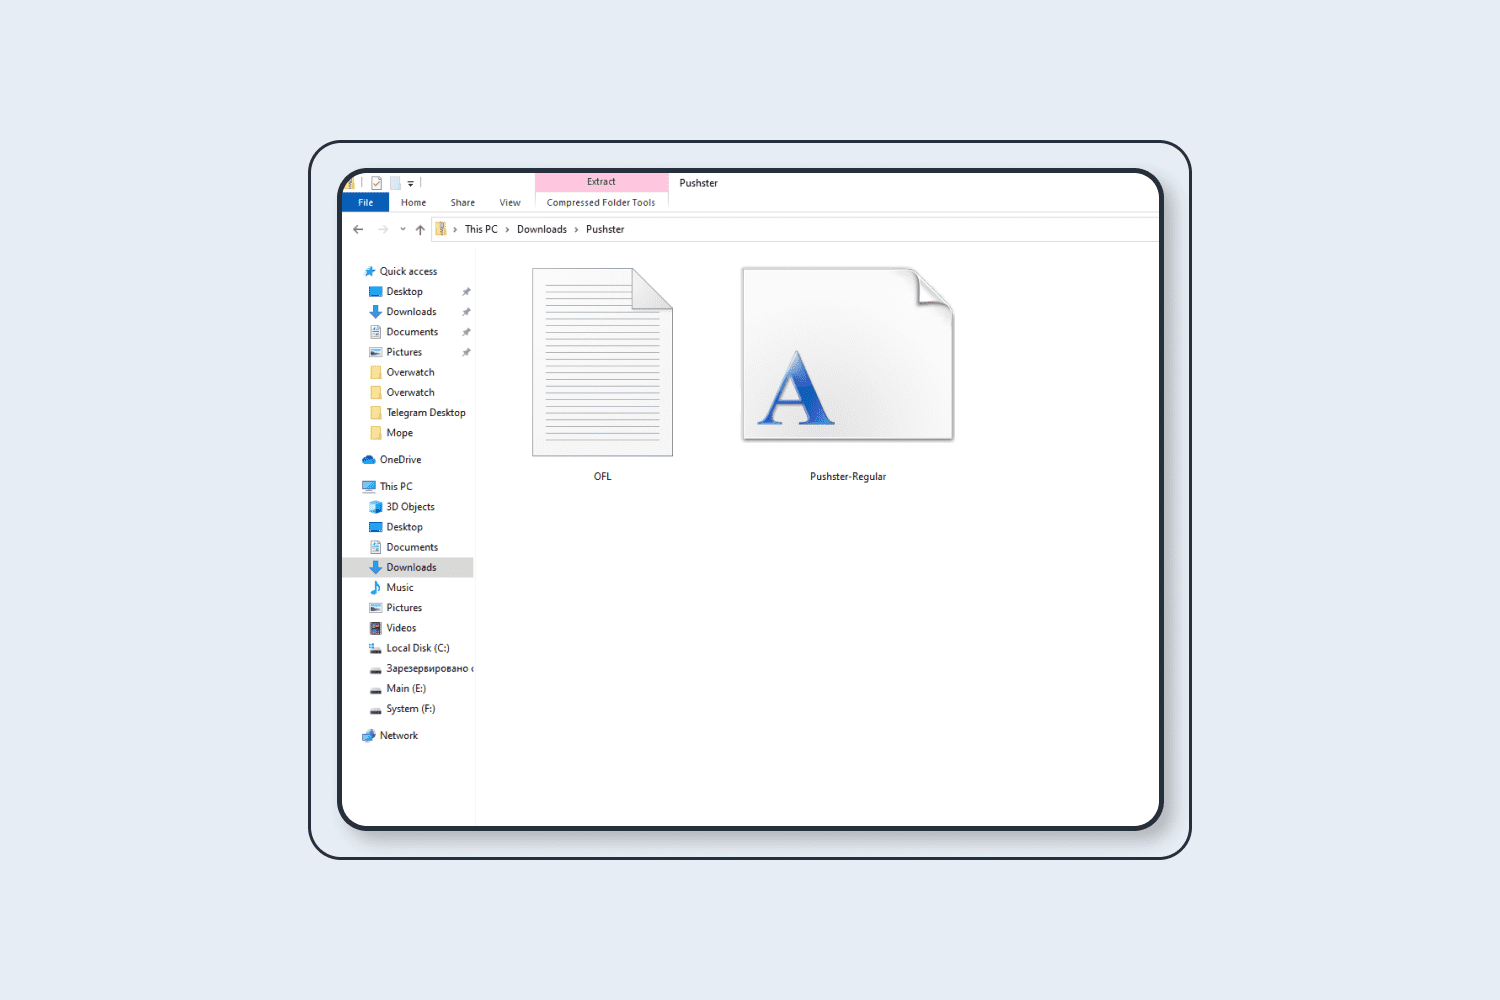
Separately open the folder containing Photoshop fonts. It is usually located at C:Program FilesCommon FilesAdobeFonts
Drag and drop the downloaded font file into the open folder
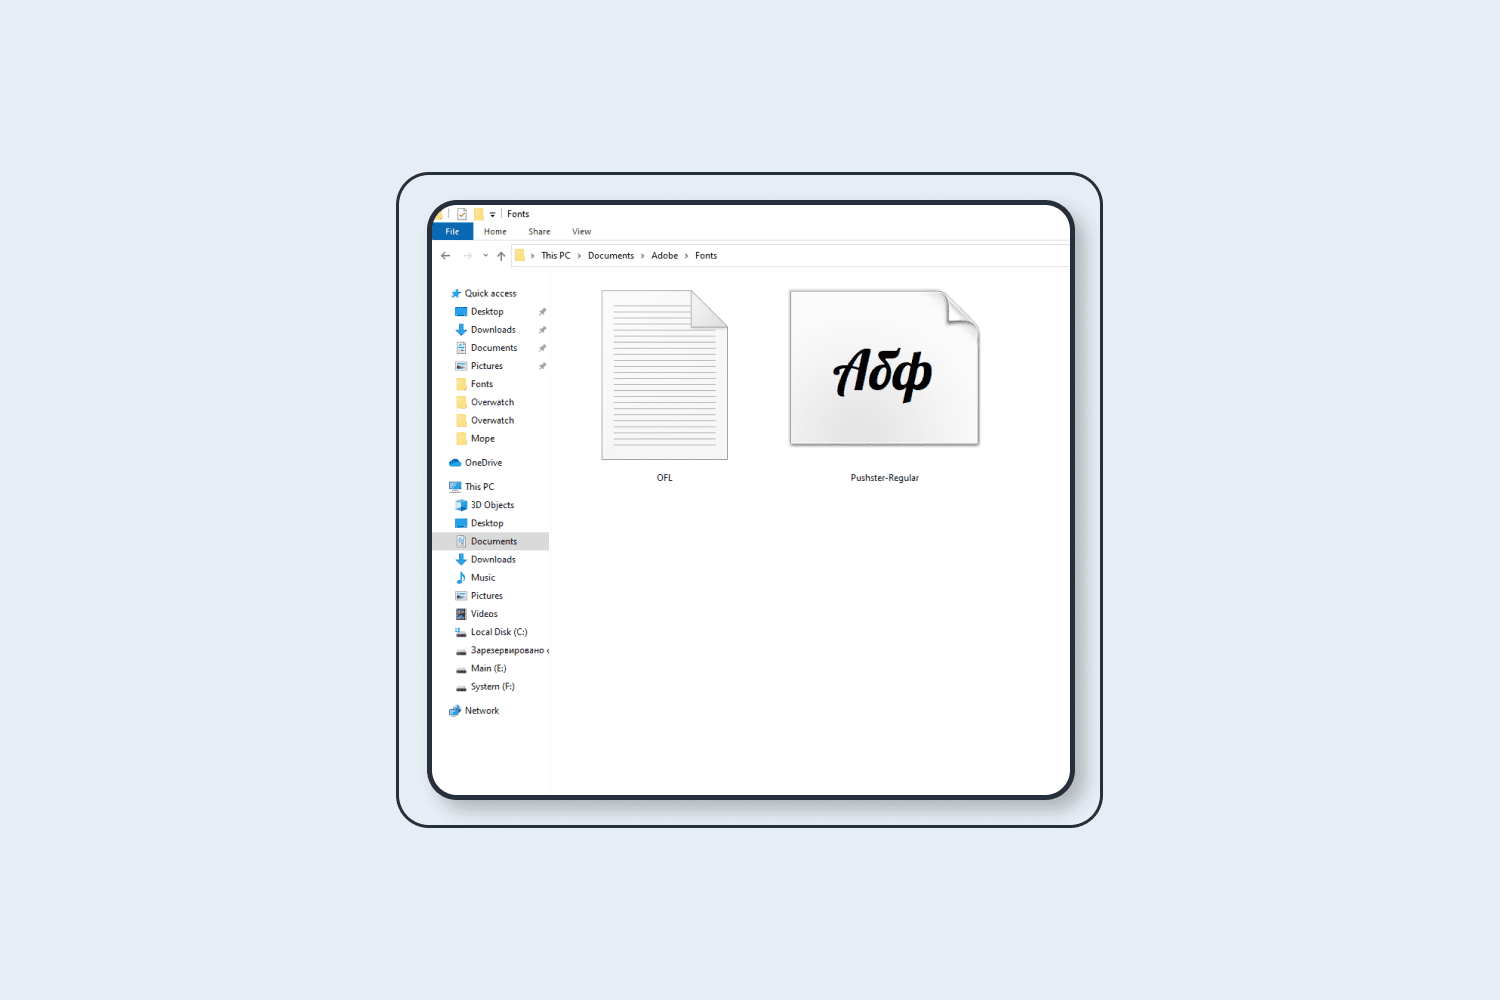
The font will be added to the editor’s list of available fonts, but it won’t affect the system in any way.

The disadvantage of this technique is that it can’t be used for the Portable version of Photoshop or with other software applications.


Font Licenses: What to Consider
You need to check whether the font you want to use has a license before using it for your designs. To ignore this step may have very unpleasant results in the future.
To check this info you should carefully study the data about the font you want to use. The only way to do it properly is to Google the name of the font and study the first few links in the search results. If the font is free, the top of search results will consist of informative articles or links to Google Fonts. If this font is premium and has a license, you will see the links to the sites of online stores.
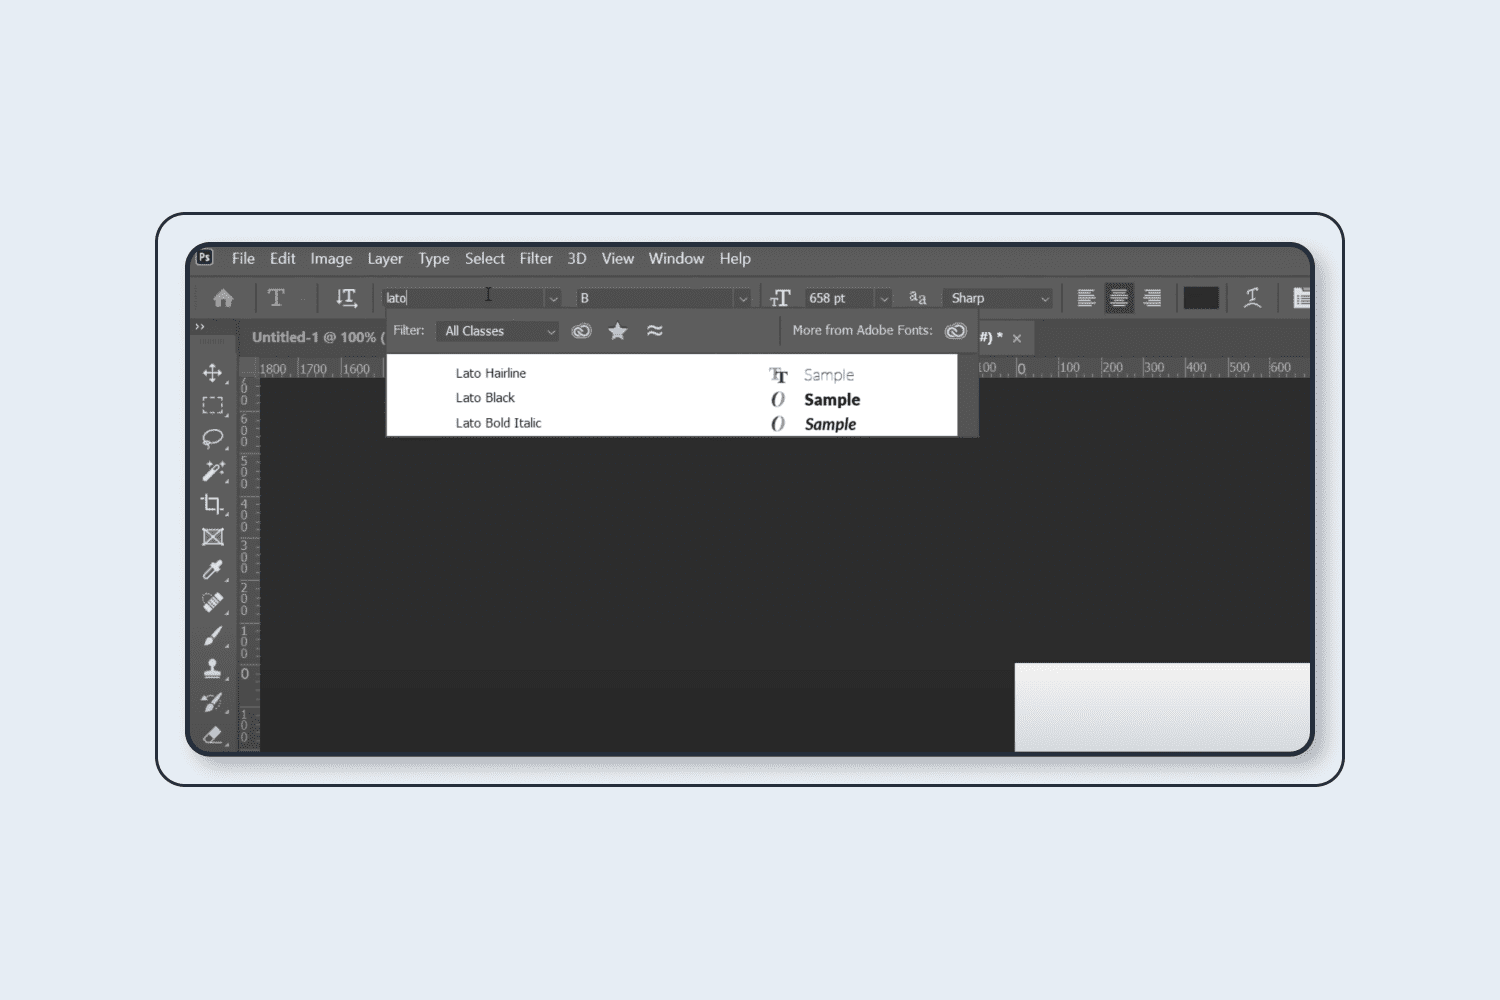
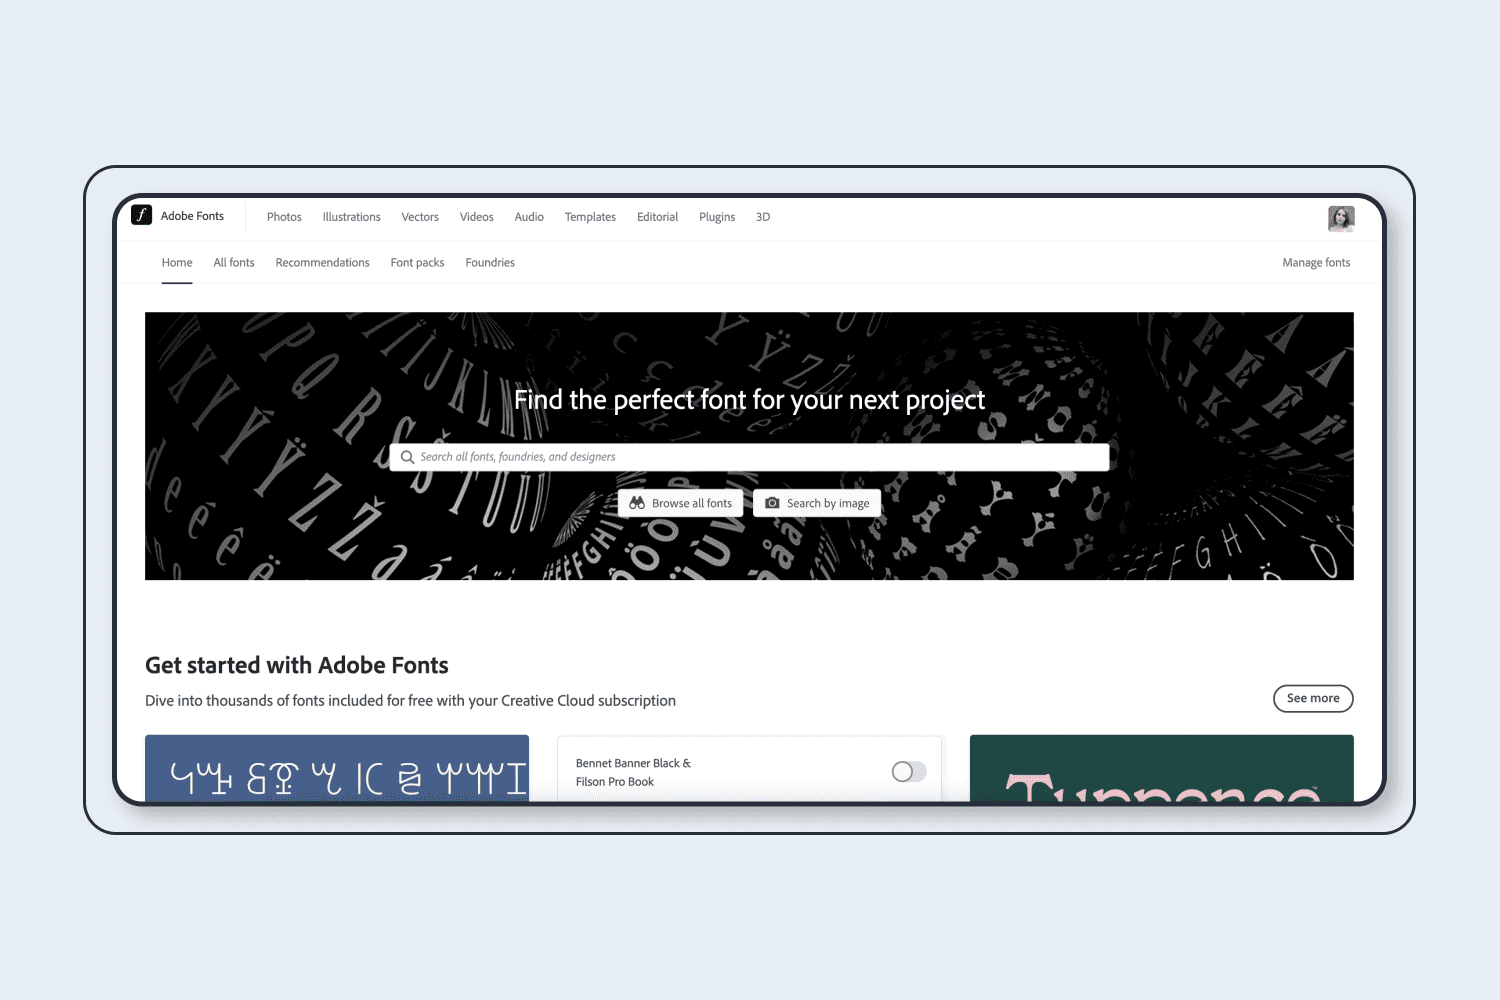
How to Add Fonts in Photoshop: Adobe Fonts
Adobe Fonts is a library of fonts from Adobe. Usually, it is included when you pay for Creative Cloud. Here is all you need to do to install new adobe fonts from https://fonts.adobe.com/:
Log in or register your account in Creative Cloud.
Type the name of the font you want in the search box.

Activate the font and click to go to its page.
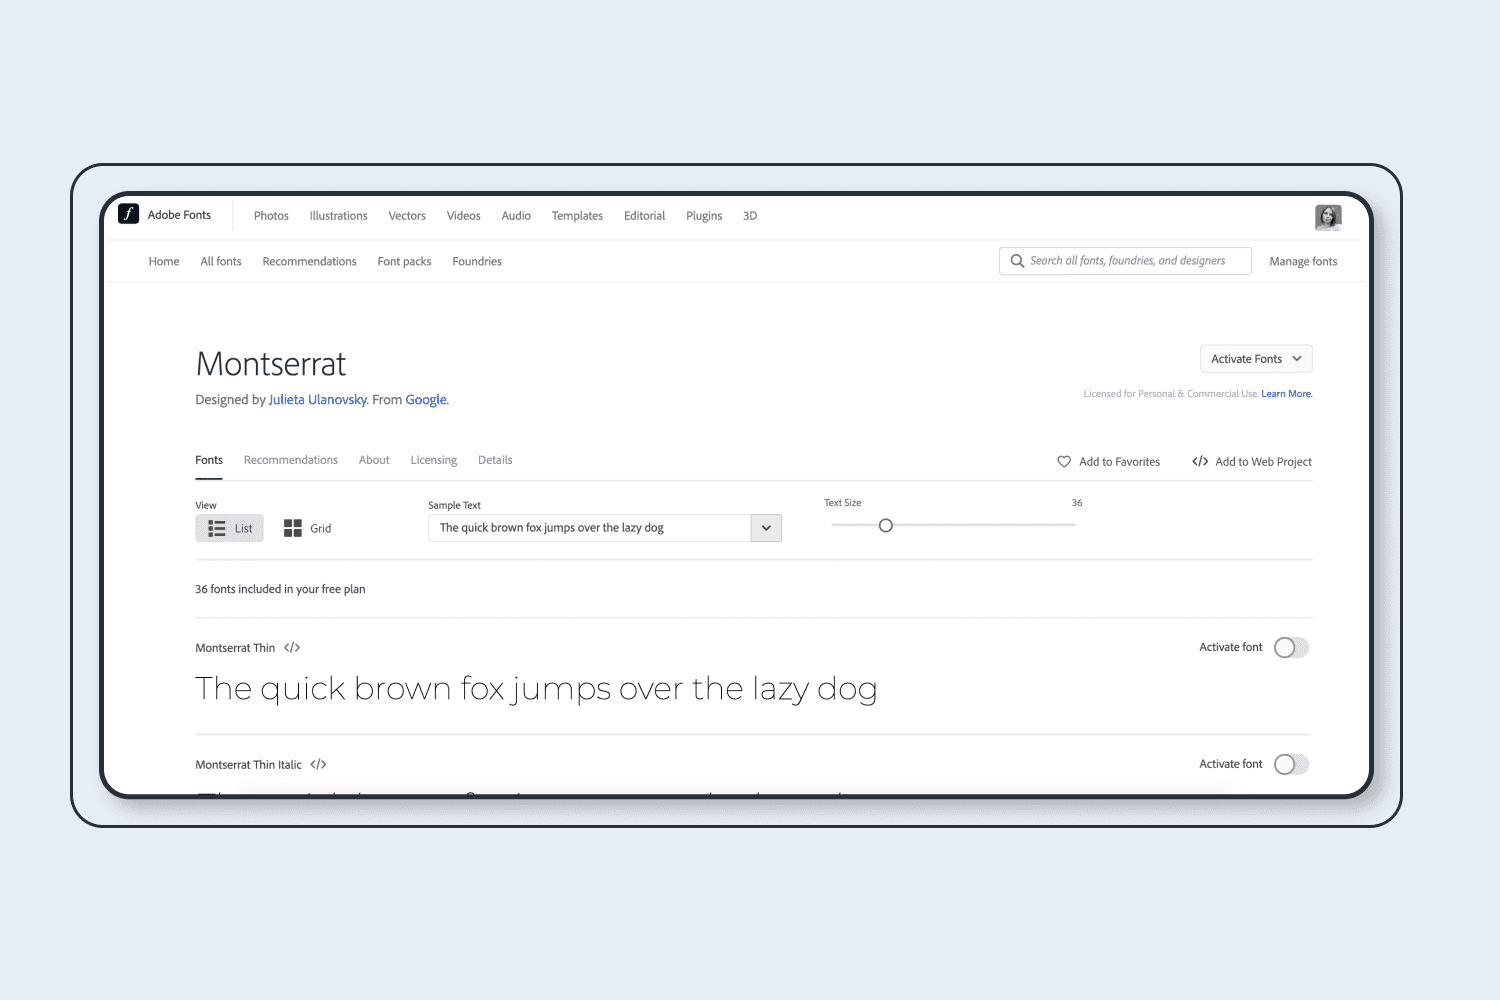
Once the fonts have been added to the project, go to the project settings.
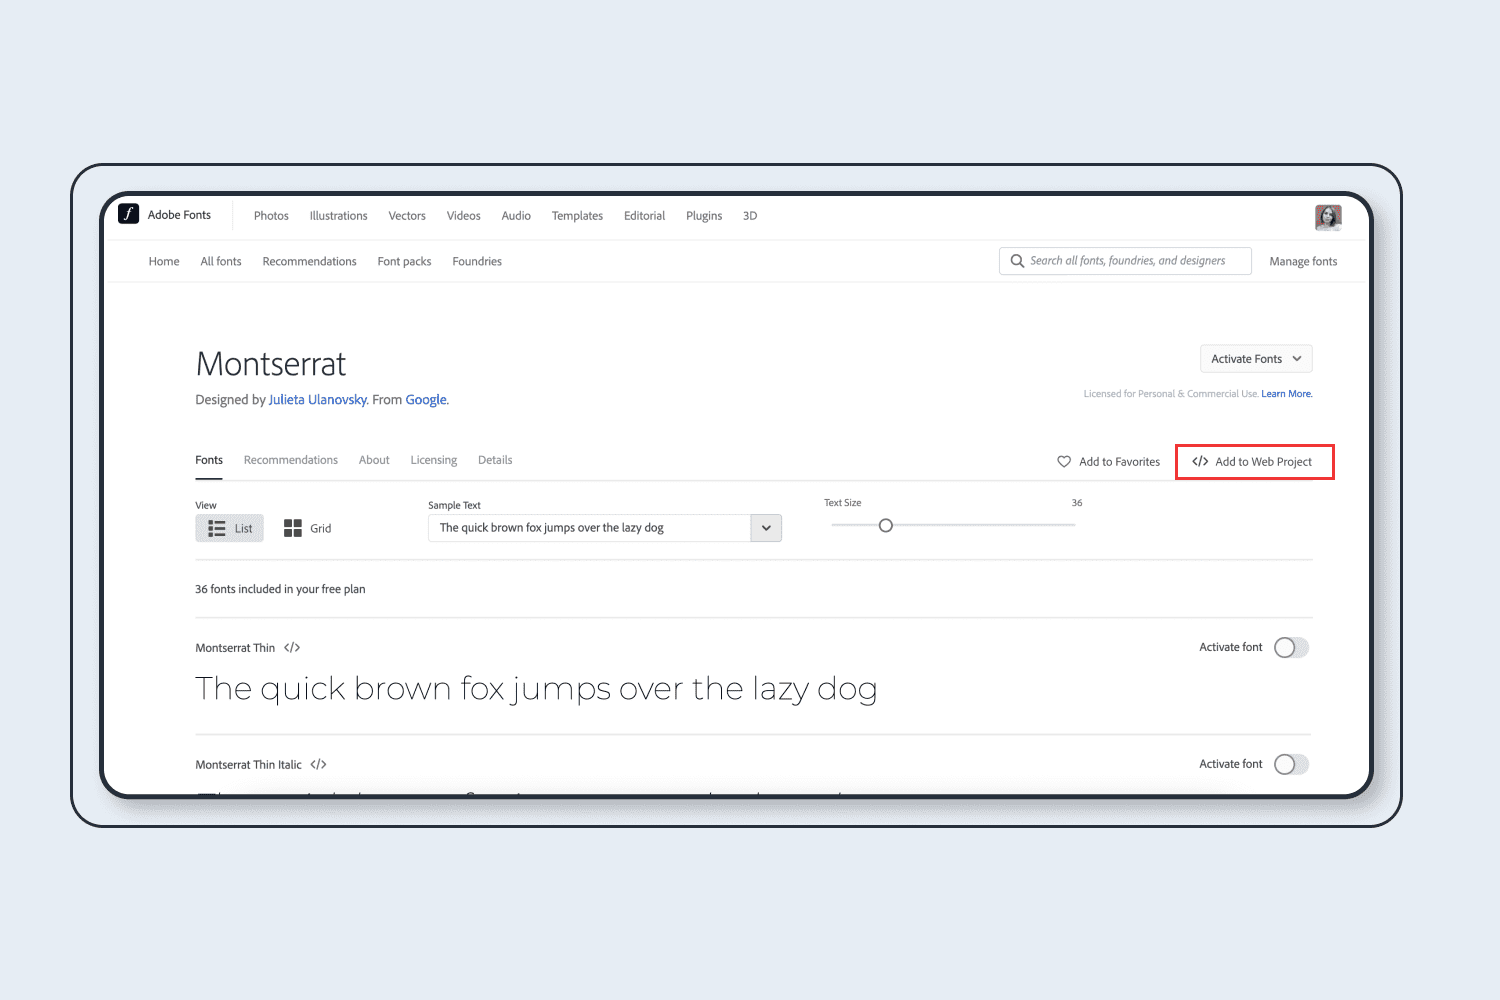
If the selected font has language options, check “All Characters.” All glyphs in the font files are activated, including all supported languages for that font family; or manually select the languages you plan to use under “Language Subsetting.”
You may use this font in any Adobe program.

TTF vs OTF vs WWF
TTF (TrueType Font)
TTF stands for TrueType Font, which is a font format developed by both Apple and Microsoft in the late 1980s. The goal in developing this font format was simply to have a font type that could work in both MacOS and Windows, as well as on all common printers. It contains both screen and printer font data in a single component, making it easy to install fonts. Although it seems to be the ideal font format, there are still some limitations on all the extra features you can do with it. It is also available for developing new fonts.
OTF (OpenType Font)
An OTF file is an OpenType font file developed together by Adobe and Microsoft. This is a new standard for digital fonts that supports more advanced typing features and more languages. OpenType fonts can be used on Windows and MacOS without any conversion. OTF fonts are fully scalable, which means that characters can be resized without losing their original quality. It can contain TrueType or PostScript outlines in a regular shell.
WWF
Documents created by SAVE AS WWF, a program used to create. These are PDF documents that cannot be printed. They can contain filler for any document that can be printed with electronic devices. Applies to the distribution of environmentalist documents.
Which is better?
OTF is by far the more robust of the three options. It has more features designed to give flexibility to typesetters and designers to allow incremental changes designed to improve the overall appearance of the product.
To convert different font formats you can use an online converter.
We hope that this guide will be very useful for you. Let your creativity spark brightly and create new amazing designs to share with the world. And remember that MasterBundles is always here to help and support your young artistic soul 😉
- Display Fonts
- Sans-Serif Fonts
- Script Fonts
- Serif Fonts
- Symbol Fonts
Please take a moment to pin this post to Pinterest
What are your concerns?
Thanks for your response!
Disclosure: MasterBundles website page may contain advertising materials that may lead to us receiving a commission fee if you purchase a product. However, this does not affect our opinion of the product in any way and we do not receive any bonuses for positive or negative ratings.