Antique Craquelure Photoshop Action
$9
| Created by | Wenbourn |
|---|---|
| File type | ATN, JPG, RTF |
| File size | 1.29MB |
| Date of Creation | February 7 2023 |
| Color | brown gray pink red |
| Rating | 5 (15) |
| Category |
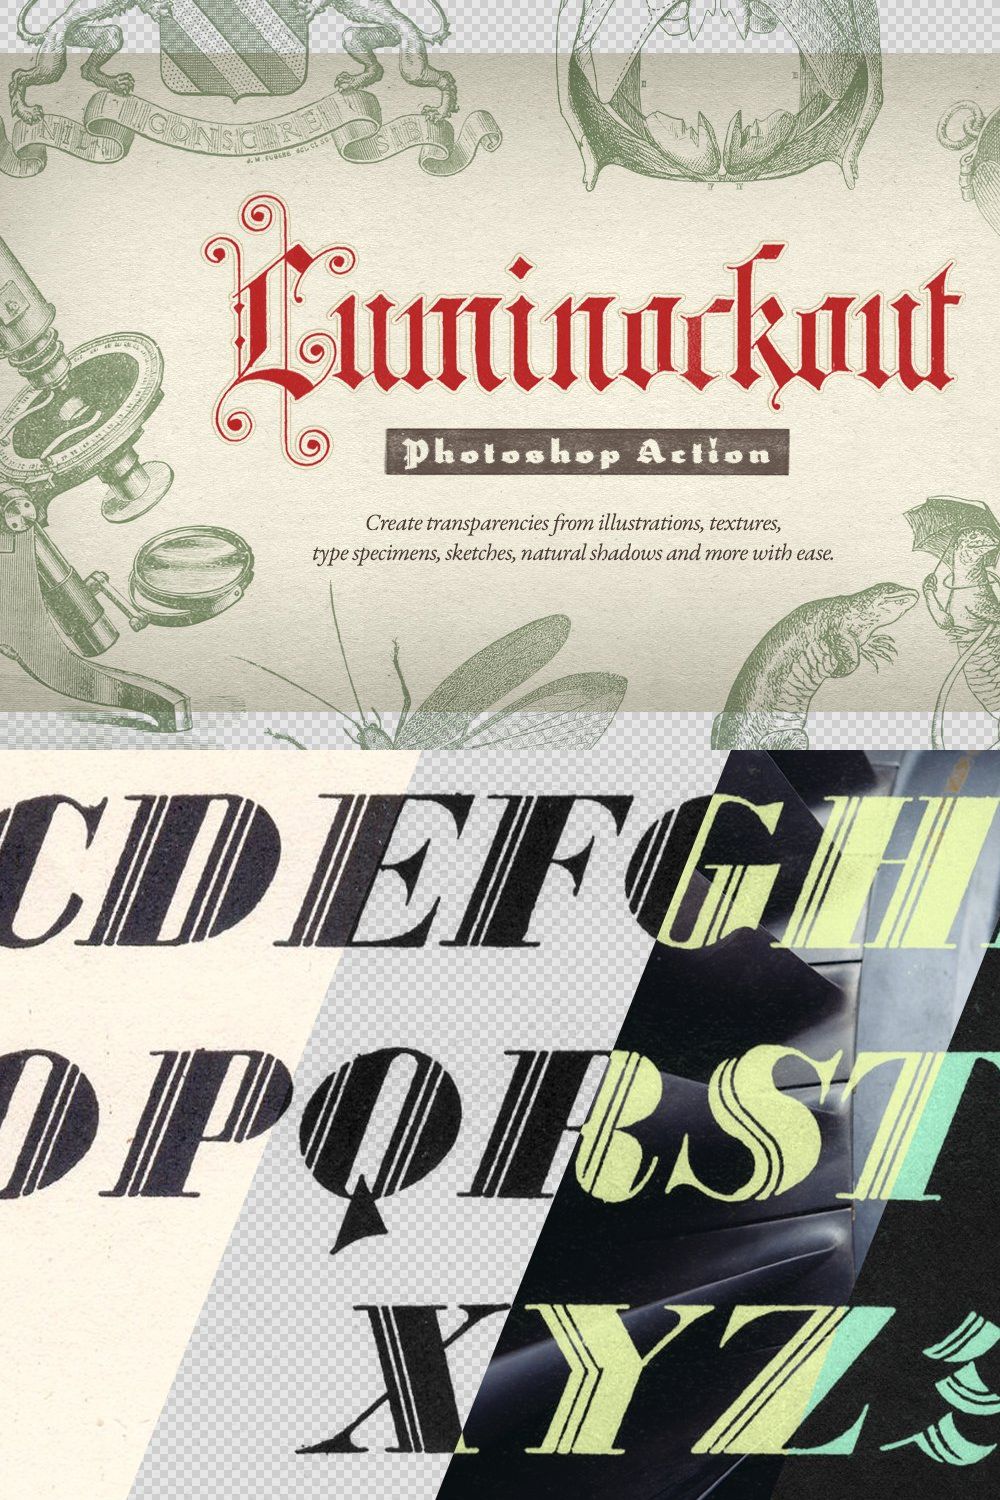
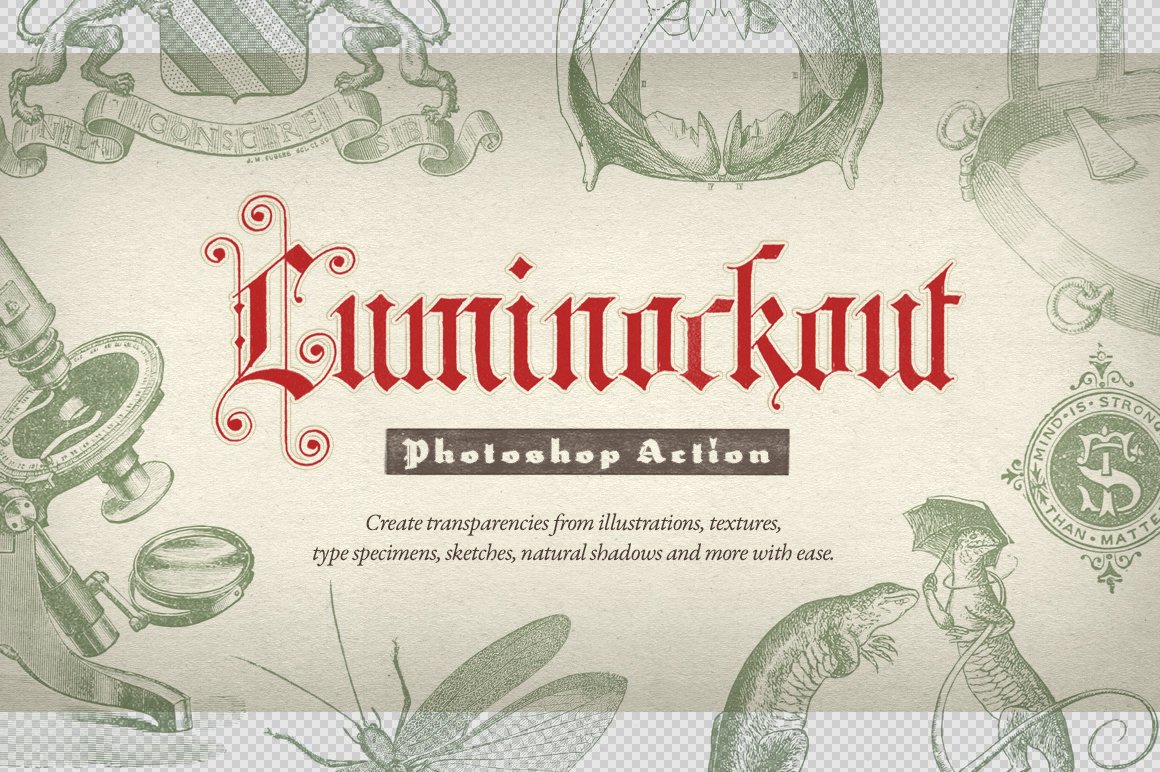
Watch it in action!—See just how super simple Luminockout is to use. http://youtu.be/DiPcK6i86nc
The Luminockout action does simply this: makes a solid color layer with a transparency mask based on the luminance value of your image. (i.e. White=100% Transparent, Black=100% Opaque)
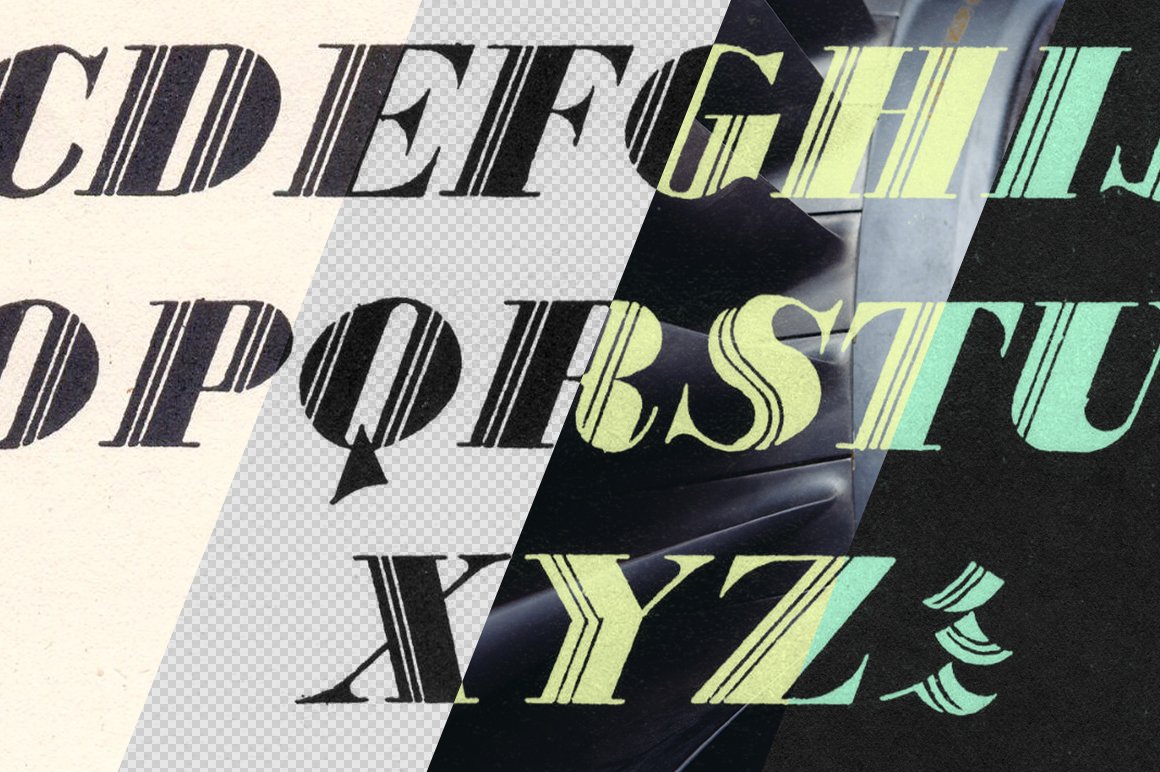
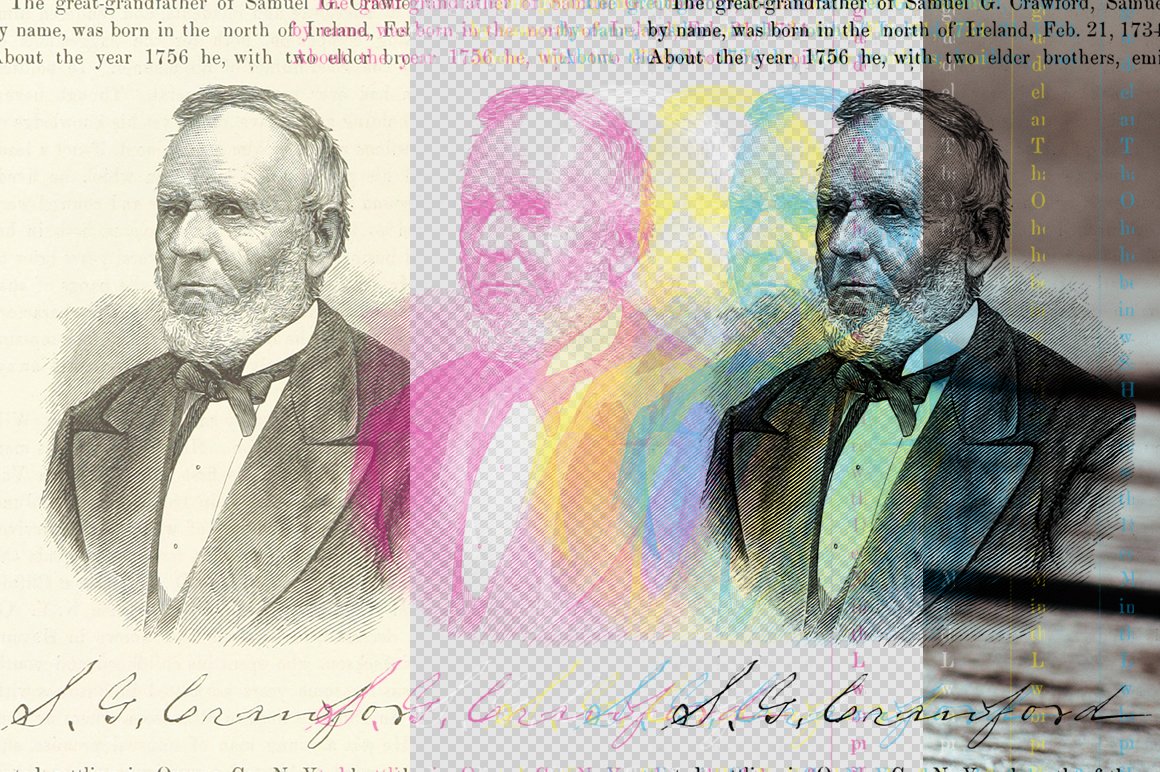
What this means for you is that you can quickly and easily extract the image data from scanned type, logos, sketches, texture images, natural shadows from product shots, and have a single-color transparent layer with no blend modes you can actually work with, retaining all the subtle detail from the original image. This frees you up to then apply effects, clip to, overlay on any background, whatever else you can think of, to your heart’s content.
Inspired by the Luma Matte feature in video editing software that was lacking in Photoshop, born from a need to extract ink splatter scans and type specimens while a) retaining all the detail b) changing the color easily, and c) still export in a web-friendly format (transparent png). Color range wasn’t cutting it, and blend modes weren’t an option.
LUMINOCKOUT:
Creates a single, solid black layer at 100% opacity, normal blend mode, with a mask based on the luminance value of your image.
Retains all the subtle detail and texture of the source image (compared to using a color range selection and fill, for example)
Eliminates fringing and anti-aliasing problems commonly found when color picking
Can be used with any type of image—scanned fonts/illustrations/logos, sketches, texture photos, product photos, etc.
Knocks out sketches and scans in a fraction of the time.
SOME IDEAS:
Easily create letterpress or silkscreen overprinting effects without having to use blend modes. (Think of the resulting layer as a spot color of ink—add a Color Overlay effect—see sample images)
Lift texture details from images. Leather, hair, fabric, paper, etc. Invert the source and repeat to extract the highlights (change the resulting layer’s color to white), and have your highlights/shadows separated into two distinct controllable layers.
Extract the existing, natural shadows from product shots instead of faking them. Clip out your product as normal, then add the shadow layer behind it. Makes placing products on multiple surfaces simple. (See wine bottle example image)
Extract lens flares, clouds, highlights, etc.
Assign to a keyboard shortcut or run in button mode for efficient use.
NOTES
Best results come from well-prepped images—open your image, do some initial levels/curves correction to get the background color as close to white as possible (remember White=100% transparent), then run the action.
You can adjust the density of the resulting layer by adjusting the levels/curves of the mask on the resulting layer.