Product Specs
| Created by | SparkleStock |
|---|---|
| File type | DNG, PDF, PNG, XMP, ZIP |
| File size | 92.62MB |
| Date of Creation | February 10 2023 |
| Color | blue green orange purple yellow |
| Rating | 5 (12) |
| Category |
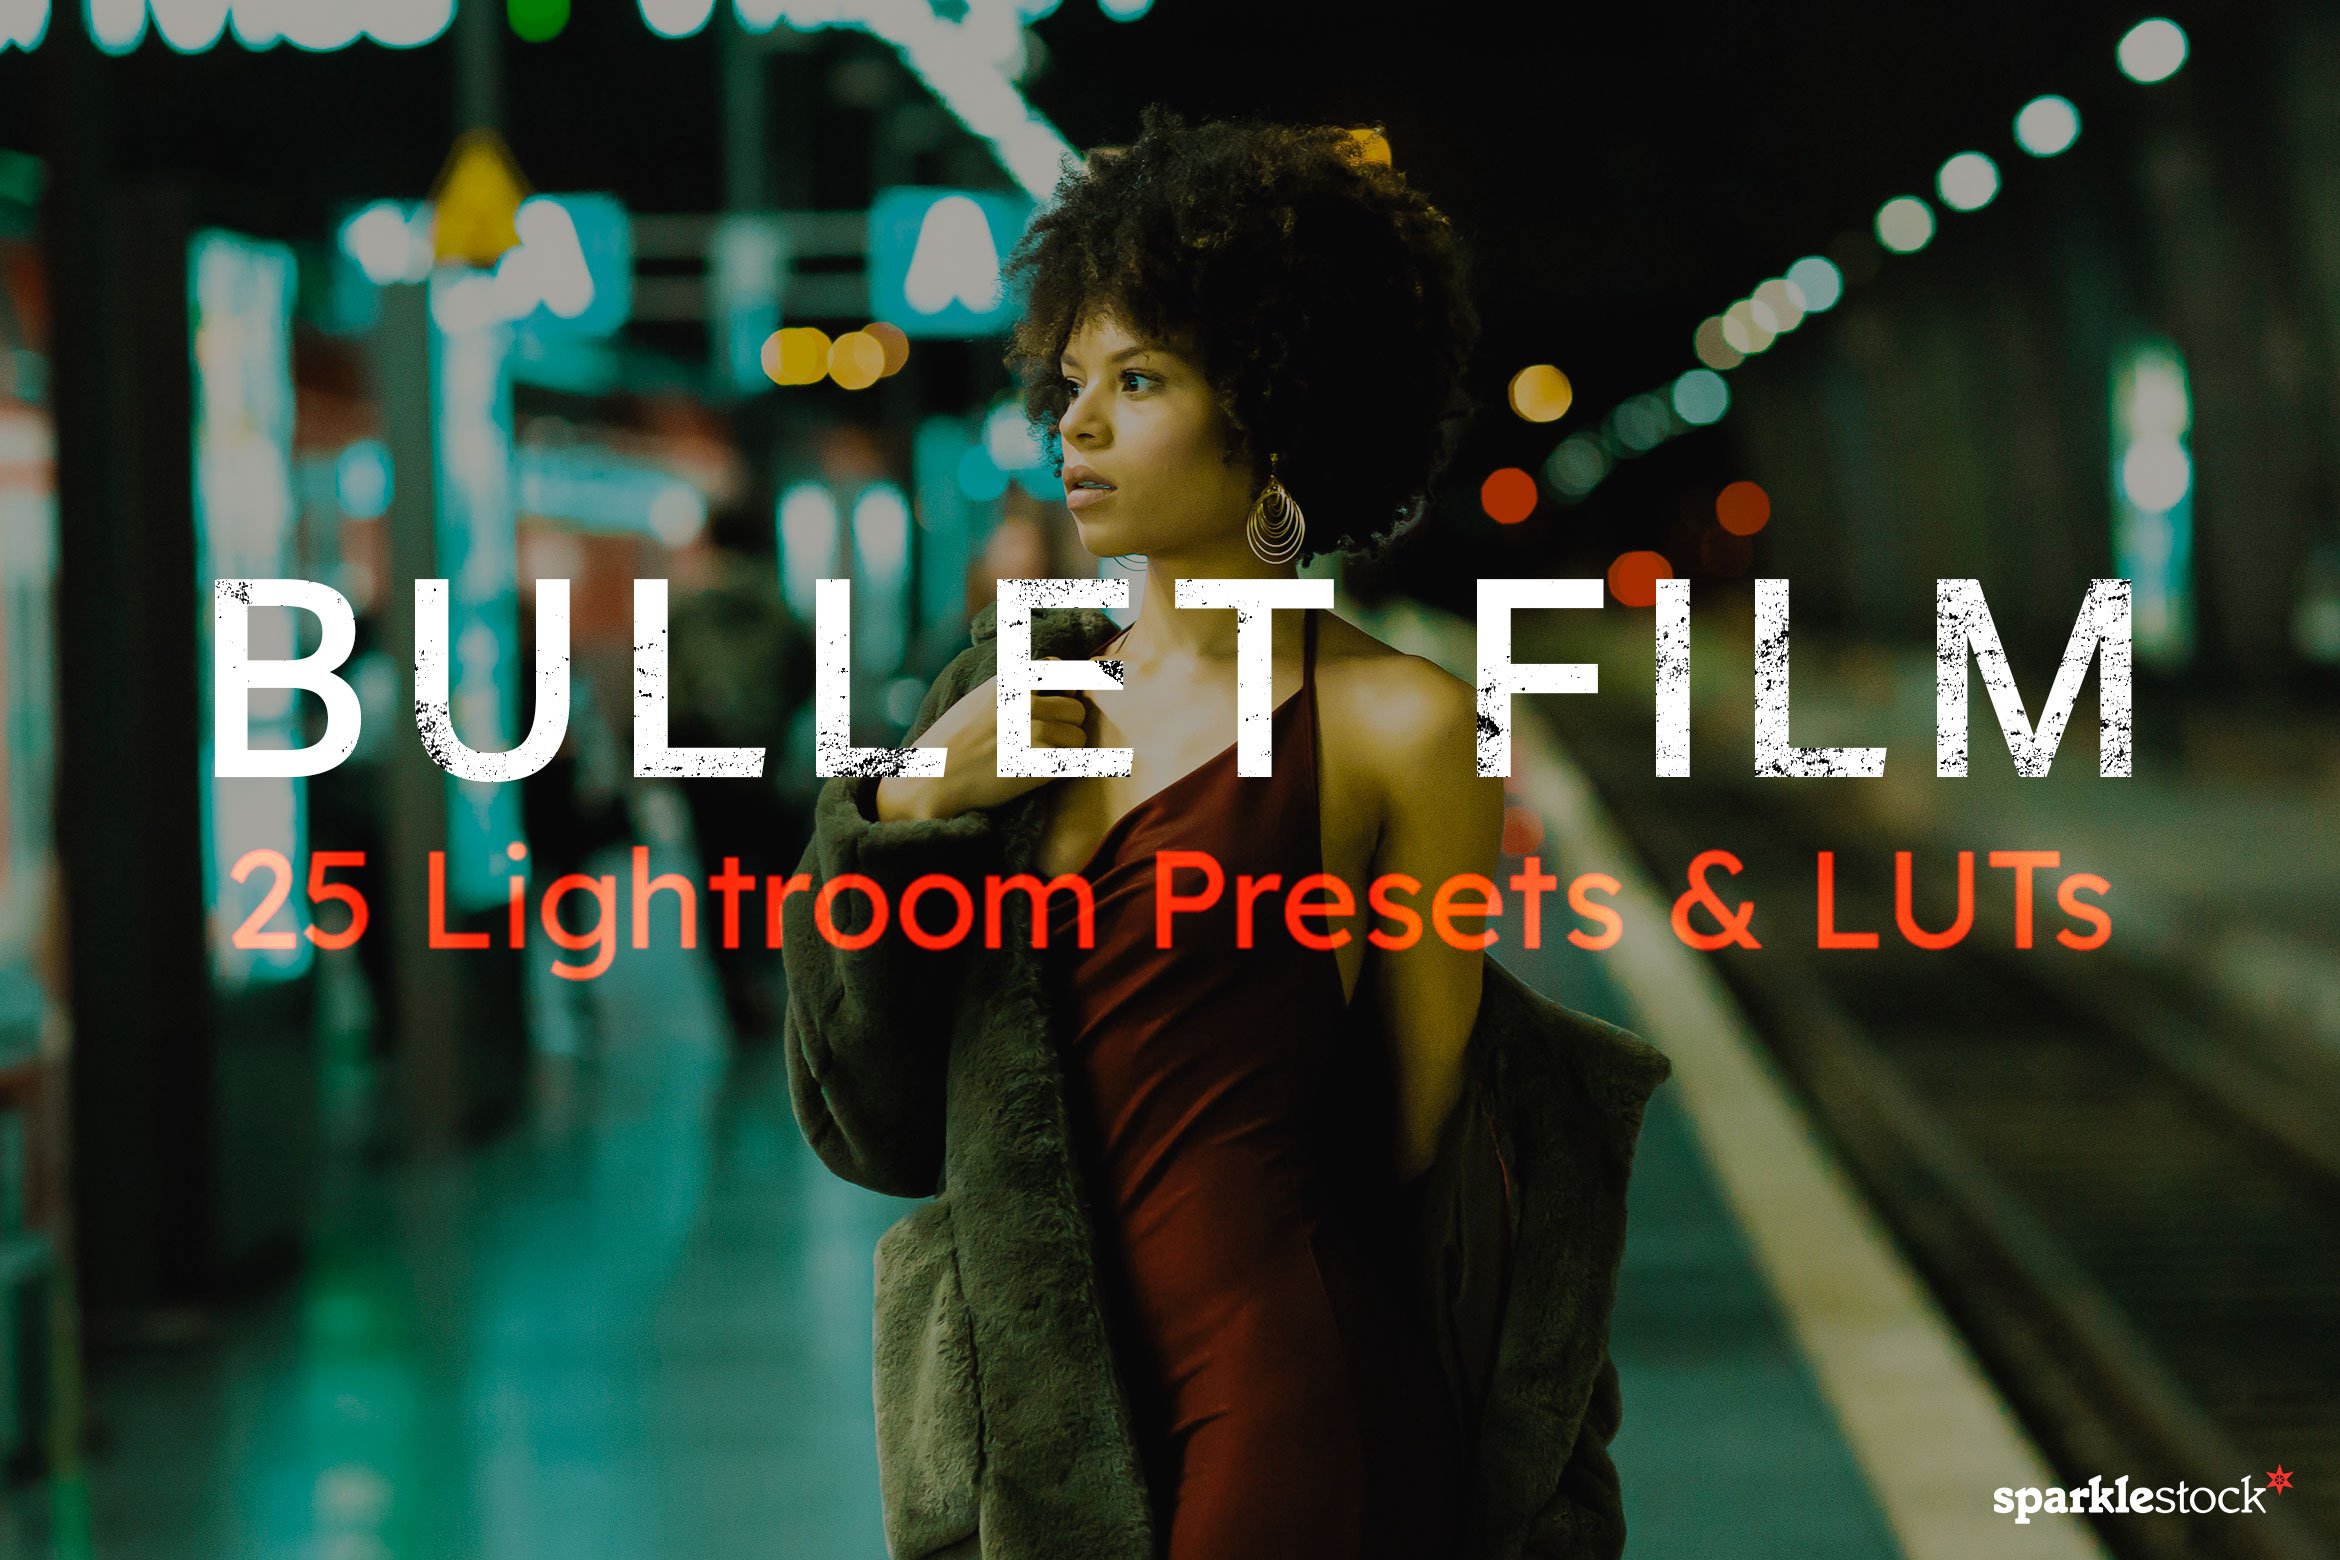
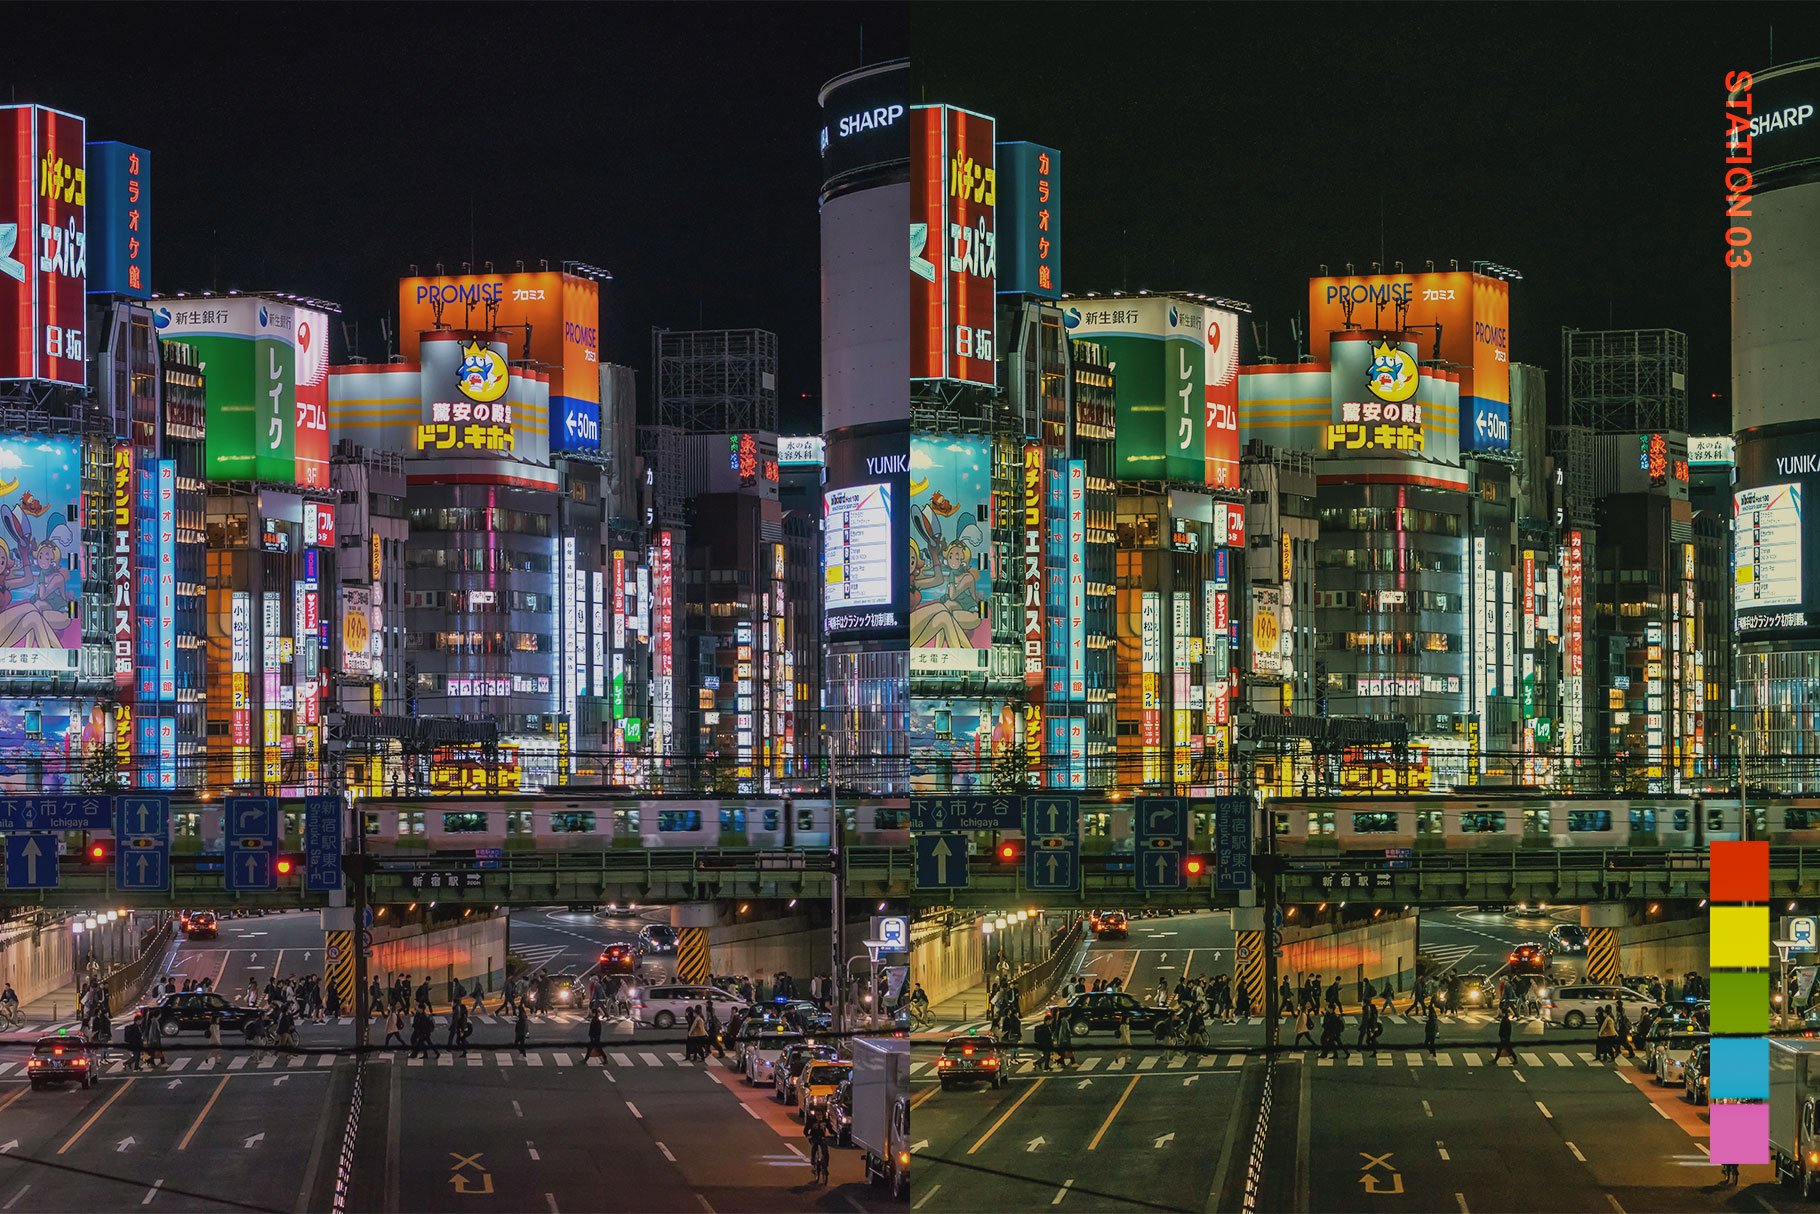
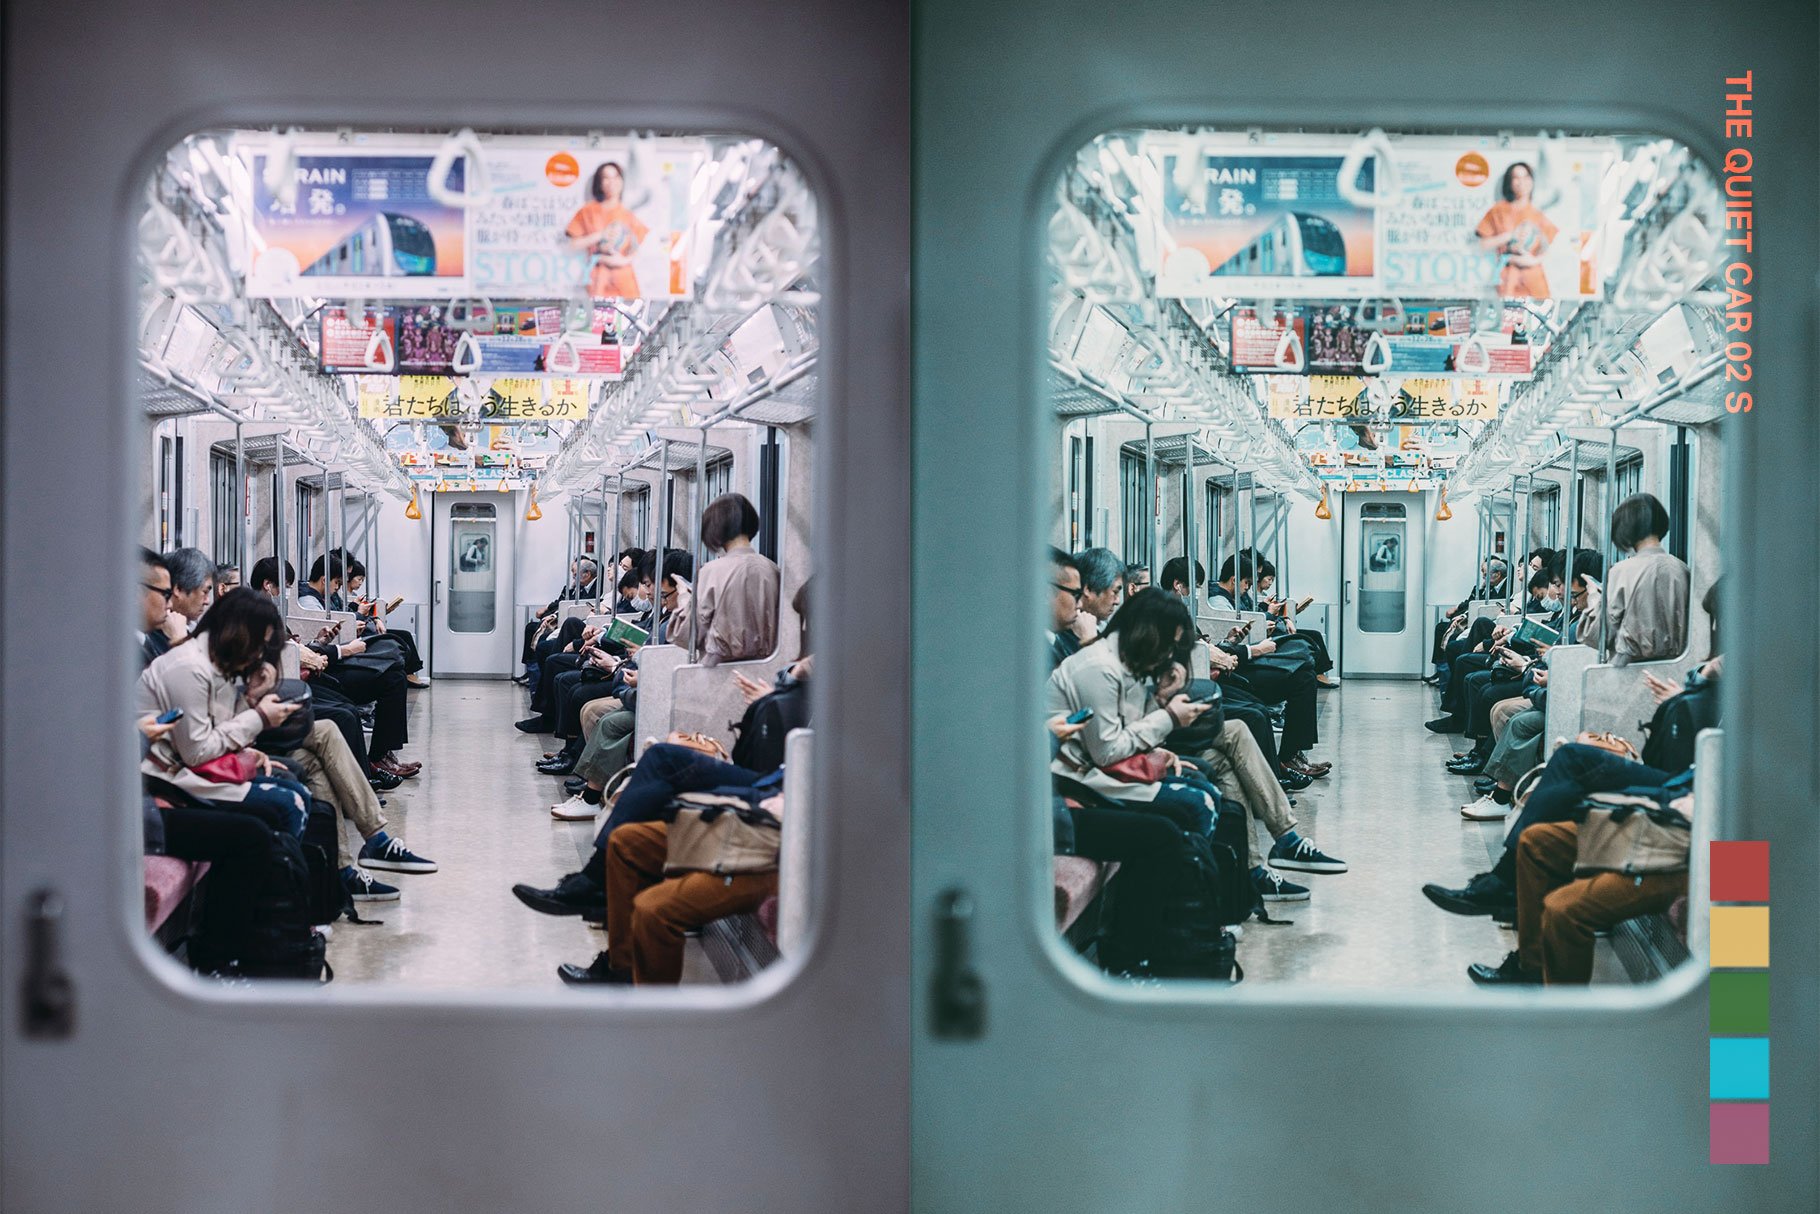
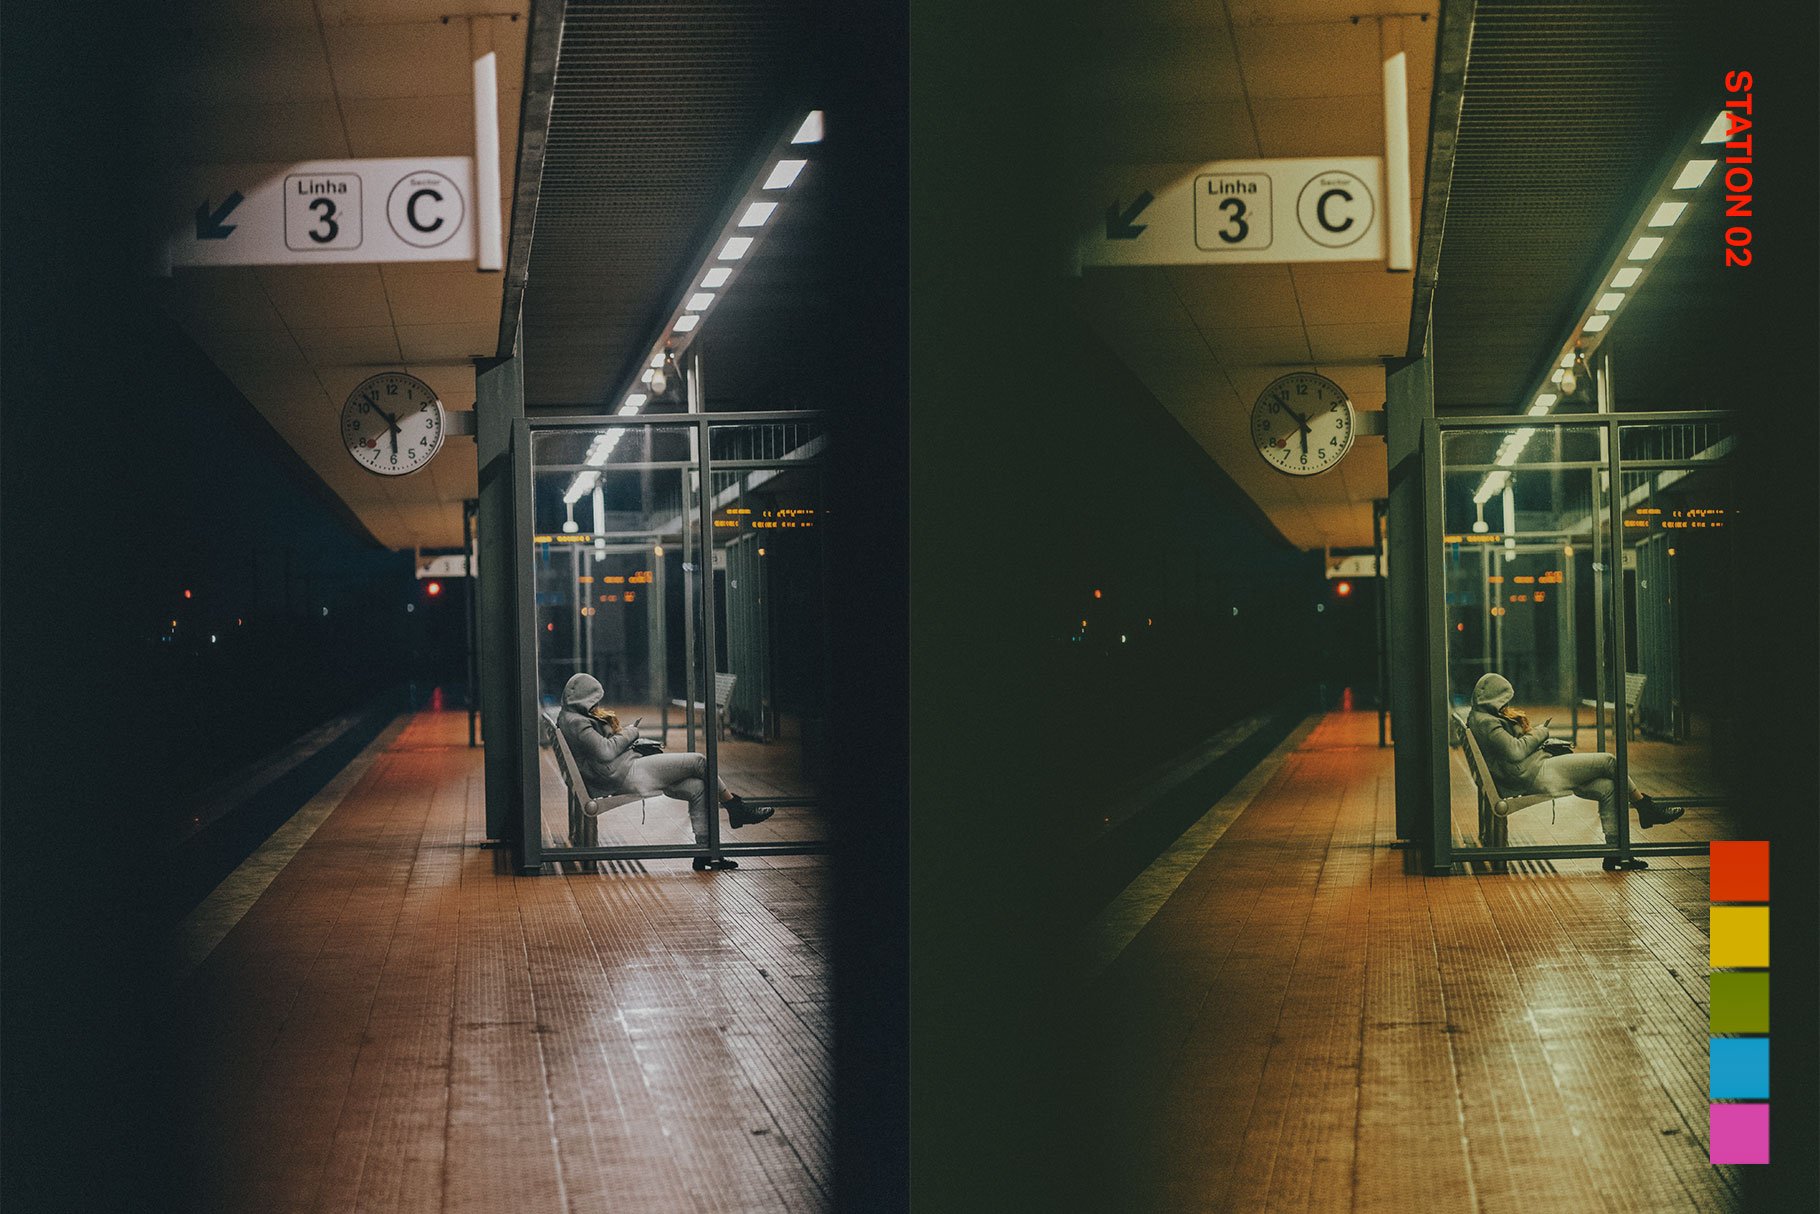
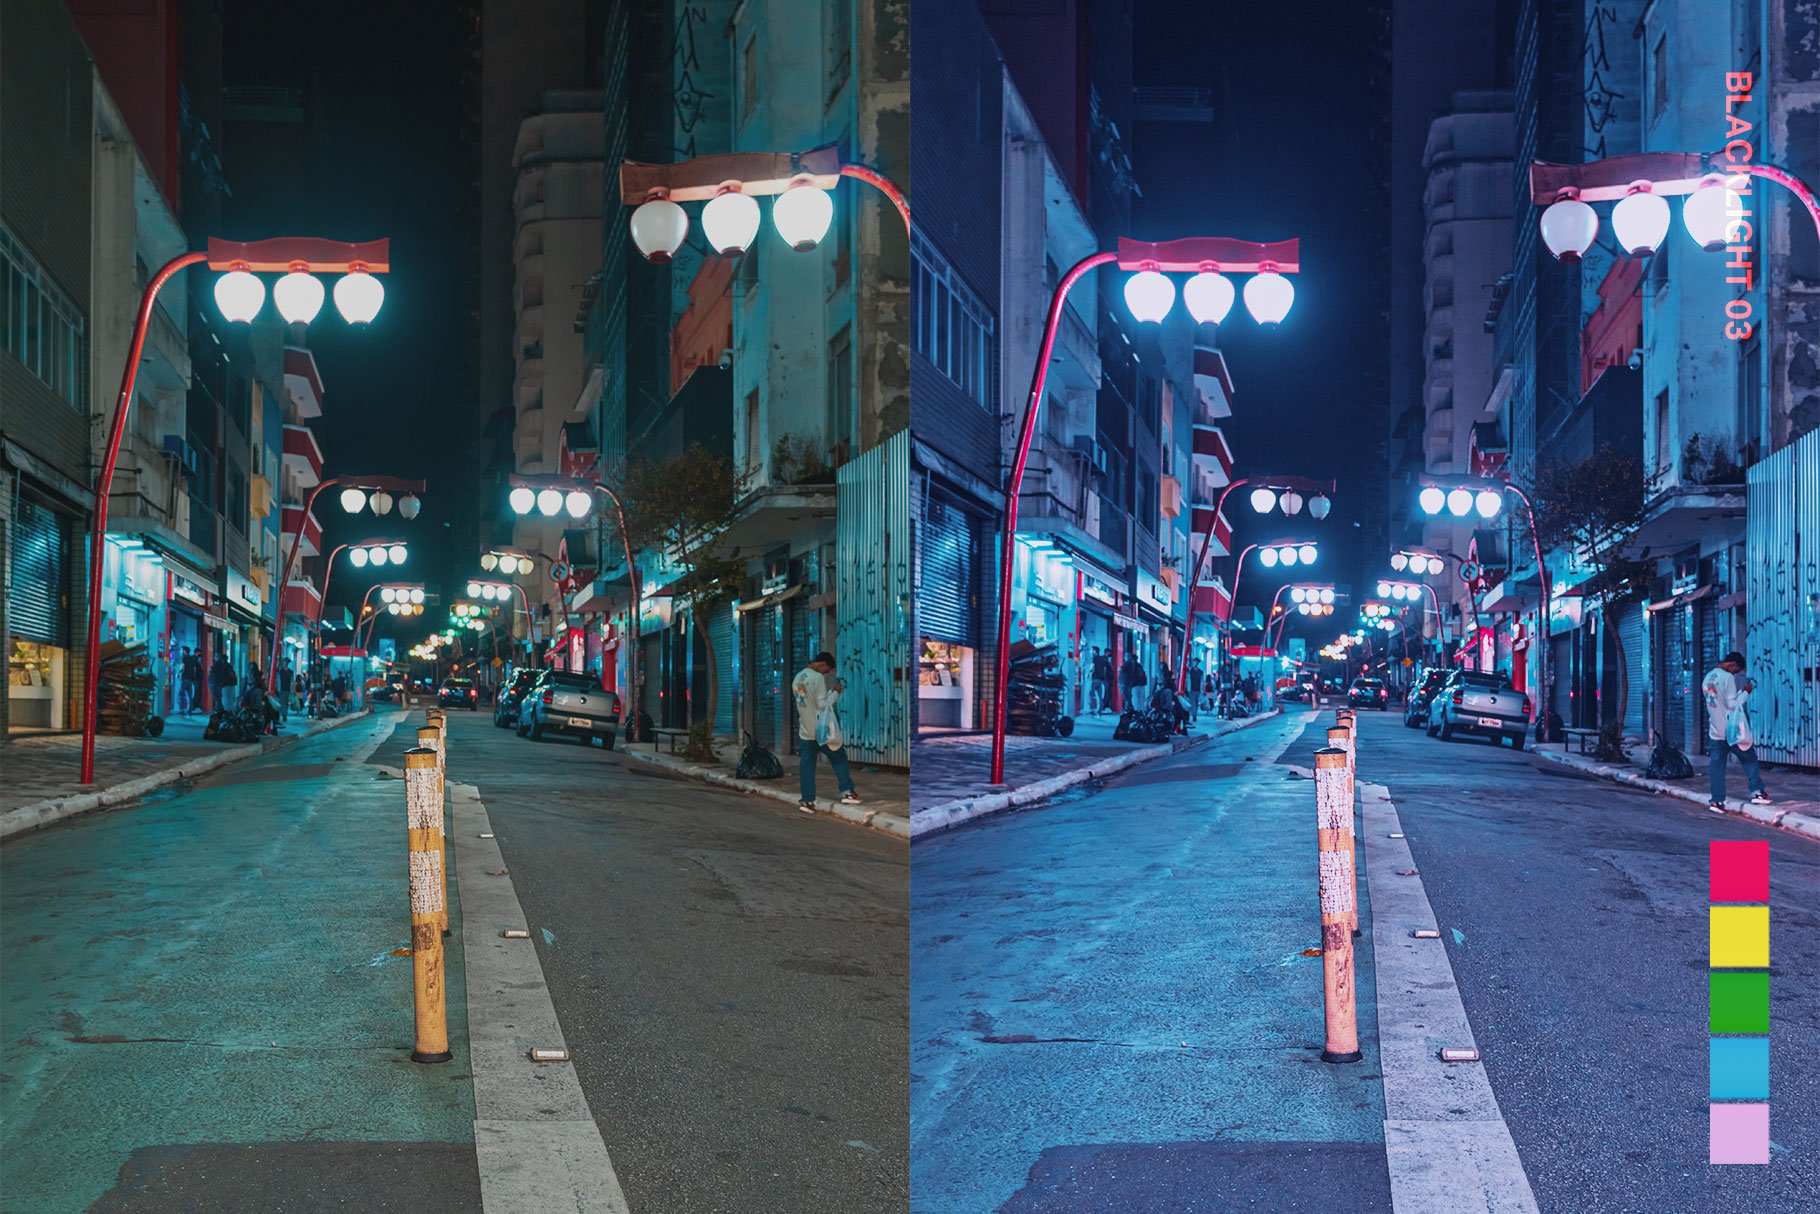
With our Bullet Film Lightroom presets and LUTs, you can easily make night cityscapes look futuristic and cyberpunk. Just imagine how interesting your photos and videos will look after adding some color grading inspired by the 2022 movie, “Bullet Train”!
If you’re an influencer, photographer, or videographer who wants to create cinematic photos with a cyberpunk feel, then these presets and LUTs are for you.
Color Grading Inspired by “Bullet Train”
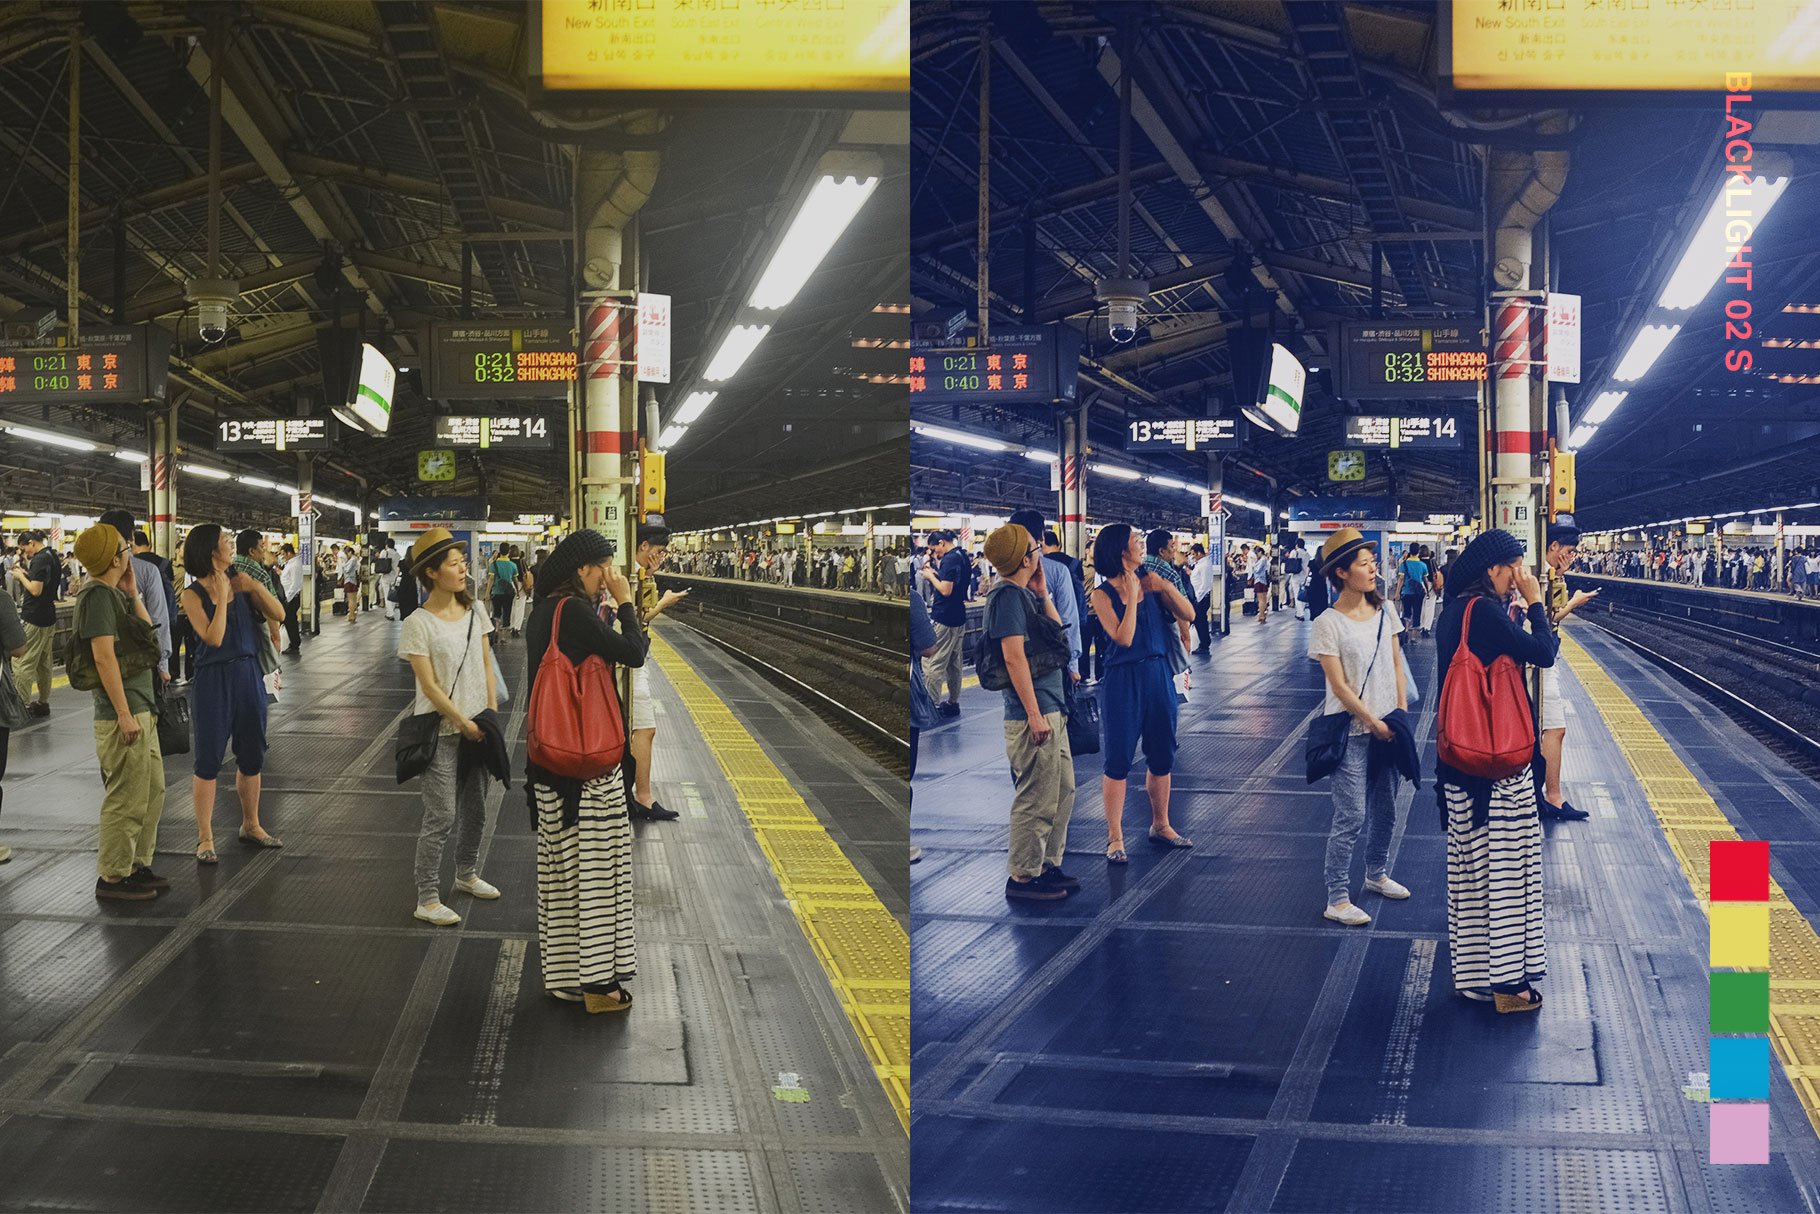
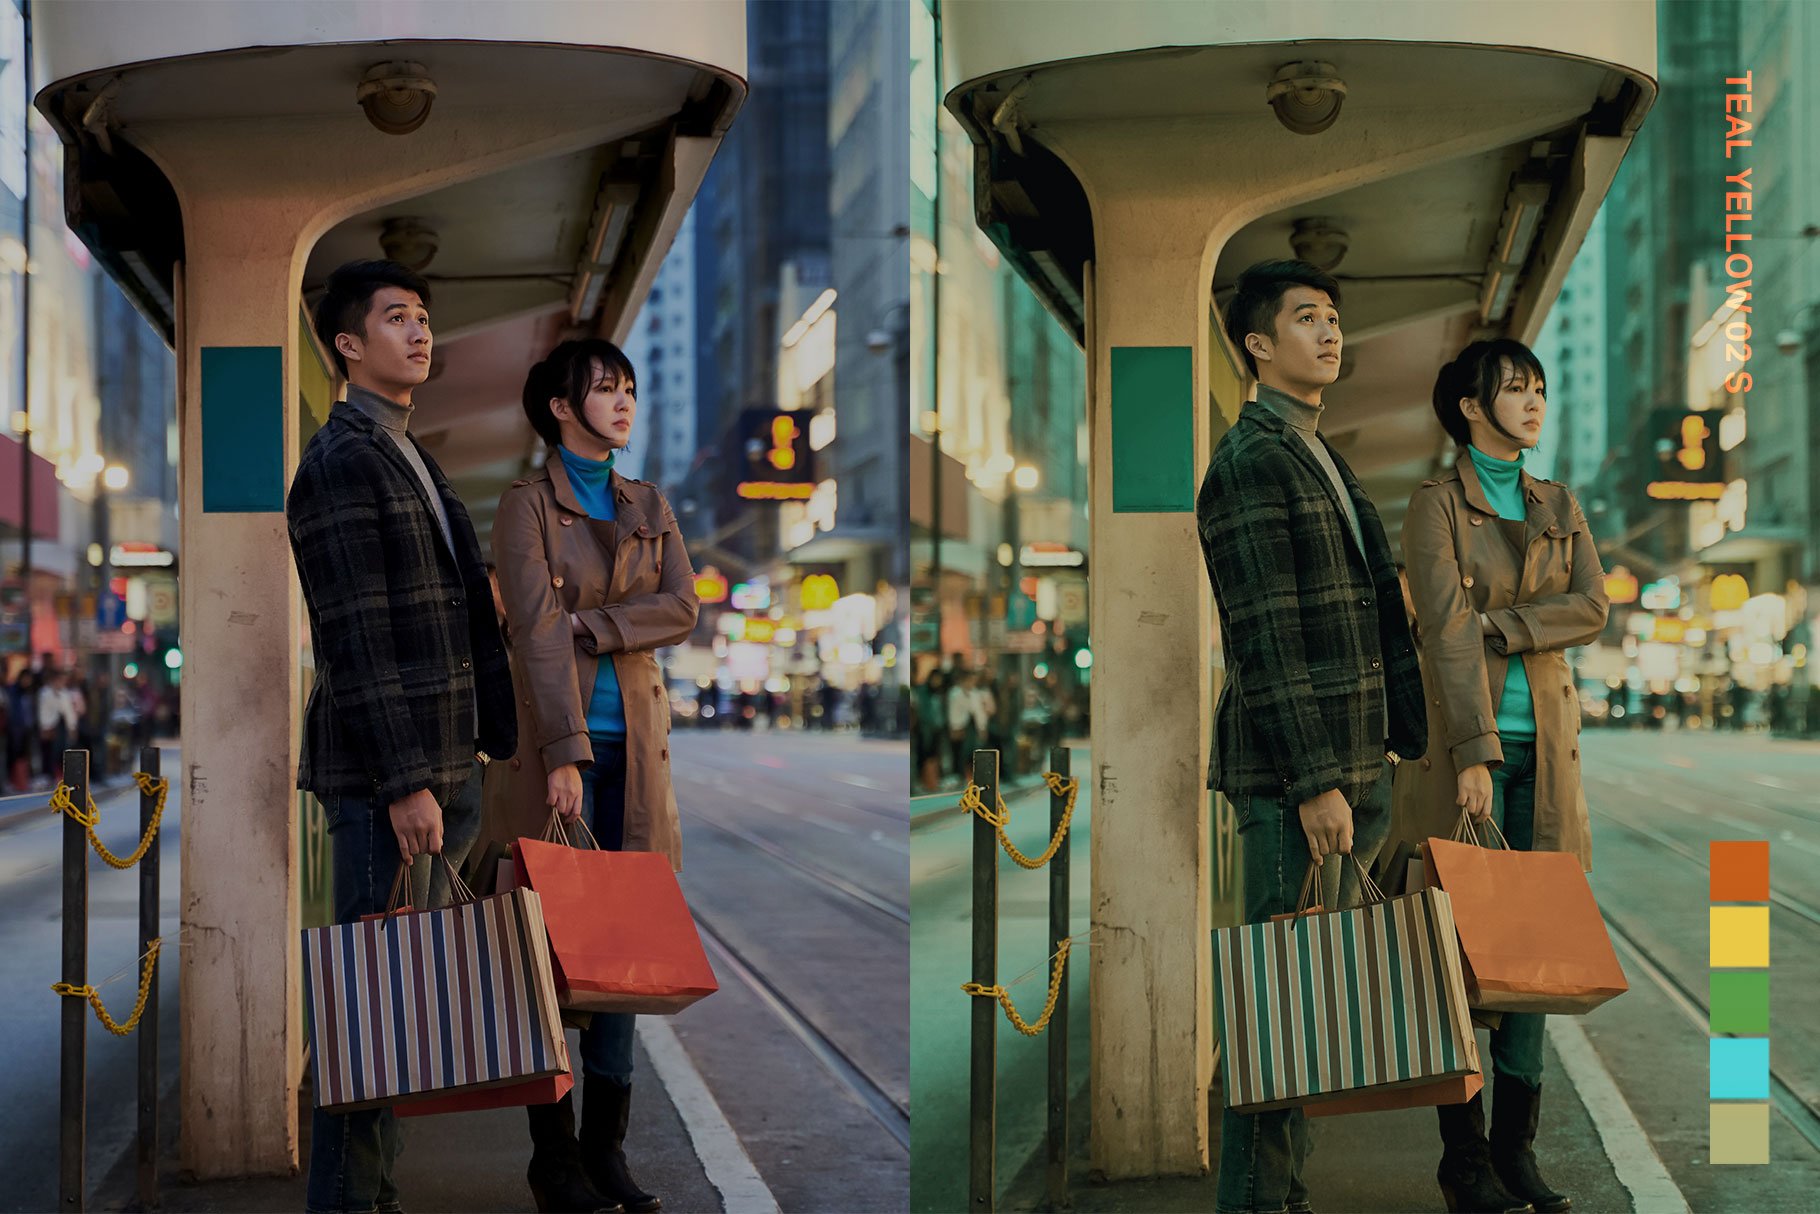
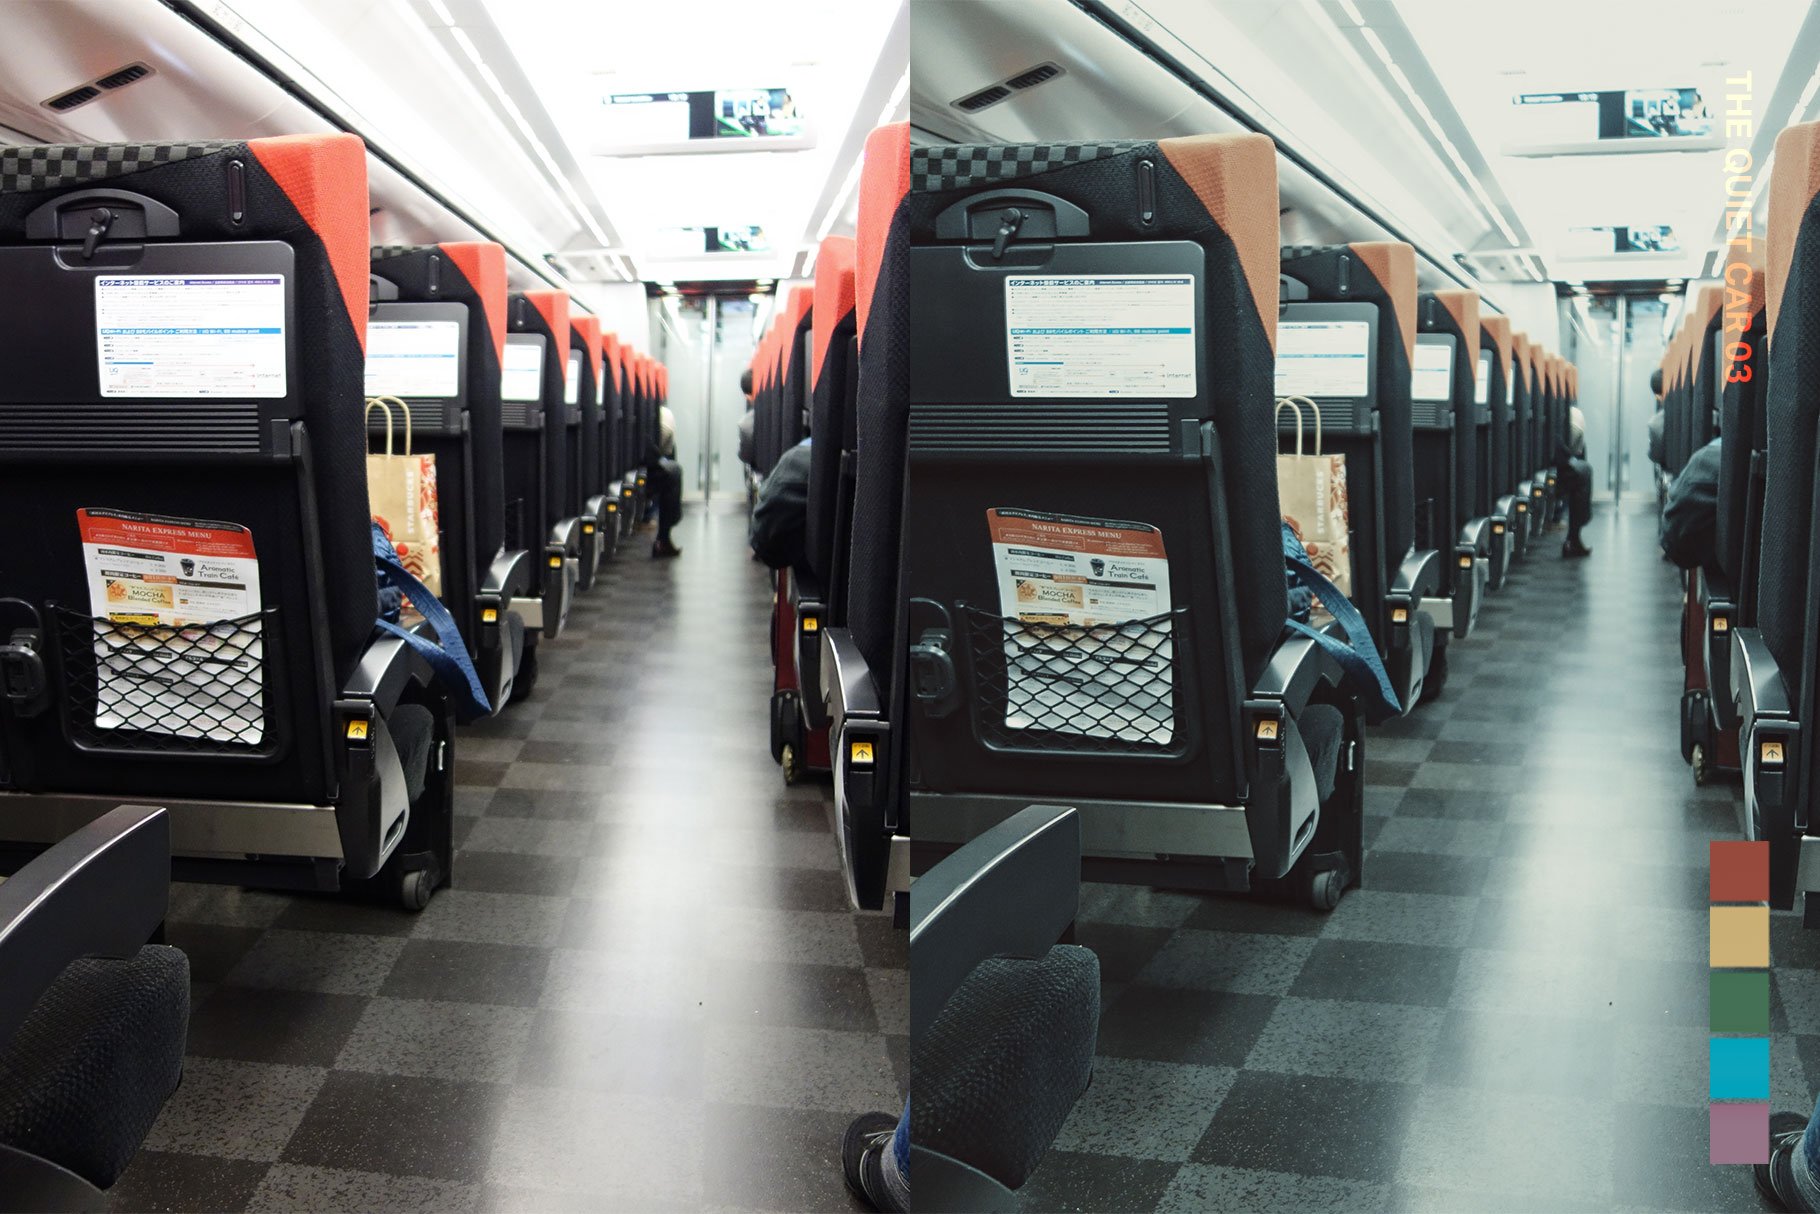
The film features various color grading styles. They are similar to the cyberpunk look but with a more natural look. For example, you’ll find that some scenes feature the teal and yellow look but skin tones remain natural.
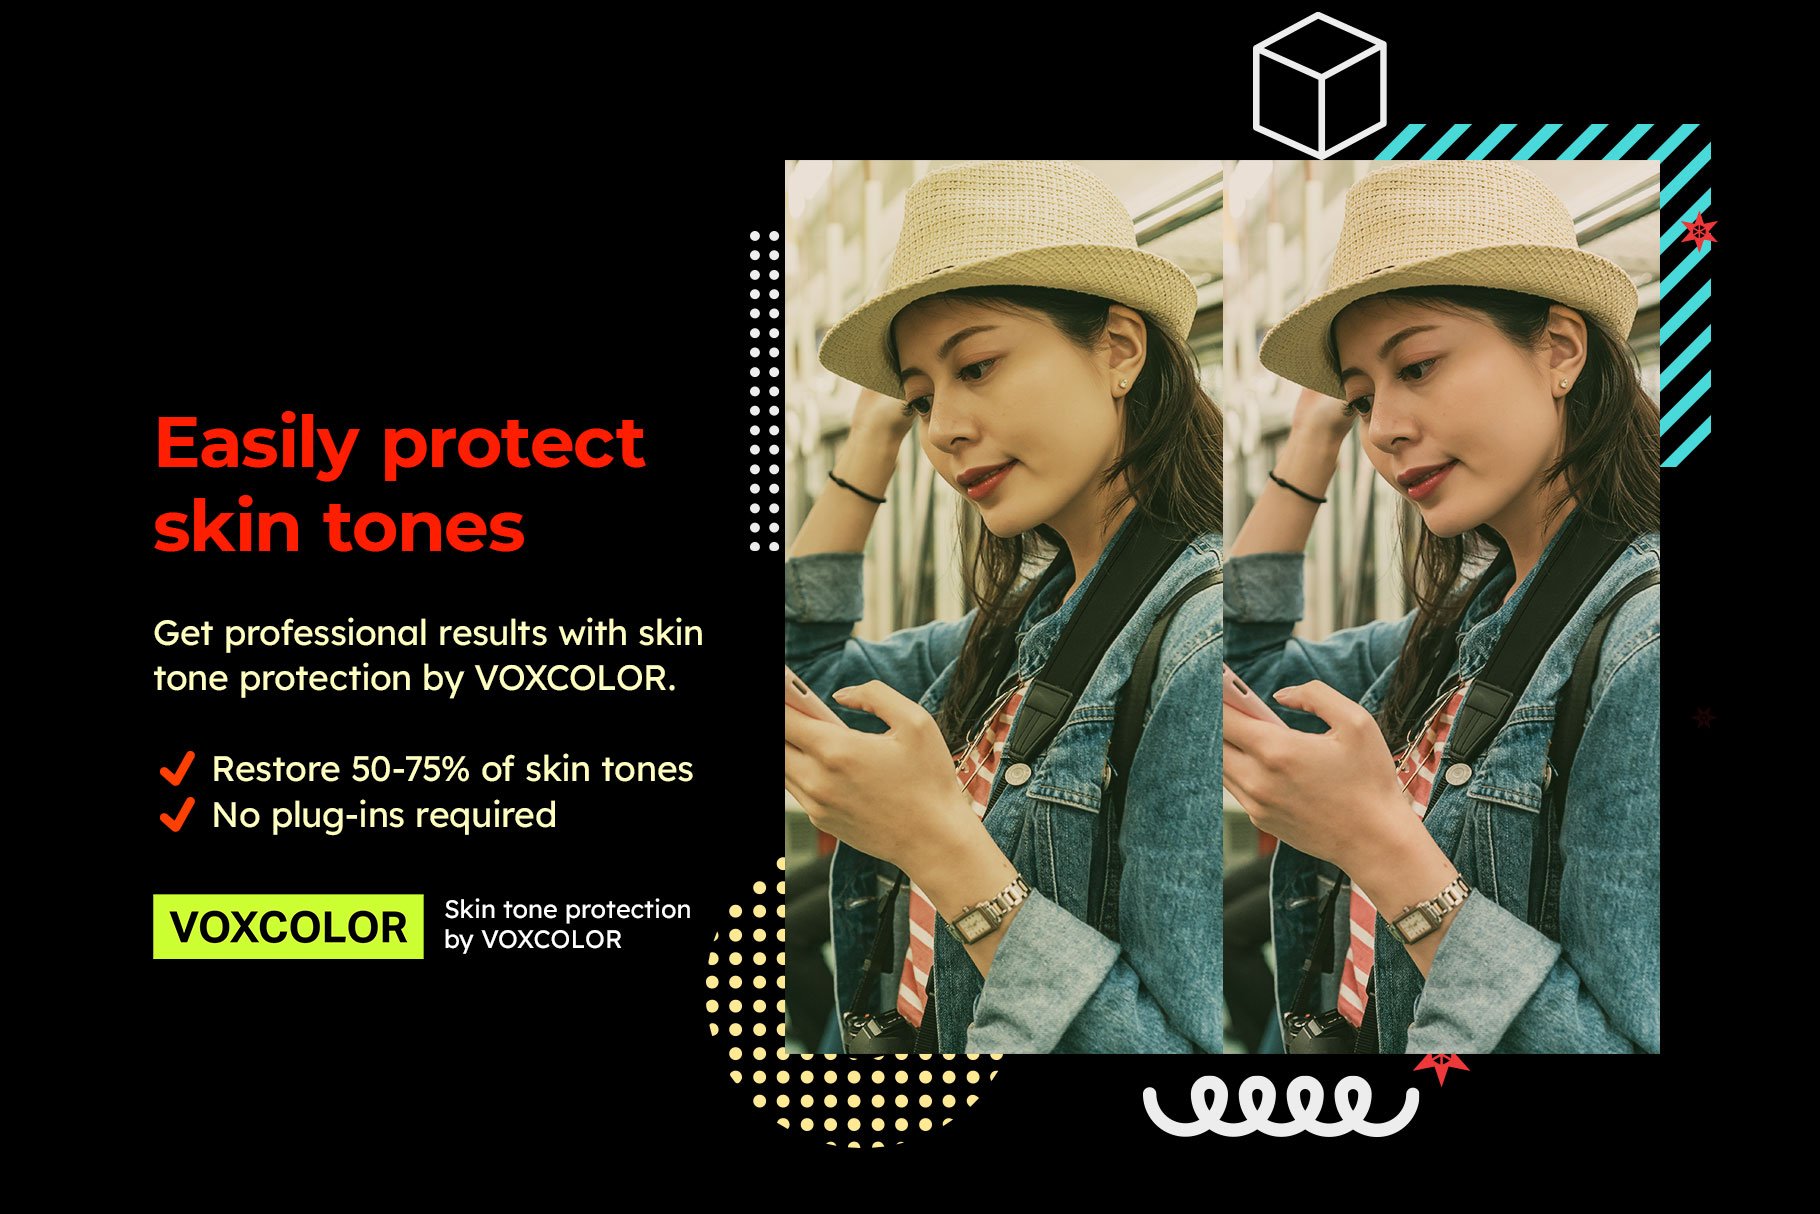
To emulate the natural skin tones, use the “S” presets. These presets are enhanced with VOXCOLOR’s skin tone protection algorithm that gives you more natural skin tones no matter how strong the effect is.
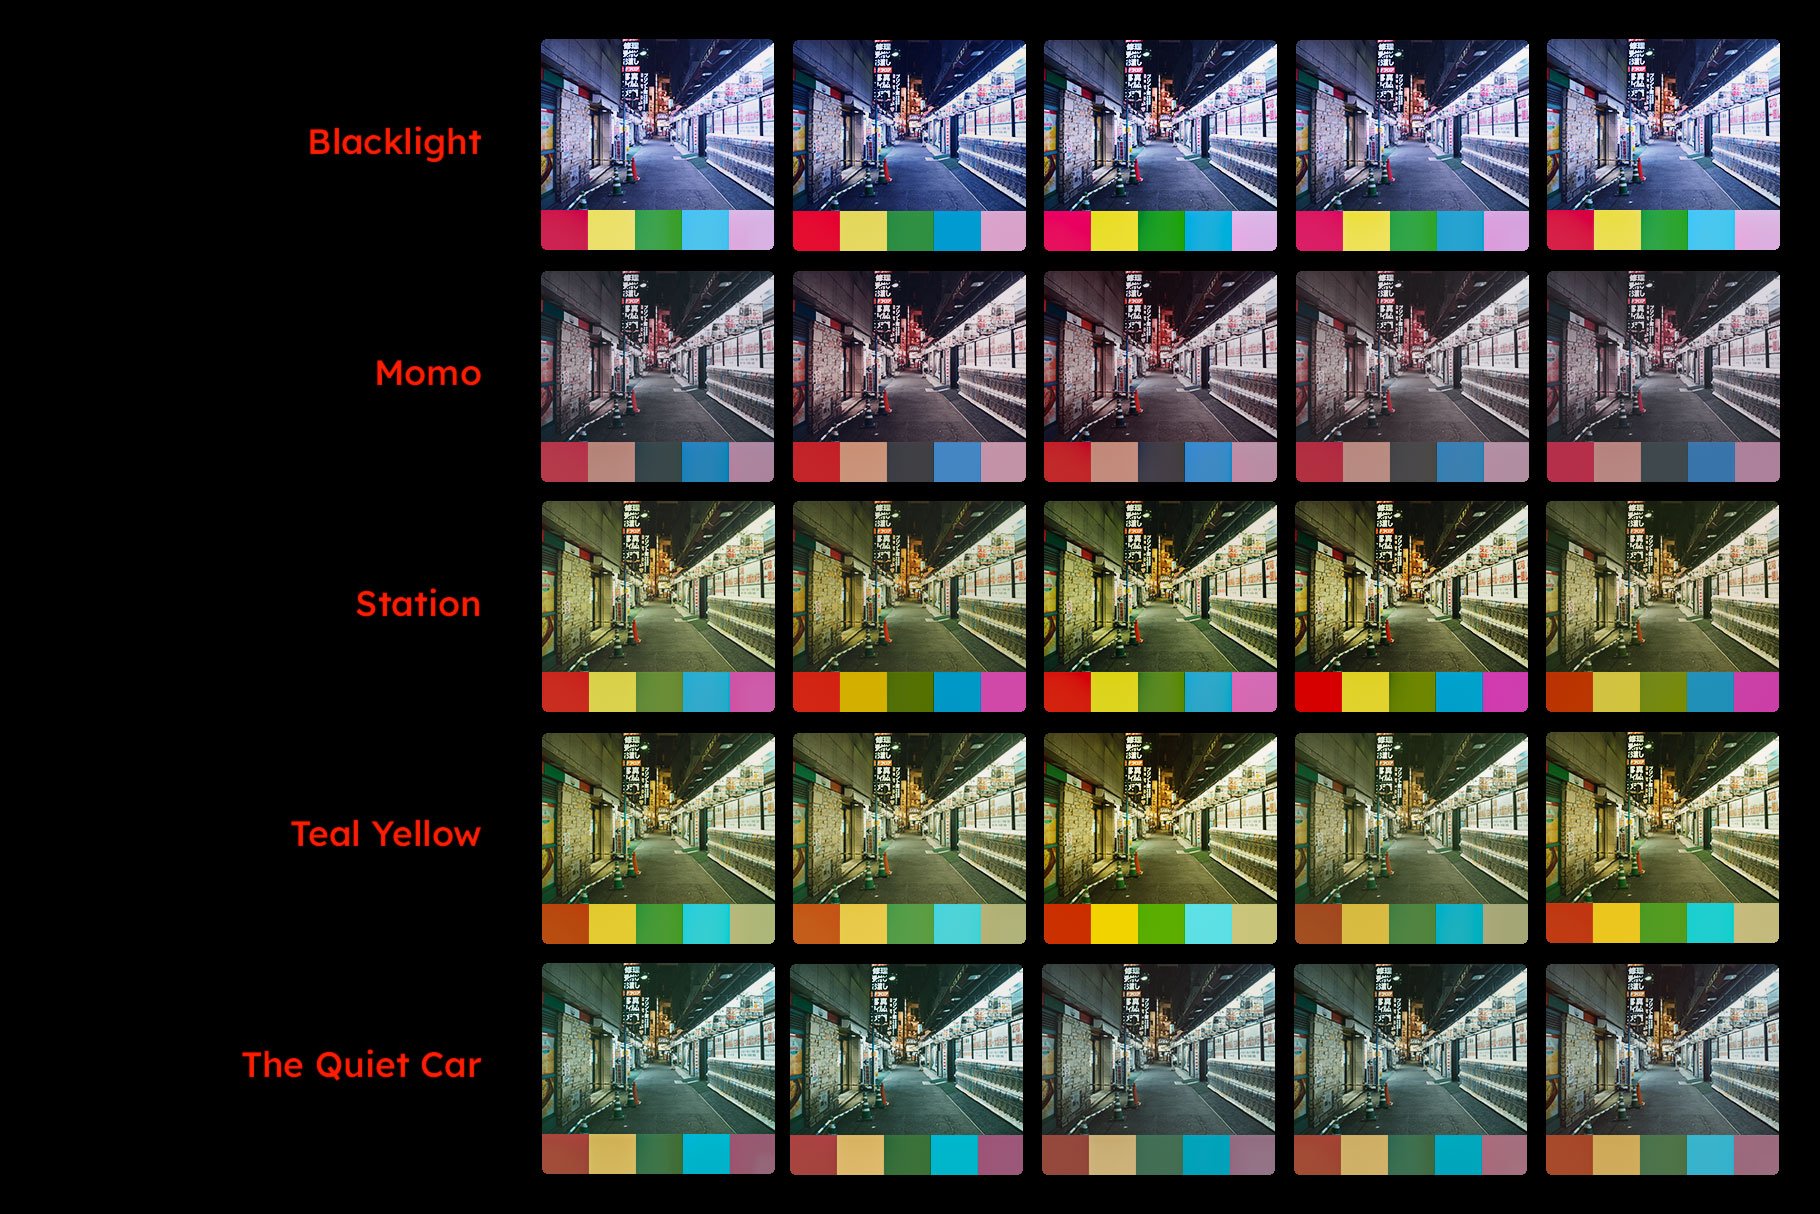
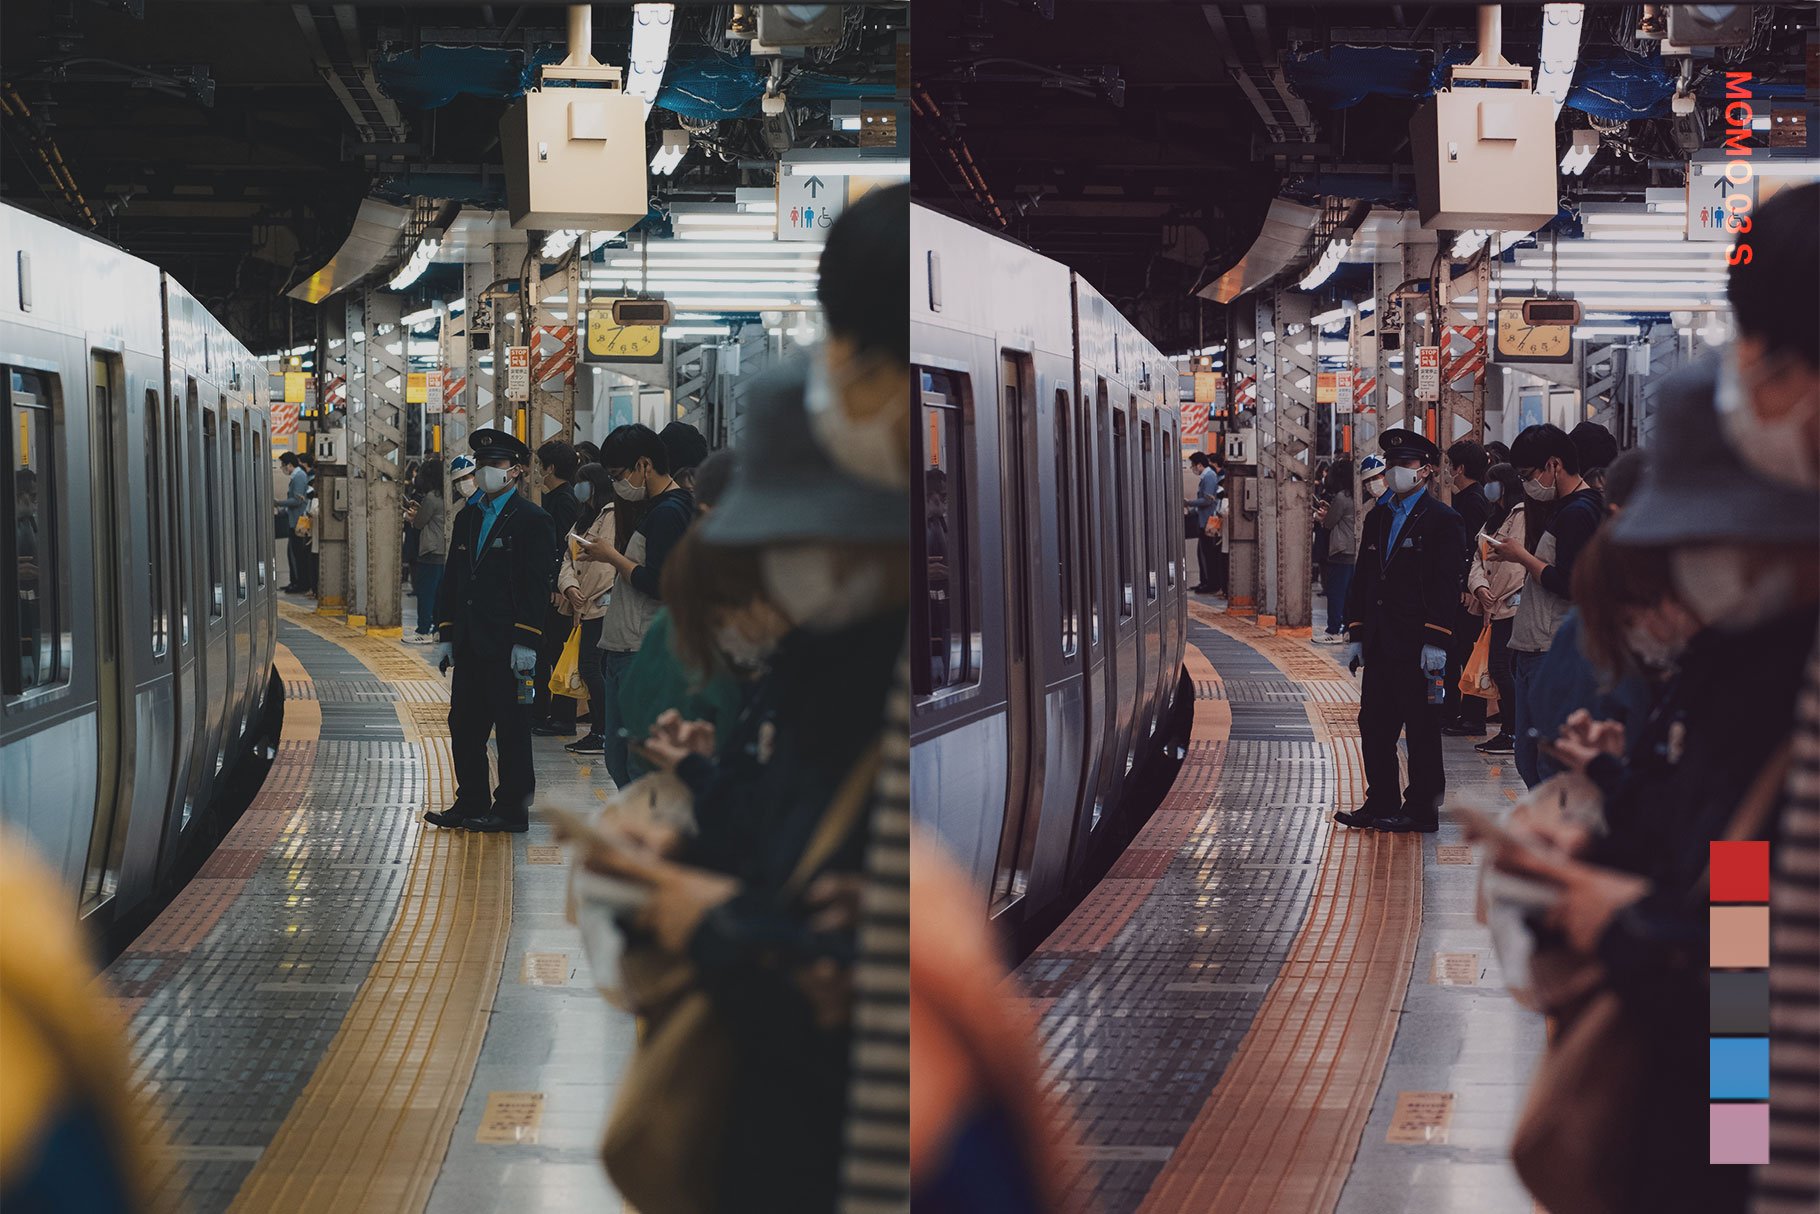
The only presets that are not based on the film are the “Momo” presets. These presets are rather based on the colors of the Momomon mascot, giving your photos a magenta and blue look. This color combination works great with night cityscapes and it matches the style of the other presets.
Lightroom:
In either Lightroom or Lightroom Classic, go to File Import Profiles and Presets. Browse for the ZIP file inside the “Lightroom CC” folder then click Load. You can now pick from any of the 25 presets in the Presets panel.
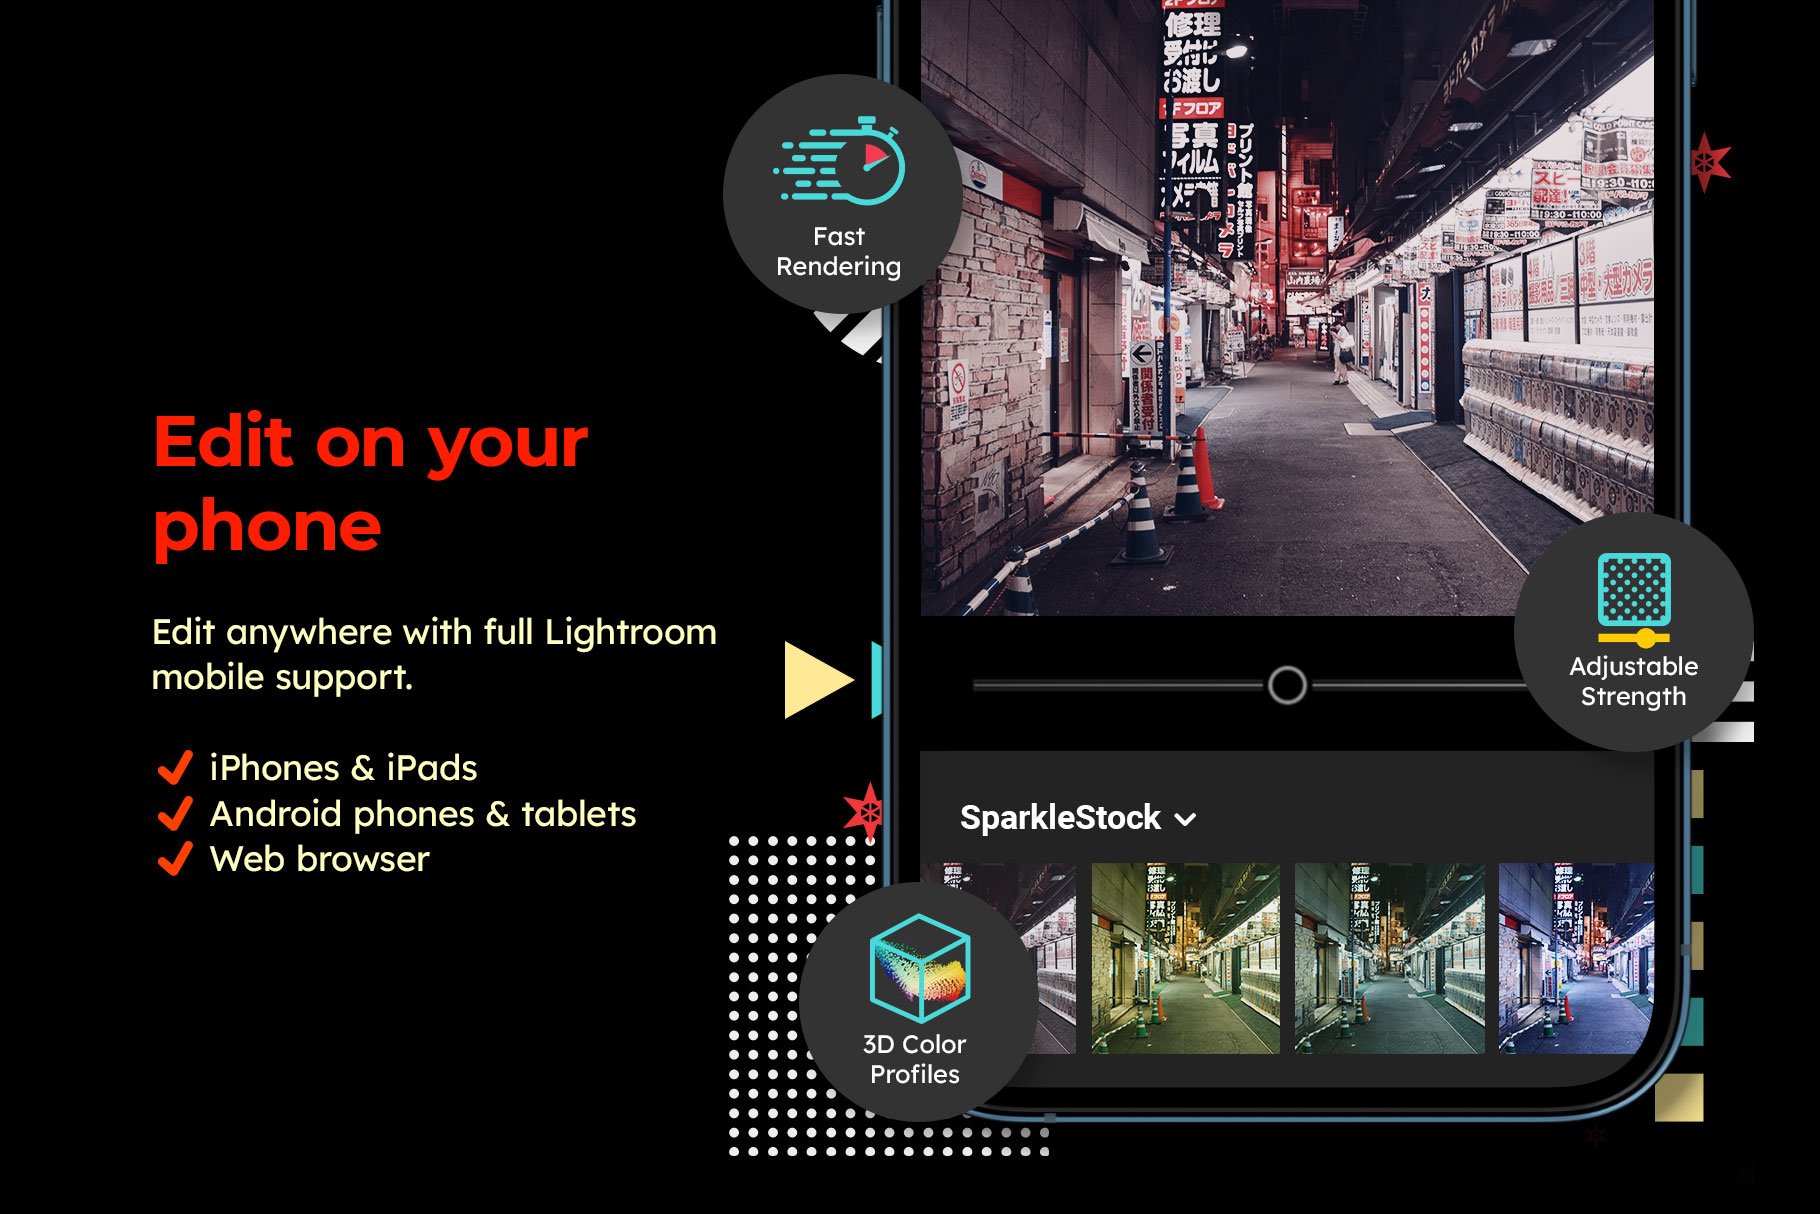
For the Lightroom mobile app, the presets will automatically sync to your phone after you import them to your computer. You’ll need a Creative Cloud subscription for this, but if you don’t have one, you can sign up for a trial or use the DNG presets. The DNG presets are inside the “Lightroom Mobile” folder. Simply copy them to your phone and in Lightroom, you can copy and paste the settings.
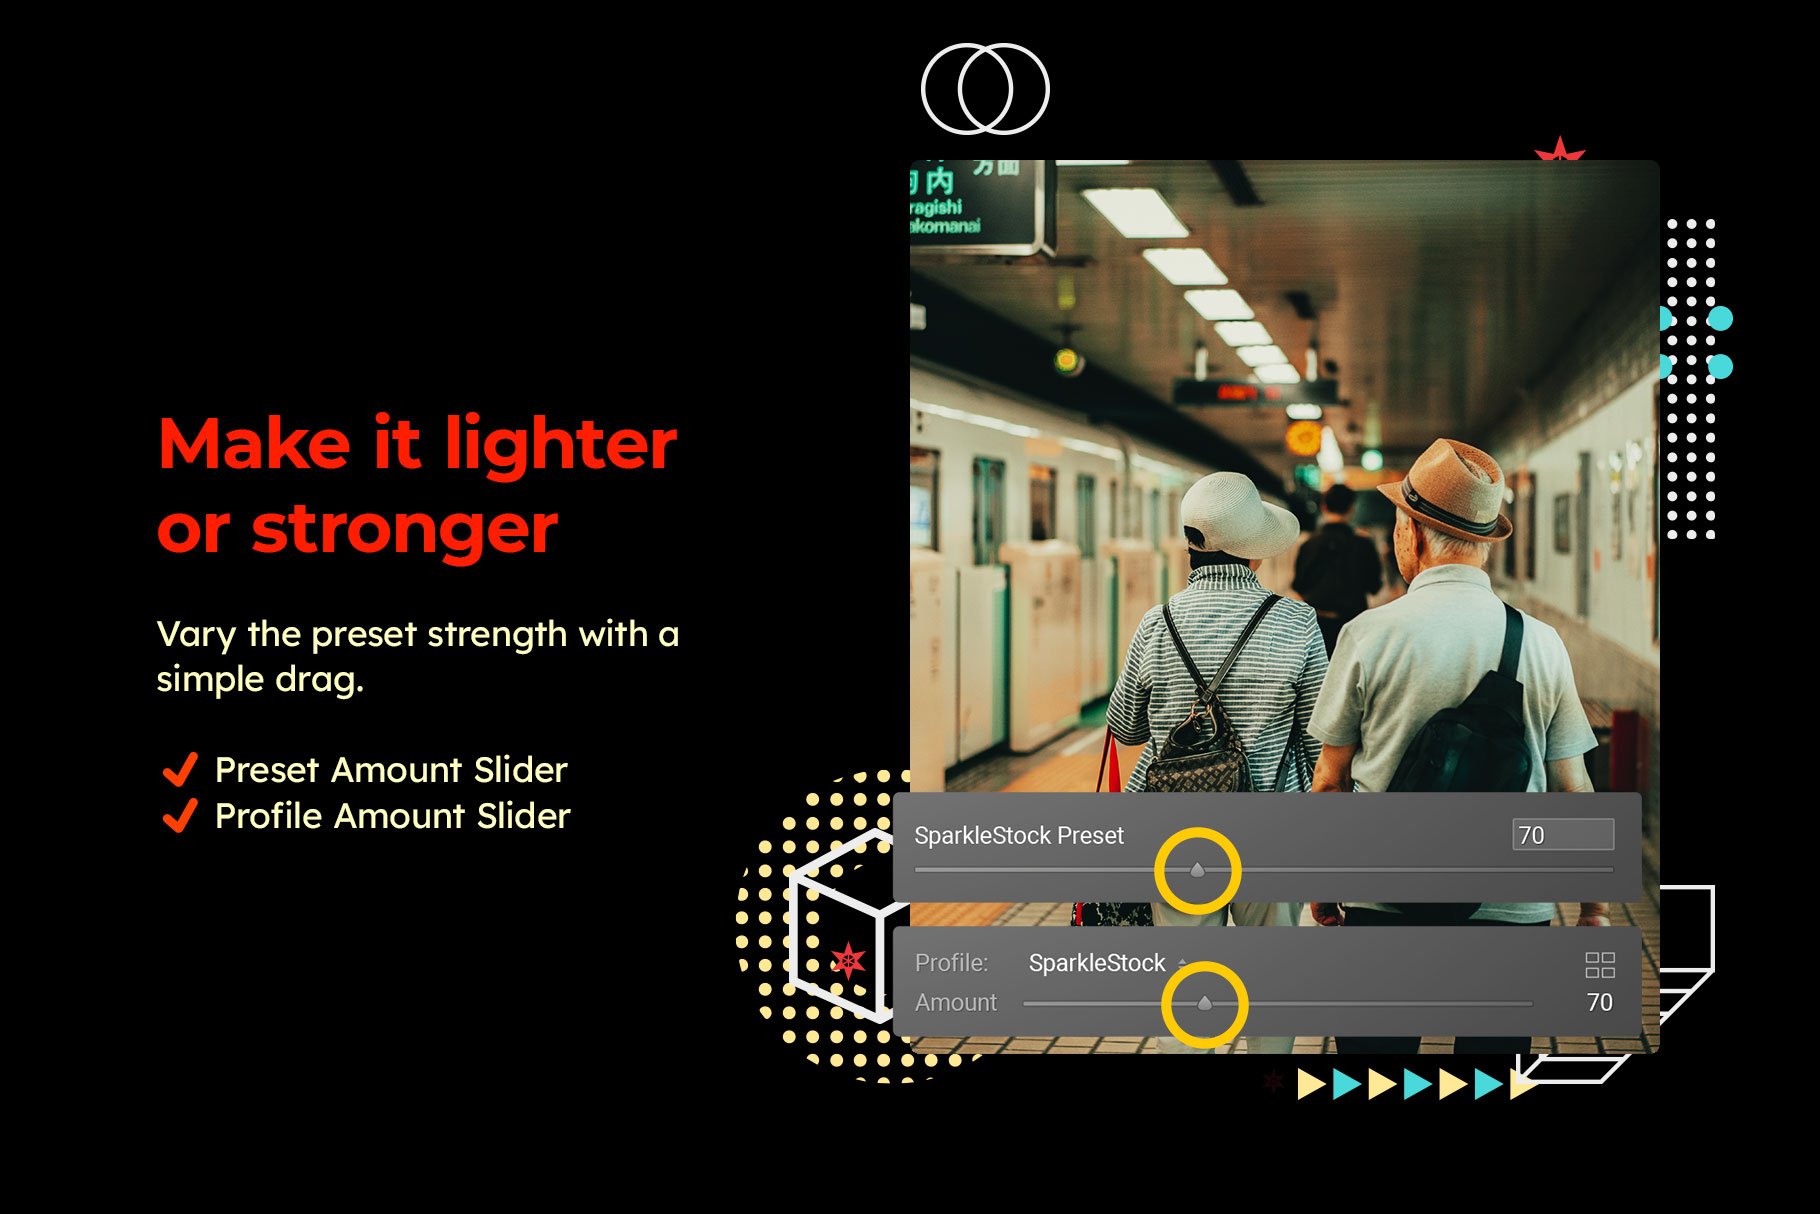
These presets support the “preset amount” slider which will let you make the presets lighter or stronger. After selecting a preset, adjust the preset slider until you get the perfect amount.
To change the balance of the colors, adjust the white balance.
Photoshop:
With Photoshop, you can choose to use the LUTs or Lightroom presets. With the LUTs, you can simply add a Color Lookup adjustment layer (Layer New Adjustment Layer Color Lookup).
To use the Lightroom presets, select the layer with the photo that you want to apply the preset to. Go to Filter Camera Raw filter. Go to the presets panel, click on the presets panel menu, and import the presets.
Affinity Photo, Capture One, Final Cut Pro, LumaFusion, Premiere, After Effects, DaVinci Resolve, etc:
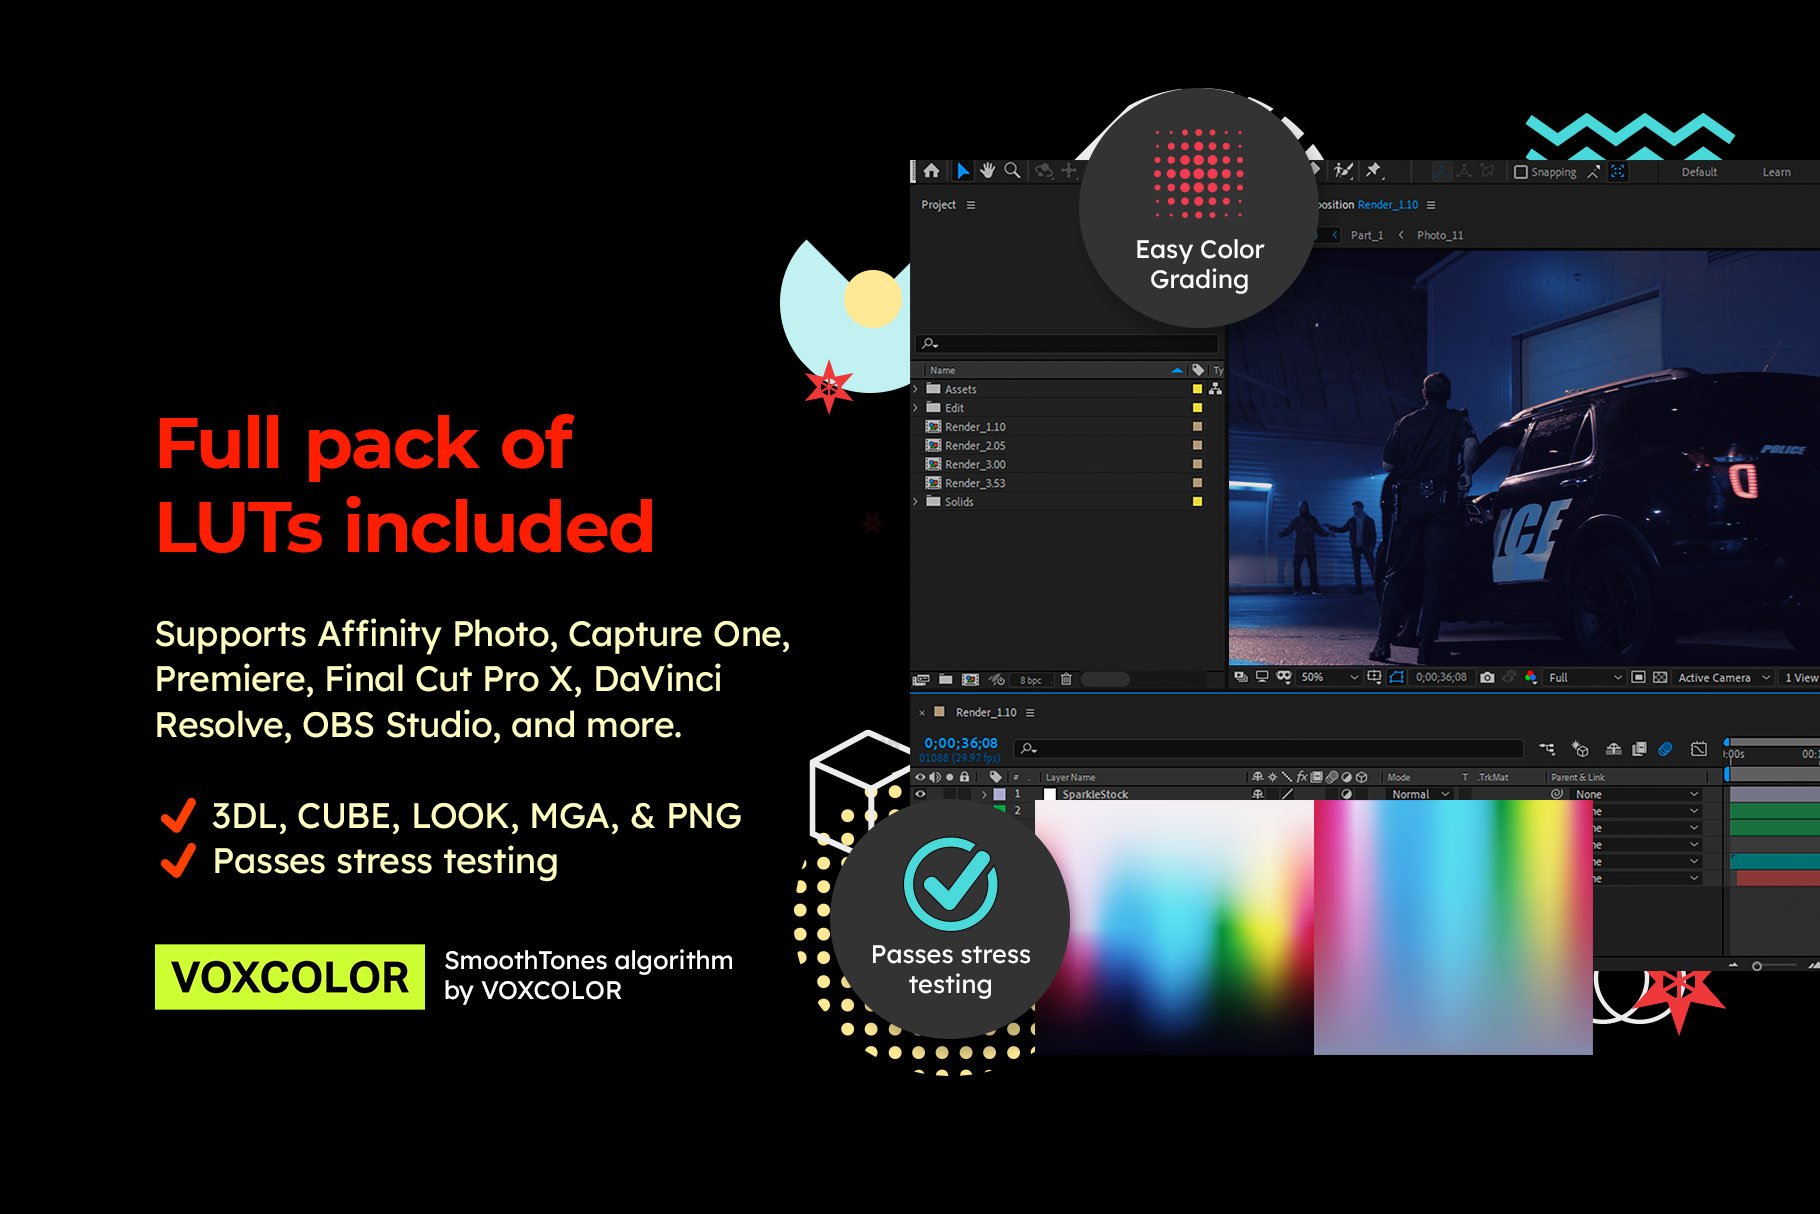
This product includes LUTs in all of the common formats so that you can use them with a wide range of video editors. For Final Cut Pro, please use the MGA LUTs. For Capture One, please use the ICC LUTs. For all other software, we recommend using the CUBE LUTs.
