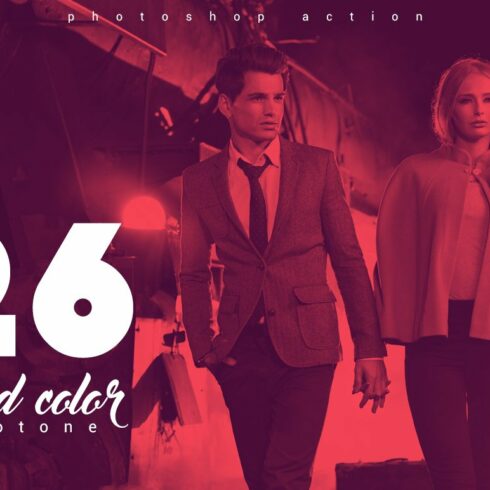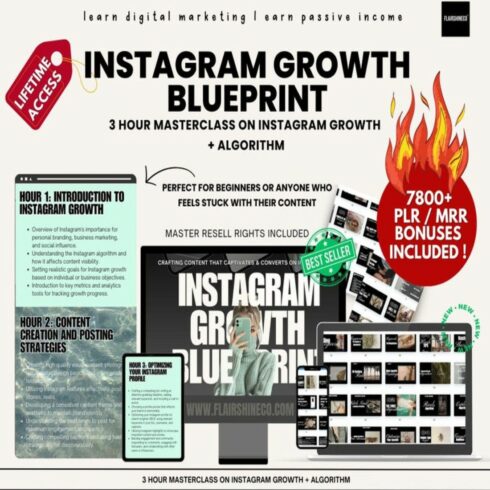
The Instagram Growth Blueprint with Master Resell Rights Done For You Mini Instagram Course plus SIX Bonuses w/ MRR & Private Label Rights digital
$34

| Created by | ScaryClown |
|---|---|
| File size | 299.44KB |
| Date of Creation | February 1 2023 |
| Color | blue gray white |
| Rating | 5 (15) |
| Category |
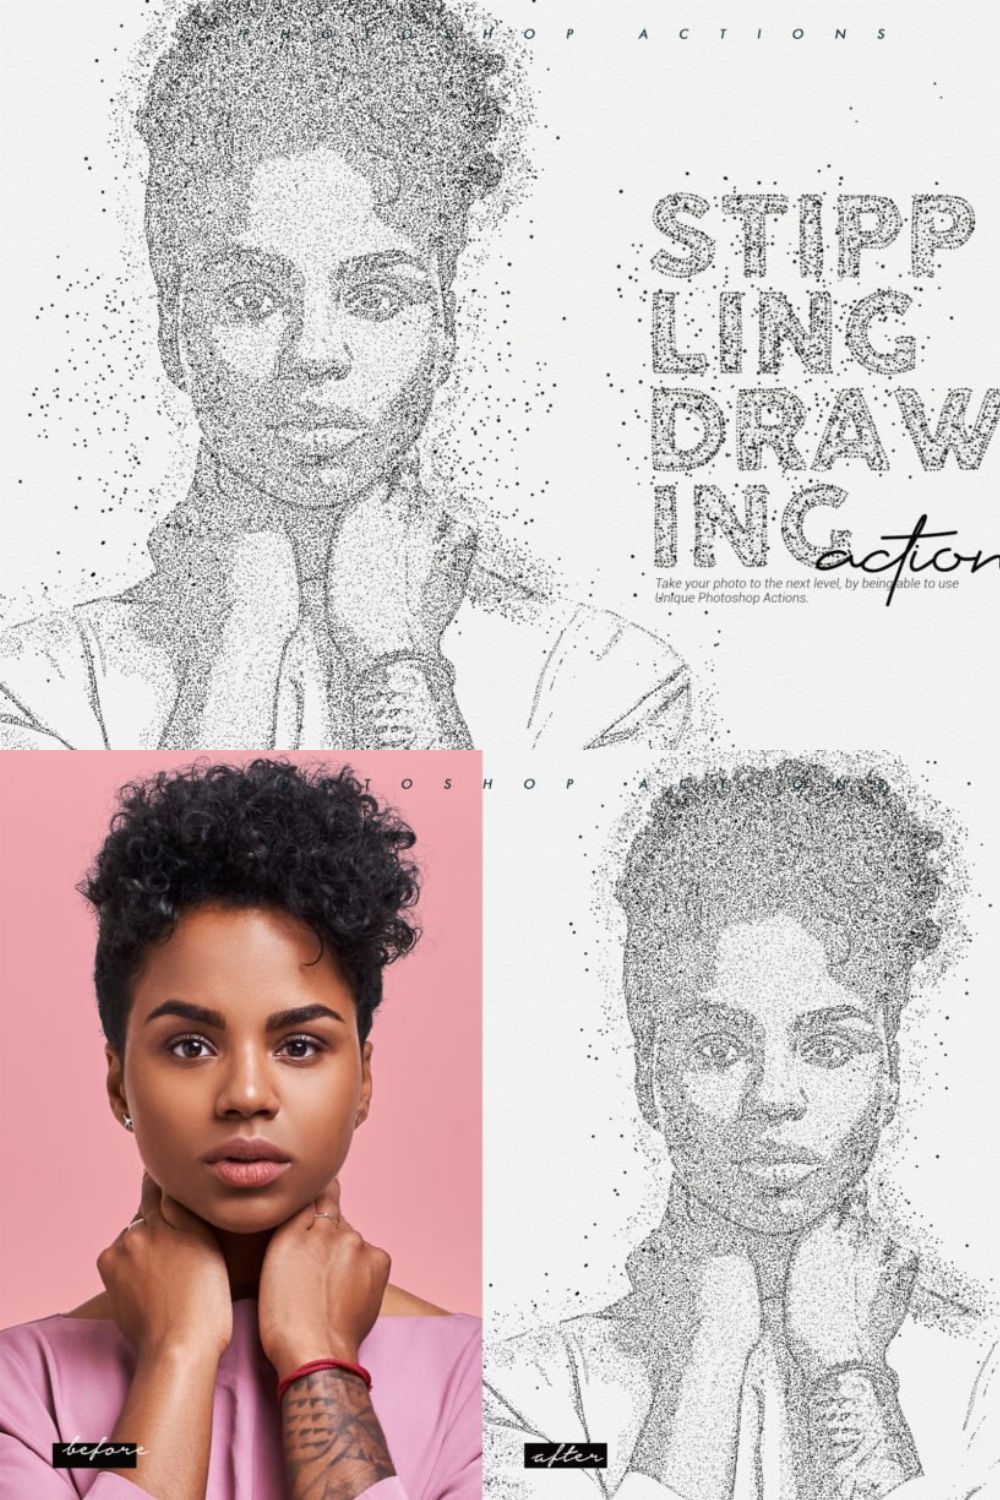
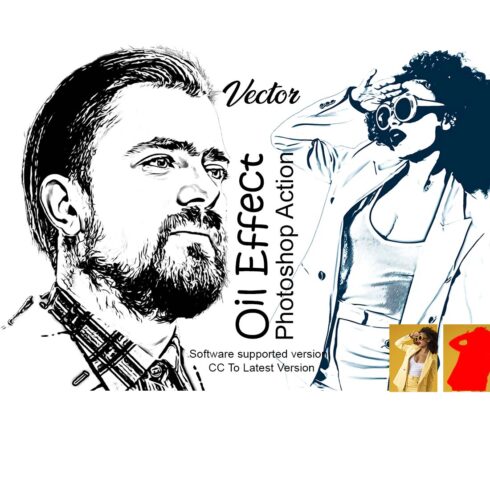
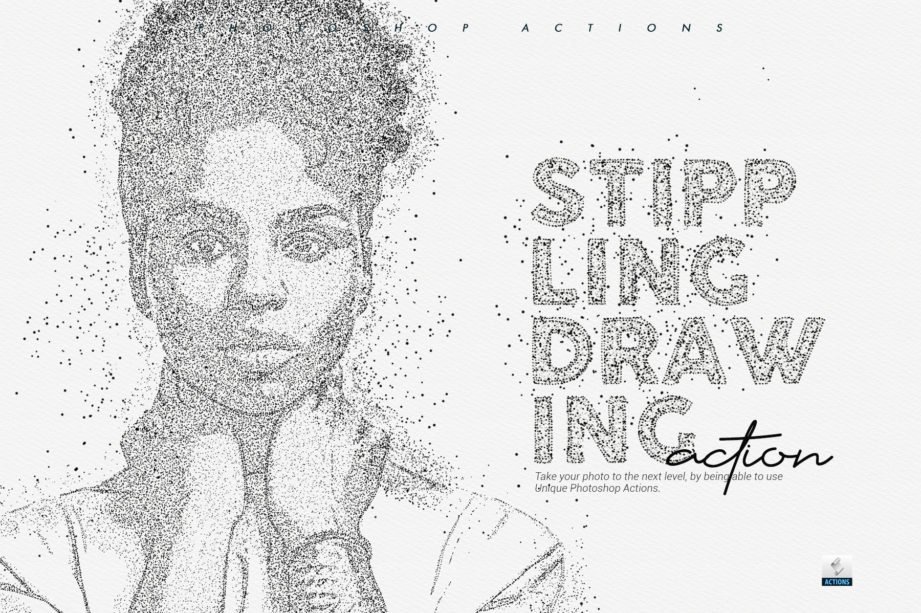
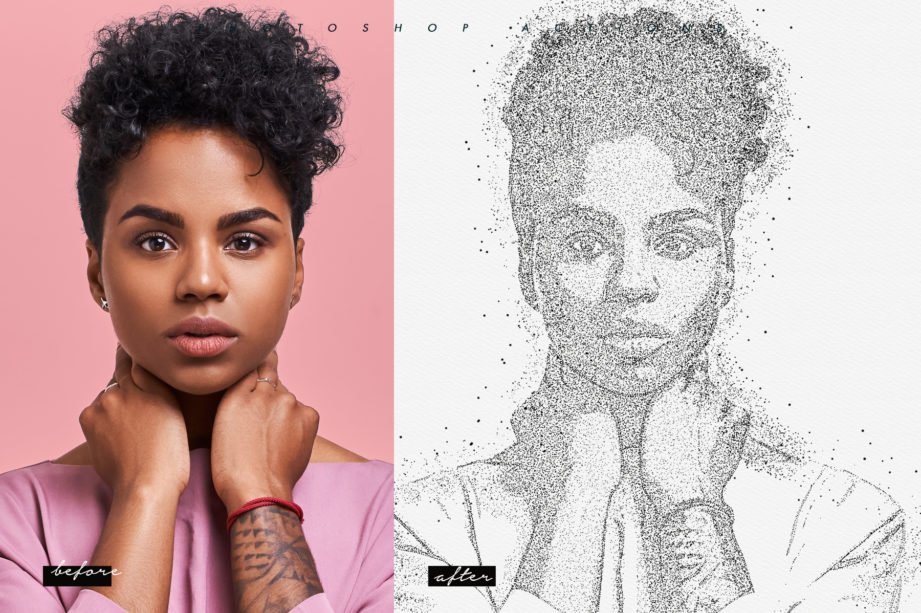
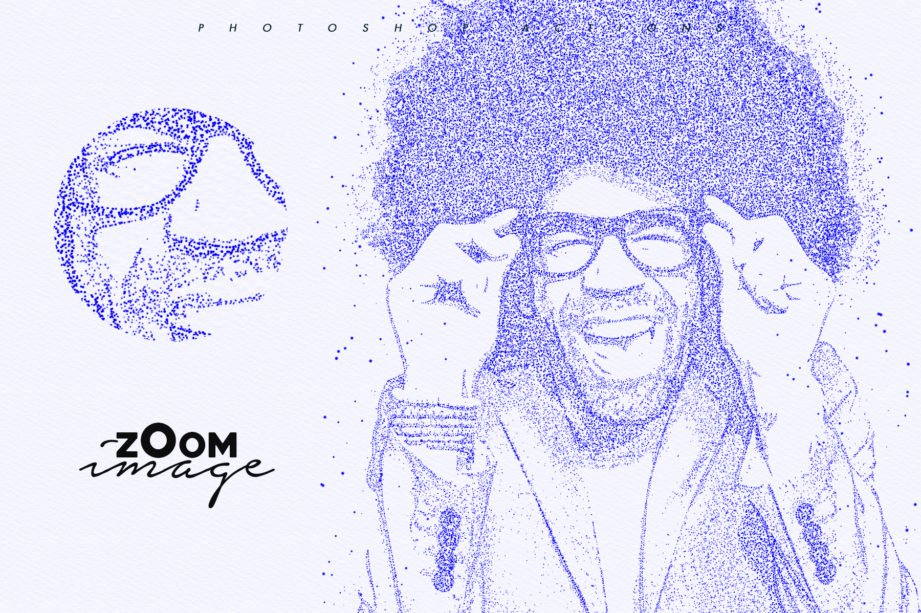
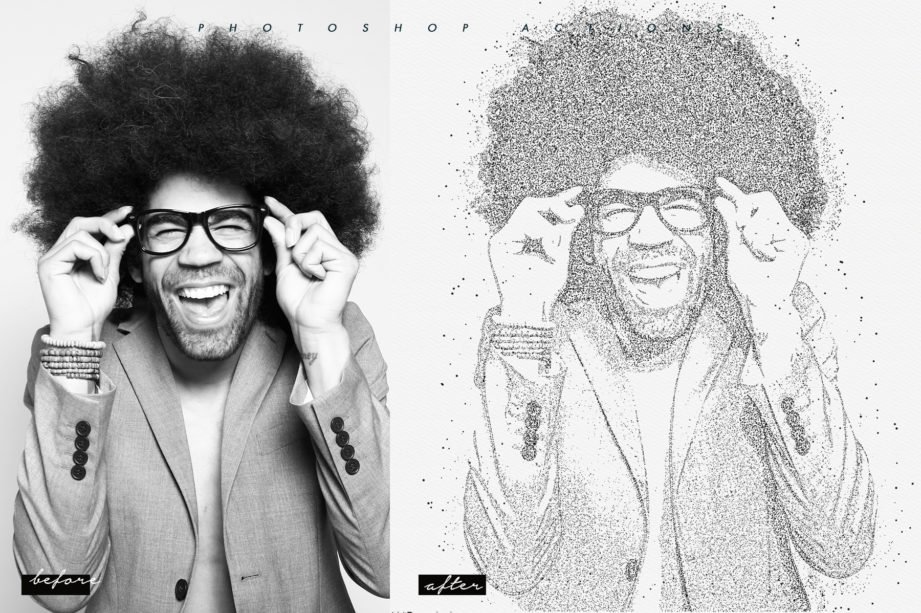
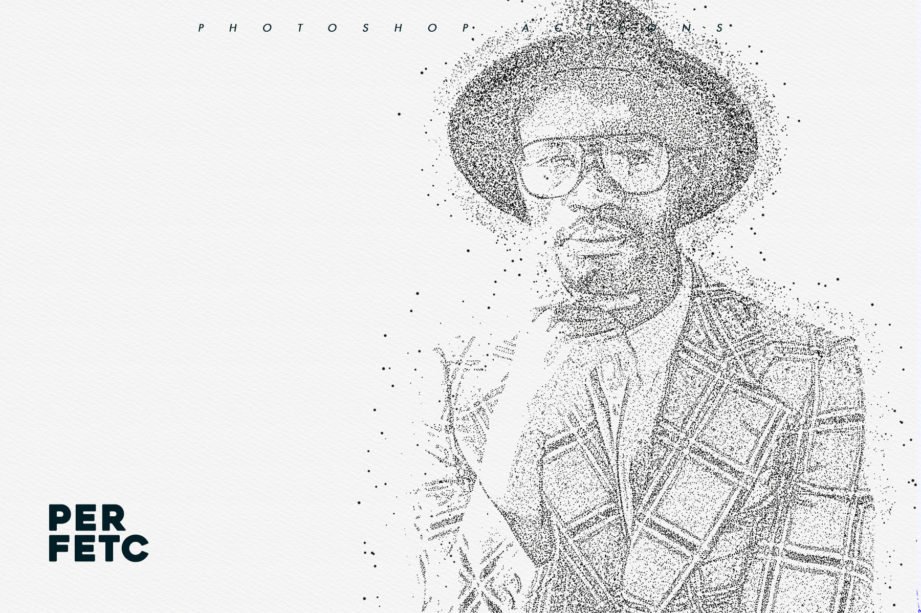
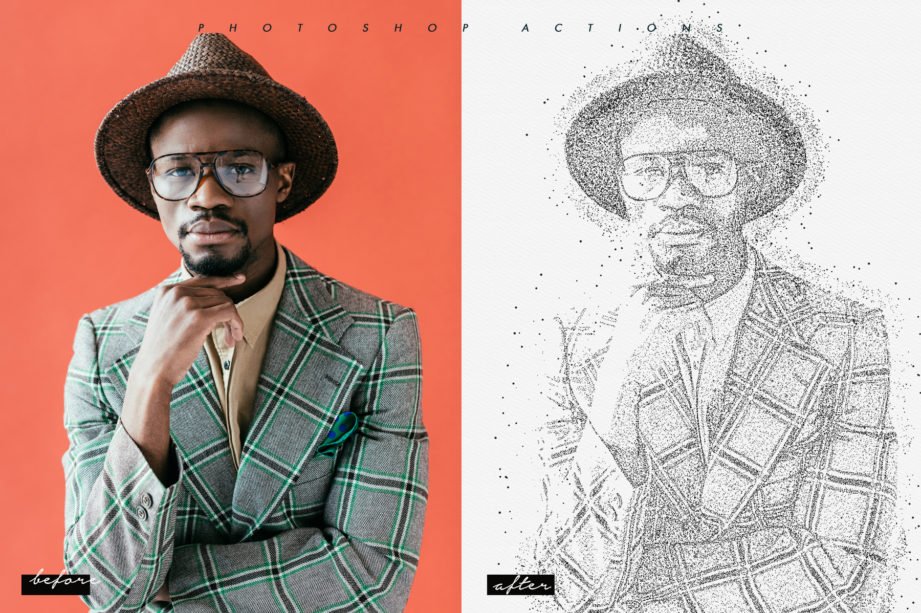
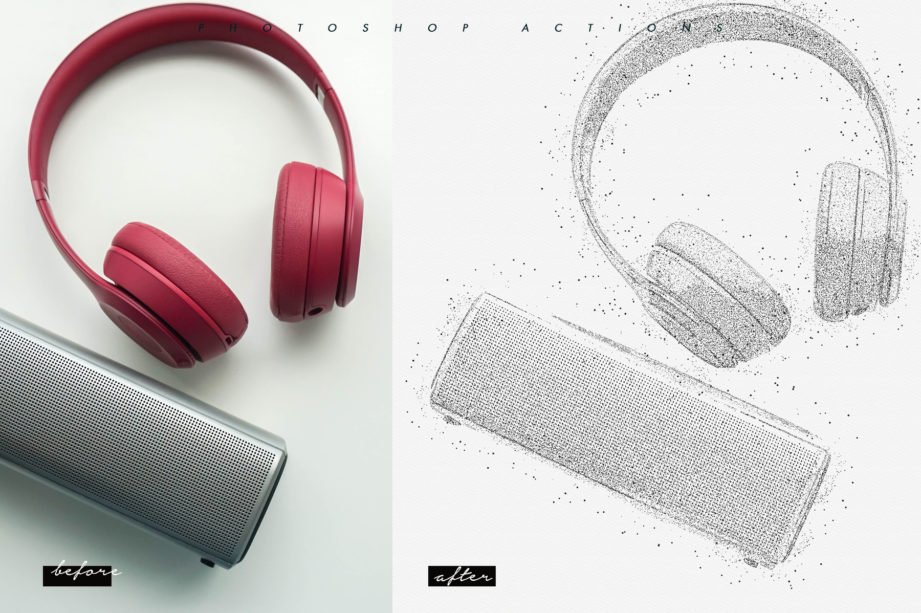
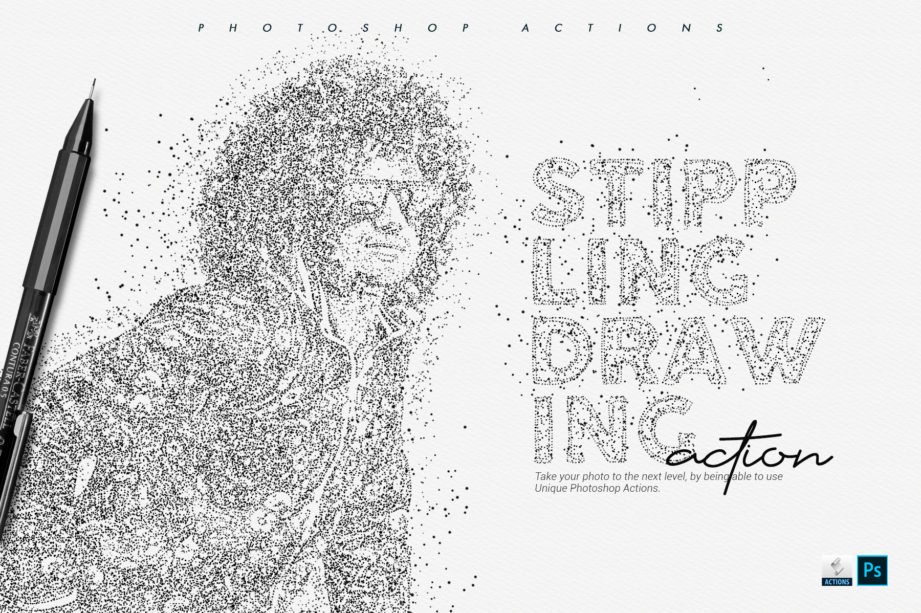
Add a cool stippling effect to your photos and impress your fam!
How To Install The Action:
Inside Photoshop, go to the ‘Window’ menu and select ‘Actions’. A window
will now appear on the right-hand side.
Inside the Actions window, click on the top right-hand corner icon to reveal
the drop-down menu. From here select ‘Load Actions…’. Select the action which
came with the download.
The action will now appear in the actions panel.
How To Use The Action:
Open a photo to work with
Leave the photo layer locked and set as the ‘Background’. To set your photo as the Background, select your photo layer and go to the menu ‘Layer’ — ‘New’ — ‘Layer from Background..’. Please refer to the video tutorial if you need more help here.
Create a new layer above the background layer called ‘effect area‘. MUST be all lowercase.
With the ‘brush’ layer selected, brush onto the areas of your photo that you want to apply the effect to.
Play button found at the bottom of the action panel or play :).
Things To Check and Remember:
Your photo is in RGB color mode
Your photo is in 8bit color mode
This action has been tested and works on Photoshop CS4, CS5, CS6, CC to CC2019 (tested in the English version)
You are running the English version of Photoshop.
If you are experiencing errors, try resetting your Photoshop preferences. To do this,
hold down Alt, Ctrl, and Shift keys (Mac: Command, Option, Shift) while starting up Photoshop.
A dialog box will appear asking if you wish to delete the preferences/settings file.
Avoid using small resolution images. For the best results, use Photos between
1500px – 3000px high/wide. Chances of the action running into errors will increase the
lower you go under 1000px high/wide. Photos with good color variation and contrast will
work best.
Avoid brushing onto mainly black areas on a photo. The effect is not very prominent when
applied to mostly dark areas of a photo.
Remember that adjusting your photo resolution will determine how wide the parts spread out.
If you run the action at 72DPI, then the parts will be quite close – if you run it at 300DPI, the
parts will be spread much wider. Please refer to the video tutorial for a demonstration of this.
Please reach out to us in case of any queries.