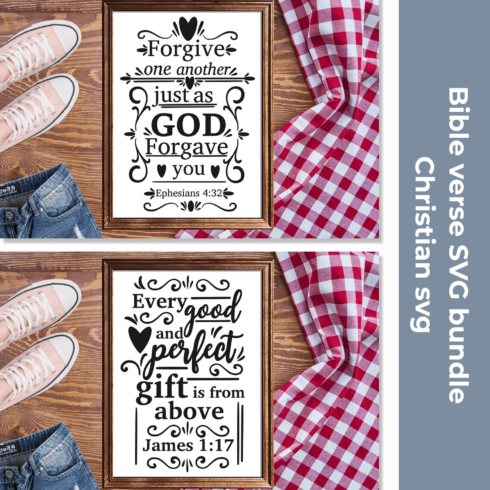
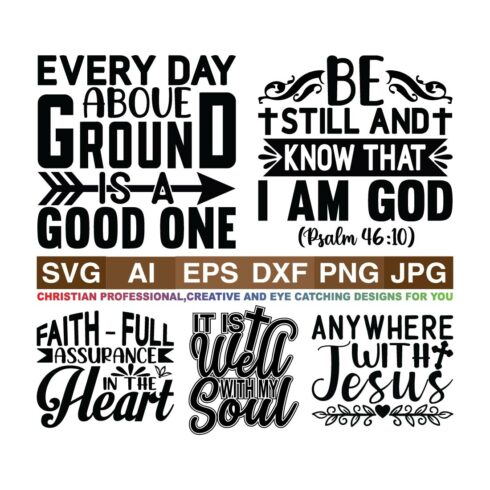
Faith SVG Collection
$4

| Created by | NewYorkDesignStudio |
|---|---|
| File type | DXF, EPS, PNG, SVG |
| Date of Creation | September 3 2022 |
| Color | black brown green orange purple |
| Rating | 5 (11) |
| Category |
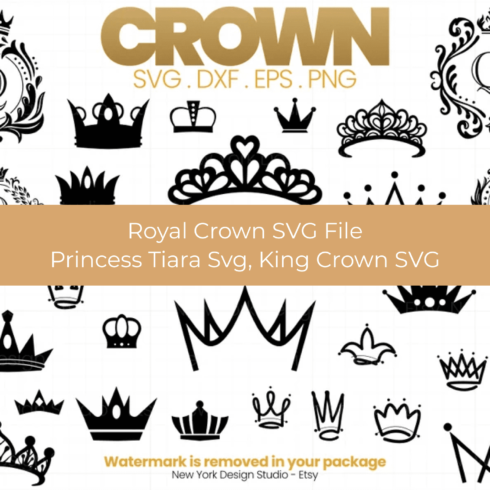
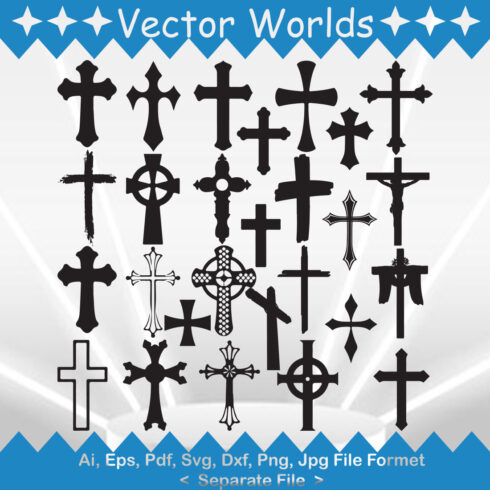
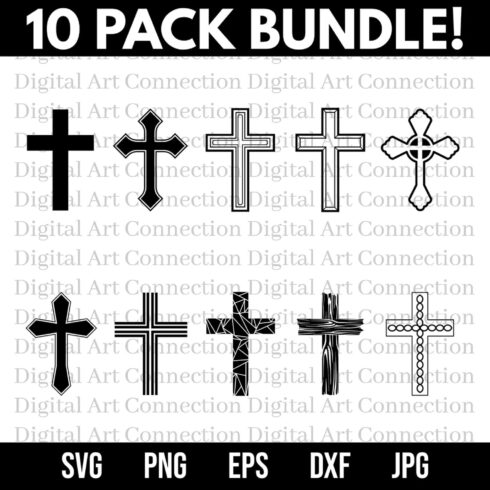
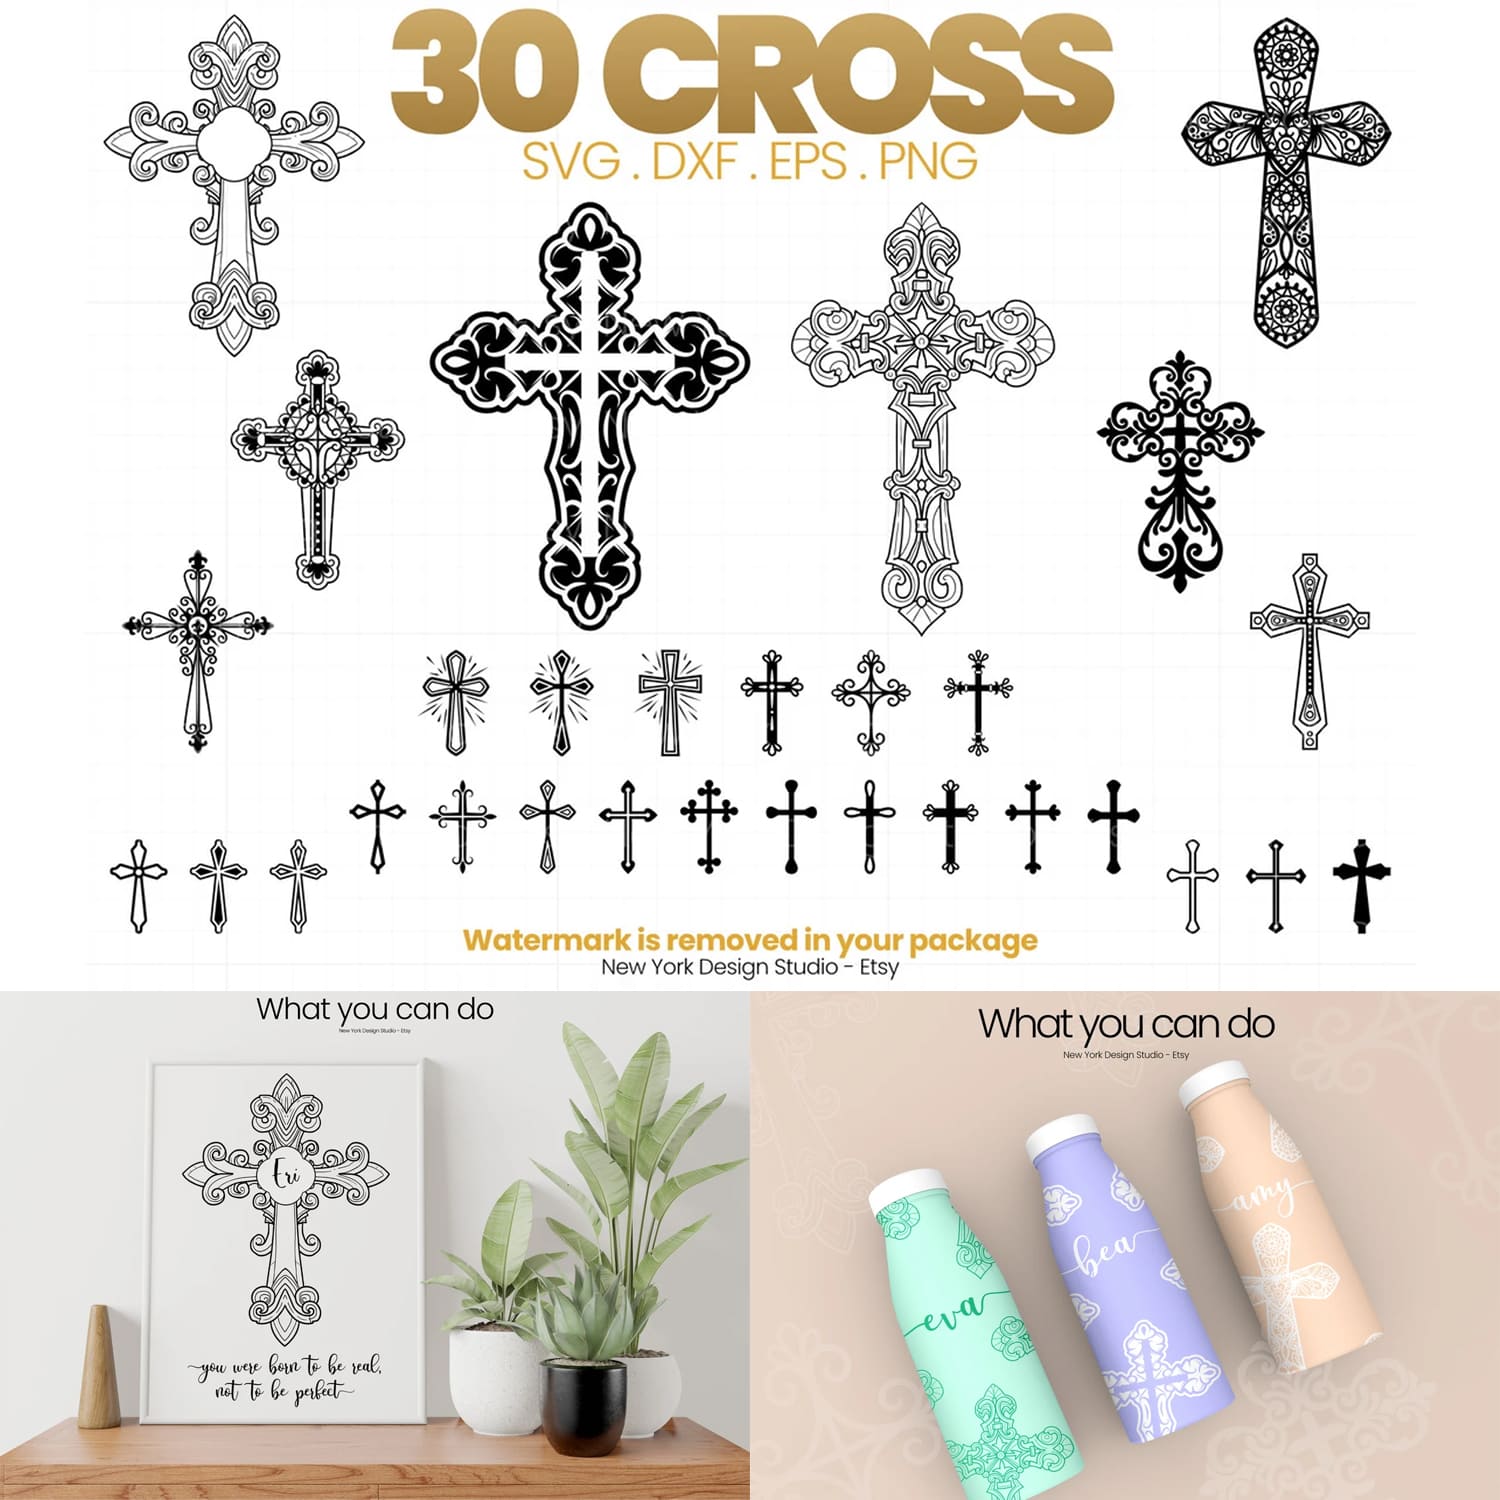
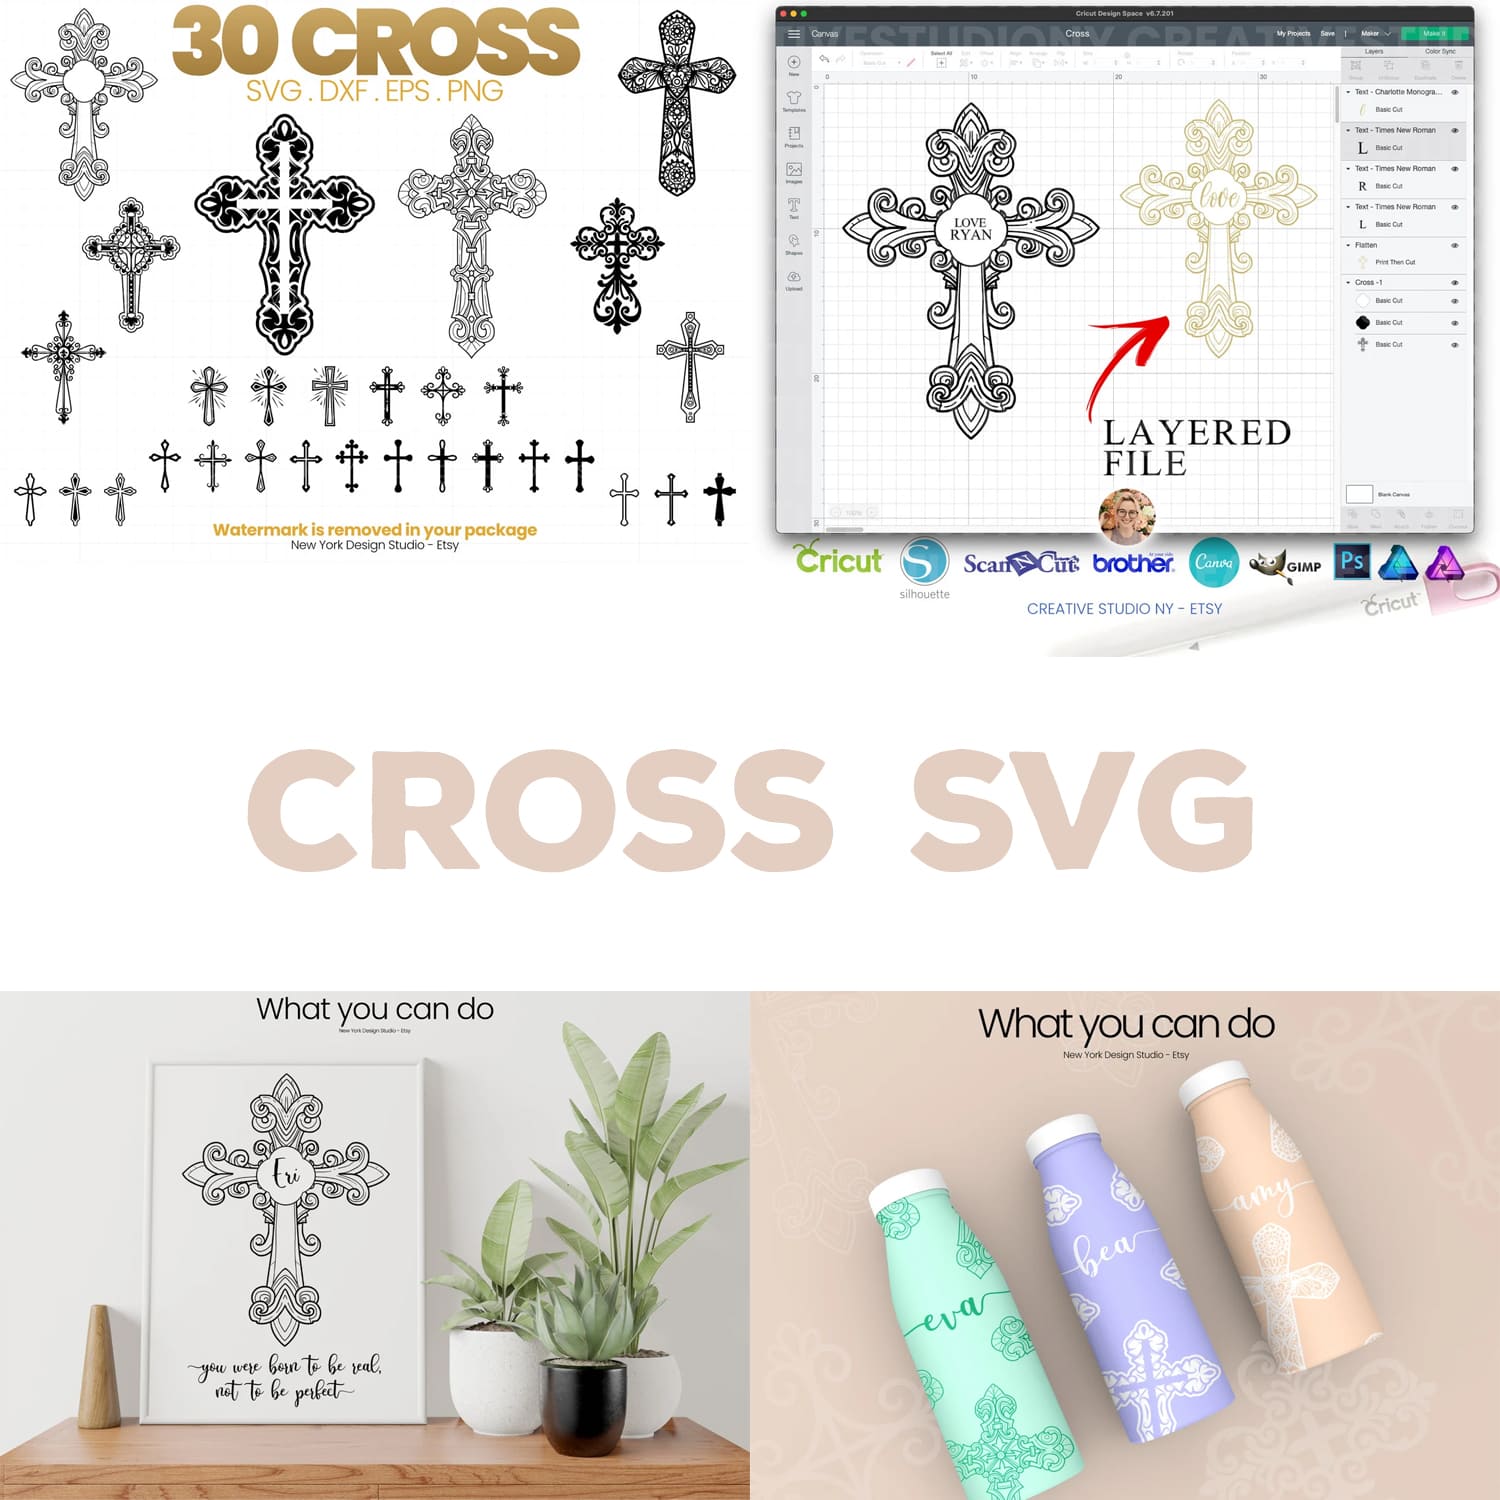
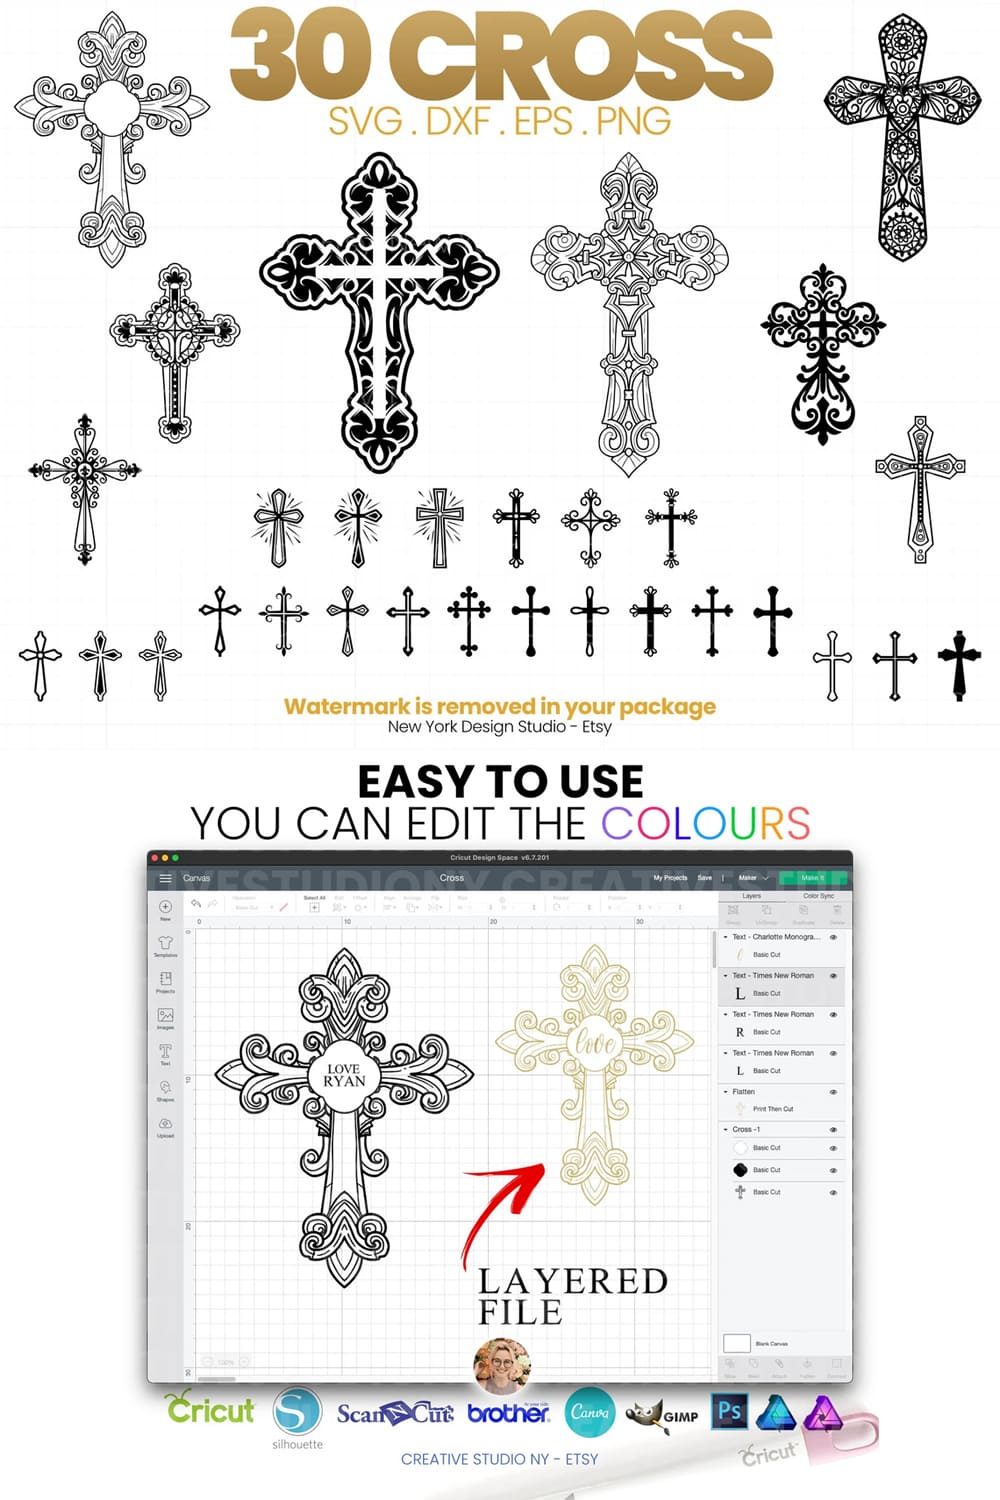
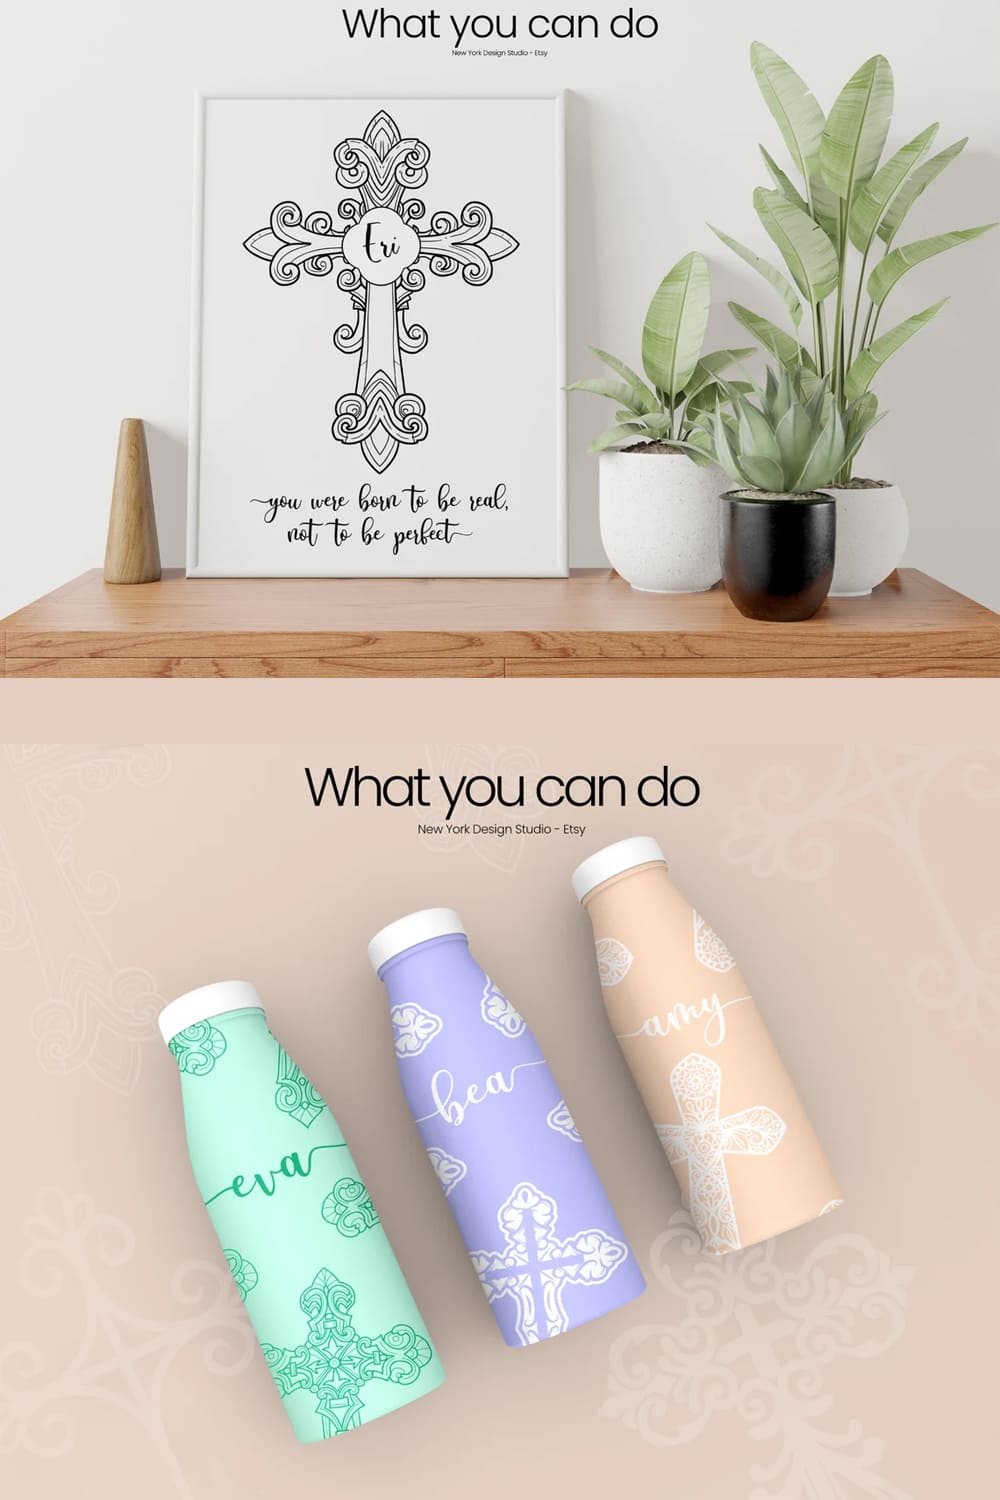
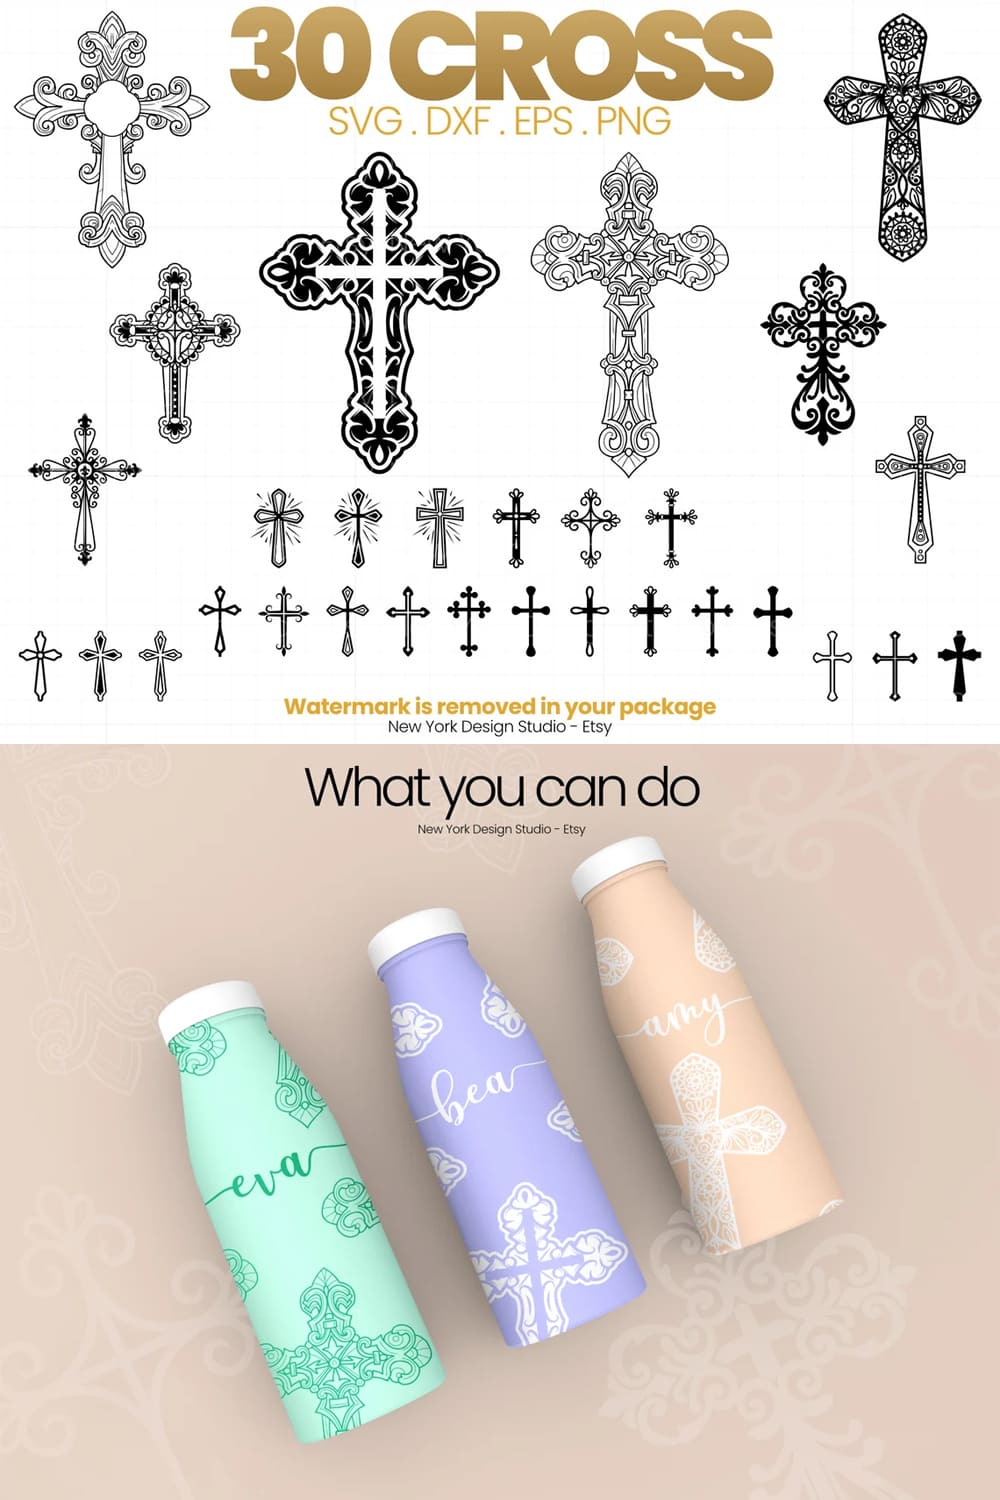
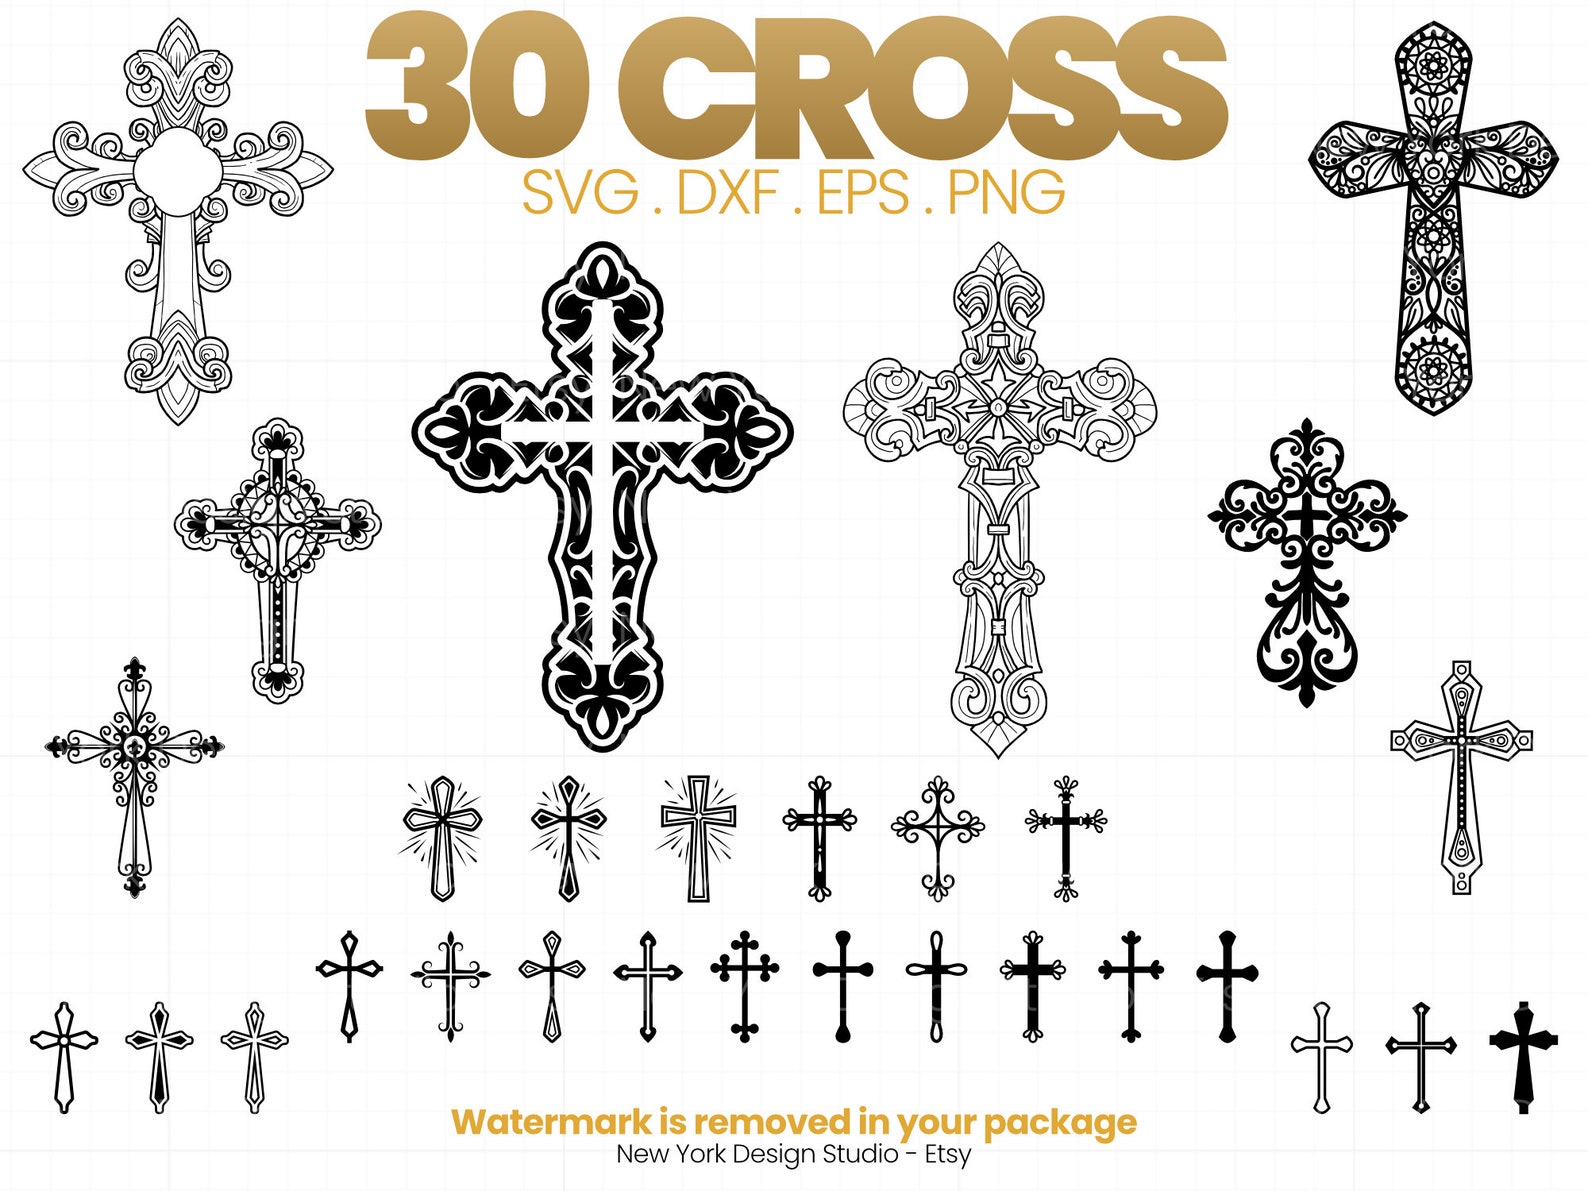
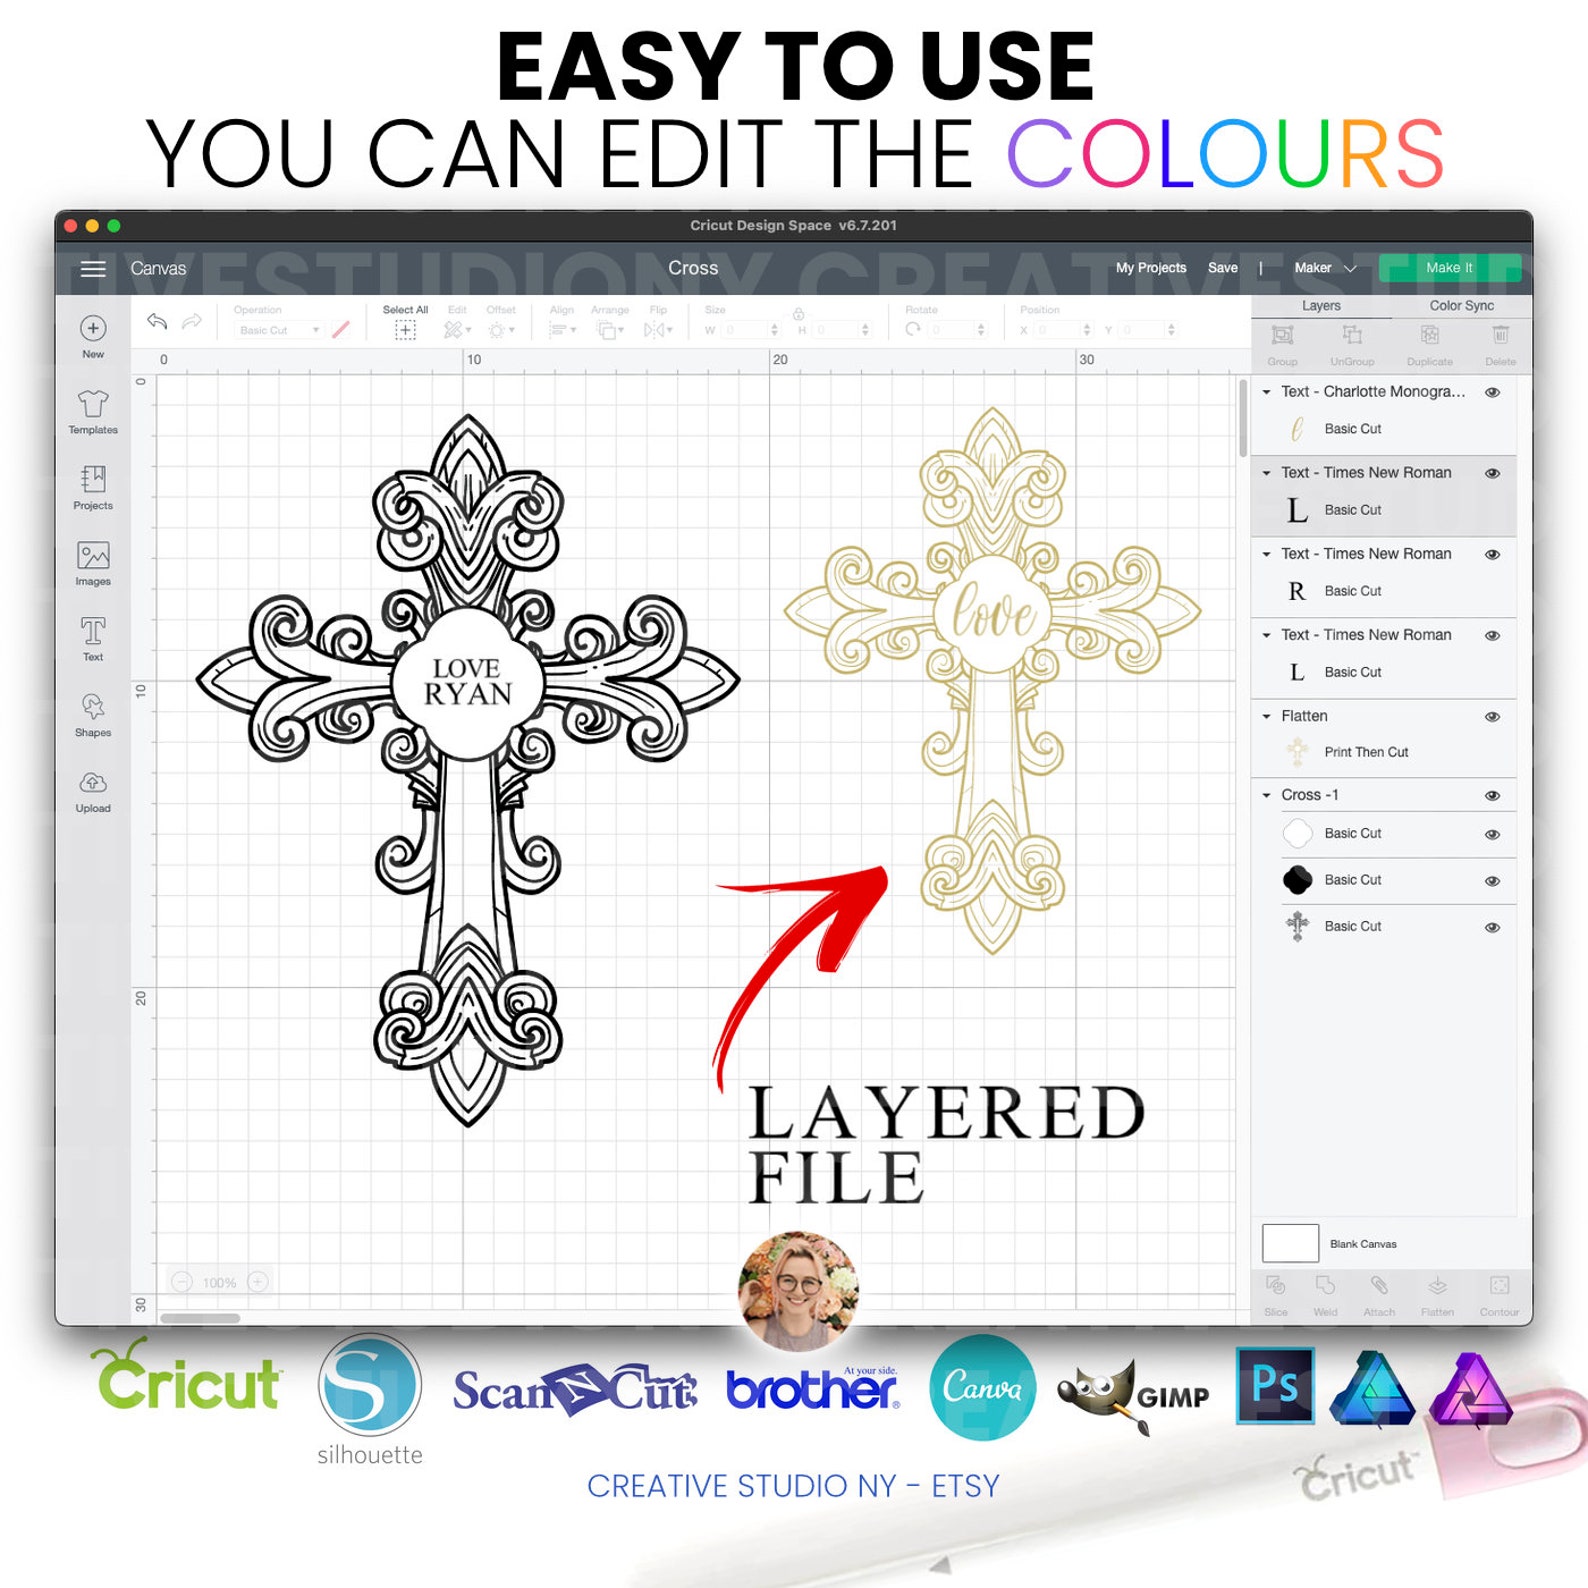
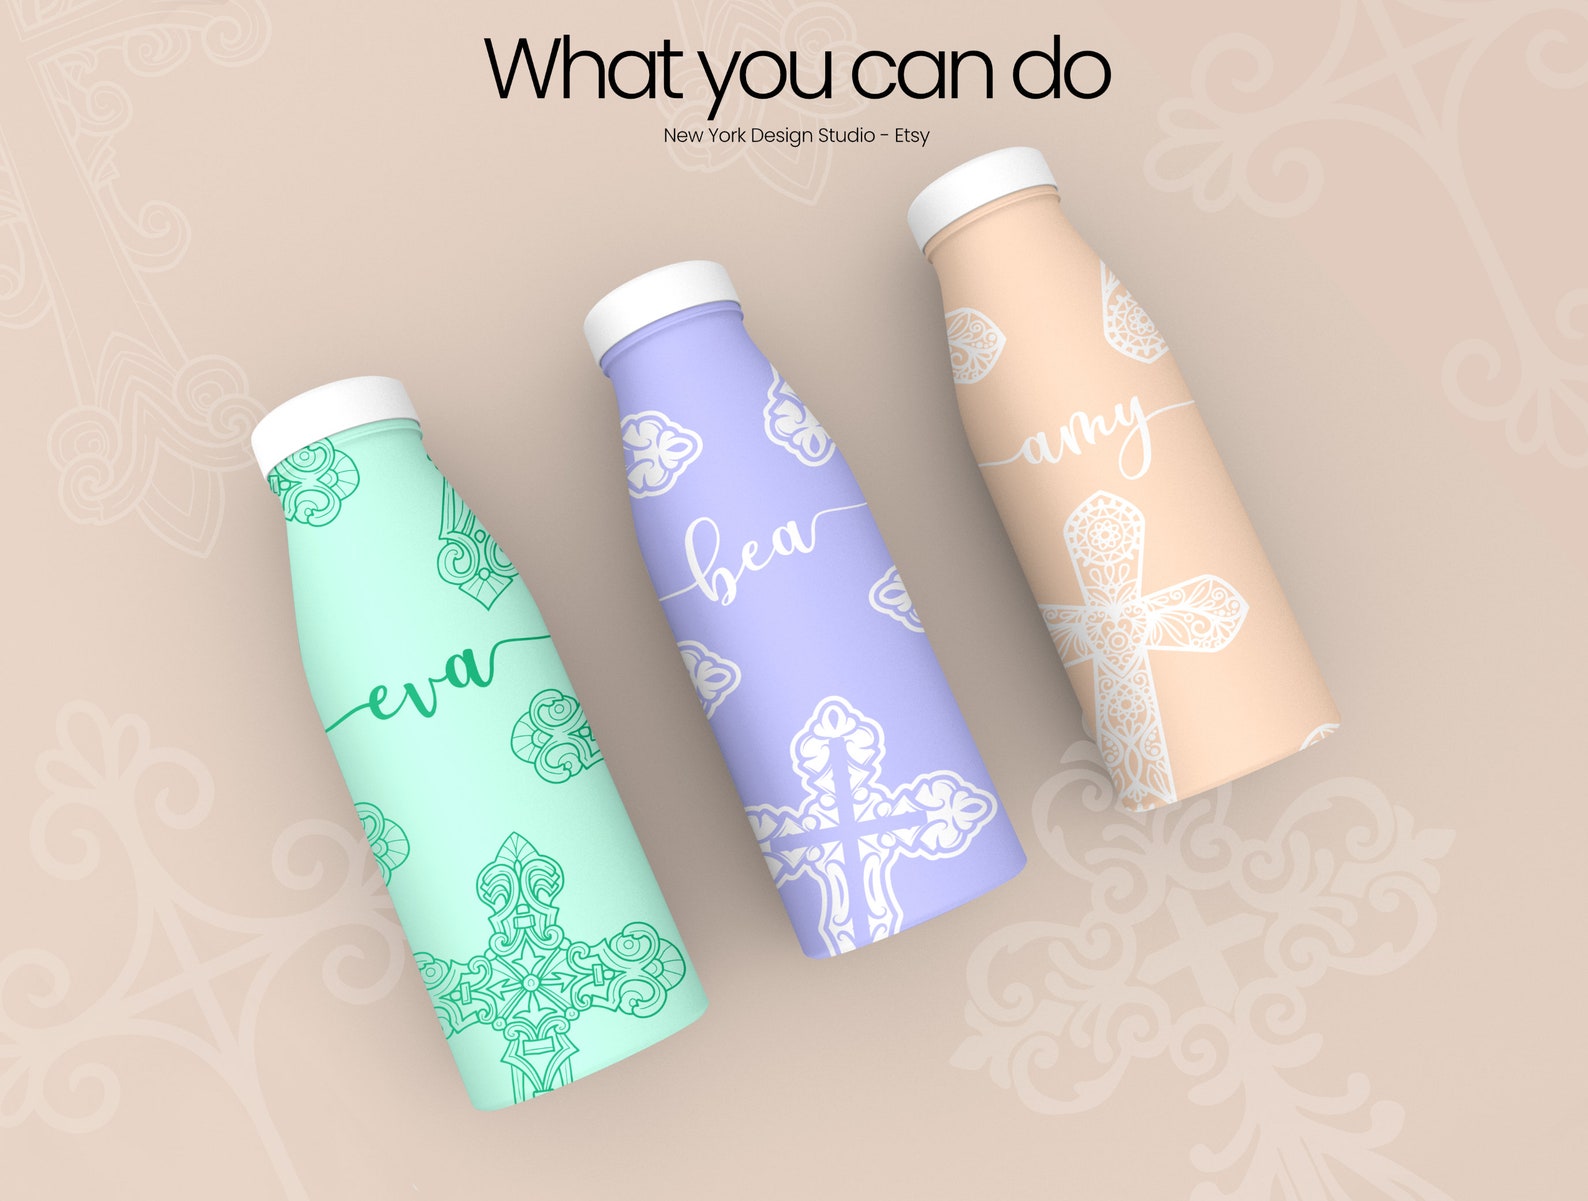
Crosses Clipart
Cross svg files, Jesus cross svg files, Cross clip art Etc. You have enough crosses to create stunning design. That is a Huge bundle!
* Commercial License, Yes!
HOW TO DOWNLOAD AND UNZIP YOUR ETSY SVG FILES USING YOUR PHONE:
FOR IPHONE USERS:
1. Access your files on Etsy.com from your phone’s web browser. For iPhone users, I recommend safari. Go to Etsy.com from your web browser, NOT the app.
2. Then, login and go to your Purchases and Review tab, and navigate to the file you want to download. CURVE all their attempts to get you to use their site from your app. Again, you cannot access your downloads from their app.
3. From here, you can tap the Download Files link which will take you to a new page.
4. Hit the download link. Your files will automatically download to your “Files” app.
5. Then, click the beautiful blue download arrow in the top right hand corner.
6. Tap the small bar that pops up and your iPhone will automatically redirect you to your iCloud Drive in your “Files” app where the .zip is automatically downloaded. If it doesn’t redirect you, just open your Files app and go into your Downloads folder.
7. Tap on your zip folder. It will automatically extract the zip folder and all of the files will be accessible through a new folder. The new folder will have the same title as the zip folder, but you will know the difference between the folders because the zip folder will end in .zip and will not allow you to access the individual files.
8. Once this is done, move the files and rearrange them in a designated SVG Files Folder within your Files app if you haven’t already.
I also recommend downloading the Google Drive app and transferring files into that space.
FOR ANDROID USERS:
1. Access your files on Etsy.com from your phone’s web browser. For Android users, I recommend Chrome. Go to Etsy.com from your web browser, NOT the app.
2. Then login and go to your Purchases and Review tab. CURVE all their attempts to get you to use their site from your app. Again, you cannot access your downloads from their app.
3. Tap the download link by touching and holding or tapping the download icon.
4. Your phone will automatically download the files into your “Files” or “My Files” app, depending on which one you have. However, most Android users find that they prefer using the free “Files by Google” app, which uses your Google Drive cloud storage to save and manage files. Because I don’t have a lot of experience using Androids, (like any actually, sorry), I found this article helpful in understanding how to manage your downloads.
5. In the Files by Google app, tap Browse, then navigate to your digital download.
6. Tap the .zip file and on the next screen, select Extract. It will automatically extract the zip folder and all of the files will be accessible through a new folder. The new folder will have the same title as the zip folder, but you will know the difference between the folders because the zip folder will end in .zip and will not allow you to access the individual files.
7. Once this is done, move the files and rearrange them in a designated SVG Files Folder within your Files App if you haven’t already.
CRICUT DESIGN SPACE:
HOW TO UPLOAD FILES ON CRICUT DESIGN SPACE:
For both iPhone and Android users, when you open Cricut Design Space app, hit the upload button and then from there, tap “Browse Files” and it will automatically take you to your Files folder where you saved your SVGs!
While this process seems a bit complicated, most crafters who primarily use their phone learn to navigate the process with ease, and learn what apps and files work best for them.
HOW TO UNZIP OR EXTRACT FILES:
When you download cut files online, they usually come in a zipped folder and need to be extracted before you can use the files.
To extract, double-click the folder and then choose extract all. You’ll know the folder has been unzipped because you’ll see a new icon of an open folder in your directory.
If you don’t have a zip software, you can search one for free on the web such as peazip.
SILHOUETTE STUDIO:
HOW TO IMPORT DXF FILES INTO SILHOUETTE STUDIO:
Once you’re in Silhouette Studio, click file, then open. Go to the folder where you’ve saved your unzipped files and find the DXF file. Once you’ve found it, double-click the name (or select and click ok). This will import the file onto your mat.
HOW TO IMPORT DXF FILES INTO YOUR SILHOUETTE STUDIO LIBRARY:
Once you’re in Silhouette Studio, click file, library, and then import to library. Go to the folder where you’ve saved your unzipped files and find the DXF file. Once you’ve found the DXF file, double-click the name (or select and click ok). This will import the design into your library in the user designs folder. Once the design is imported, it will show up on the panel on the right-hand side. Double click the design to bring it onto your mat.
HOW TO CUT DXF FILES IN SILHOUETTE STUDIO:
When you first import a DXF file into Silhouette Studio, you’ll notice it’s only an outline, and there aren’t any cut lines. This is normal. Sometimes, it makes people think the file isn’t working right and will trace the cut lines to show up. But, you shouldn’t need to trace a DXF file. You can turn the cut lines on when you’re ready to cut.
Once the design is on the mat, select the entire design. Right-click and choose to make a compound path. Up to this point, all the shapes in the file are separate. The two circles inside the O are separated from the outside of the O and so on. When you make a compound path, it connects everything together. Once I’ve done this, I like to fill in the design with colour. It makes the procedure more comfortable to work with when it’s filled in.
If you want to colour different elements of different colors, you’ll need to make the compound paths separately. So, let’s say we are going to make the word hello yellow and the flourishing coral. Start by selecting all the parts of the word hello, including all the centers. Right-click, choose to make a compound path and then fill it with yellow. Next, select the flourish. Right-click, choose to make a compound path and then fill it with coral.
Next, double click on the image (if you have multiple colors, you’ll need to do one colour at a time). You’ll notice all of the points will show up, and a point editing window should open on the right. One of the reasons DXF files cut slower is because there are so many points in the files. Luckily, a simplified tool automatically re-adjusts the image’s points and simplifies it to the smallest number of points without changing the shape of the image.
Click on the simplify icon, and you’ll notice a bunch of the points disappear, but the shape of the image stays the same. This will help your machine cut the design much quicker. If you have a large or complex composition, it might take some time for the design to be simplified, so be patient. It’s worth it in the end.
Once you’re ready to cut, select the entire design and then click the send icon located in the top right-hand corner. You need to click on the cut icon. This turns on the cut lines, and now you can send the design to your Silhouette.
Now, you know how to import and cut DXF files in Silhouette Studio!