Product Specs
| Created by | KiraYamato Design Studio |
|---|---|
| File type | ATN, JPG, TXT |
| File size | 7.65MB |
| Date of Creation | February 8 2023 |
| Color | brown green orange |
| Rating | 5 (10) |
| Category |
Glassy Photoshop Action
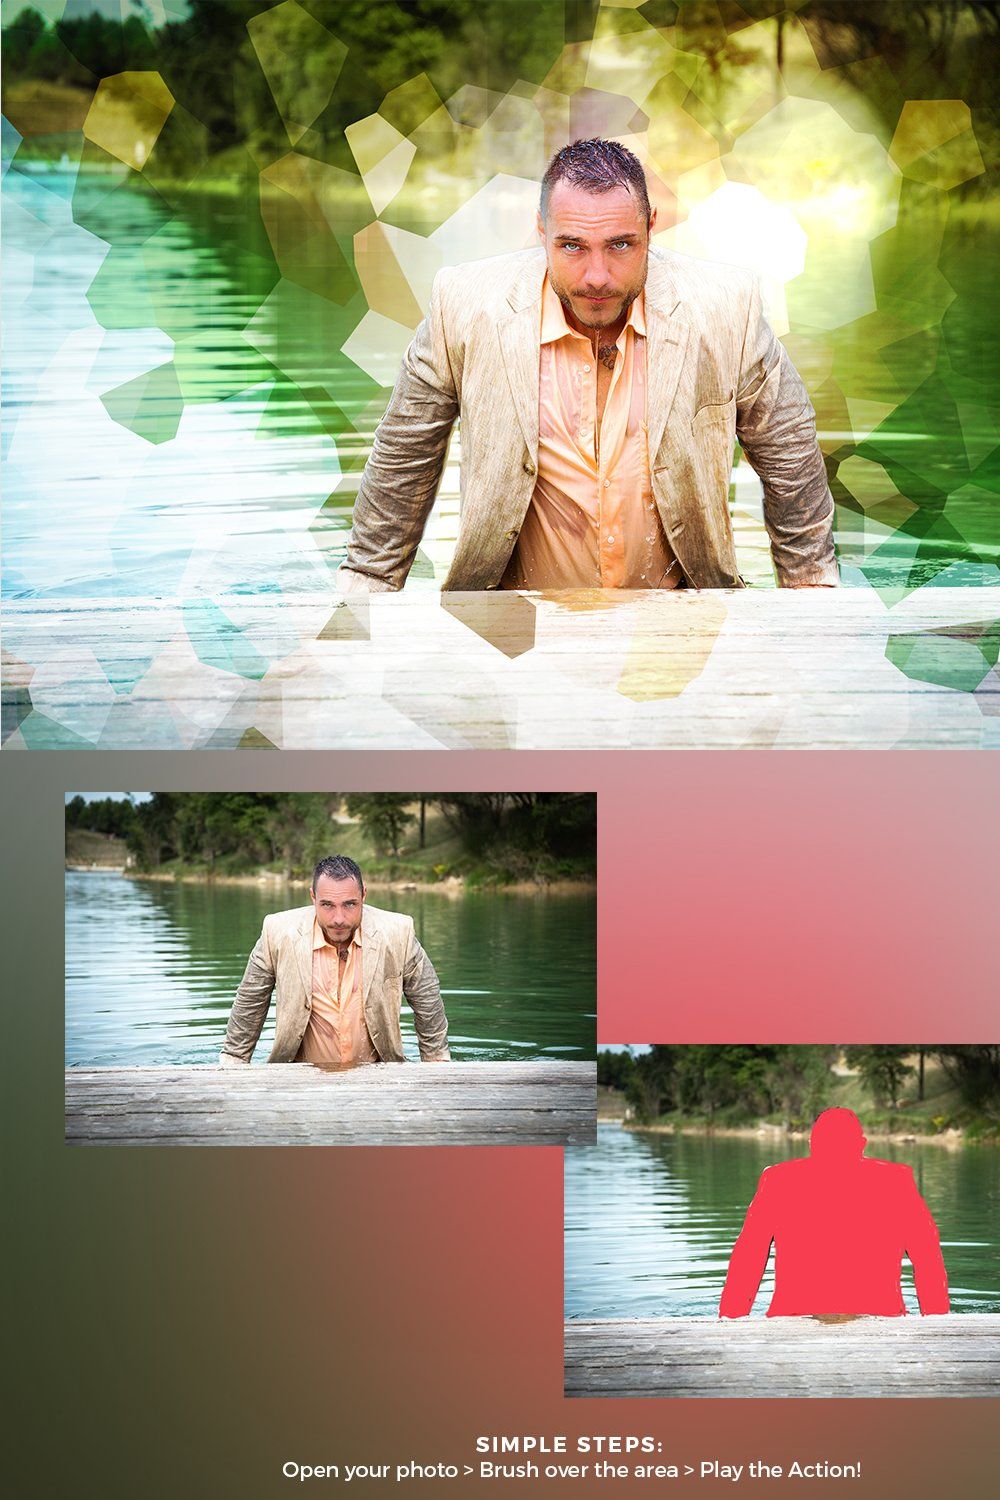
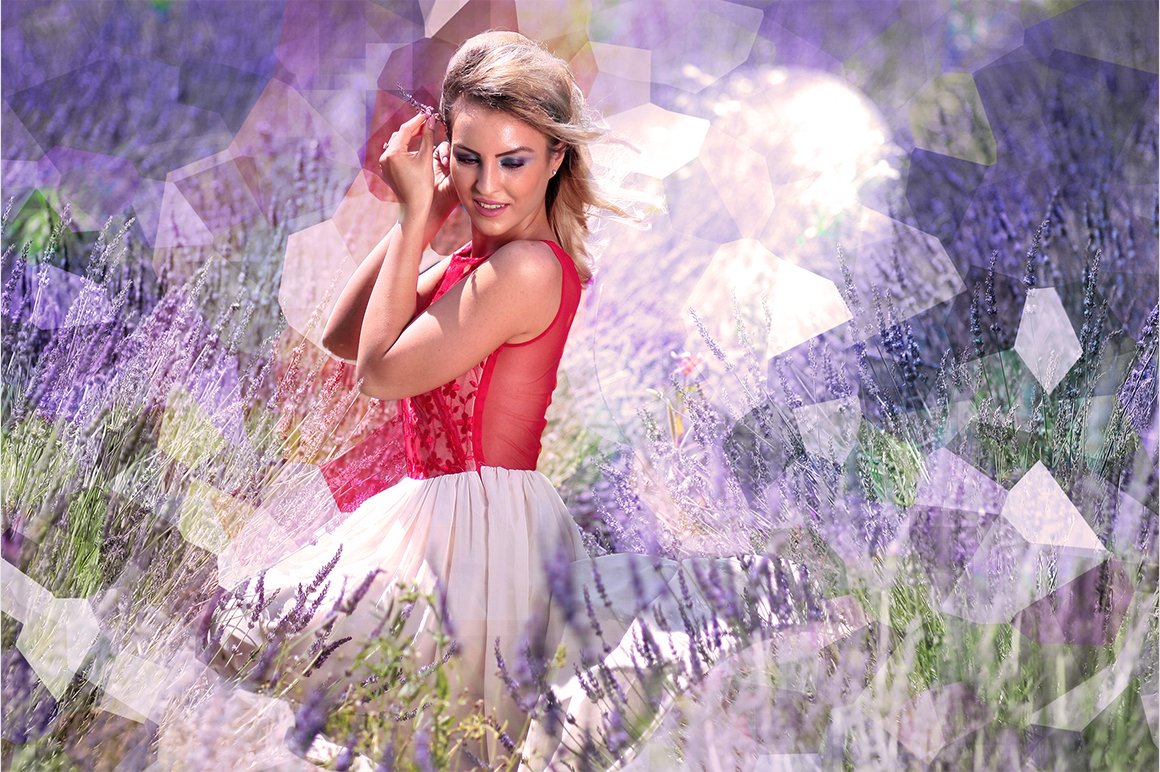
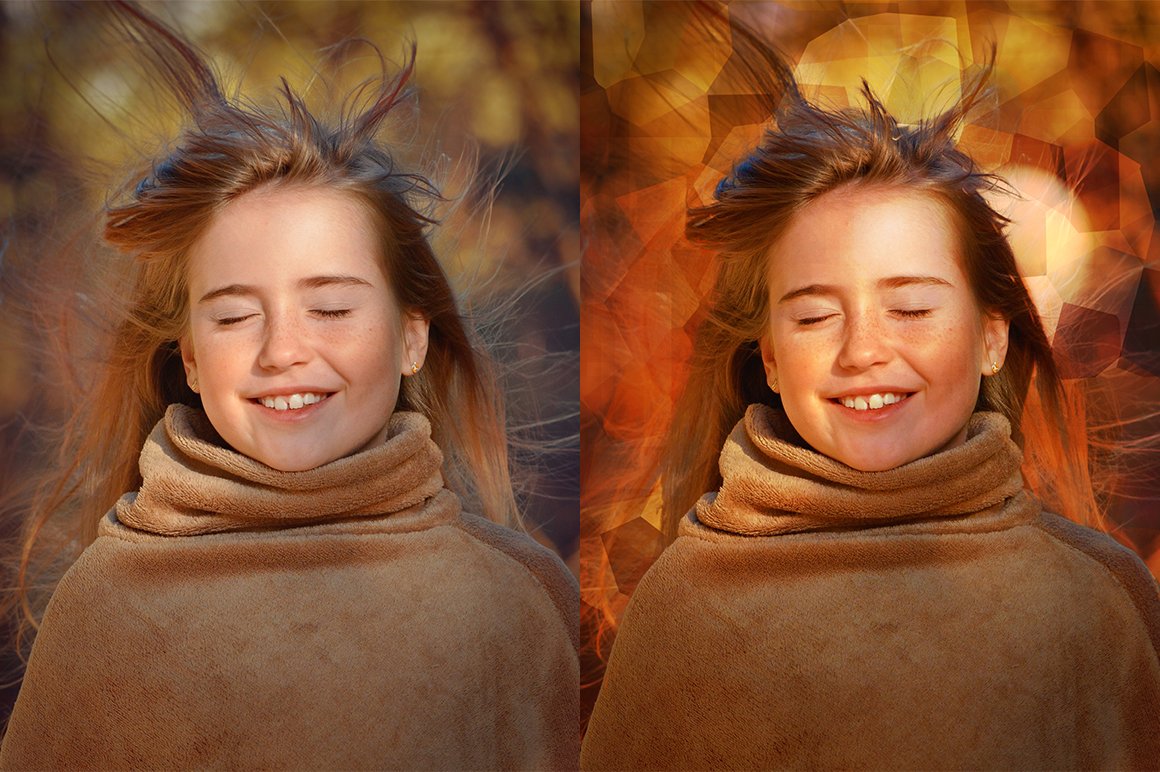
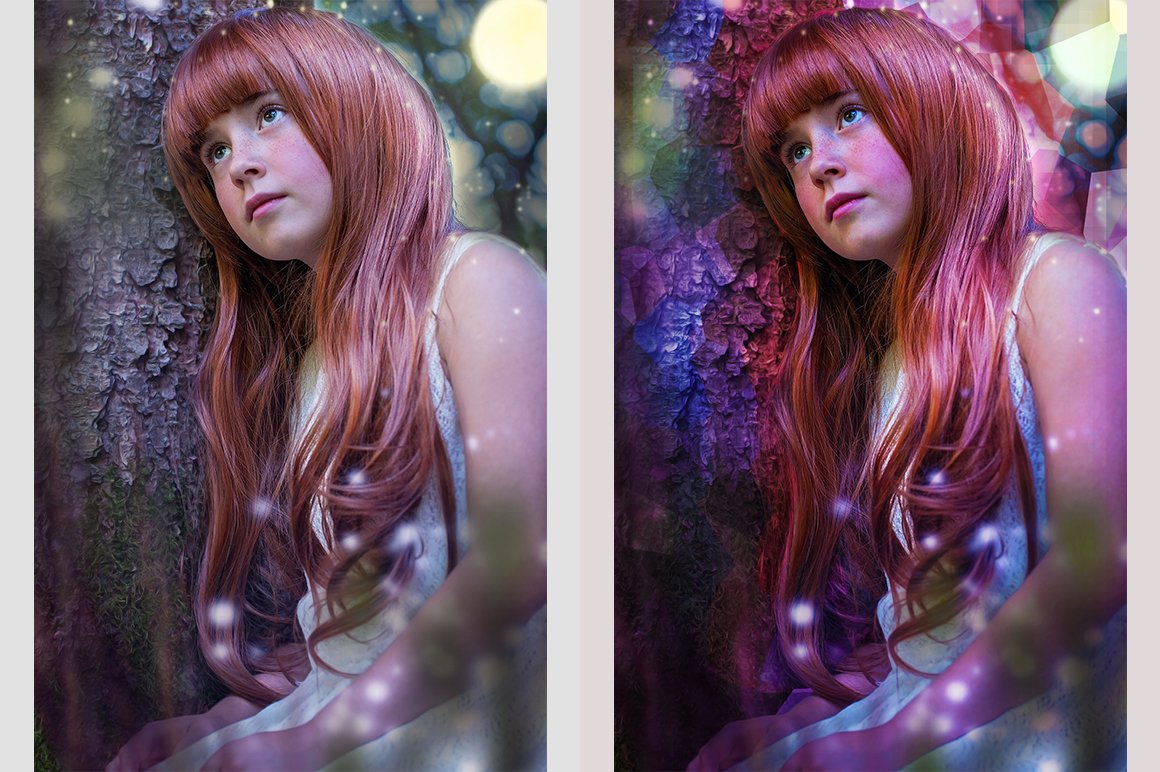
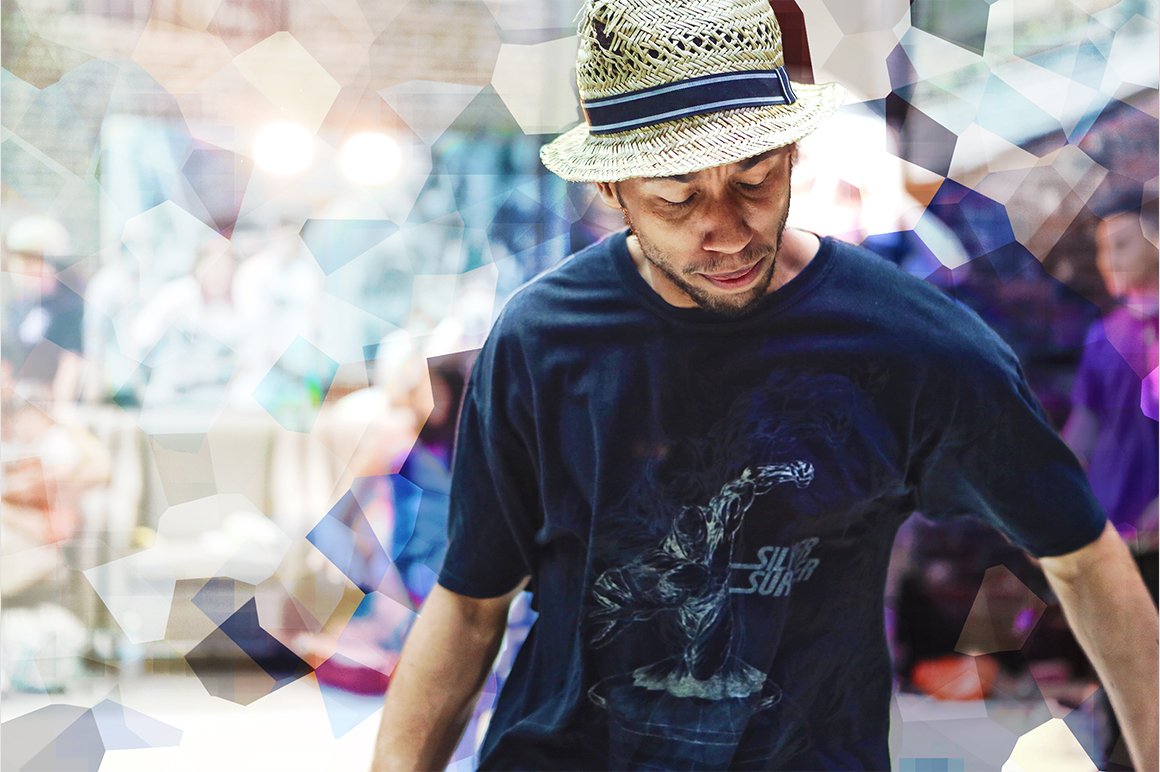
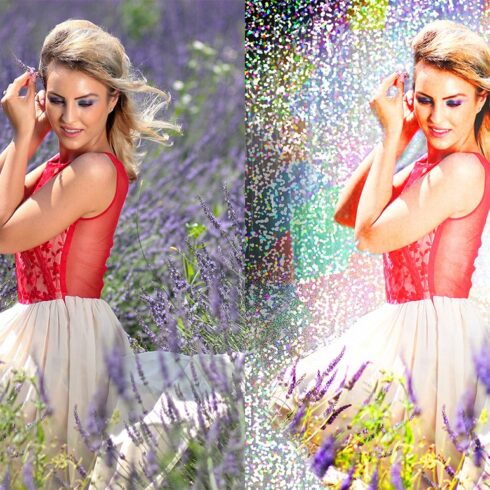
Save hours of creative work by using this professional photoshop action to create a Glassy effect on your photos. Detailed and creative result with a single click action!
Features
Action Installation
Open Photoshop and open the Actions panel, if you cannot see it by default on the right side of the Photoshop interface, click “Window Actions” to show it.
On the Actions window, click the coner icon on the top right to show a drop-down menu, then click “Load Actions…”. Locate the “Glassy.atn” on your filesystem.
“Glassy.atn” wil now appear on your Actions panel.
How to use the Action
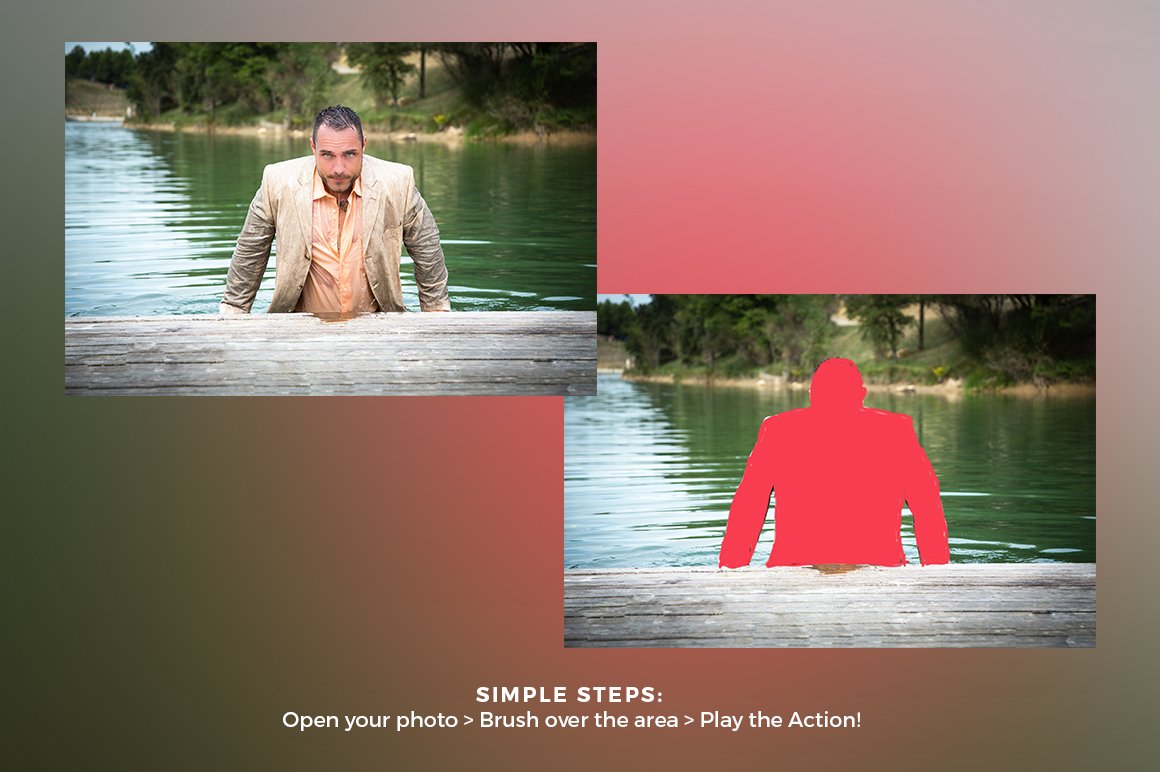
Open the photo you wish to apply the action on.
Make sure that the photo layer is locked and set as “Background”. Newly opened photos are set as “Background” and locked as default. If the opened photo is not, set it by clicking “Layer New Background from Layer”.
Create a new layer on top of of the “Background layer”, named it “brush”. All letters must be lowercase for the action to work properly.
Select the “brush” layer, then brush the areas of the image you want the effect to be applied.
For the final step, expand the “Glassy” set inside the Actions panel and click the play button.
I hope you’ll find this action very useful. Please don’t forget to rate and share it, it will be highly appreciated. Thanks!
