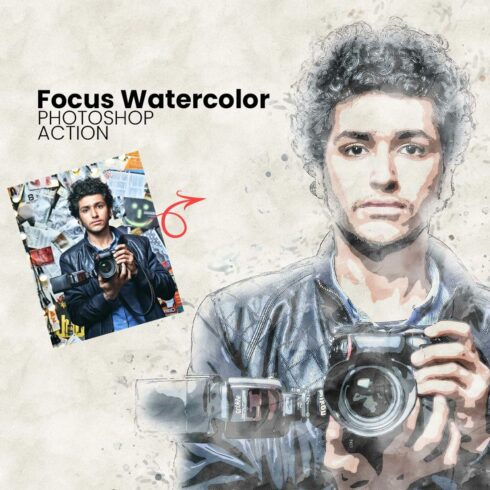
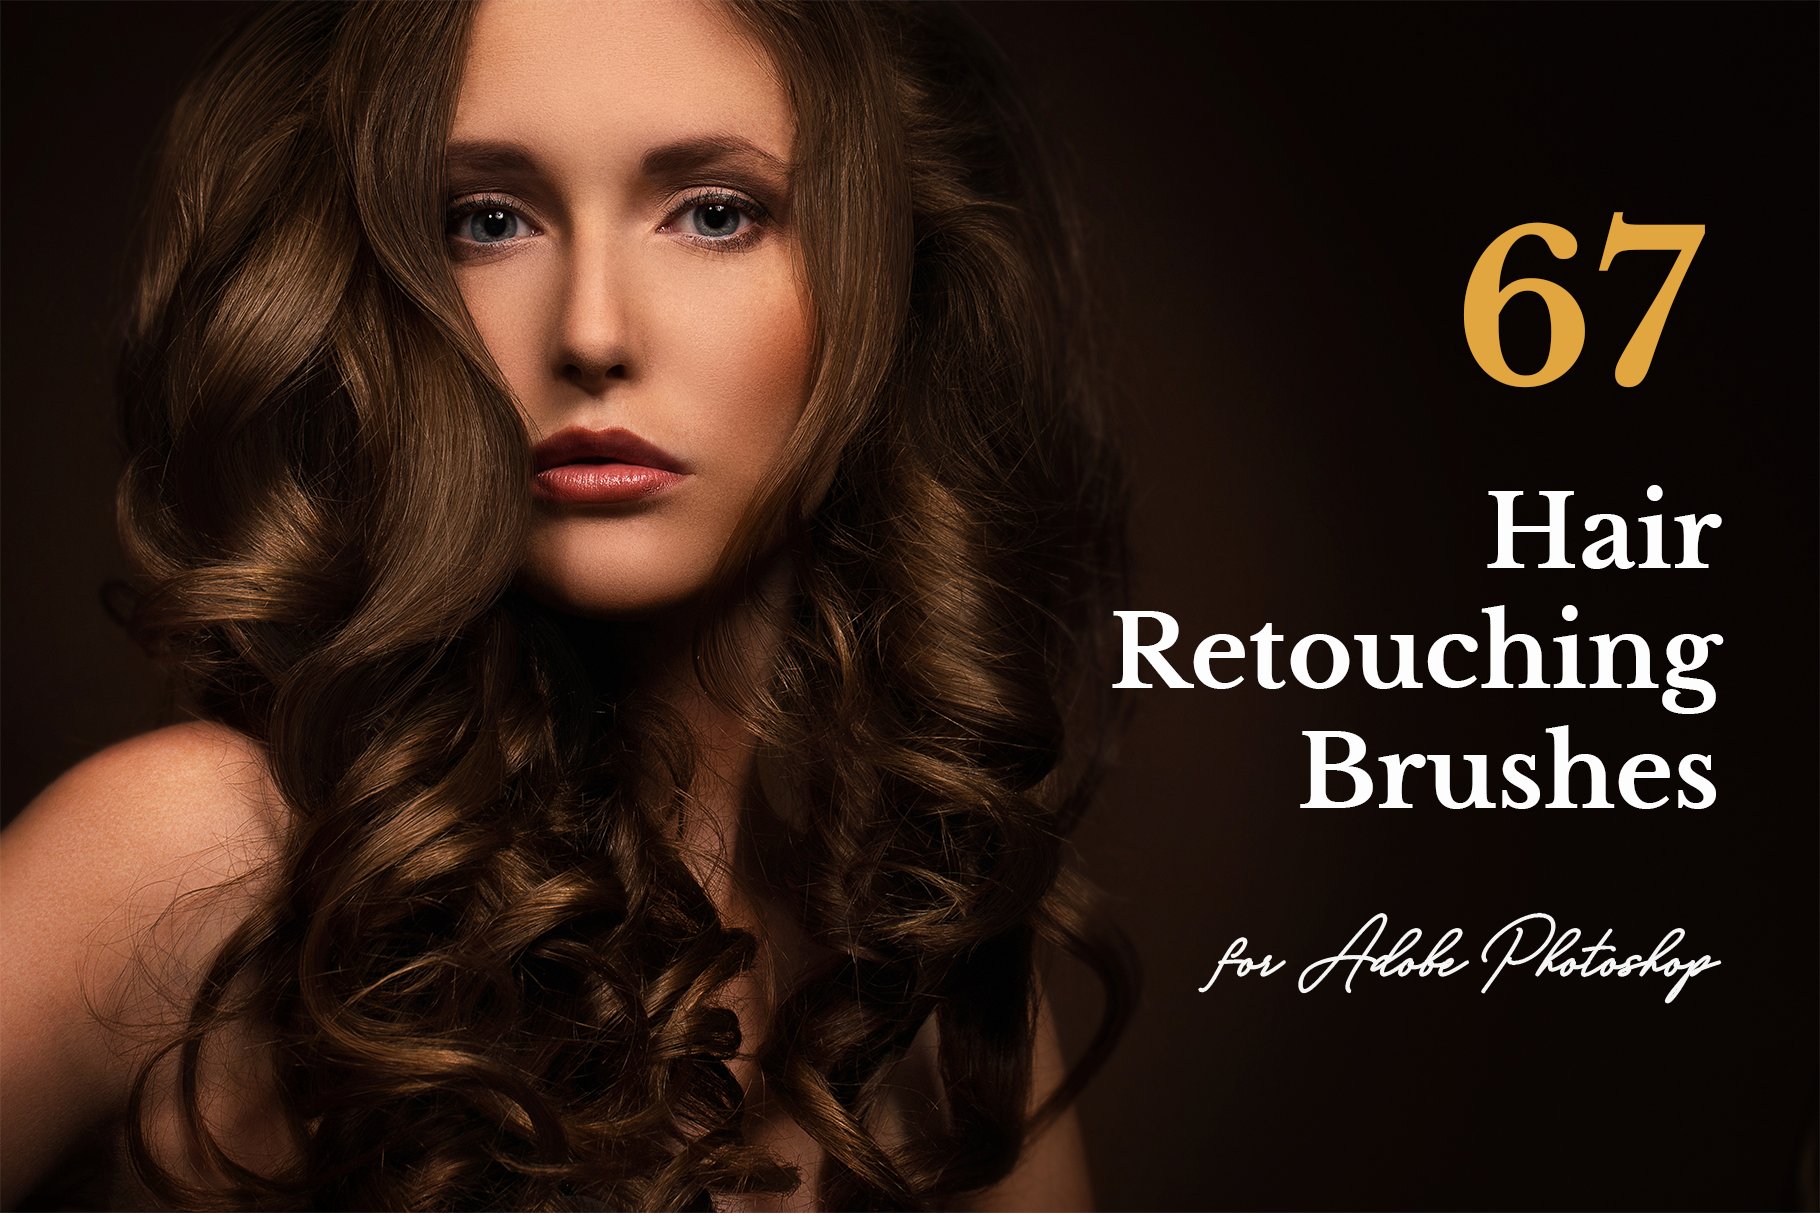
Dreamy Mist Photoshop Action
$9


| Created by | jinrocreative |
|---|---|
| File size | 156.45MB |
| Date of Creation | February 1 2023 |
| Color | black brown orange |
| Rating | 5 (8) |
| Category |
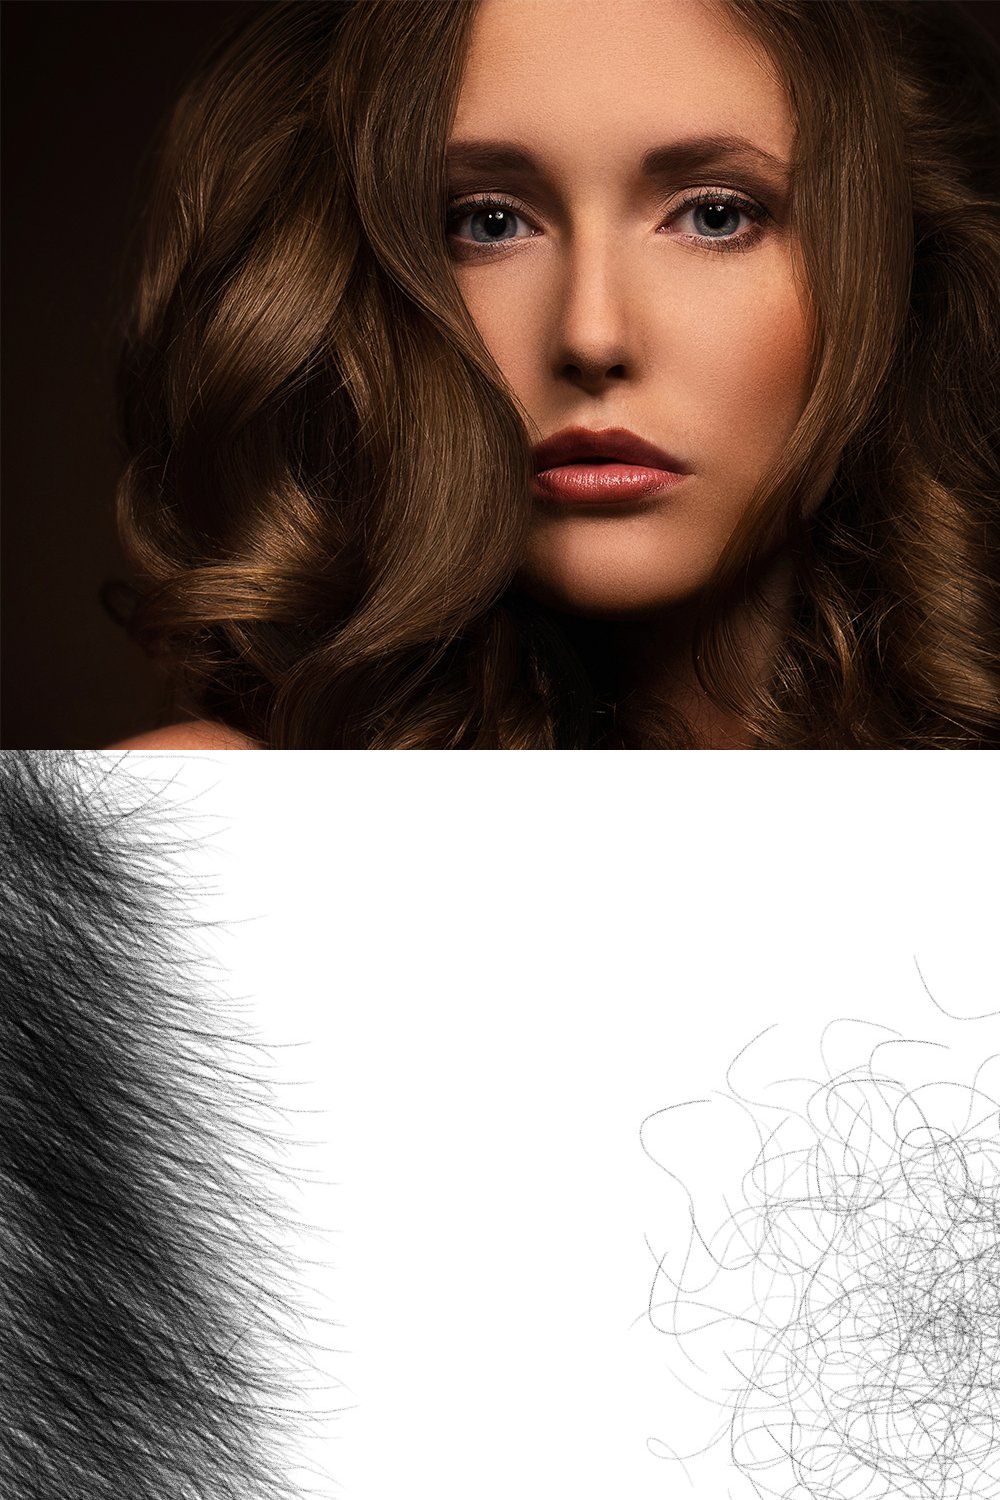
This brush pack was created to help me add pieces of hair that was cut out when dealing with difficult and busy scenes. We’ve all been there, right?
At first, I only needed it for very small areas that could be quickly fixed by adding short tips here and there. But then I expanded the pack to include a variety of other brushes that could help me deal with curly hair, some facial hair and even animal fur (primarily for illustrations).
🔔 UPDATED! Version 2.2
exported all brushes as .tpl files so they can be imported into older versions of Photoshop.
added 3 new stamps in Hairstyle Stamps.
deactivated the noise setting in most brushes.
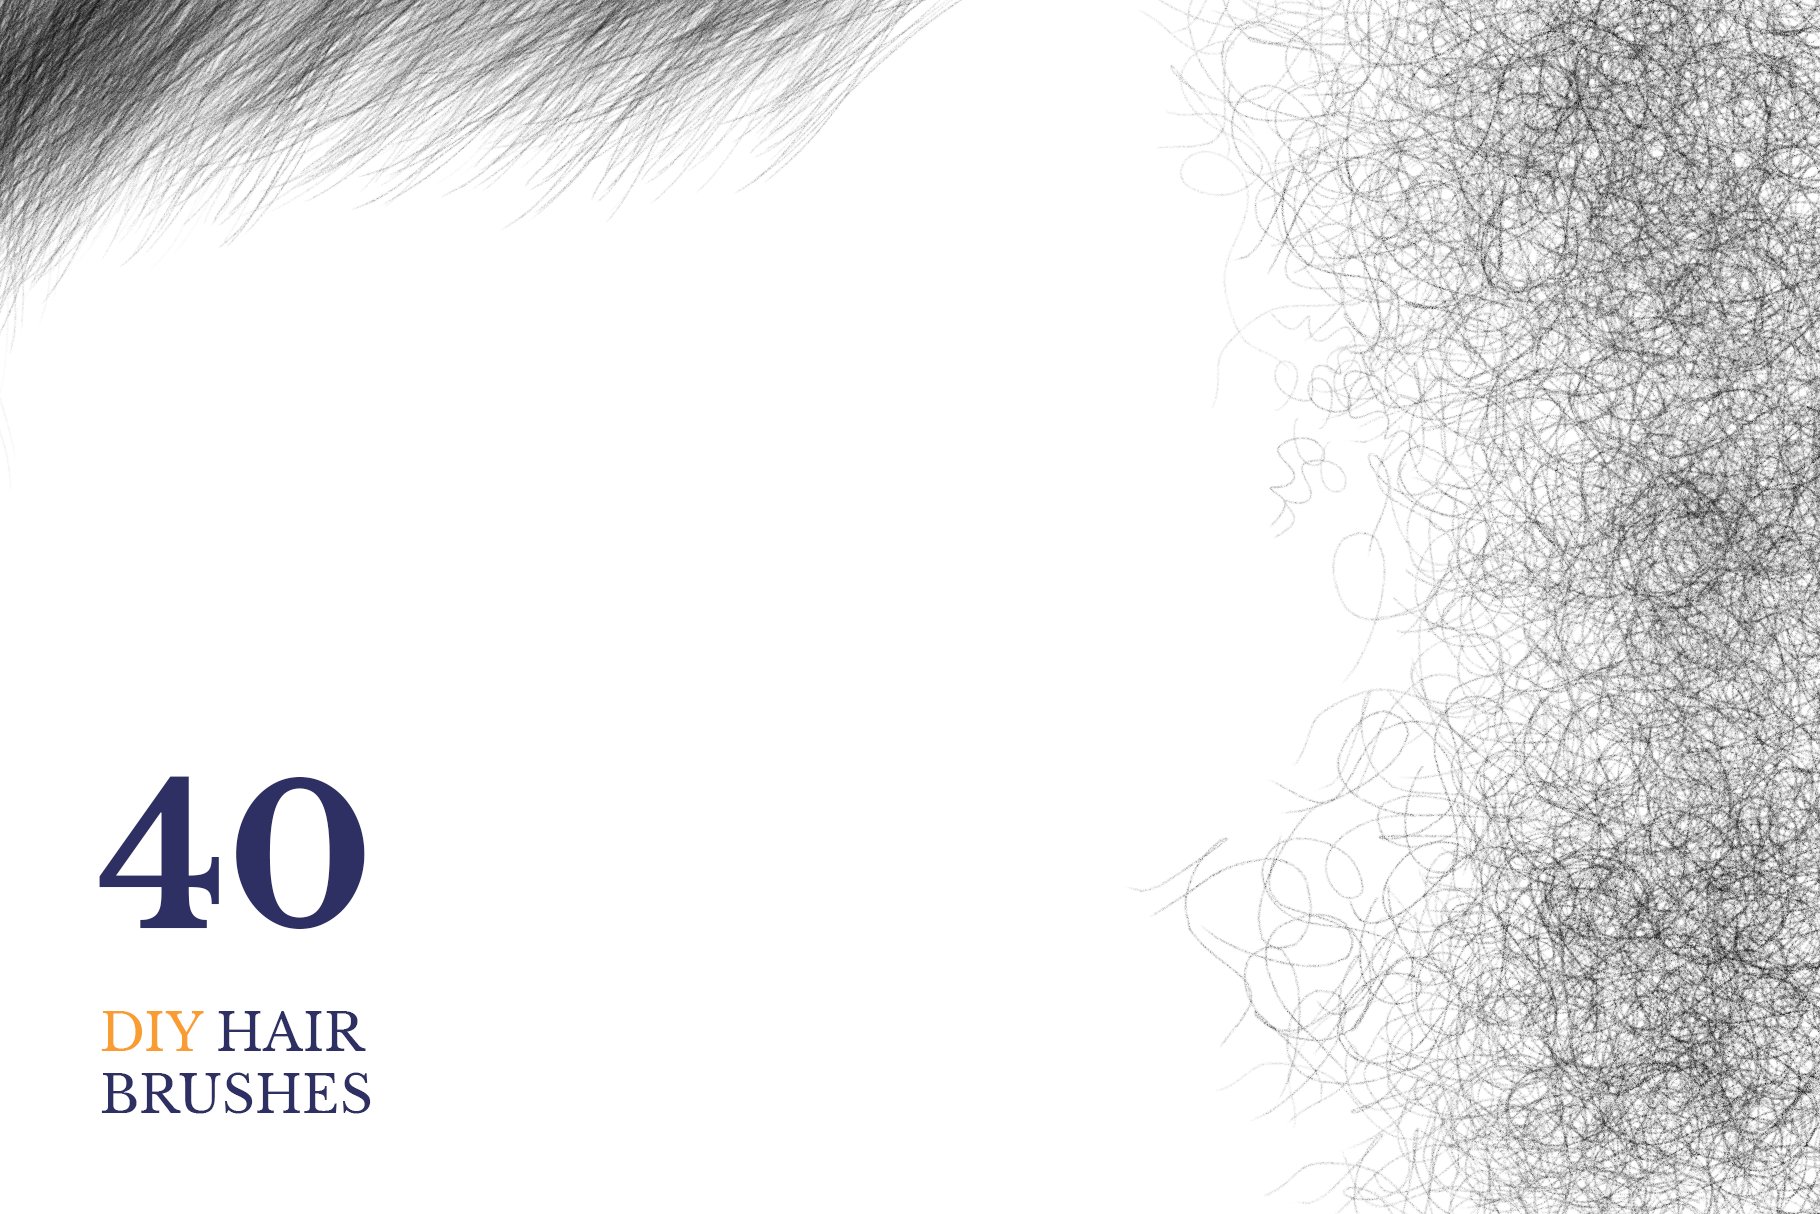
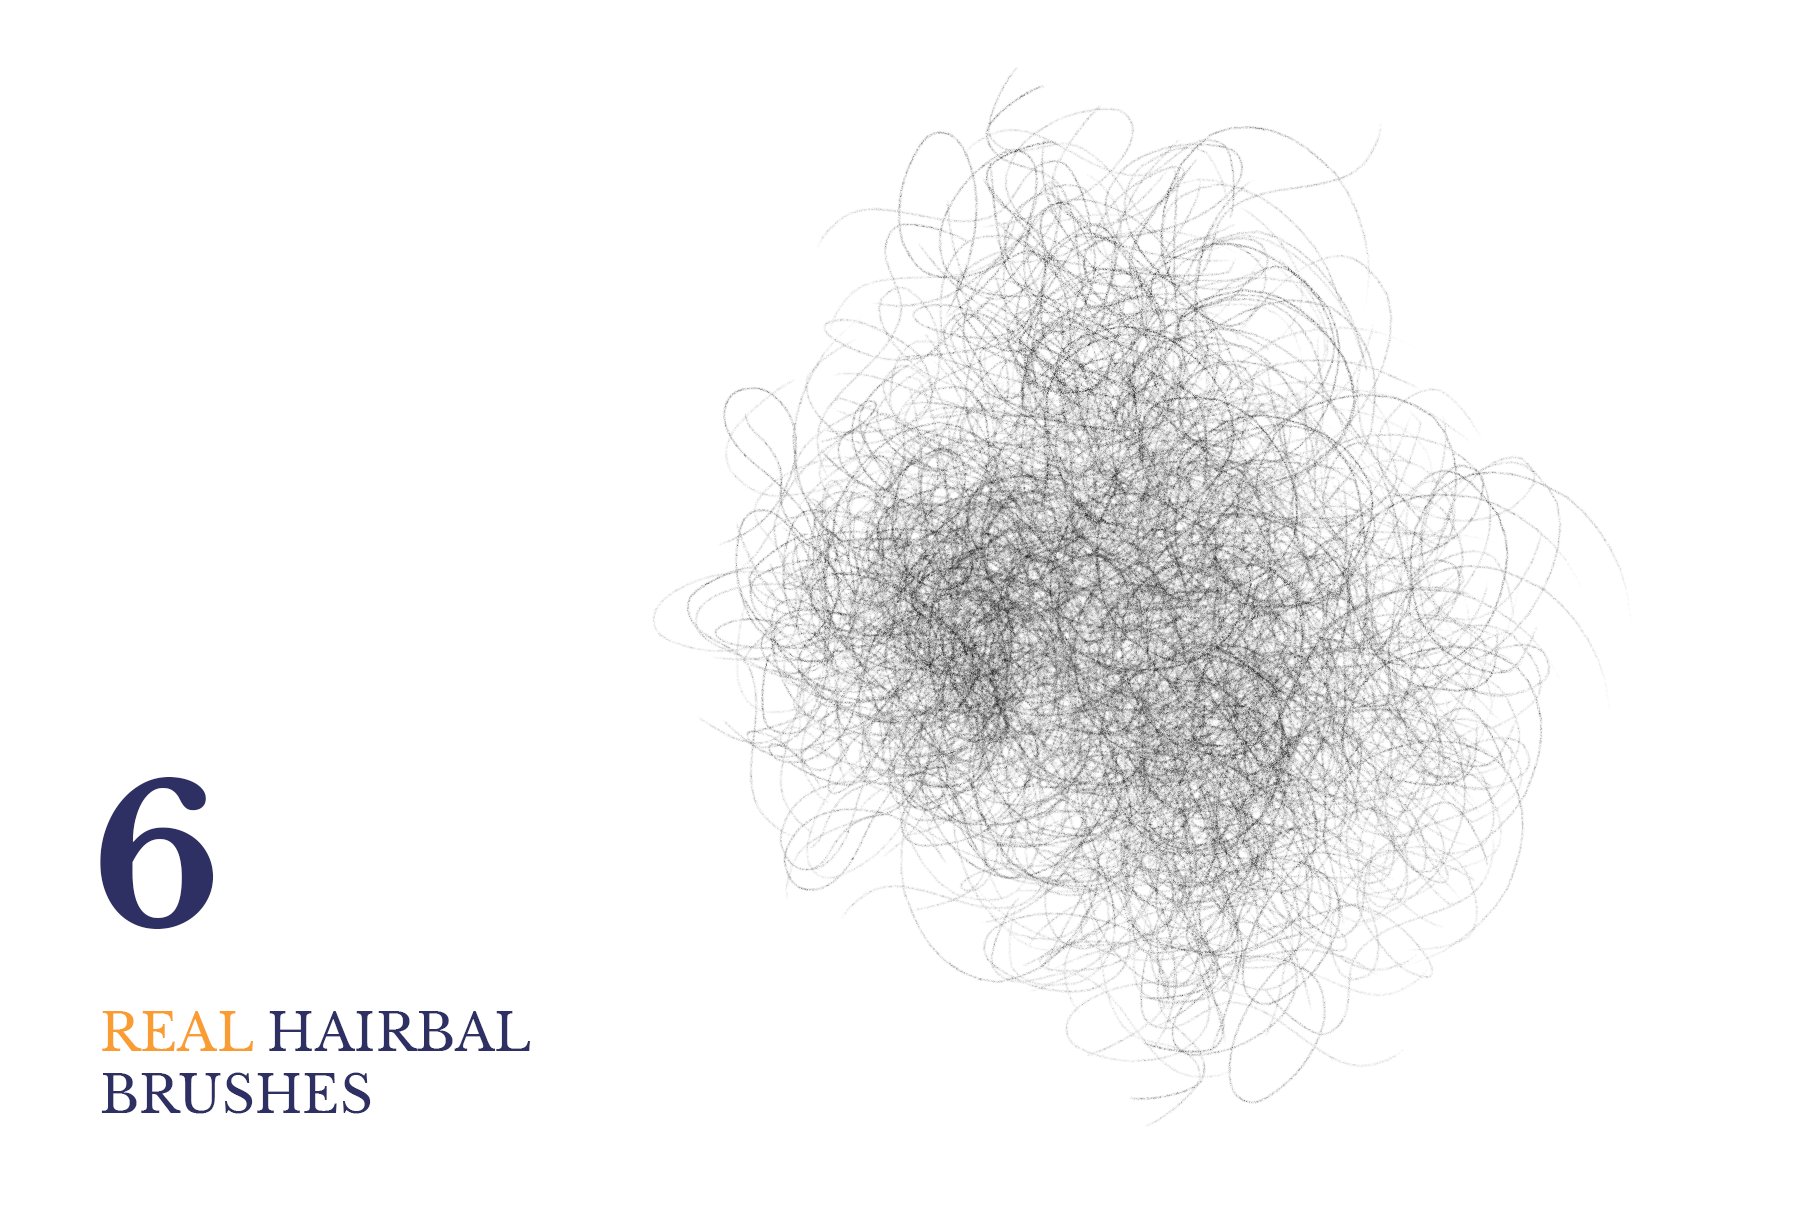
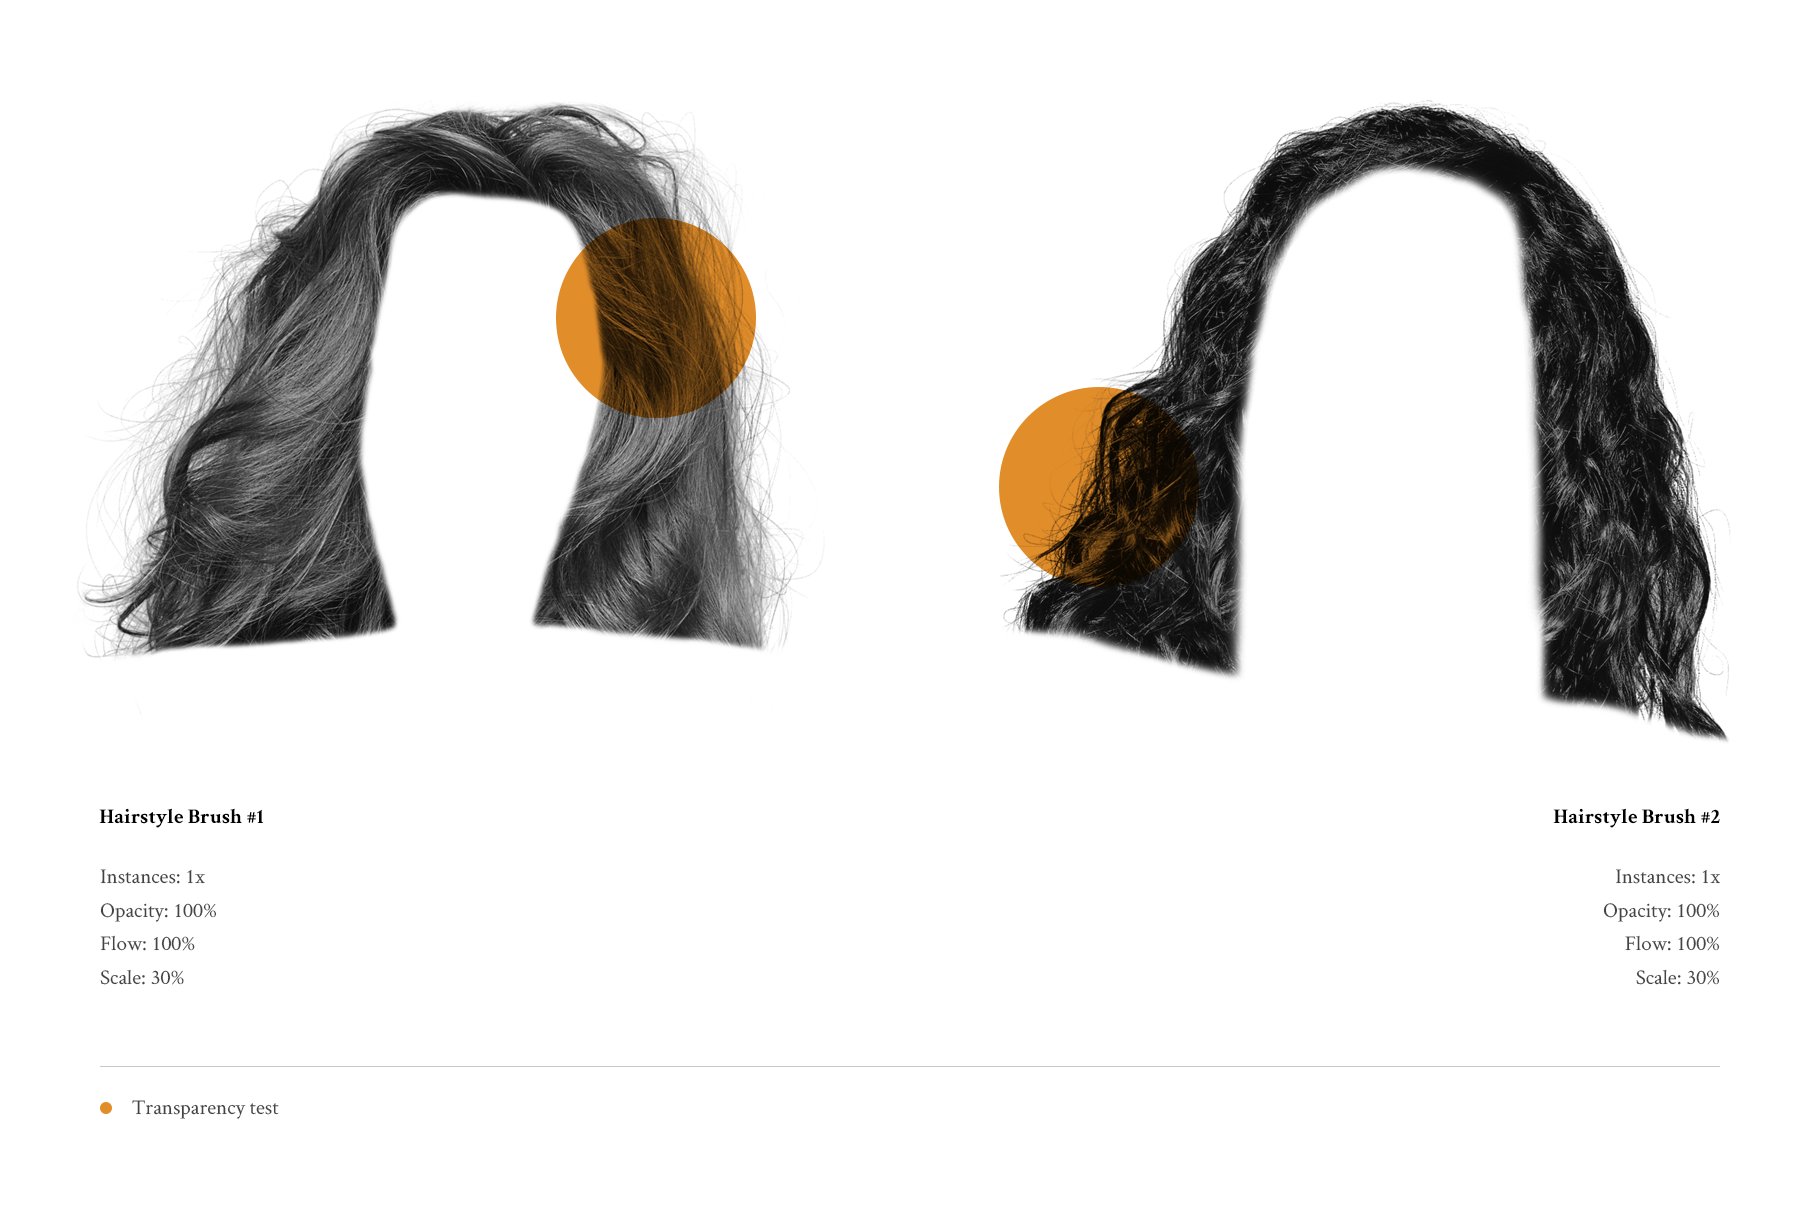
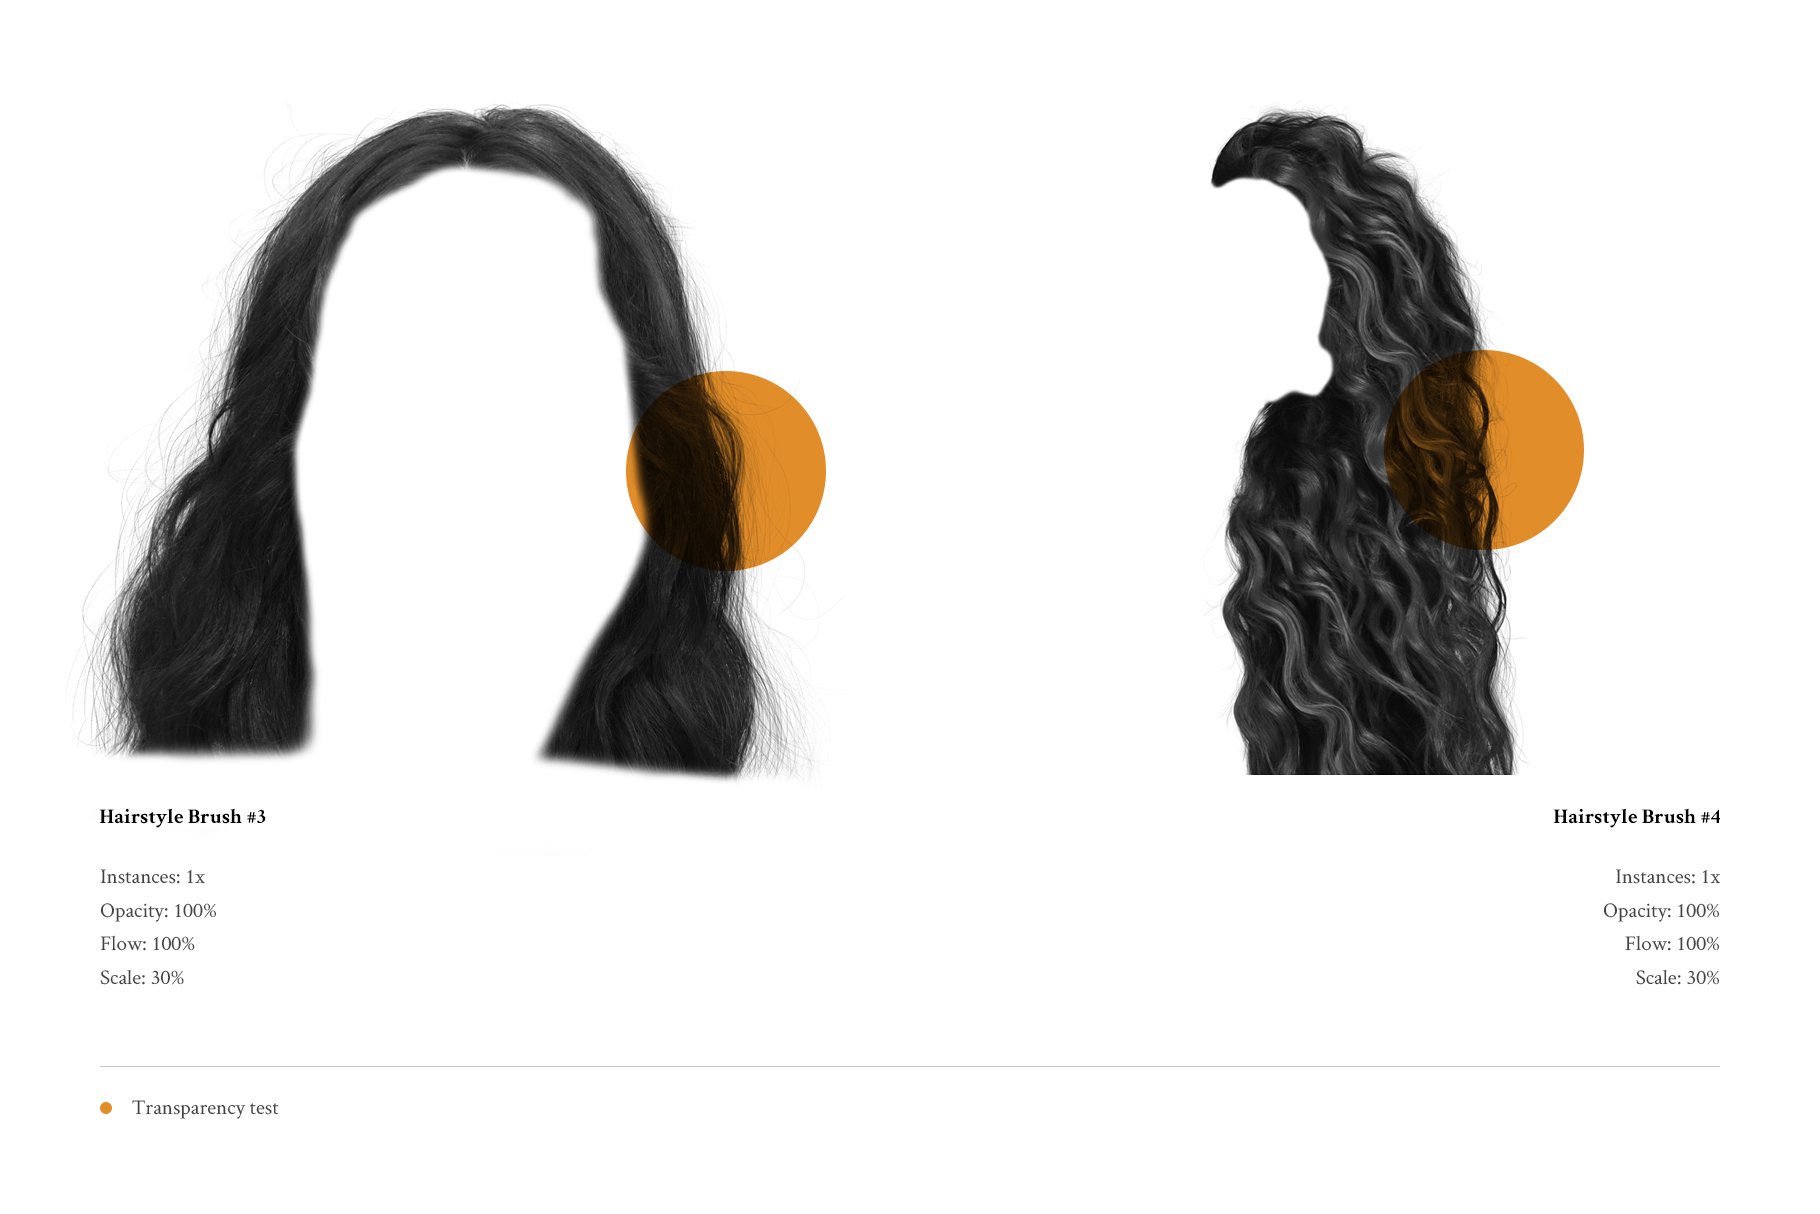
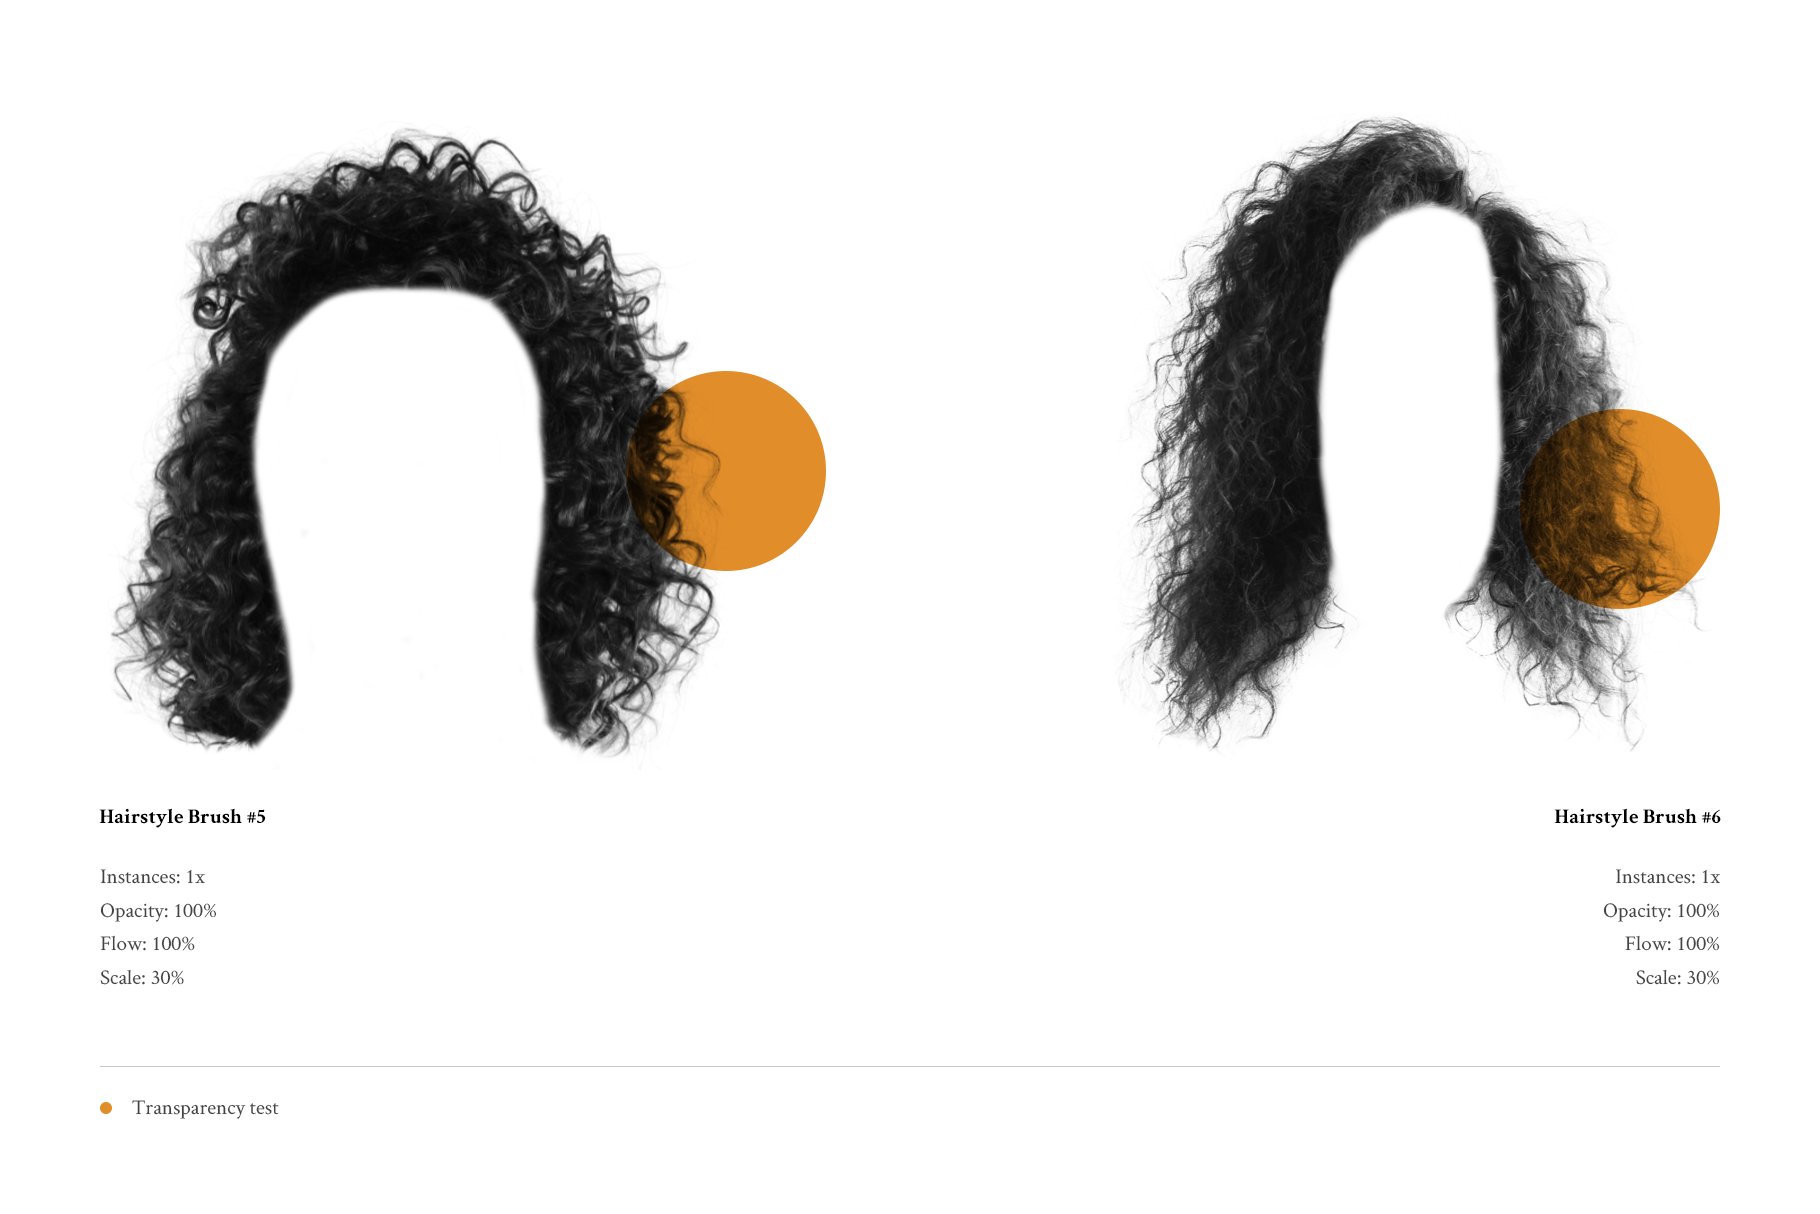
🎨 BRUSH CATEGORIES
Straight Hairstrands
Curly Hair Touch-Ups
Hairballs
Facial Hair
Wavy Hair
Stray Hairs
Fur
Faix Hairball Stamps (removal pending)
Isolated Hairstyle Stamps
📔 TIPS & WORKFLOW BASICS
Don’t expect to add a few strokes and call it a day. These brushes are not magic. You still need to use a lot of manipulation techniques and tricks to get convincing results.
Use on new transparent layers (duh!). Merge down everything if your layer stack gets out of control
Refer to the original and follow the original flow of the hair.
Some brushes give better results when you dab them instead of dragging them along the canvas.
Work behing as well as in front of the subject; then mask certain areas as if the painted hairstrands appear behind the real hair.
Go with the flow. Try to understand how the hair is affected by the environment in the scene. Study the movement and paint in the right direction
Some brushes are pressire sensitive and their flow is affected by your touch. For example, the new brushes added in v.2.1.0 use pressure to modify not only the flow but also their color properties ever so subtly.
Experiement with different flow values to make it look as if some hairs are blurred and out of focus. This improves the perception of depth.
Paint some strokes and then transform them. Rotate, scale, move and cut unwanted pieces of your patches.
Avoid trying to recreate big areas. These brushes were originally created to add fly-out hairs, not to paint hair. In such cases it’s better to take your time to select as much of the hair as you can.
Mix different shades and tints of color as you paint. Sample from nearby regions.
Improve color by using a color ramp (gradient map).
Don’t use blend mode. Otherwise the strokes you leave will be transluscent.
Use with moderation. You don’t need to follow exactly the original subject because you can never get it exactly right. Focus on what looks good instead.