How to Create a Super-Hero Image for Your Website?
Table of contents
- What is a hero image?
- What features should a hero image have?
- How to create a hero image with the scene creator bundle?
- Scene scenario bundles I liked
The first impression defines everything. Of course, there are cases when you have to rethink it, but that is not a very often thing, isn’t it? I mean, if you didn’t like the restaurant interior and music from the first sight you will come back to it only if there will be no other choice. If you didn’t like the person after looking at her – you will talk to her only in the emergency situation. And if you didn’t like the first picture of the website – you will turn back only if it has unique information or products that no one else offers.
In the world of eCommerce websites and blogs, with tough competition and intolerant users, the first impression is even more crucial. Yes, I wrote that and I mean it – internet users are intolerant. They won’t be searching for some good content on your site if the image you put to the top of the homepage doesn’t tell them what is your site about or if it looks ugly. That’s why you have to do your best and make the hero image as understandable and attractive as you can.
What is a hero image?
I guess the title speaks for itself. It is a picture of the main hero. And who is the main hero of your website? That’s right – a product or the sphere you are writing about. The hero image is a kind of business card you give to a visitor when he enters the website. It is the first thing everyone sees when starts to get acquainted with your web page. Looking at that picture the user has to clearly understand what is your website about and what kind of items or information he will find. Besides that, the hero image has to be eye-catching enough to make the visitor stay and go through the rest of the website. Sounds complicated, huh? Don’t worry, it is simpler to create an efficient hero image than it seems. I will give you a few hints and show how to create an astonishing hero image with your own hands.
What features should a hero image have?
Yeah, there is a short set of certain features that are a must for any hero picture. Those are golden rules that make an image efficient. If you will keep it in mind while creating a hero image – there will be more chances it will accomplish its mission. I will illustrate every feature with an example, so you will see how it works on real websites.
Obvious message
Choosing the hero image, you have to be as clear as possible. Complicated and abstract pictures with dozens of forms, colors, and shapes could be beautiful, but if they tell nothing about your website – look for another image. If you have a cooking blog – use the picture with kitchen instruments. If you sell cars – the hero image has to contain something relative to automobiles. If you are a lawyer – choose the images that are often associated with the law (like the statue of Justice, for example).
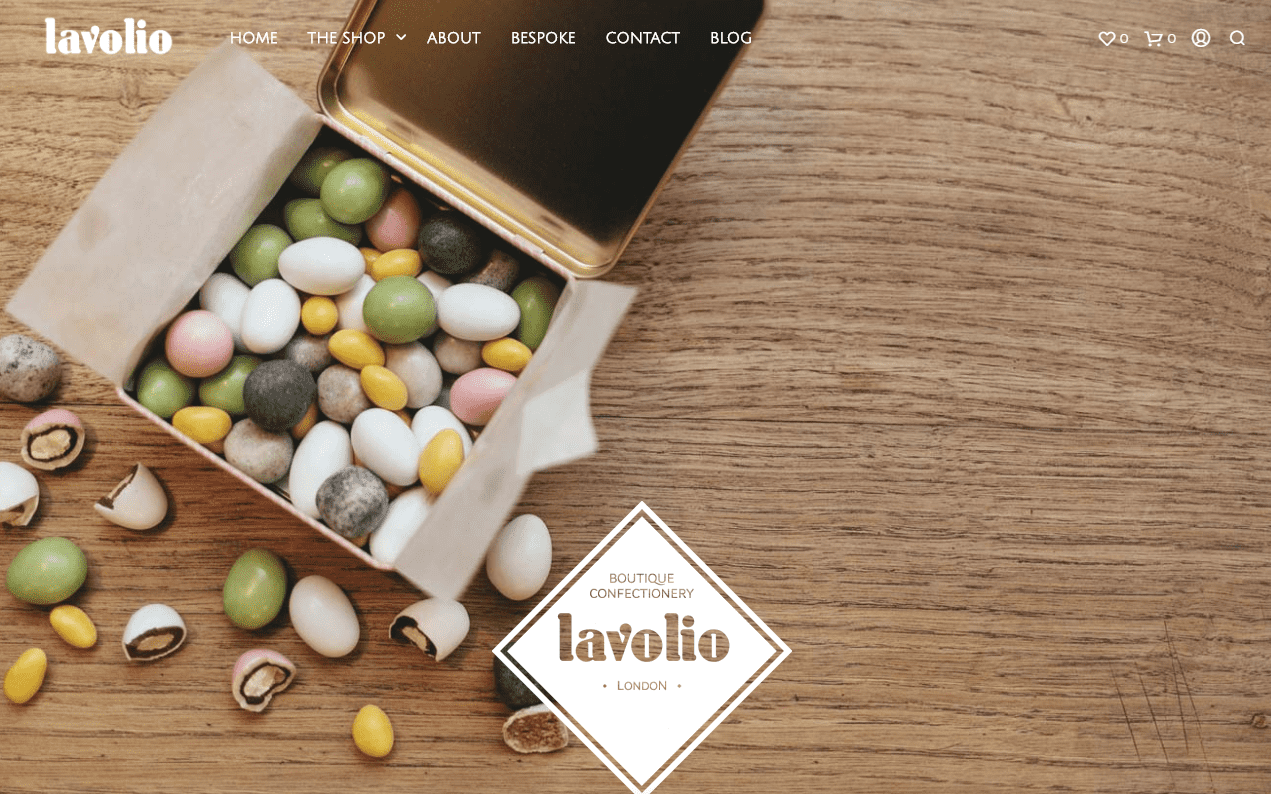
Take a look at the Lavolio handmade sweets shop hero picture. It makes it quite obvious that this website is somehow connected with candies – it sells them or gives some recipes of it. In the blink of an eye, the visitor is able to define is it the site he is looking for or not. Once again – don’t make your visitors solve some riddles. Make the hero image as understandable as Lavolio’s.
High-quality photos
You can’t afford the low-resolution photos. I mean, it is better to buy some stunning pictures on a stock than use free, but ugly images. Blurry and grainy photos, shot without accurate structure make the website look cheap and out-of-date. The first thing I, personally, think when seeing a low-quality hero image is: “this website hasn’t been updated for at least ten years”. And then I just leave it. Isn’t the situation the same for you?

McDonald’s marketing team know all the rules of efficient website creation. Just take a look at that hero image they use for the website. Not only is it sharp, but also really attractive. When you are looking at that burgers your mouth is getting wet. The quality of the picture is so high, that you can clearly see every sesame seed on the top of the bun. The photos you will use has to have the same quality.
Short text
Hero image has to create an appropriate first impression. So, if you can’t create an obvious picture, describing the purpose of your website – you will have to use text. However, nobody will read a long and detailed description. You will have to pack all the essence of your business into about 10 words. Besides that, you have to put a clear call to action to the hero image, so that the visitor would know what do you want him to do from the first sight.
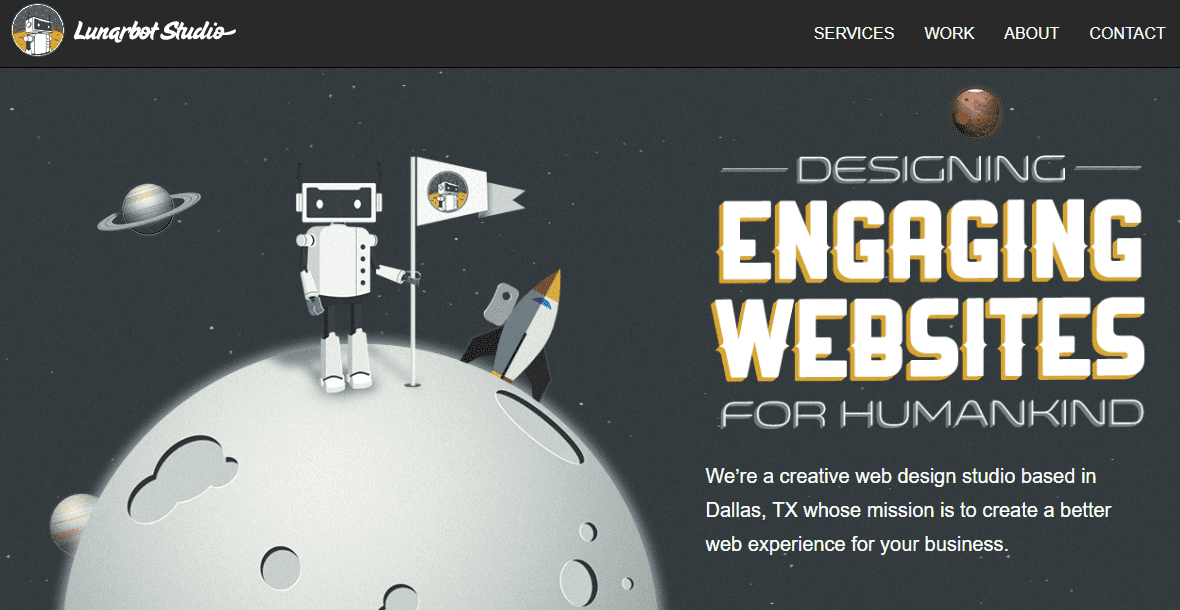
Lunarbot Studio has lots of experience in creating websites, so for their own page, they used all the tricks possible. The picture is original and was drawn especially for the company. It is witty, sharp and accurate. However, it is not completely obvious, so the designer needed to use text that will clear it up. As you can see, the explaining phrase is short and simple but clears everything up. The time spends for thinking out the most laconic and memorable phrase will be really worth it.
How to create a hero image with the scene creator bundle?
As I already said – creating a hero image with your own hands is not as complicated as it seems. There are some tools for beginner and professional designers that make the process simple and fast. One of such instruments is a scene scenario bundle.
Imagine a box, full of high-resolution pictures. All those images are not independent and finished, but only elements, that could be used to create something bigger. That is what a scene scenario bundle is. Do you like puzzles? When you have a ready-made kit, the creation of the hero image becomes as easy as putting the puzzle pieces together. I will show you how to create a hero picture step by step, and then give you a few examples of scene scenario bundles you can get for yourself. For this article, I will be using the Kubik Scene Creator bundle. It contains 67 elements that will fit perfectly for a hero image I am going to build.
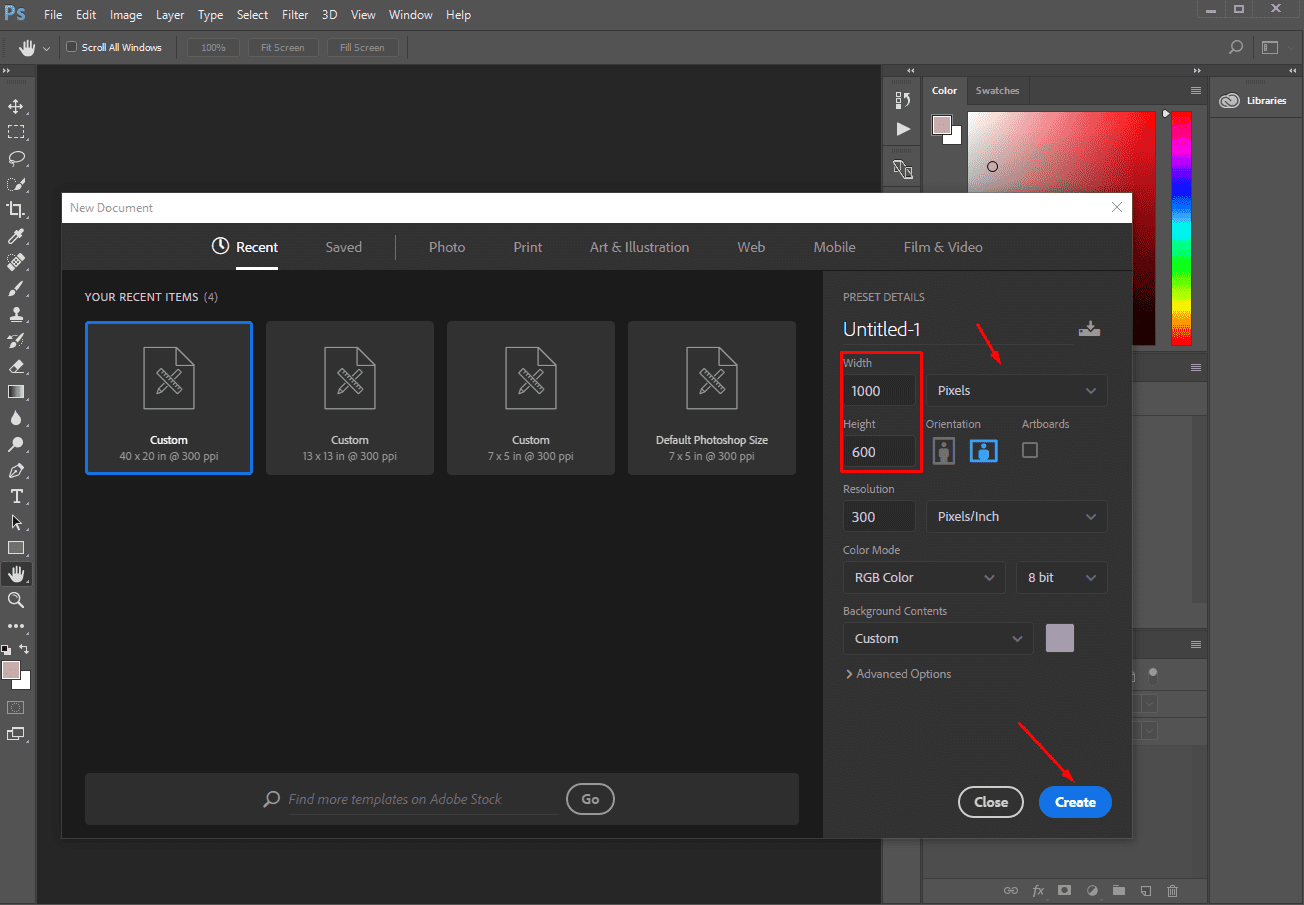
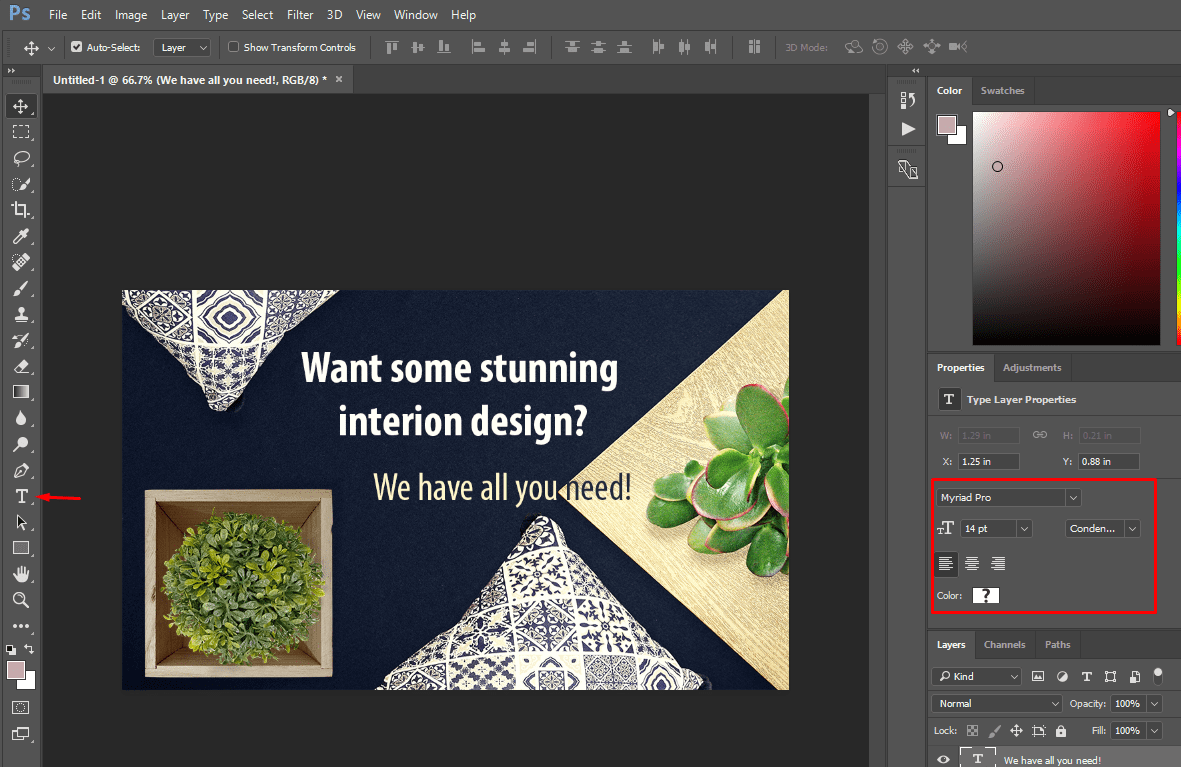
Let’s assume I create a picture that will be placed to the top of the interior design website homepage. The first thing I have to do (and you too if you are following me) is to open the Photoshop and click “File” – “New”. Choose the size (I set 1000×600 pixels) of the future picture and press “Create”.
So, you have a blank page you can now fill. Open the bundle and find the background files. In my Kubik bundle, I have 8 different backgrounds and I choose the one I liked the most. Placing it to the work field is easy as cake – just drag-and-drop it and then hit the confirmation button.
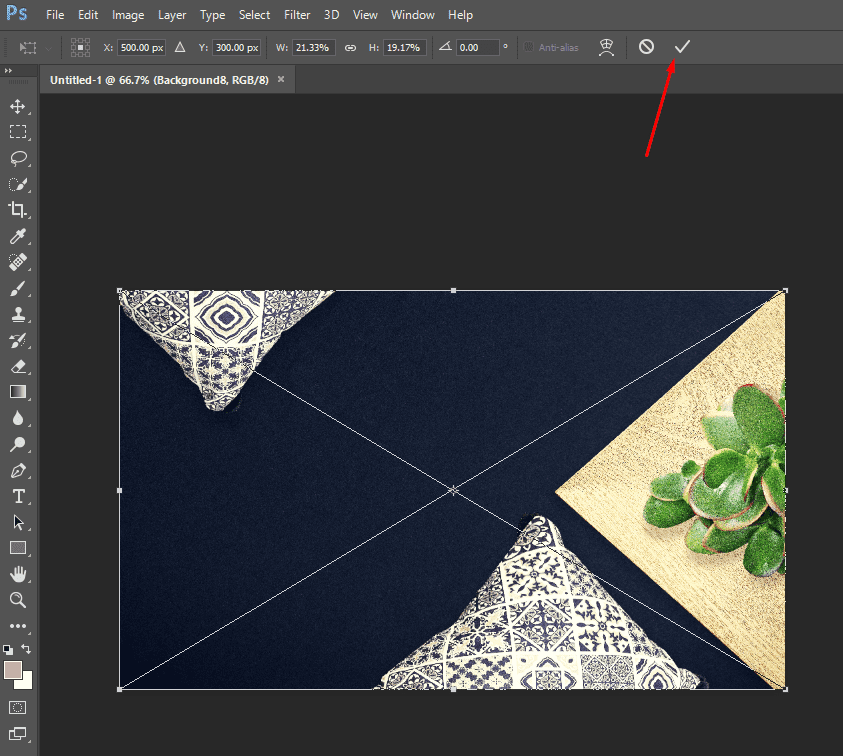
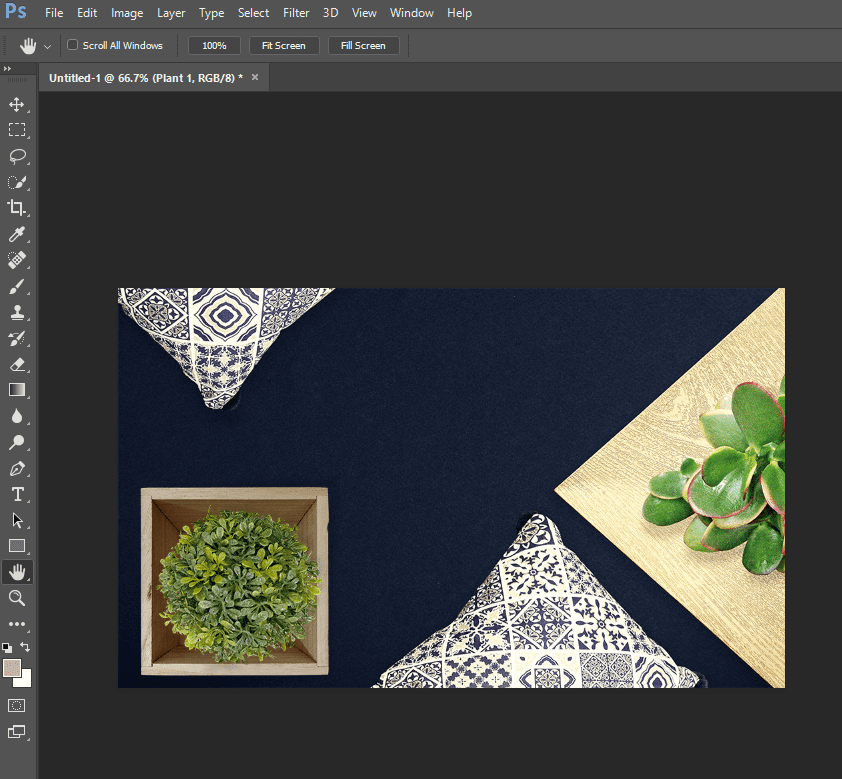
The rest is just the same game – you open the folder with elements, drag them and drop to the page. There is a control panel on the top of the screen that will help you to move the elements, resize them and rotate. Don’t worry, you will be able to replace them afterward, using Move Tool (the button shaped like four arrows, pointing in different directions). Don’t be afraid to put some part of an element beyond the borders – it will help the picture to stay natural.
When all the elements are placed, it is time to add some text. Click the Horizontal Type Tool (a button in the shape of “T”) and place the pointer somewhere on the picture. Type the text, choose its color, font, and size. All the parameters and the location can be changed any minute you would like to. To move the inscription use Move Tool, and to change it – Horizontal Type Tool.
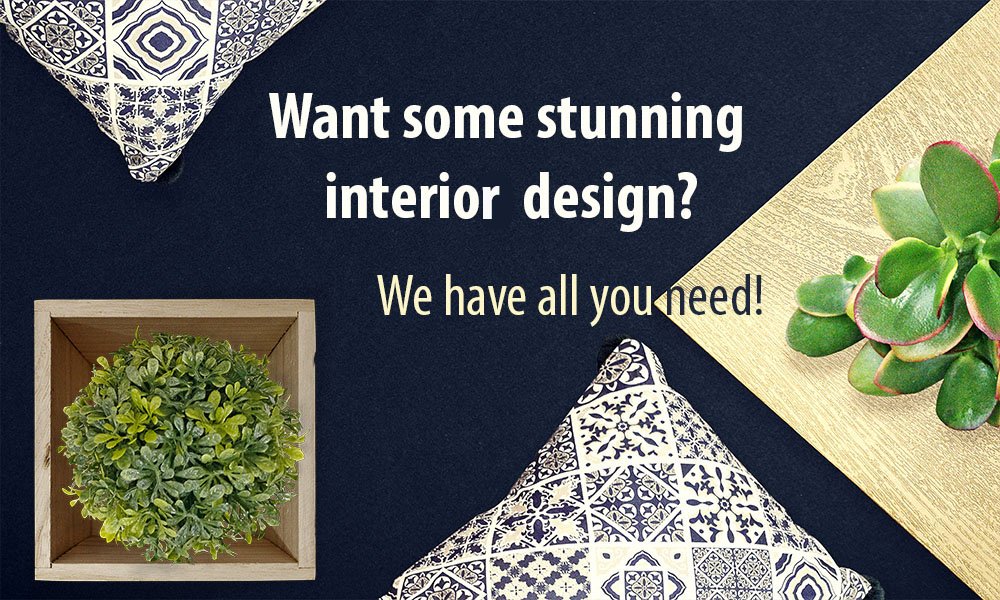
In the end, you get a rather simple, but quite obvious and efficient hero image. If you choose the right screen scenario set – you will be done less than in an hour even if you have only minor Photoshop skills.
Scene scenario bundles I liked
There are dozens of websites that offer users different types of bundles. If you need some specific one – I’m sure that after a few minutes of search you will find it. And here I would like to show you a few bundles from MasterBundle website I really liked. Those bundles will help you to save some money and get high-quality products for a modest price.
Lovely Items Mockup Scene Creator
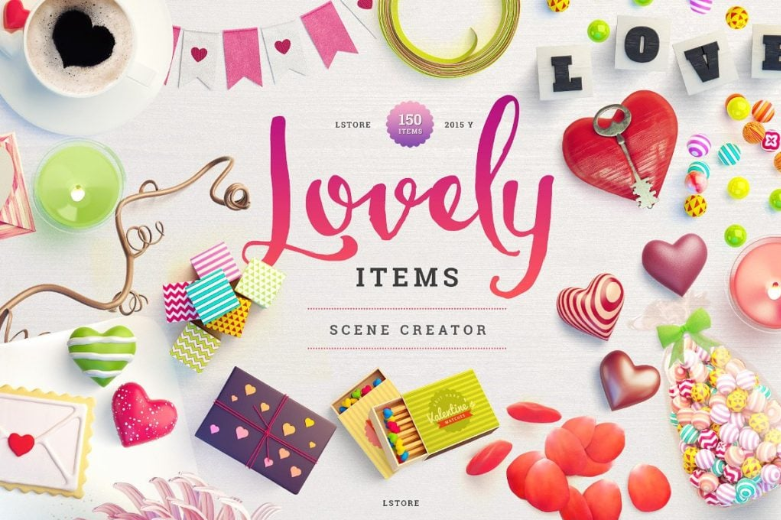
A perfect bundle for a St. Valentine’s day hero image. Lots of websites change the cover for some holidays, and the most romantic day in the year is no exception. Besides that, this set will fit for creating a hero image for a dating website or a live blog. It contains more than 160 items, including postcards, 3D typography, valentines, and other lovely elements. All you may need for a lovers’ day – gathered in one bundle.
Wreath Creator Bundle
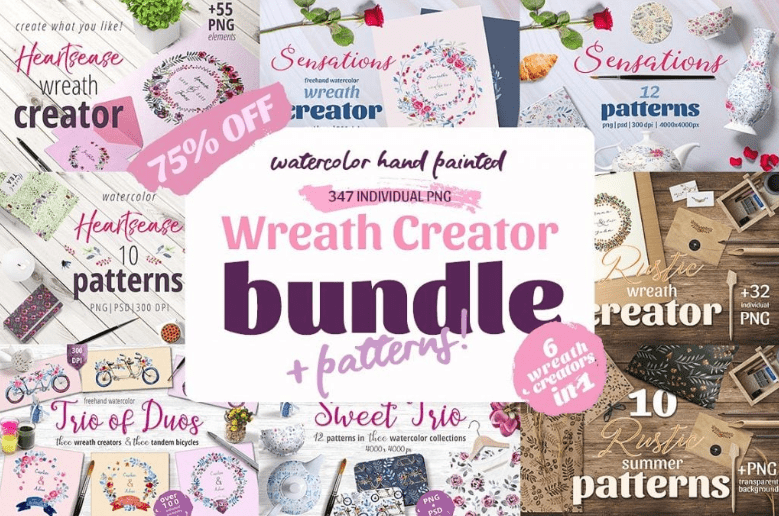
The wreath is a very popular element of design now. Lots of brands use it for their logos and website design. This bundle has a set of elements that will help you to create a wreath of your dream that will perfectly fit the rest of your website design. There are 308 separate PNG files in the bundle, it includes 6 wreath creators and 39 patterns. All the files are compatible with Adobe Photoshop and Adobe Illustrator CS6 or above.
Emblem Creator Bundle
Emblems and logos can also be combined from separate elements, just as hero images. This bundle is full of sophisticated puzzle pieces and playing with them will help you to create a breathtaking logo. There are not only circles but banners, fillers, raylights, topshapes, and letters. In total, this bundle includes 133 elements that could be customized with Adobe Photoshop or Illustrator.
The Desk
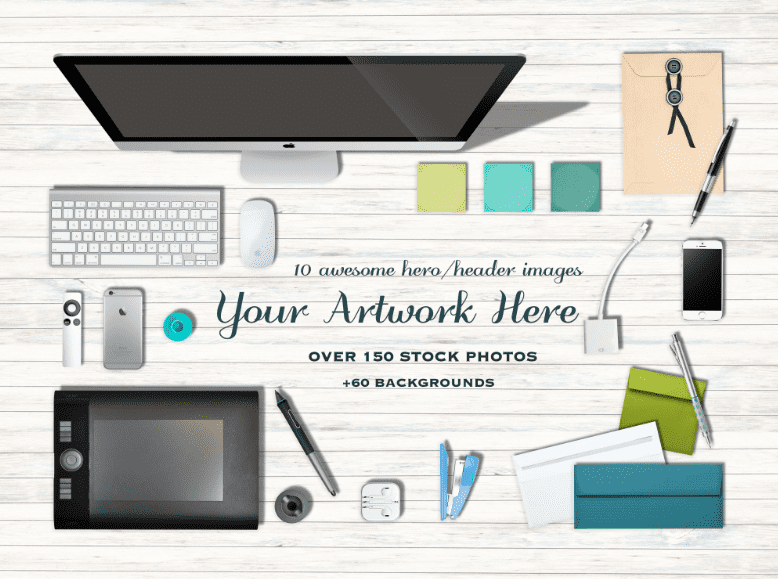
Excellent scene scenario bundle for any hero image that has to show an office desk. IT company or a law agency, financial consultancy or insurance firm – this bundle will help you to create a picture that will match perfectly to a website of any of those businesses. It includes 60 colorful and bright backgrounds and 157 elements. All the files are PSD, so they will perfectly work with Adobe Photoshop and Adobe Illustrator CS6.
Wrapping up
The hero image is a “face” of your website. It is the first thing people see when trying to communicate with you and that is the first thing users see when entering your site. It is better for you to keep your website’s “face” clean and beautiful and then the audience will be delighted to give it a chance. So, find the appropriate bundle, create yourself a hero photo and become efficient and profitable!